Spring formals are upon us which means one thing: it's cooler making time. Girls, we love the beach, but being asked to formals isn't all fun and games. In most cases, the excitement of being asked is quickly replaced by the anxiety and pressure of making an awesome cooler (and possibly getting beach bod ready). So here is what I've learned, through trial and error, about making a cooler:
Step 1: Buy your cooler. You're going to want to get a cooler that is as FLAT as possible. Trust me, painting in all those little crevasses is not fun. You aren't going to want one with indented lines that go across it. Even the coolers with the handle indented into the side are a pain when trying to plan what you want to paint there. My recommendation is the 48 quart Igloo Cooler. From my experience, you can get this at Walmart for about 15-20 dollars and it usually comes in a choice of red or lime green. Either one will work! You'll cover it in paint anyway.
Step 2: Sand the cooler. You're going to want to do this to get that coating off of it so that your primer will stick better to it! Some paints say that no sanding is needed, but I've learned that a little bit of sanding is always better than none at all. You can do this by hand or if you've got one, a sander. My dad luckily has one which makes things a lot easier. Go over it with coarse paper first to get that top shiny coat off and then smooth it out with some fine sand paper. It'll look less shiny when you're done.
Also, a few tips about sanders. My dad decided to try a belt sander for one of my coolers and it basically ripped the plastic apart. I sadly had to throw away the cooler. Try using an orbital sander. It just vibrates instead of spinning the sandpaper around and leaves a smooth finish. You want smooth. Another thing, during this step you may want to fill in your logo or any other annoying indents. For this, you can use spackle which does the trick but runs the risk of cracking. Or you can get 2 part epoxy for plastic, which is what I use. It's super sturdy but a pain in the butt. It dries clear and feels like plastic and it's tough. So If you want it to be perfectly flat you're going to need to put it on there really well and most likely sand it down with a power sander. With epoxy, my biggest tip is LESS is more.
Step 3: Prime the cooler. Go over it with a primer meant for plastic! A lot will work. I've used Bulls Eye Primer and Krylon Fusion and I would recommend the Krylon Fusion. So would a lot of other people; it seems to be the most popular. I get the satin finish. Tape off the handles and other parts that you don't want painted and then put about 2-3 coats of the primer on until the original color of the cooler just slightly peeks through. You don't have to cover it completely, although you can, just remember you'll be painting more on it. Also, you may want to prime the cover too even if it's white (I suggest you sand it as well). I spray the bottom of mine as well. Even though you aren't painting it, you still want the paint to go all the way around so that it doesn't chip where you've stopped on the edge.
Step 4: Pick your designs. Choose what you want to do for each side! You'll probably want his name on there, his fraternity, maybe your name or sorority, and things he likes. This step is all about personalizing. The best coolers to a boy are ones that are covered with his favorite things. You don't have to be an artist, just good at tracing and if you choose, mod podging. I would definitely recommend you get some charcoal transfer paper. This way you can print your fonts and designs and then trace them using the transfer paper directly onto the cooler, making things ten times easier. Pinterest is a great place to look for ideas and don't forget a border. You definitely don't need one, but it puts it all together a lot better. That way it isn't such a harsh contrast between each side.
Step 5: Seal the deal. Once you've finished decorating, you'll want to seal in your beautiful creation so it doesn't chip or scratch. A lot of people do this part very differently and I myself am still experimenting with different ways. I used to just use a water protecting, outdoor, heavy duty clear glossy spray of whichever brand I could find, but I'm trying something new this spring. I've learned that with just the spray it still tends to chip at the bottom where it's getting hit the most. So after some research I've decided that after I'm done with each side I'm going to mod podge over it with the outdoor mod podge (the green bottle).
Make sure your side is completely dry though before you start to mod podge or the colors will bleed. Then when I'm done with the entire thing I'm going to go over the entire thing with one or two more coats of mod podge and THEN use a sealing spray. There's not just mod podge either! You can use Minwax or any other sealing paint on glue stuff. I just liked that the mod podge was for outdoors for extra protection. Krylon also has a sealer that has been recommended a few times, so I may try that as well this time! As long as you think it's sturdy enough, you should be good to go! Just make sure you've finished it early enough to give it plenty of time to dry.
Hope this helps! And may the odds be ever in your favor.


 woman in white shirt leaning on yellow wall
Photo by
  pancakes with syrup
Photo by
  person in brown knit sweater
Photo by
  a person sitting on a couch with a laptop
Photo by
  woman in black and white floral dress sitting on red car hood during daytime
Photo by
  a person holding a cell phone in their hand
Photo by
  high angle photo of cityscape
Photo by
  woman covering eyes with hand
Photo by
  smiling woman wrapped with white headscarf
Photo by
  Good hair | Jamie | Flickr
 mmm coffee | We found a good coffee place on the island. Act… | Flickr
 man jumping on the middle of the street during daytime
Photo by
  person jumping on big rock under gray and white sky during daytime
Photo by
  a bowl of guacamole next to a bowl of tortilla chips
Photo by
  two women sitting on a couch in a living room
Photo by
  cooked food on black bowl
Photo by
  men's arm tattoo
Photo by
  a group of trees with orange leaves
Photo by
  The butterflies in the stomach... | Check out my blog! www.p… | Flickr
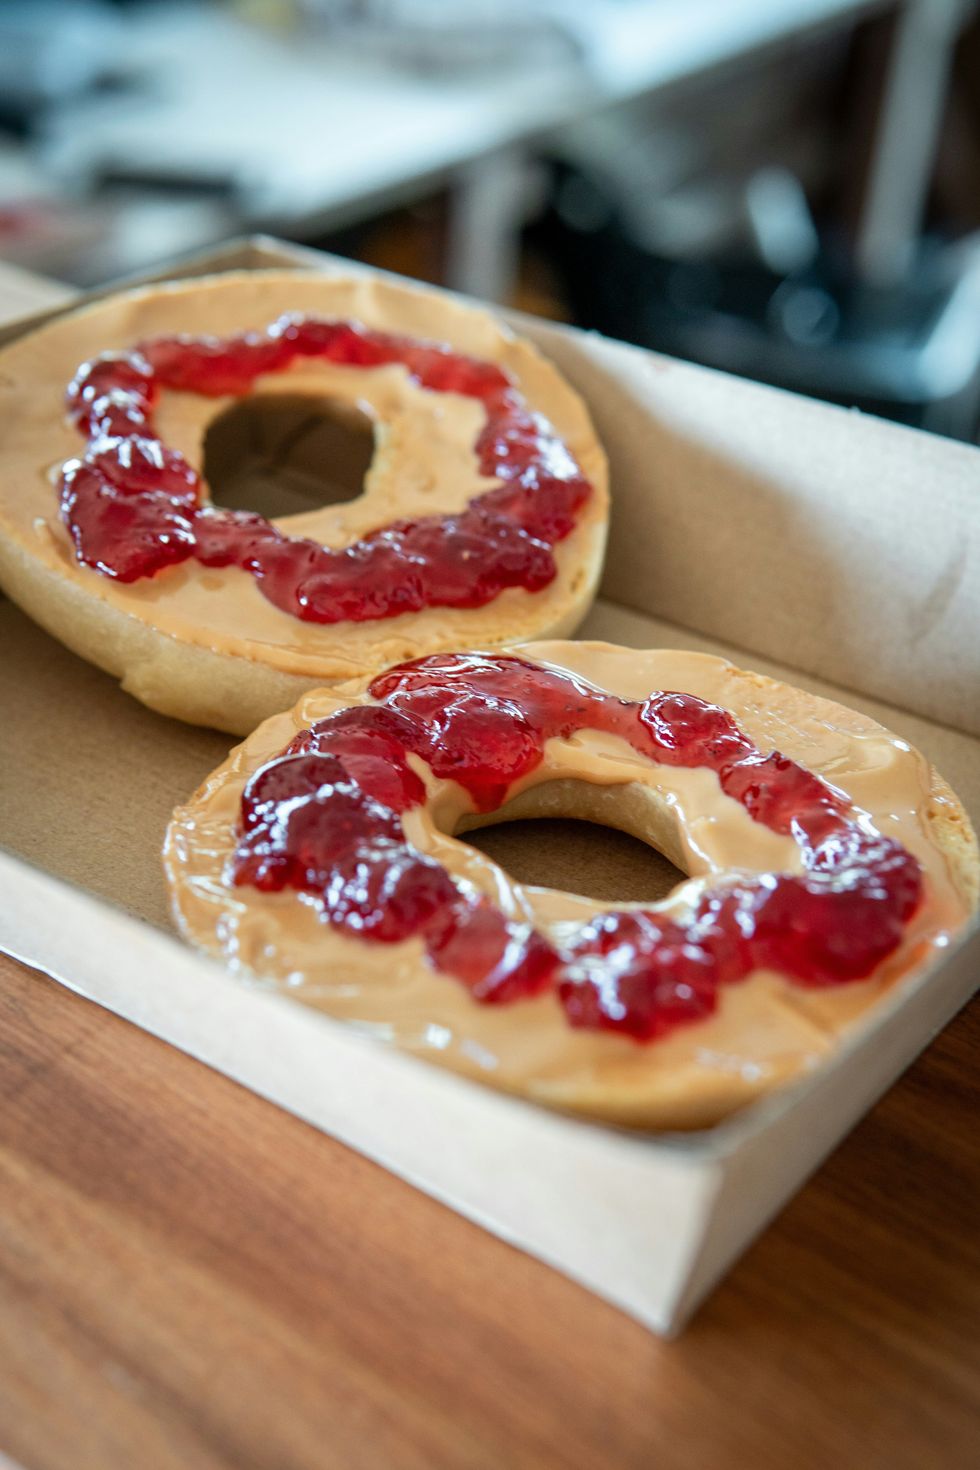 two bread with sauce in box
Photo by
  a couple of young girls standing next to a tent
Photo by


 Photo by
  Photo by
  Photo by
  Photo by
  Photo by
  Photo by
  Photo by


