People around the world use computers on a daily basis; they are an integral part of our lives. But even though we use them all the time, most people probably don’t know what is inside the computers they use or how they work together. I made the decision this past summer that I wanted to build my own computer so that I could learn about what goes on inside of the towers and started researching the different parts and brands that are out there.
It’s easy to get lost when you are just starting to research parts with all the acronyms like CPU (central processing unit), GPU (graphics processing unity, also known as the graphics card), or PSU (power supply unit) and the hundreds of different models and brands for each of the parts that you need. That’s why even after you decide to build your own computer it takes a while to get from that decision to the point where you actually put it all together.
After about three months of research, I had finally decided which parts I wanted. The next thing to do was making sure that they were all compatible with each other—which is very important because with all the different computer brands like Intel, AMD, Asus, Gigabyte and more, if you get two parts that aren’t compatible, then you won’t be able to even build the computer, let alone get it up and running.
The next step for me was to buy the parts, but it’s not as simple as just walking into a store and buying everything immediately. It can be that simple if you want, but that will increase the cost compared to taking your time and buying when things are on sale. I was lucky because Black Friday was just around the corner when I was ready to buy parts, and just like any other store, computer stores will offer discounts and bundles on Black Friday. This helped keep the price down for me, and I would recommend—if you have the patience—to wait for some kind of sale, because I was able to save close to $150 just by waiting.
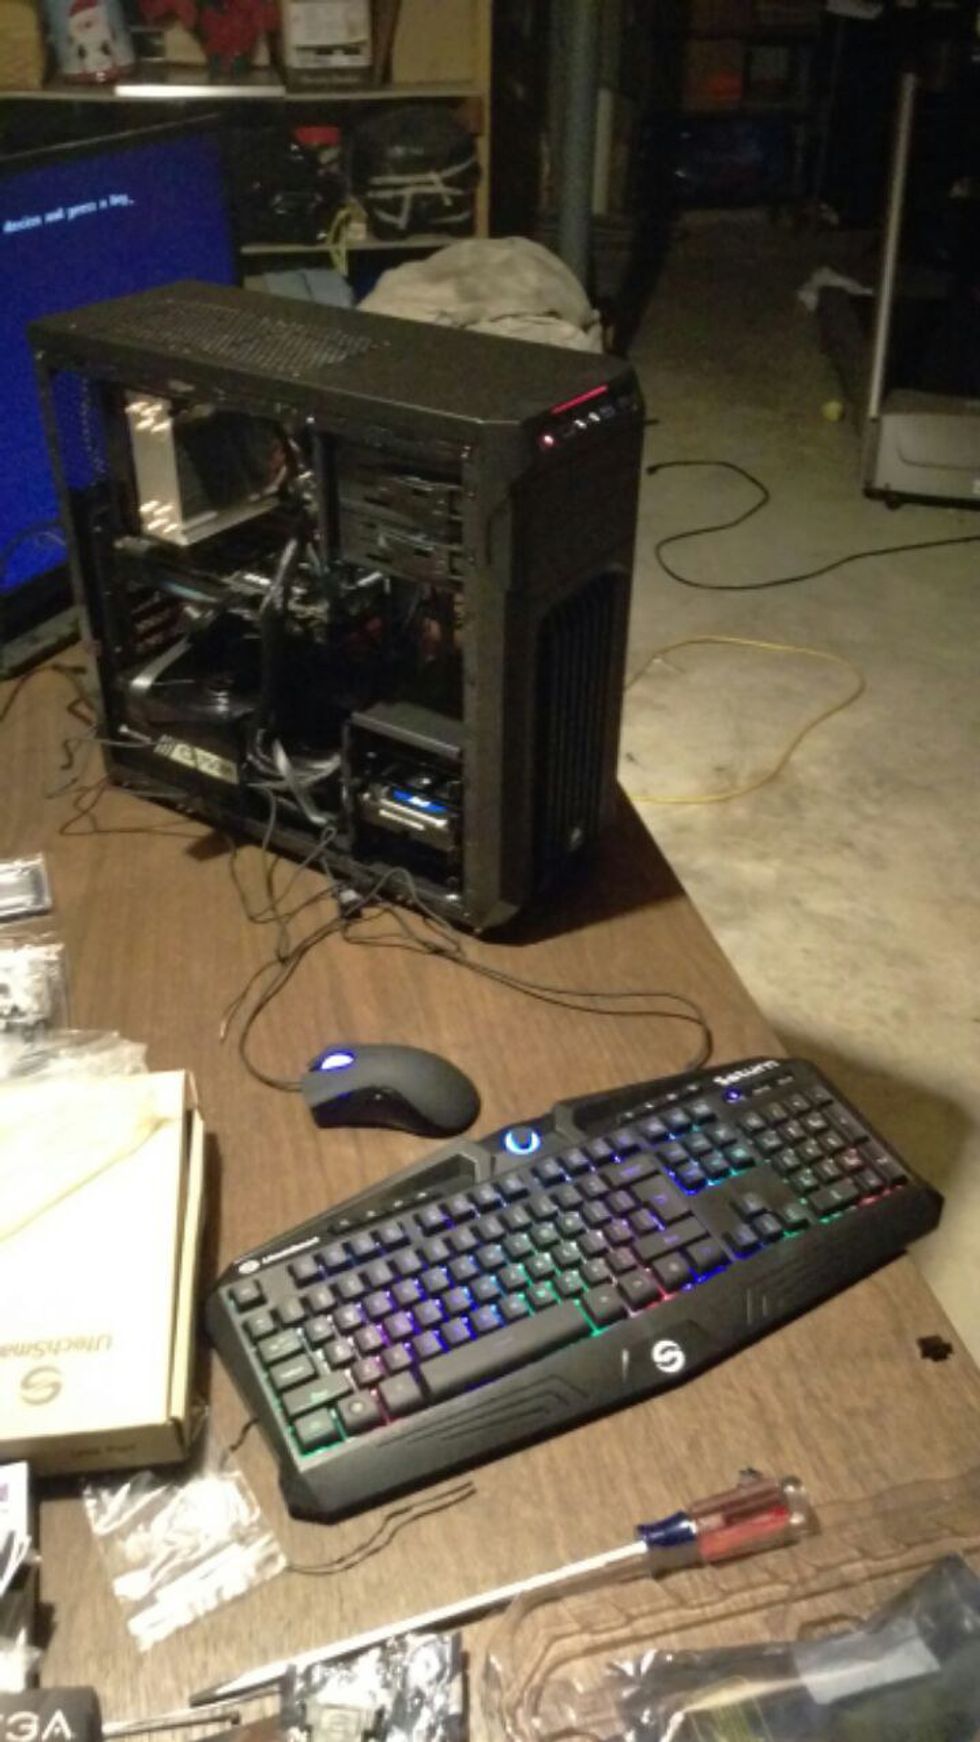
After I had finally collected all of my parts, it was time to actually build the computer. As one would expect, this was the hardest part of the whole process. Although computers are easier to put together now then they ever have been, it’s kind of like very technical Legos. I collected all of my parts and set up shop in my basement because it’s unfinished and it’s not a good idea to be handling any of the parts on carpet because a bolt of static shock could fry the part.
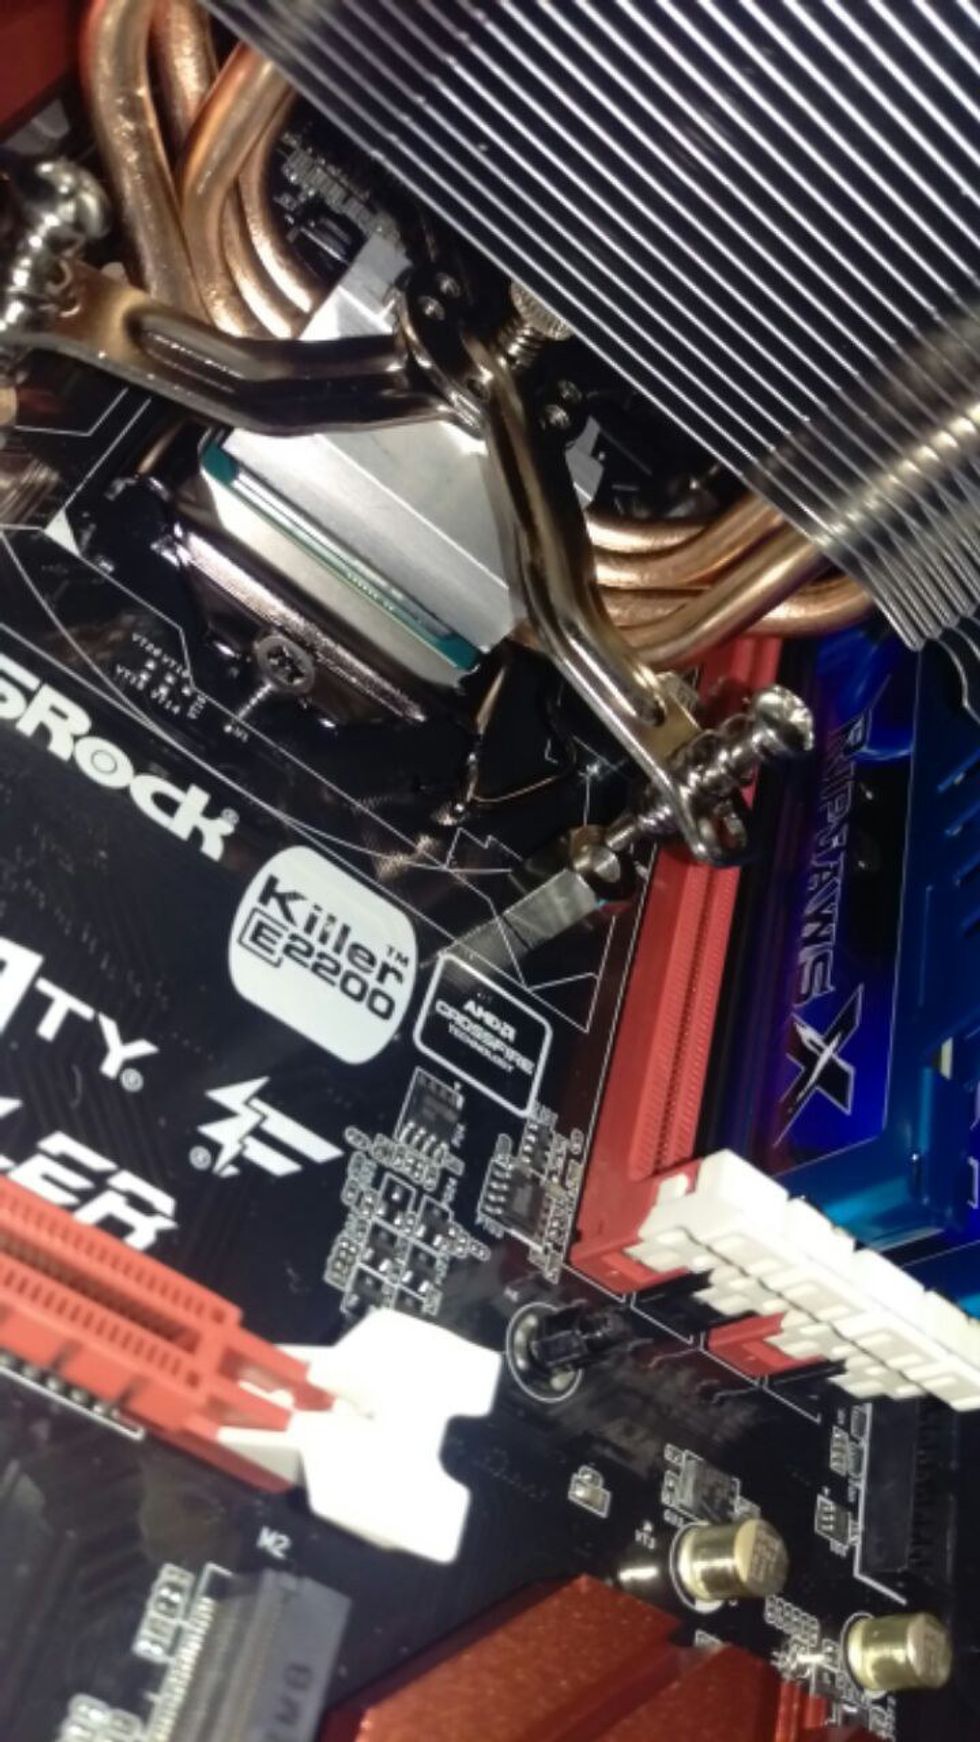
Using my laptop, I pulled up one of the instructional videos I had watched the week before and finally got to work. The motherboard was pretty easy to set up. I just placed the CPU in and locked it into place—although it made a frightening clicking sound that sounded like it just snapped in half—and then the RAM just slid right in without a problem. After I managed to get the motherboard into the case, which is the actual tower of the computer, it was time to install the CPU fan. This was one of the more inexpensive parts, so I assumed it would be pretty easy to set up. This was not the case.
After attaching the brace to the back of the motherboard, I attached the thermal paste, which is like a heat resistant glue, set the fan on top of the CPU, and started trying to screw the base of the fan in. After two of the screws were in, I noticed that the other two weren’t quite lined up with the motherboard, so I just kind of forced them in, which took almost half hour to do. After I finally got it in, I double-checked the instructions to make sure there wasn’t anything else I needed to do and realized I had installed the fan completely sideways.
I started panicking, thinking that I had destroyed my fan, the CPU and the motherboard and praying that I could salvage part of it. After about 10 minutes of trying to figure out what to do, I decided to just try twisting it. It worked. I had been panicking about something that could be fixed with a simple twist of the fan. Needless to say, I felt really stupid.
After that mistake, even though it had an easy fix, I started triple-checking everything that I was doing to make sure I wouldn’t have any more issues like that. Even being as cautious as I was, when it came to the graphics cards, the most expensive part of my build, I realized my case was barely big enough to fit it. I had to keep pushing it, thinking that I was going to snap it in half the whole time, until it barely locked into place.
Thankfully, after that, the only thing I had to do was plug all the wires in and manage how the cables were going to be set up. Once that was done, I hit the power button and prepared for the worst. After all, with all the things that I thought I did wrong, I didn’t think there was a chance that it would work. But it worked on the first try, and it felt like a weight was lifted off my shoulder because I hadn’t broken any of the parts.
From there, it was smooth sailing, just uploading the operating system, installing some drivers, and setting up all of my accounts and programs. Through the whole experience, I learned a lot about how computers work and the inner workings that make them run and if you are interested in learning about that, then I recommend you build one as well!


