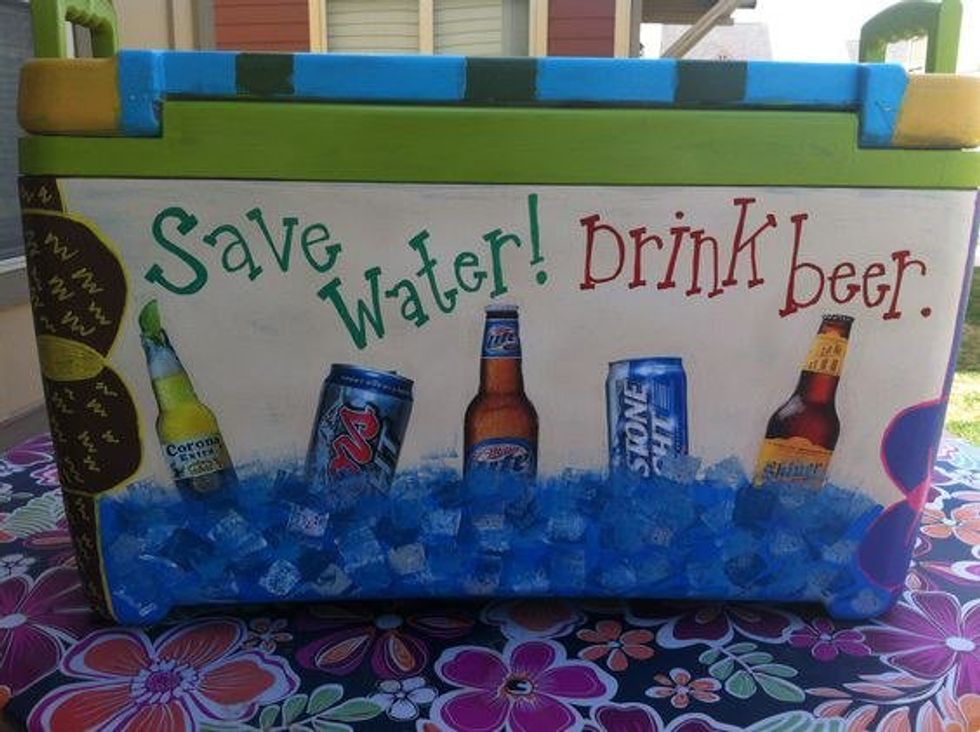
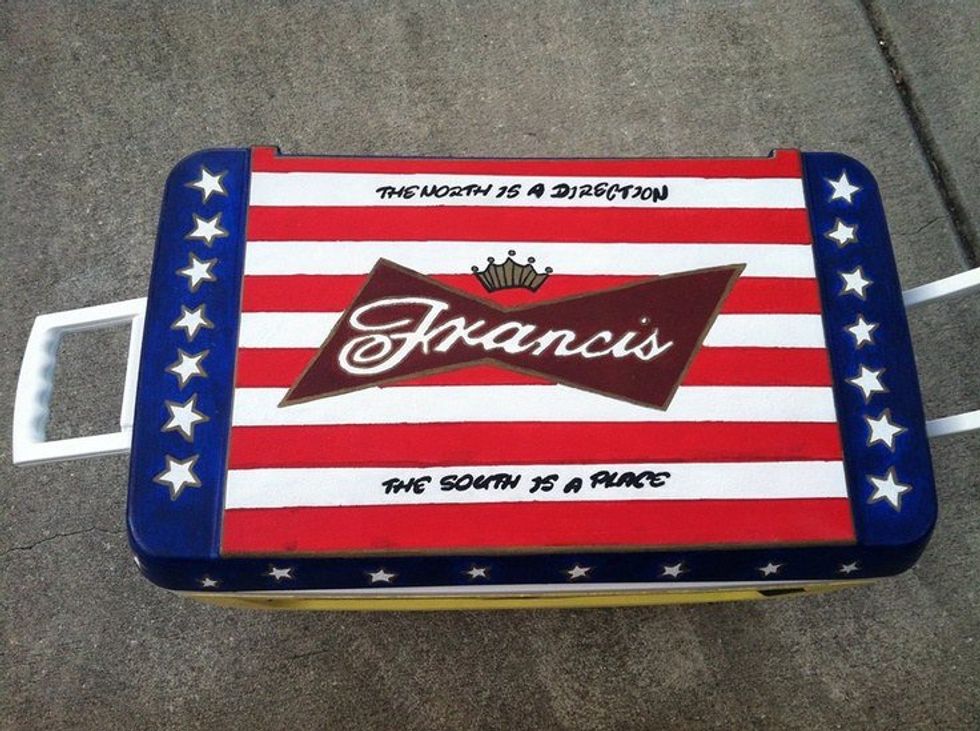
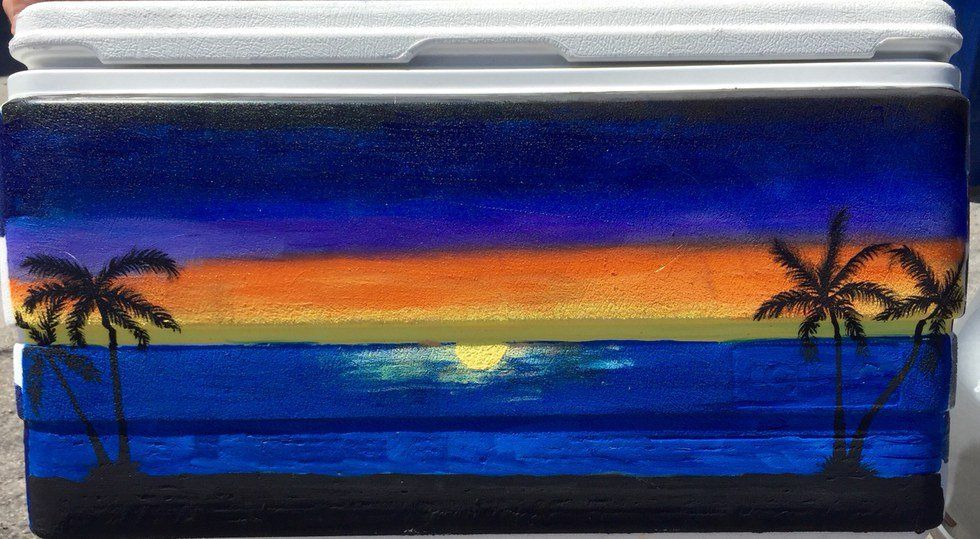
With formal season approaching quickly, cooler painting is on all of our minds. From collecting all of the supplies to the painting itself, it can be overwhelming. The most tedious part of the whole process is figuring out what to paint on each side. To ease your stress, here are some ideas and tips for your cooler this year.
1. Add logos by printing them.
For logos that exceed your painting abilities simply Google the images and Mod Podge them onto your cooler. Do this step after you paint to base color, but before you add any details.
2. Trace paper is your best friend.
For greek letters or any lettering, use a font website to customize what you want to say. Then print it out, and trace it using a pencil and trace paper. Finally, use painters tape to attach the trace paper to your cooler and use a thin Sharpie to trace the letters right onto your cooler.
3. Painters tape and stickers are key.
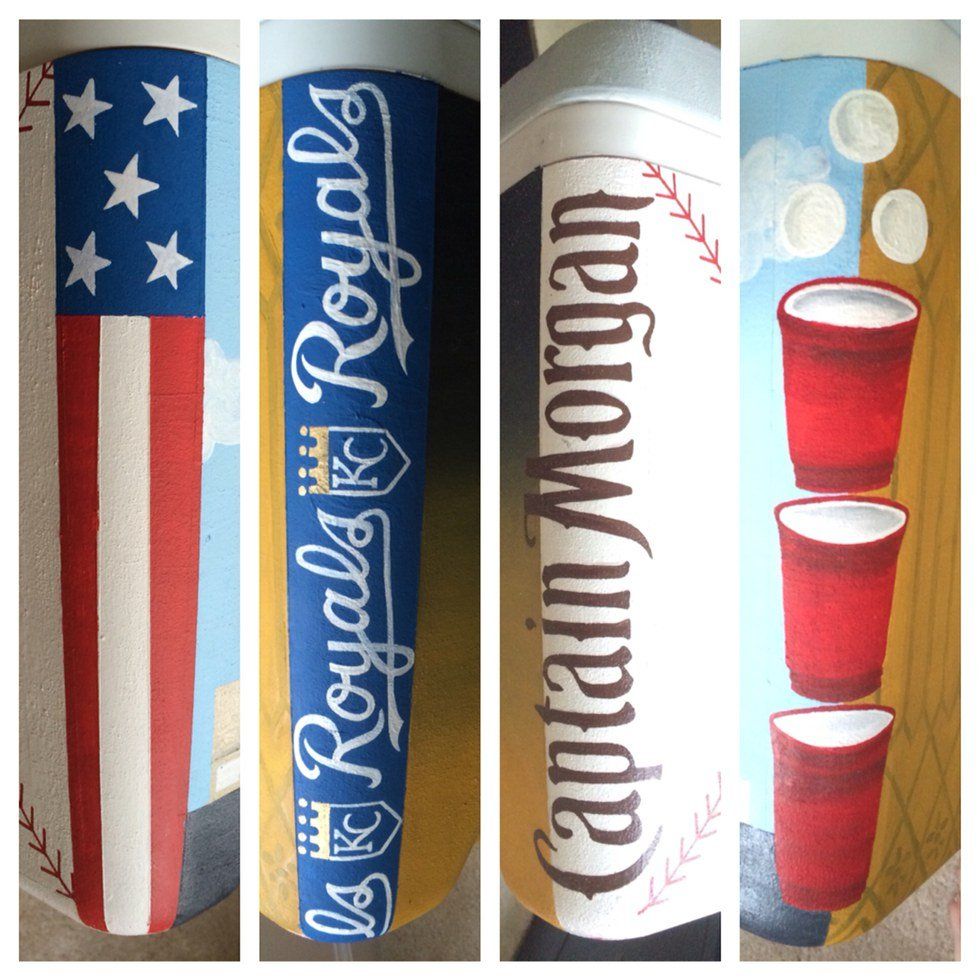
Using stickers for stars is a huge life saver. Paint the first layer white (this will be the color of the stars) and once it is completely dry, put the stickers on and paint over it blue (this will be the surrounding area). You can also use painters tape to make perfect stripes. Just make sure you always let the paint fully dry before you use or pull of the tape.
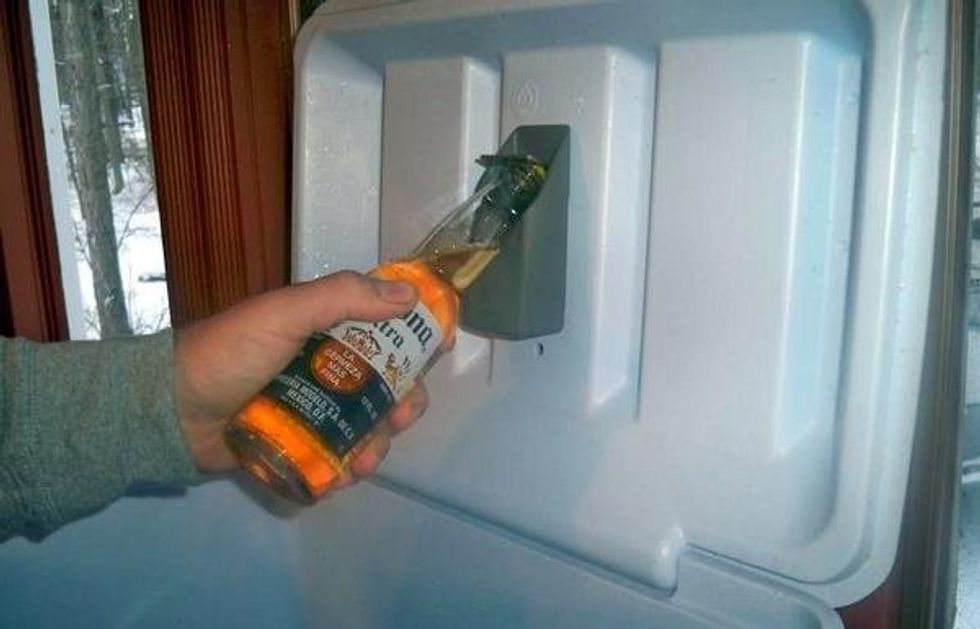
4. Add a bottle opener to the inside lid. 
To make your cooler extra fancy, super glue a bottle opener to the inside lid.
5. Paint the corners to look even more professional.
6. You can never go wrong with TV quotes.
If you can't think of anything else to add to your cooler, find out your dates favorite show and use a quote. It looks great, and isn't that hard to add.
7. For more complex ideas, make sure you give yourself a lot of time.
The biggest thing to remember when painting is to always wait for every layer to dry. Make sure you set aside plenty of time to complete it, and wait a full 24 hours between each layer. Otherwise, everything will smudge and your work will be ruined.

