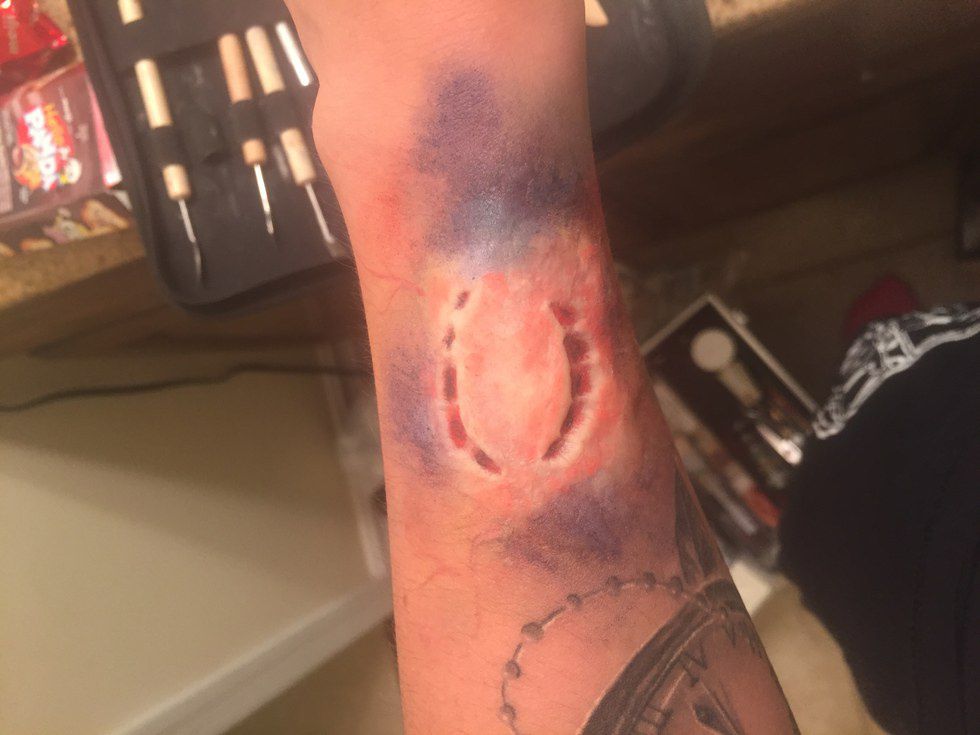
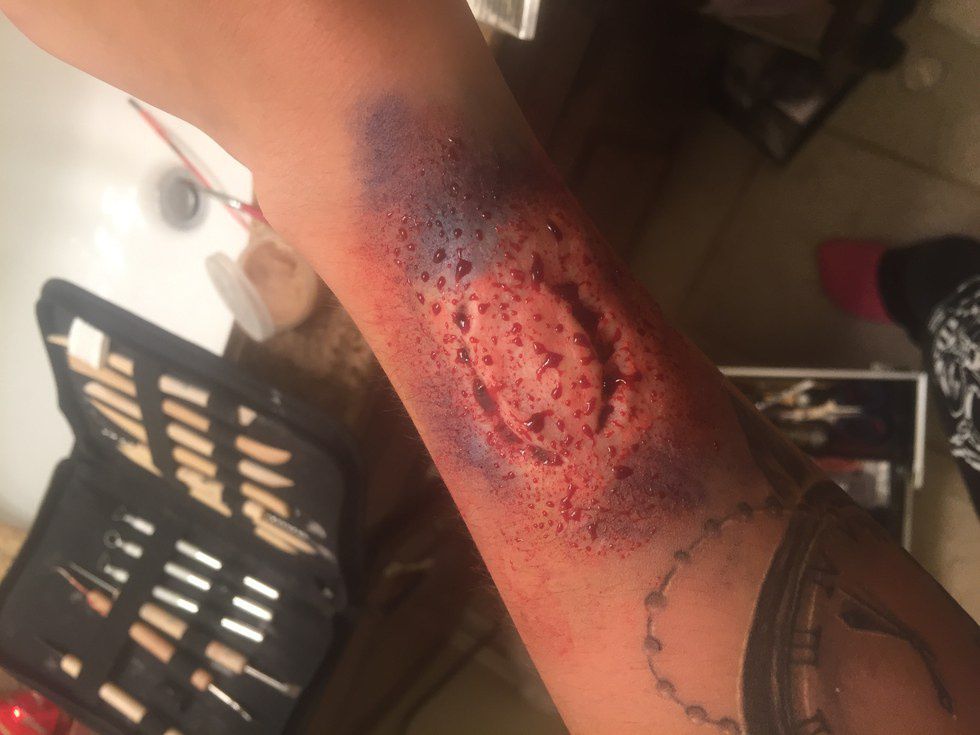
Materials: scar putty, cling wrap, red, black, blue, green, and yellow cream paint, paint brush, fake blood, sponges
Step 1:
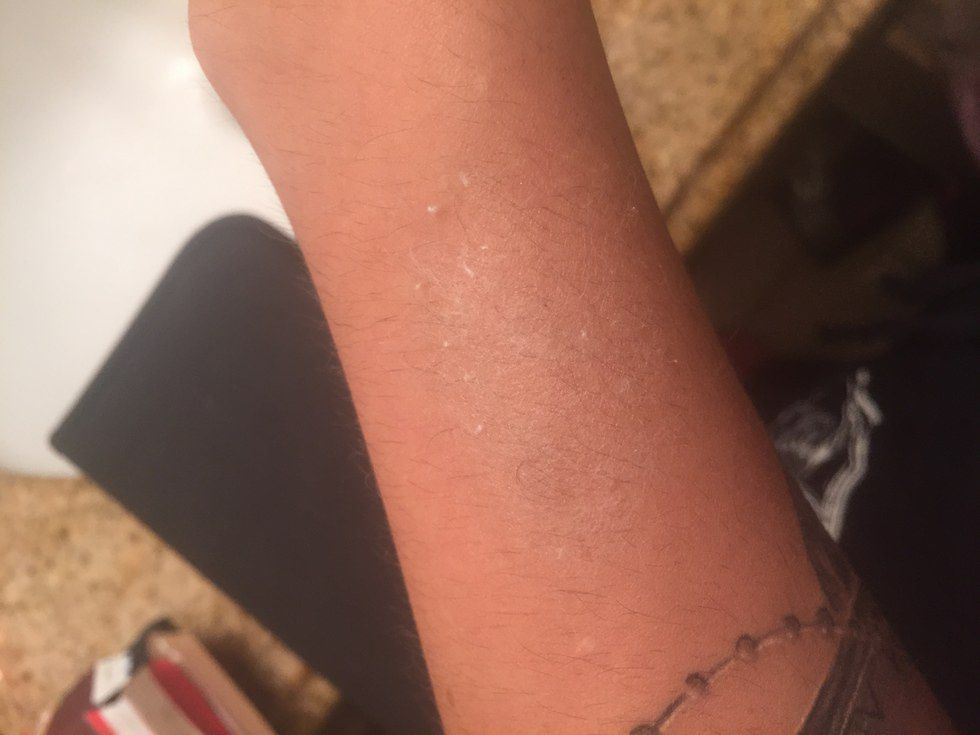
Apply spirit gum in the area that the wax will be in and tap until it's sticky. Dab cotton so it leaves some behind as something the wax will hold onto.
Step 2:
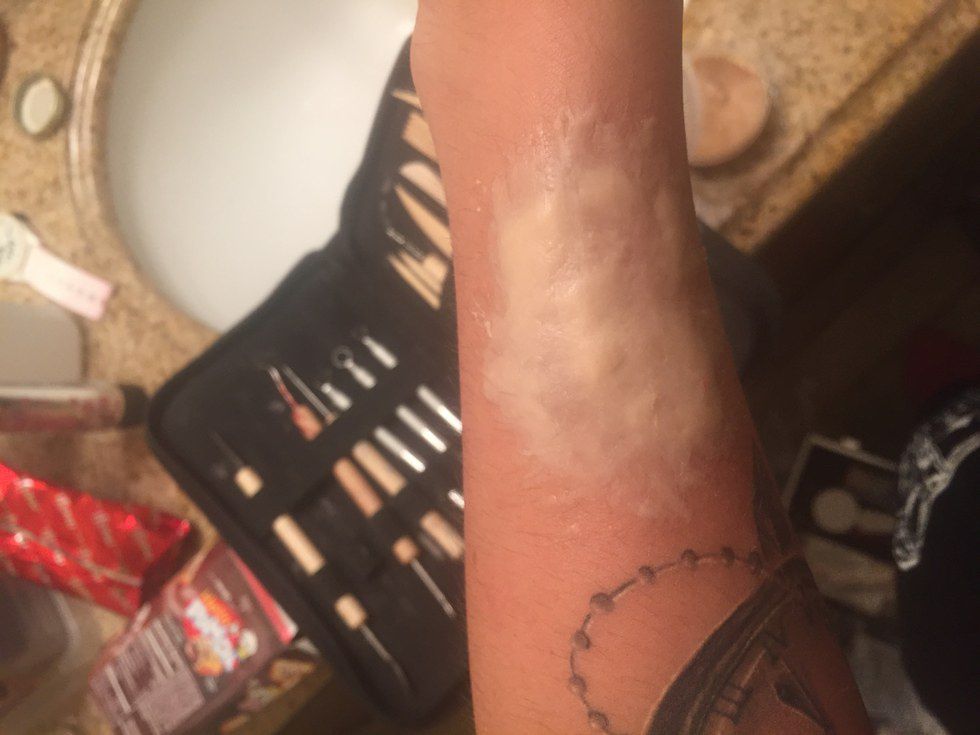
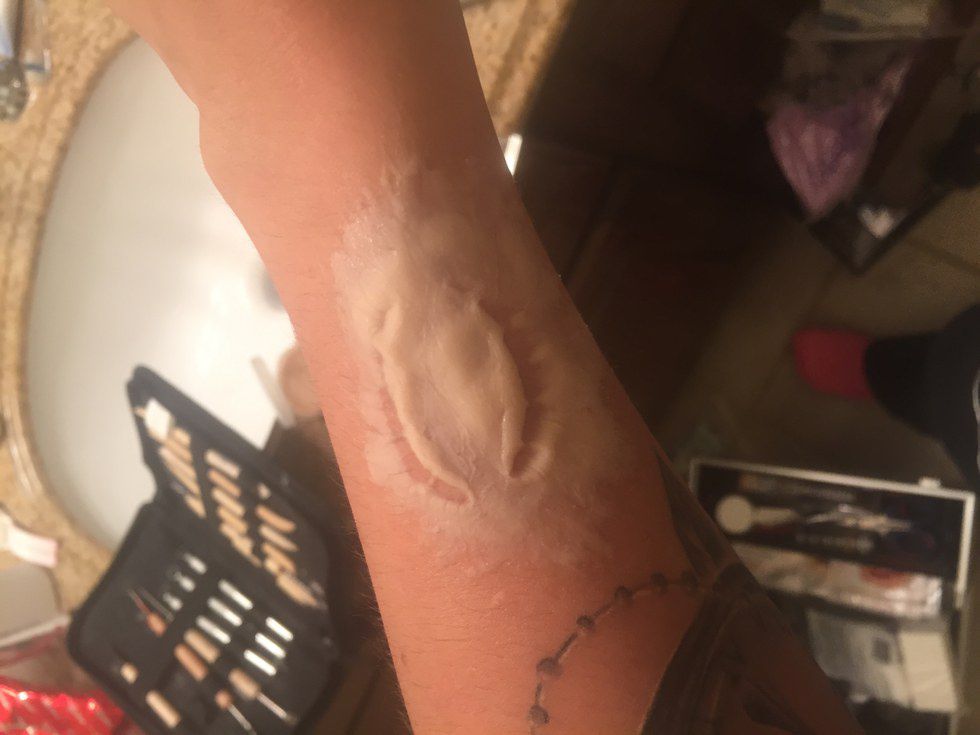
Put a good layer of scar wax on top of the area of cotton. Smooth out the edges so it blends with the skin. You don't want the layer to be so thick that there's a bulge, but you don't want it so thin that you couldn't see the bite. It doesn't have to be completely smooth either as your bite will change the thickness and hide any thinner/thicker parts. Experiment with it and see what works for you. The great thing about scar wax is that you can always adjust it to do what you need it to.
Step 3:
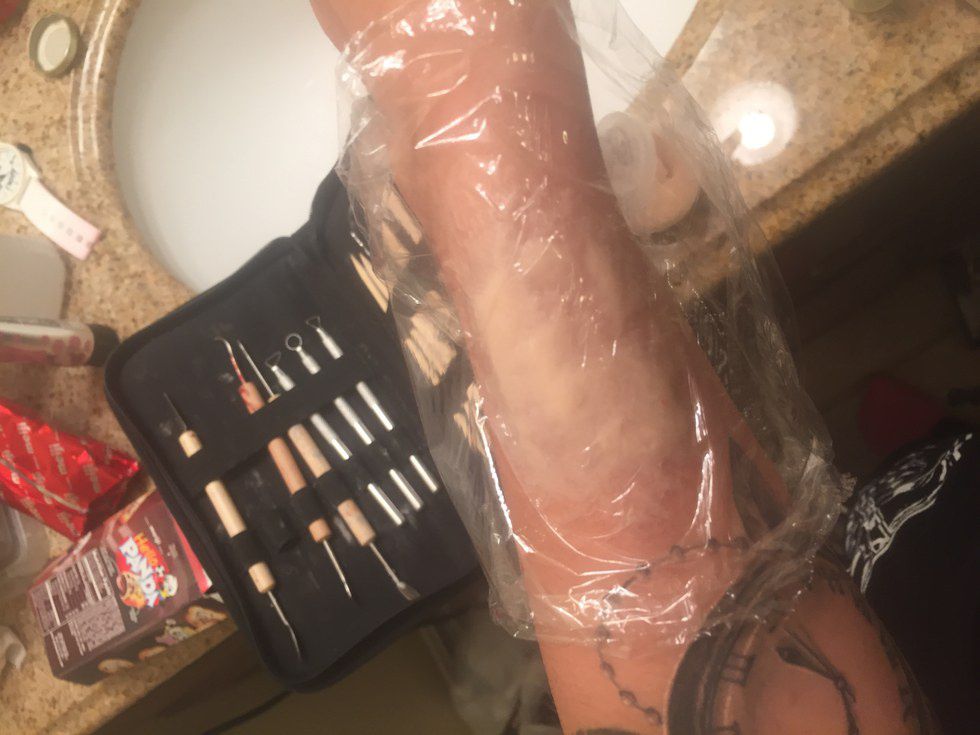
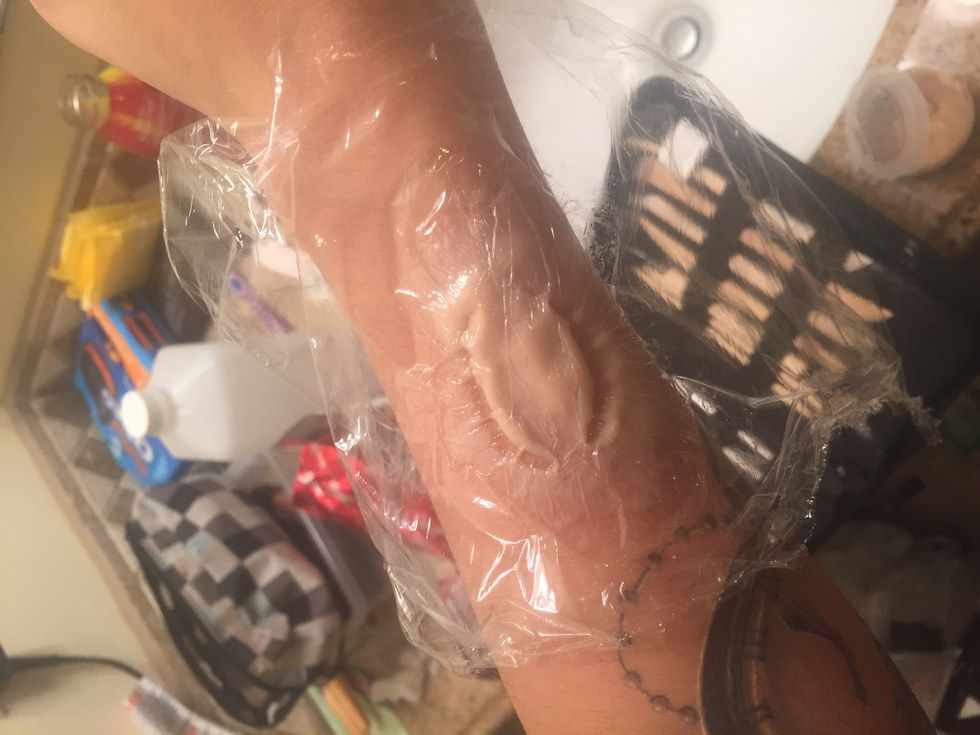
Place cling wrap on top of the wax. Ensure that its tight and doesn't have wrinkles because they will show up. Loosely bite down or have someone bite down (depending on the placement) and slowly peel the cling wrap off starting at one end towards the other.
Step 4:
OPTIONAL: Match the wax to your skin tone using foundation. Some online websites do offer different shades of scar wax if you have lighter or darker skin tones.
Step 5:
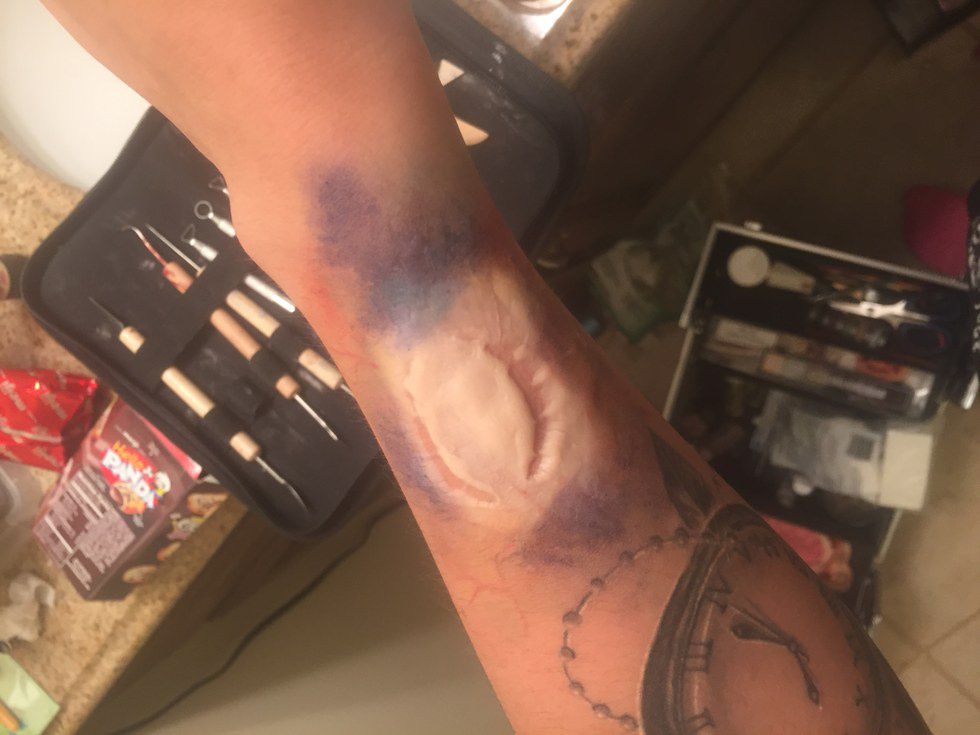
Paint bruises on the outer edges using sponges. Refer to my tutorial on cuts and bruises if you need help.
Step 6:
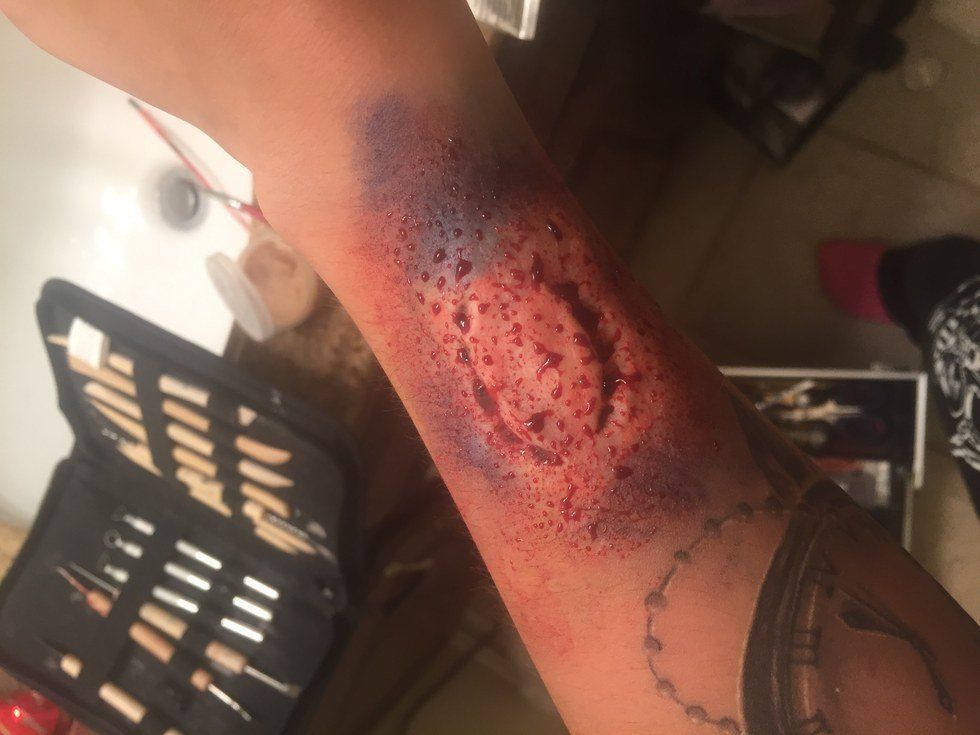
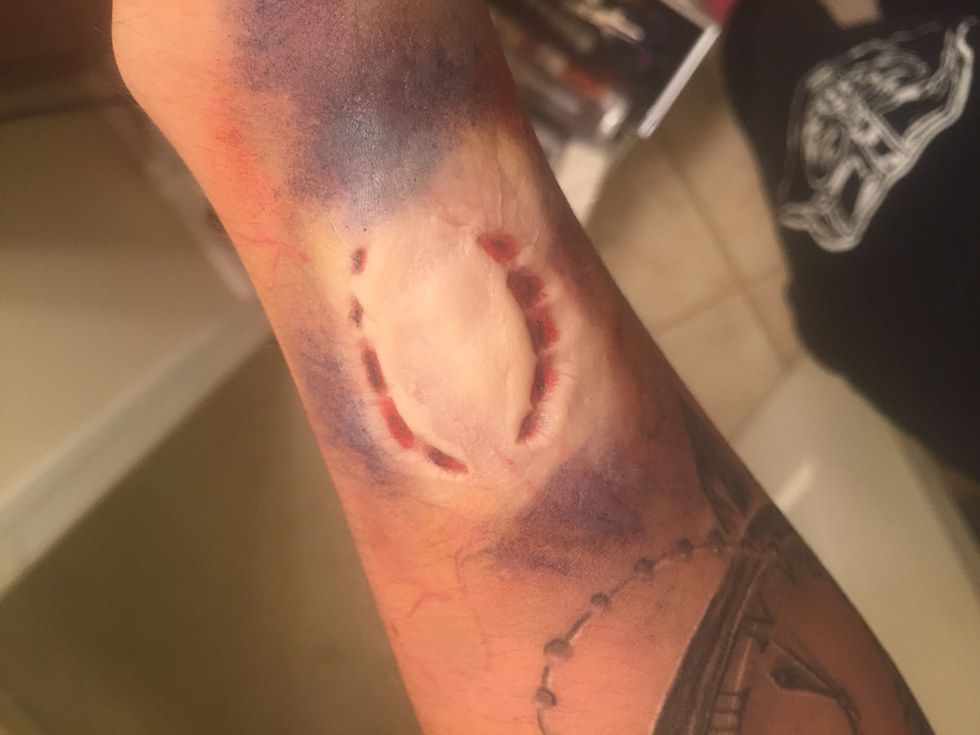
Paint black on the base of the teeth indents. Paint red over the black and in the rest of the indent.
Step 7:
Paint light pink around the indents to simulate irritated skin.
Step 8:
Cover in blood. Put blood in the indents and add extra to run out. Splatter blood on and around the wound. You can never use too much blood.
Side note: If you want to make it look infected like a zombie bite paint light purple and green veins. Also use more green and yellow on the outer edges of the bruises.
To remove the wax, I usually just gently scrape it off with an old gift card or a wooden clay tool. Spirit gum remover also helps both the excess wax and the spirit gum to come off.


