Trying to contour your face can be very intimidating: Kim Kardashian makes it look so easy! However, with the proper tools and tricks, you too can master the art of the contour with ease. Here, you'll find everything you'll need to know in order to contour, as well as how to highlight your face. I will explain where to contour/highlight, what products to use, provide pictures of what everything looks like, etc. Get ready to make some magic!
What You Will Need
Bronzer: Preferably 2 shades darker than your skin tone. You can use a powder, cream, or pencil product as long as it's a matte color (no shimmery). This will be placed in areas you'd like to define.
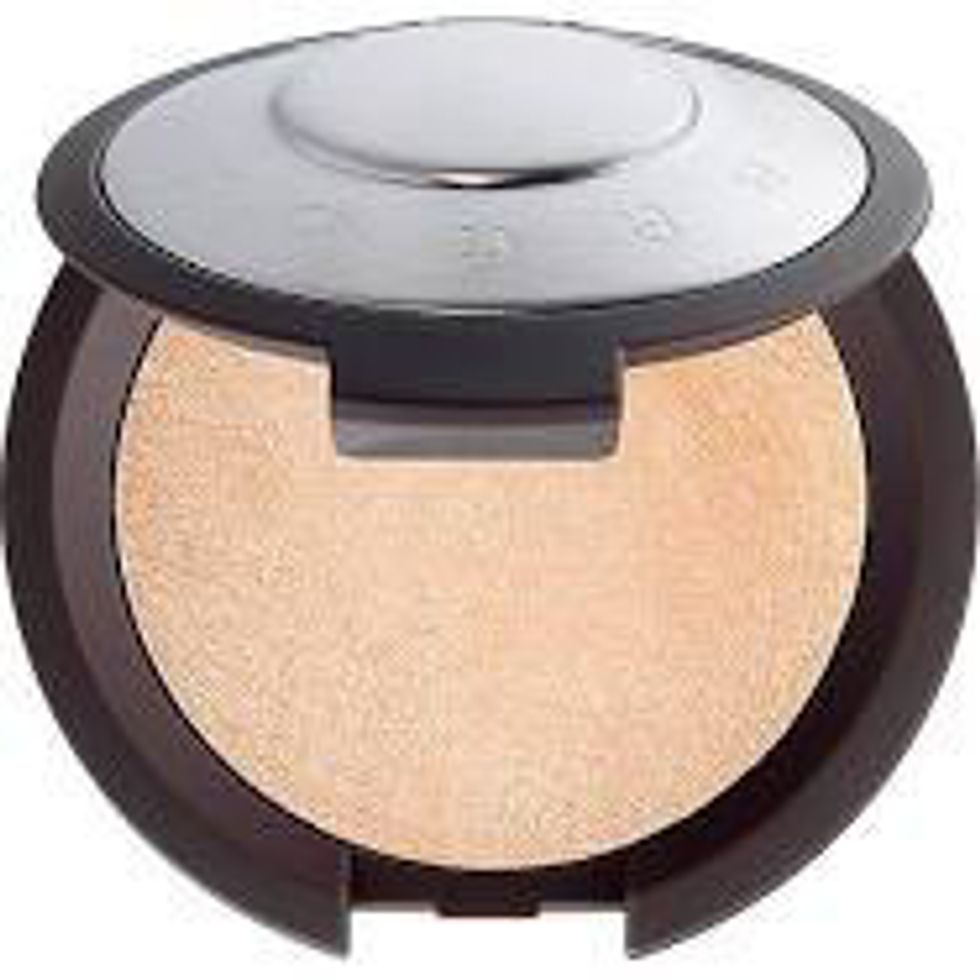
Highlighter: preferably 2 shades lighter than your skin tone. You can use any sort of concealer/highlighter product. People enjoy using a shimmery highlighter because since you're highlighting the points of your face where the sun hits, it'll give your skin that angelic *glow*.
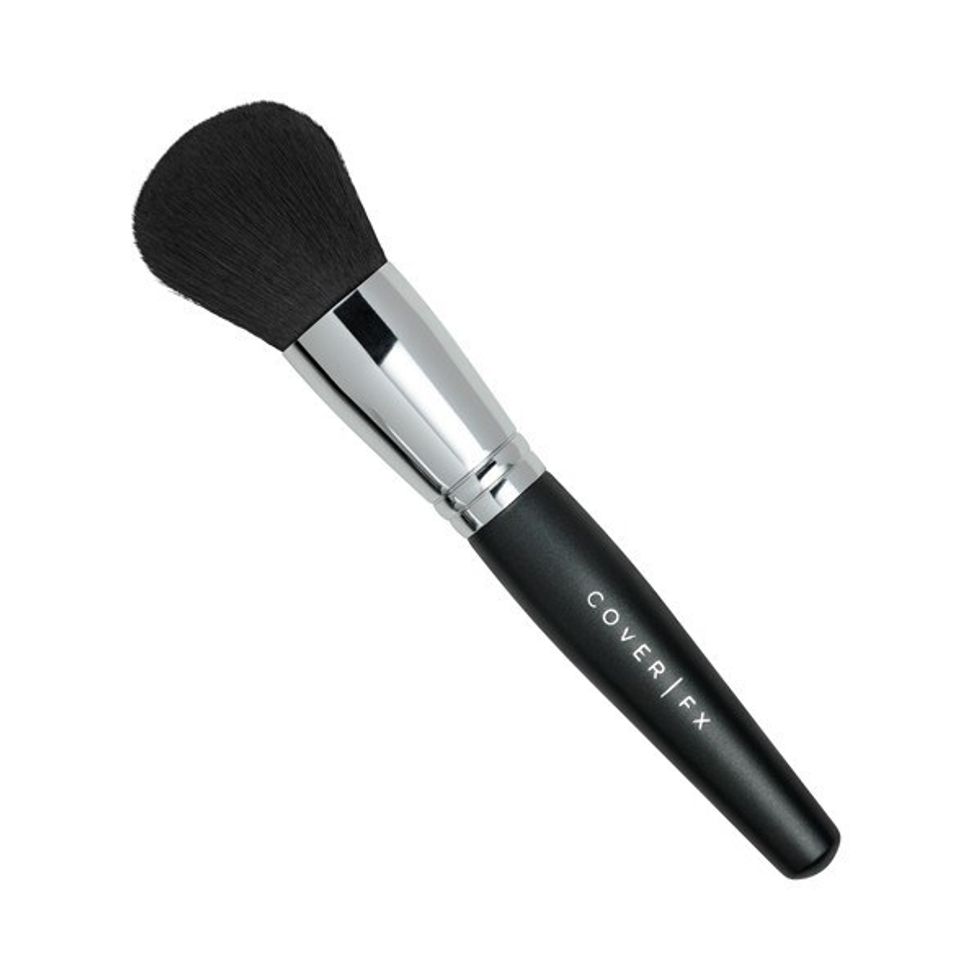
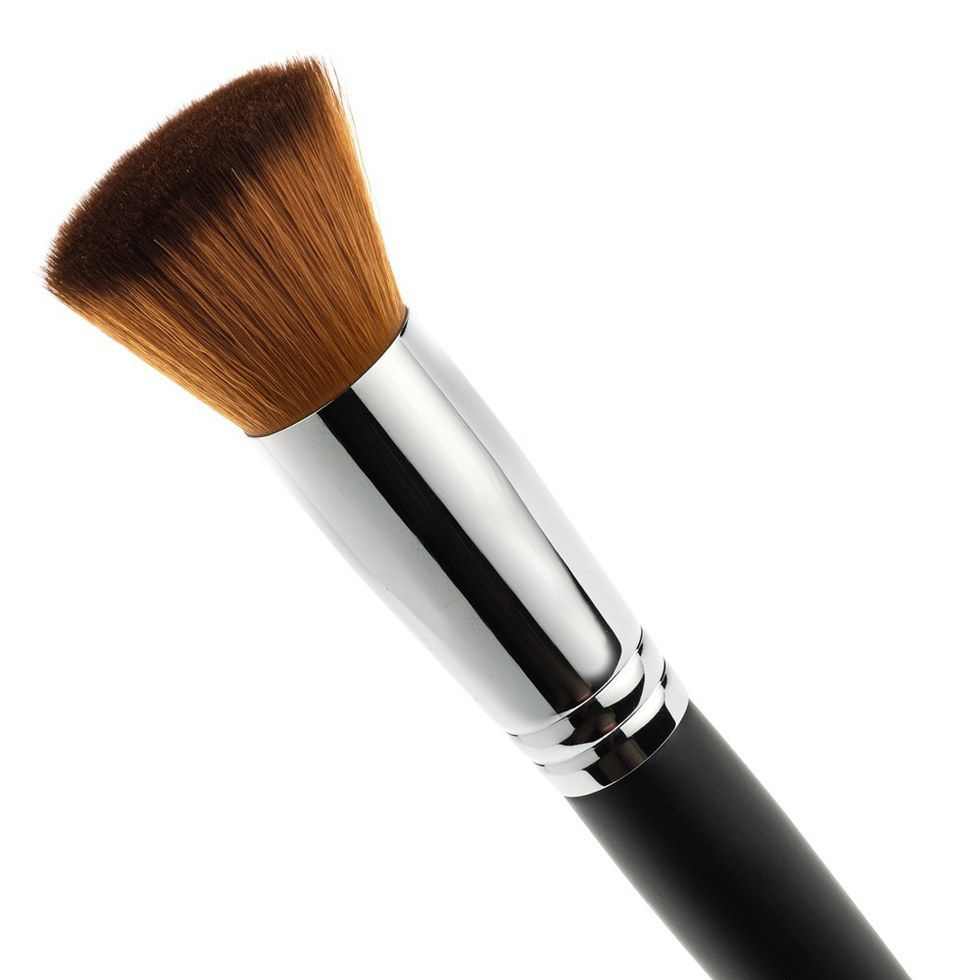
Powder Brush: This is the brush you'll use to apply the majority of your bronzer/highlighter (if using powder).
Liquid Contour Brush: This is the brush if you're using liquid products.
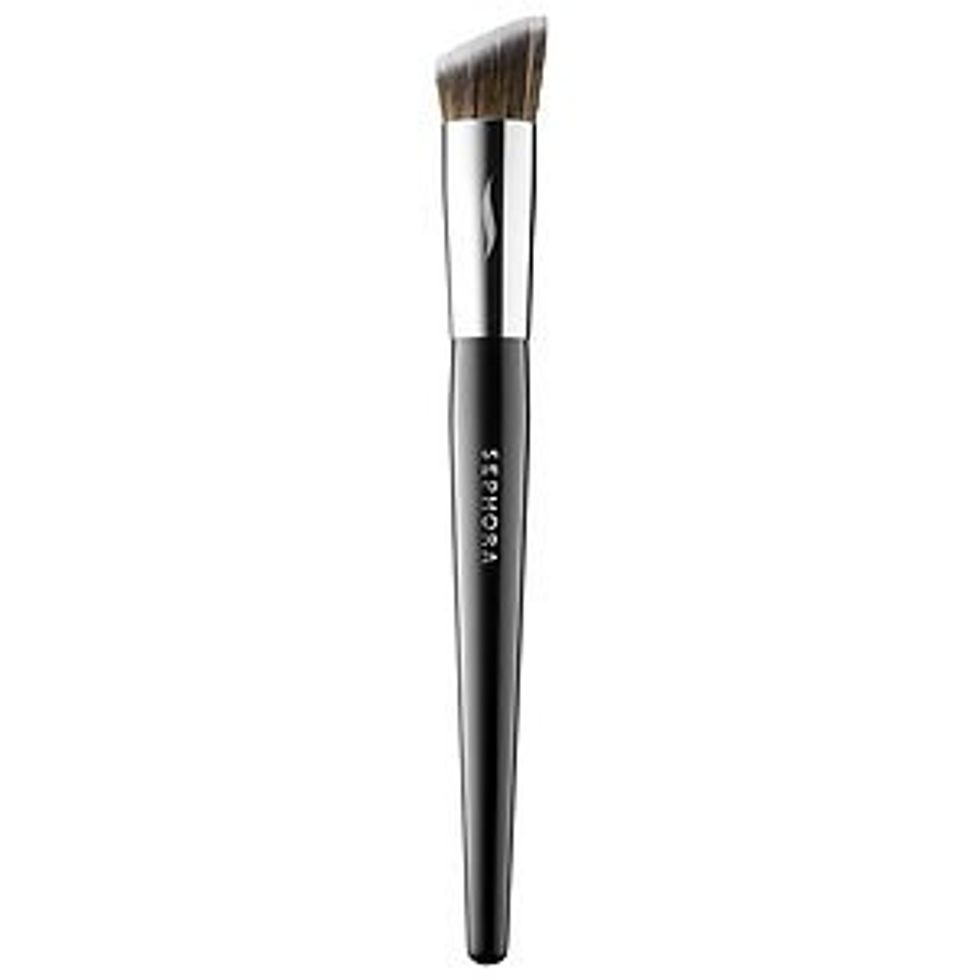
Contour Brush: This is the perfect brush for when you're applying your bronzer underneath your cheek bones.
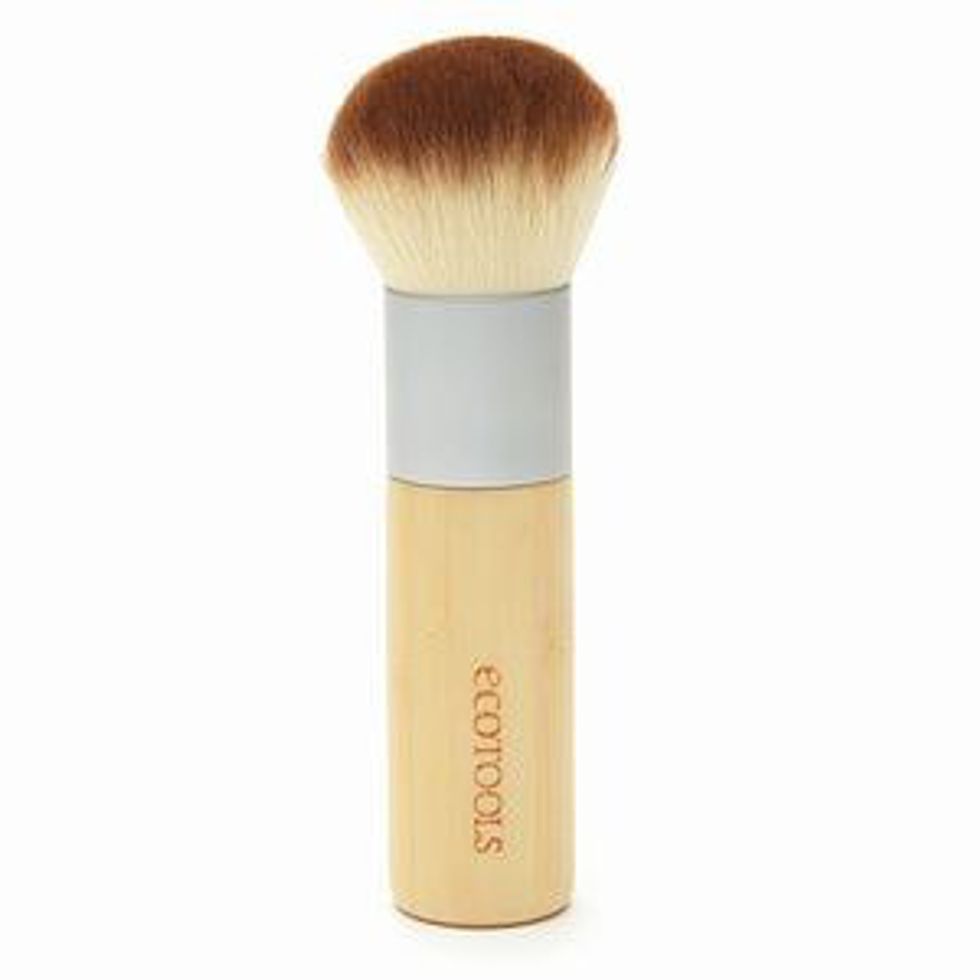
-Buffer Brush: This is the brush I use to blend everything together and I love it so much!
Liquid vs. Powder Contour
If you aren't sure which types of products to buy for your contour, think about what kind of skin you have. If you have more oily skin, using cream products wouldn't be the most ideal choice; however, powder products will definitely help give your face more definition.
On the contrary, if you have more dry skin, powder products may just accentuate the dryness. Lighter cream products can both hydrate and contour your face at the same time!
Also, don't be afraid to mix and match your types of contour! You most definitely can put your liquid foundation on and then use powders to contour with the proper amount of blending for a perfect contour!
Where To Apply It
Here is where the fun begins! I definitely suggest applying foundation before you begin to contour so that way you have a more even playing field to make your magic on. Now, the places where you apply your bronzer and highlight will depend on what your face shape is. But, my darling readers, don't worry: I'll talk about every one!
-Oblong Face Shape: You can tell if your face is oblong shaped if your face has a length that's almost double its width and if there aren't any major points along you hairline, jawline, or chin.
You'll apply your bronzer on your hairline, jawline, and underneath your cheekbones starting at your ear and down to the middle of your cheeks. For highlight, apply underneath your eyes.
-Heart Face Shape: For a heart shaped face, your cheeks are wider than your hairline, you have a narrow and pointed chin, and you possibly have a widow's peak.
You'll apply your bronzer on the sides of your forehead and temples, just beneath your chin, and underneath your cheeks starting at your ear and moving down to the middle of your cheek.
-Oval Face Shape: Basically, you can tell if you have an oval shaped face if your face shape resembles an upside-down egg (sexy, right?). Your face shape also has a longer length than width and you also don't have any major points.
You'll apply your bronzer only slightly on the sides of your forehead, as well as under your cheekbones starting at your ear and moving down to the middle of your cheeks. For highlight, apply on your forehead and chin as well as underneath your eyes.
-Rectangle Face Shape: For a rectangle face shape, the width of your jawline and hairline are the same, and your face is more long than wide.
You'll apply your bronzer to the sides of your forehead/hairline, jawline, and underneath your cheek bones starting at your ears and moving down to the middle of your cheeks. For highlight, apply in the middle of your chin and along your brow bone.
-Diamond Face Shape: You can tell if you have a diamond face shape if your chin is pointed, your face is longer than it is wide, and your hairline is narrower than your cheeks.
You'll contour only underneath your cheekbones starting at the ear and moving down to the middle of your cheeks. For highlight, apply underneath your eyes as well as on your forehead and chin.
-Square Face Shape: If you have a square face shape, the width of your hairline and jawline are about even and the length of your face is about the same as the width.
You'll contour underneath your jawbone, the sides of your forehead, and underneath your cheek bones starting at the ear and moving towards the center of your face.
-Round Face Shape: Finally, if you have a round face shape, your face's length is about the same as the width, and you also have no major points to your face.
You'll apply your bronzer on the sides of your forehead as well as the temples, along with underneath your cheekbones starting at the ear and moving towards the middle of your cheeks.
This is a lot of information to take in at once: don't worry! Your face only has one shape, so only one of these will apply to you.
How To Apply It
You'll want to start with your contour. Dip your brush in your product—you'll
only need a little on there (you can always go and add more product later). For your forehead/hairline, lightly brush the product across your hairline and use a swirling motion for the sides of your forehead. For your jawline, use a windshield wiper motion.For underneath your cheek bones, you'll want to use your contour brush. After getting a little product on the brush, start the brush at your ear, and gently make a line that follows the under part of your cheek bones. You'll want to stop around the middle of your cheekbones (where your eyebrow's arch is). In order to see the line to contour easier, I suggest making a fishy face!
For highlight, once again you'll only need a small amount of product on your brush. For your forehead and chin, use small swirling motions. For underneath your eyes and brow bone, you'll want to use small swiping motions.
Remember to blend! Blending is key if you want a seamless contour! Blend blend blend!
Other Resources
-Here, Cosmopolitan explains contouring as well AND they have pictures!!
-This is a video that my all-time favorite make up guru Jaclyn Hill put out about how to contour (this is the video I used to teach myself!)
-Here's another video where she works with cream products!
And there you have it! Enjoy your contouring! Cheers! XOXO


