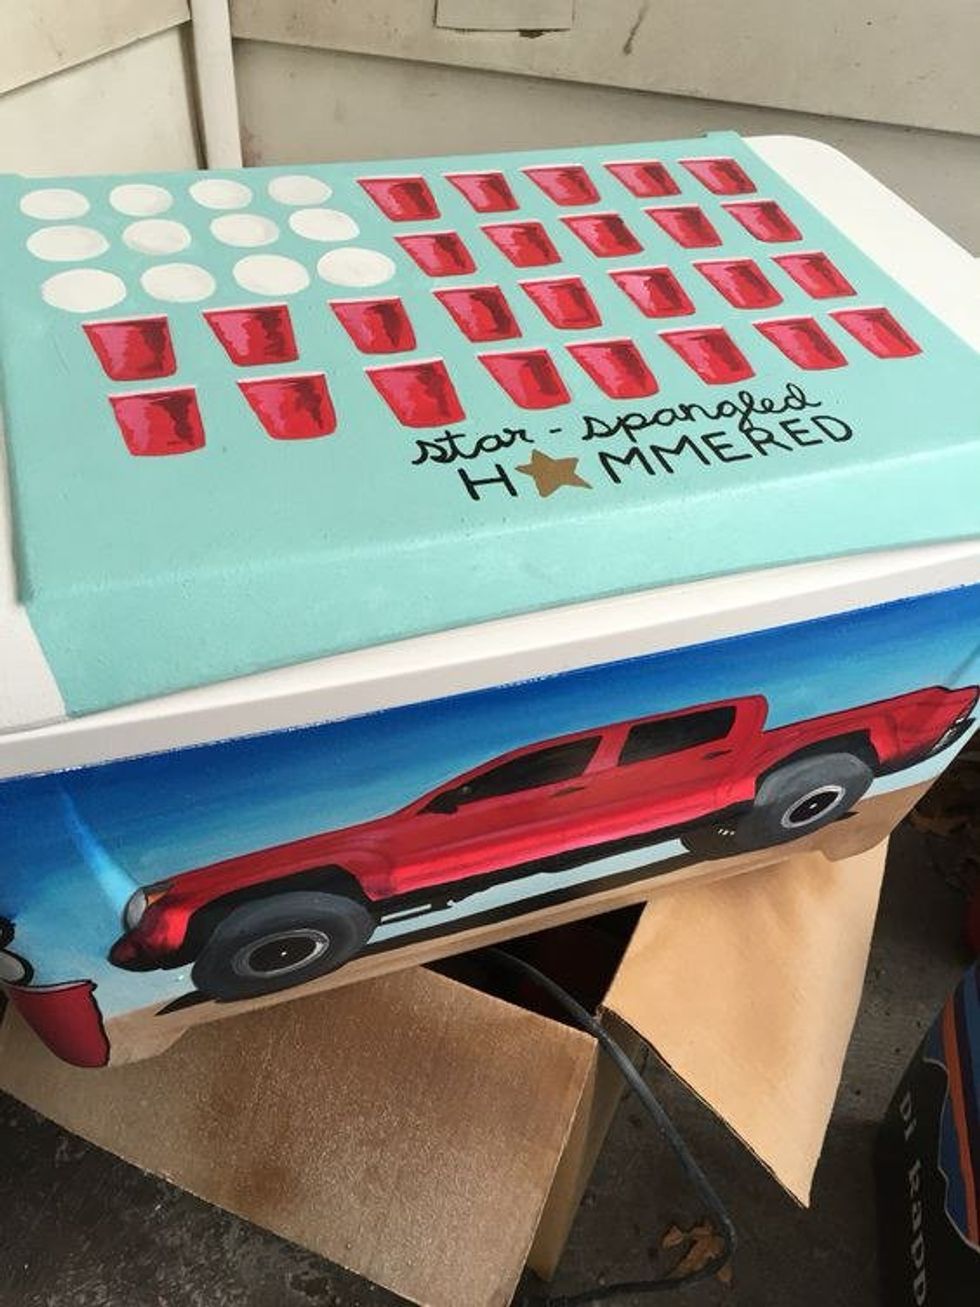
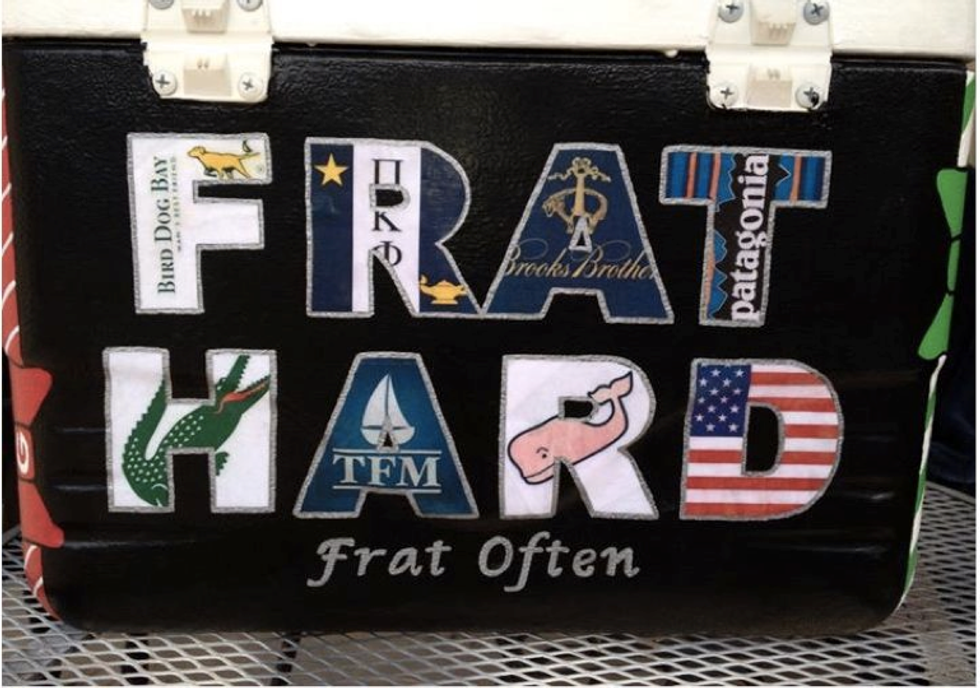
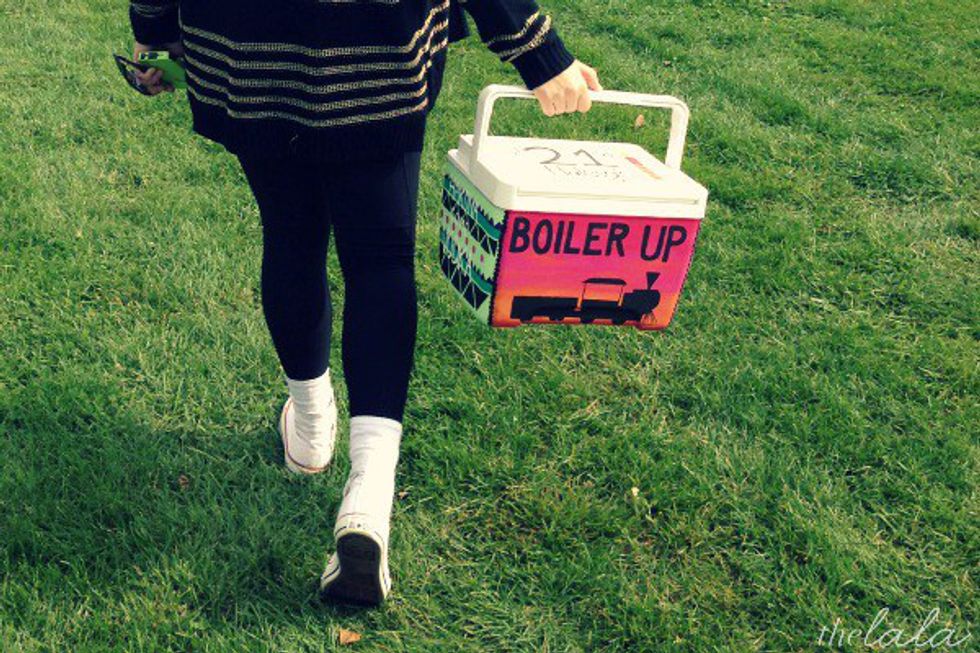
So it's "cooler painting" season, and painted coolers are a solid staple in the Greek community. With fraternity formals, big/little reveals, birthdays, celebrations, tailgates - whatever the occasion - painting a cooler is always the answer.
You're going to spend an unreasonable amount of time painting a cheap cooler that is probably just going to get messed up anyways.
But, you're going to do it, it's fun, and it's so worth it. I mean, have you seen painted coolers? Plastic ice boxes covered in Greek quotes, Lilly Pulitzer prints, and alcohol logos are quite chill if you ask me. Okay, enough of the puns.
STEP 1: Try to find the smoothest cooler you can starting off
Avoid the ones with the fancy designs and logos all over the front. You will be spending way too much time with sandpaper and not enough time with a paint brush. (Which will take plenty of time - trust me)
STEP 2: SPACKLE, SAND, AND PRIME
Take some spackle and go over any indent or uneven areas on the cooler. Next, sand the heck out of that thing. The most even that you can get it, the longer it will last and the better it will look. Get yourself some spray paint primer. This makes the process way easier, and you're going to want to save the flick of the wrist for that paint job.
STEP 3: Plan what you want on it, and then plan it again
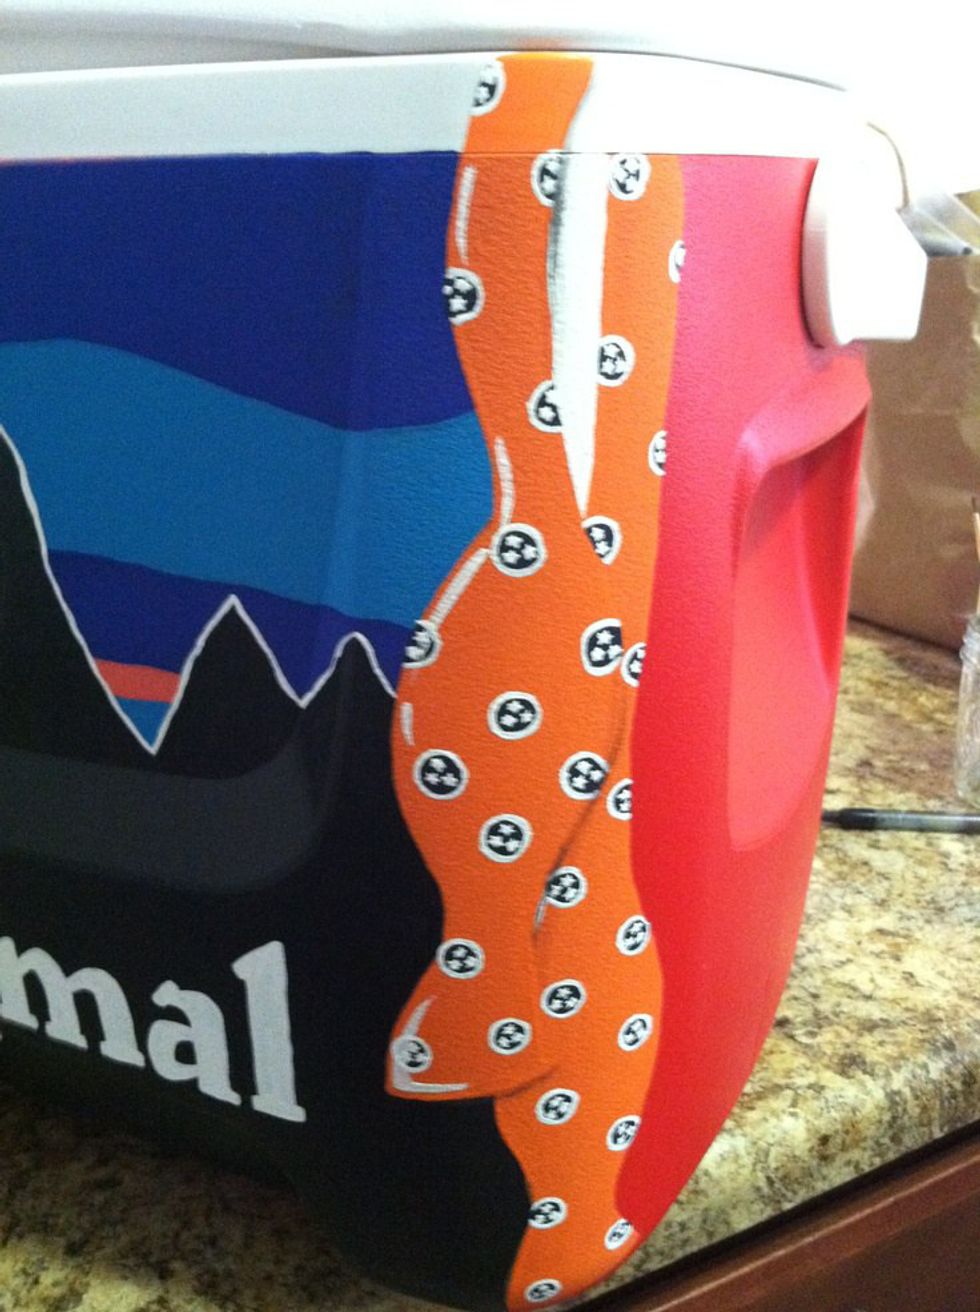
Here's where the fun begins! You might have some ideas in your head of what you want on it, but Pinterest is your friend. Find the happy medium between basic and unique to the occasion. Plan what you want on each side, and make them make sense on the edges. Like a bowtie hanging down, red solo cup, anything to make the edges look good.
STEP 4: PAINT
So now it's time for the nervousness and shaky hands as you start to paint this thing. Some of us are insanely gifted and can freehand the Mona Lisa, but if you're like me, you should definitely trace that stuff out. Cut out stencils, or pictures of what you want to do, and take your time. Slow and steady definitely wins this race. Tackle one side at a time! Paint pens are your best friend for quotes or details, but make sure to grab some bigger brushes and sponges for the background colors. That will take quite some time.
STEP 5: Finish up, seal up, and fill up!
Once that last side is finished *sigh of relief*, let it dry completely before adding two layers of Mod-Podge. This will make sure you avoid as many chips as possible for as long as possible! After this dries for about a day, apply your sealant. Once again, the spray kind is the easiest. Give the sealant one more day to dry and then you are GOLDEN with your fabulous cooler.
Now that you've slaved over this painted piece of plastic, it's time to fill it up with whatever you so choose!


