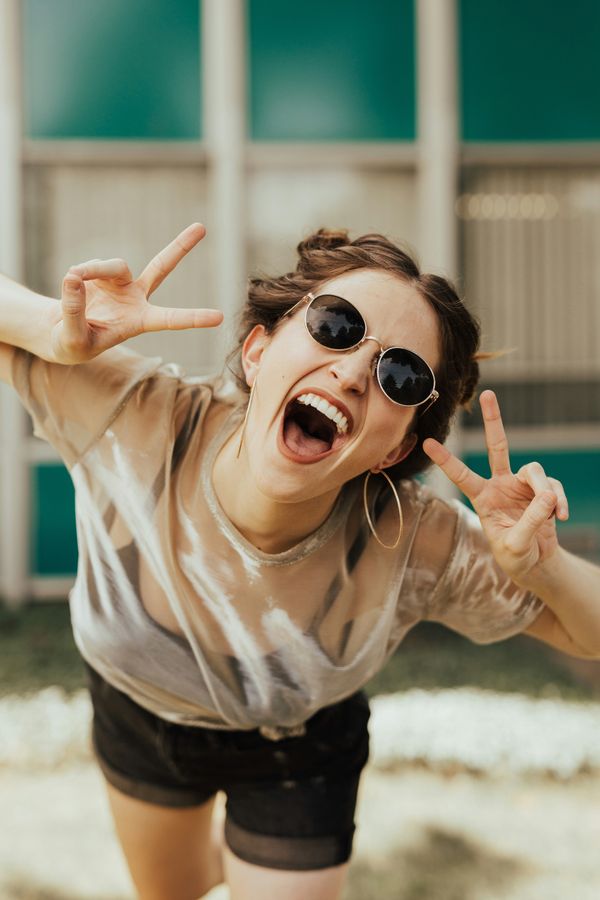
Instagram is such a fun way to document vacations, nights out with friends, food, fashion, etc. There are those who maintain pristine Instagram "themes" complete with matching styled photos and those who post more random or in the moment type photos. Whether you're on one end of this spectrum or fall somewhere in between, here are some tips that might come in handy the next time you want to post something on Instagram.
1. Pick a cool location
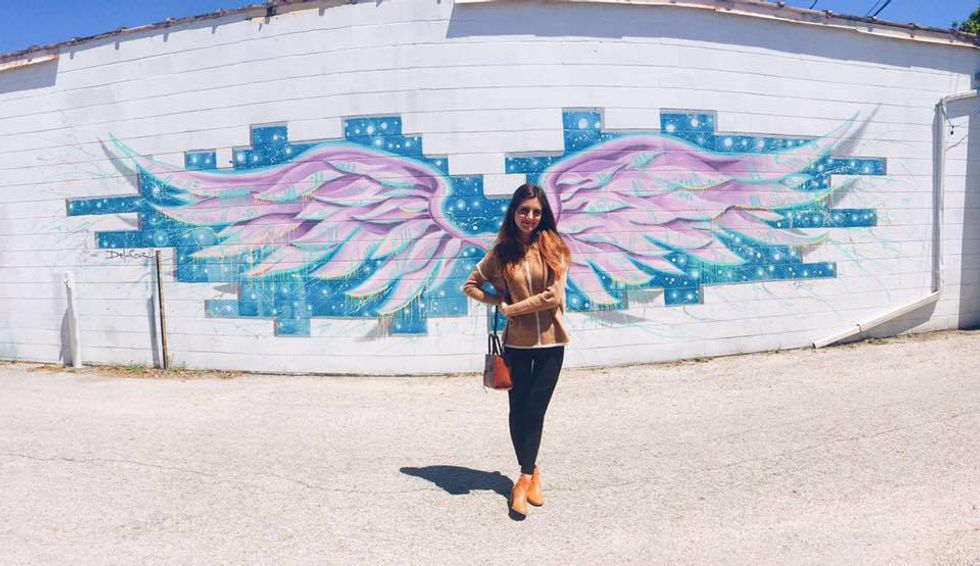
Location is everything when it comes to making a photo visually interesting. Try using unusual aesthetics in restaurants, parks, buildings, wall murals or nature as a nice backdrop for your photos. Do some research to find places in your city that you may want to take photos at or be spontaneous and drive around looking for hidden places your Instagram followers probably haven't seen before. I was driving through Orlando with a friend when we spotted this wall mural hidden down an alley:
2. Find the best lighting
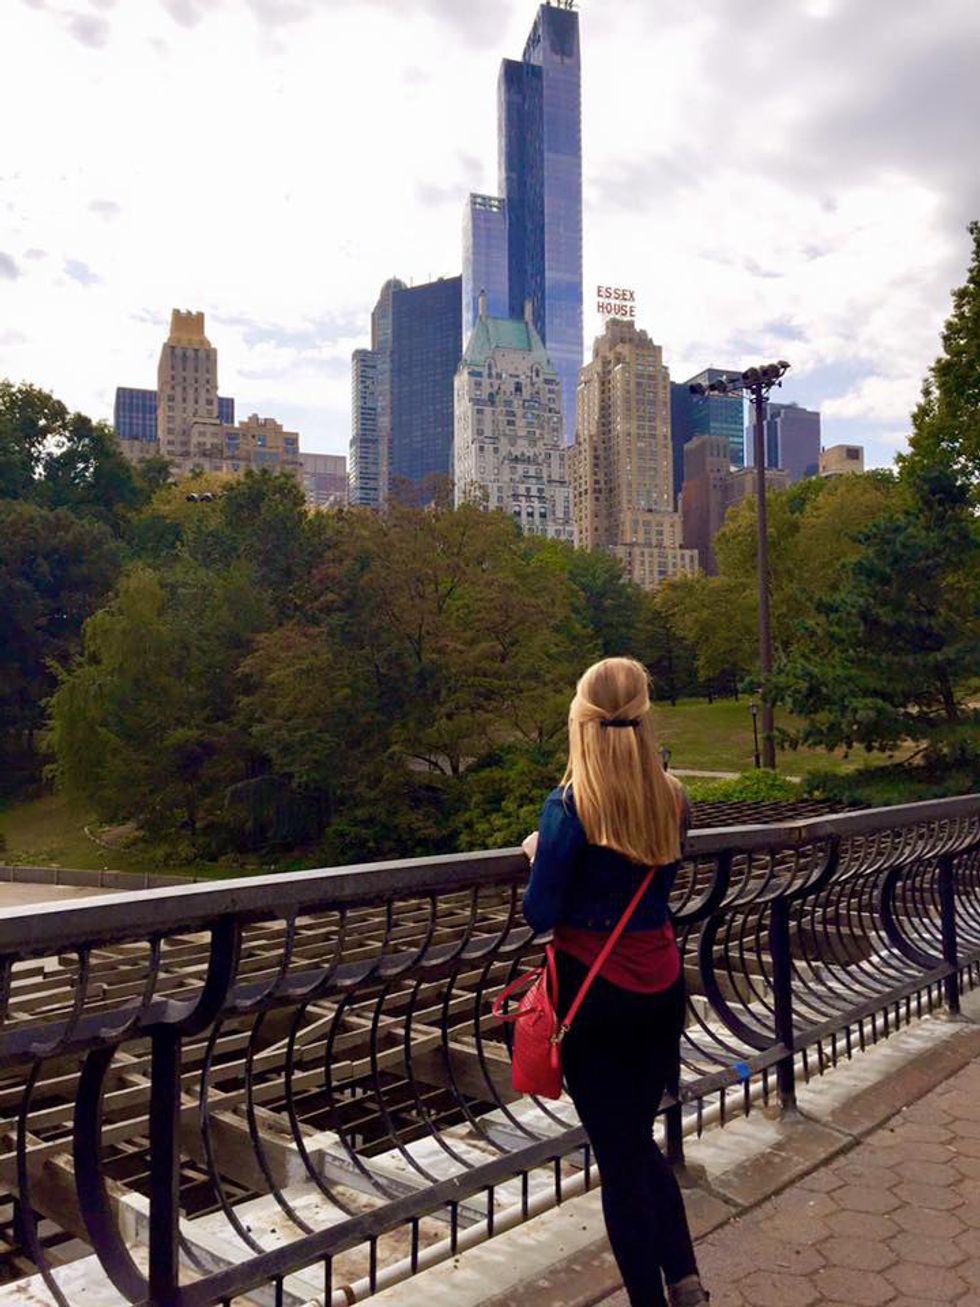
Lighting plays a crucial role in the quality of your photo. Professional photographers, journalists, and bloggers alike will always tell you that the best lighting to take pictures in is overcast lighting. I have found this to be true, because full sunlight can create unwanted shadows and taking pictures when its semi-dark to completely dark out will require the use of flash, and let's be real...flash is never flattering for anyone. So next time you're outside taking pictures outside, check to see if it's a bit cloudy out or find a partially shaded area that will give you that desired overcast lighting effect. Here's a picture my little, Micaela, posed for on an overcast day in New York:
3.) No photographer? No problem
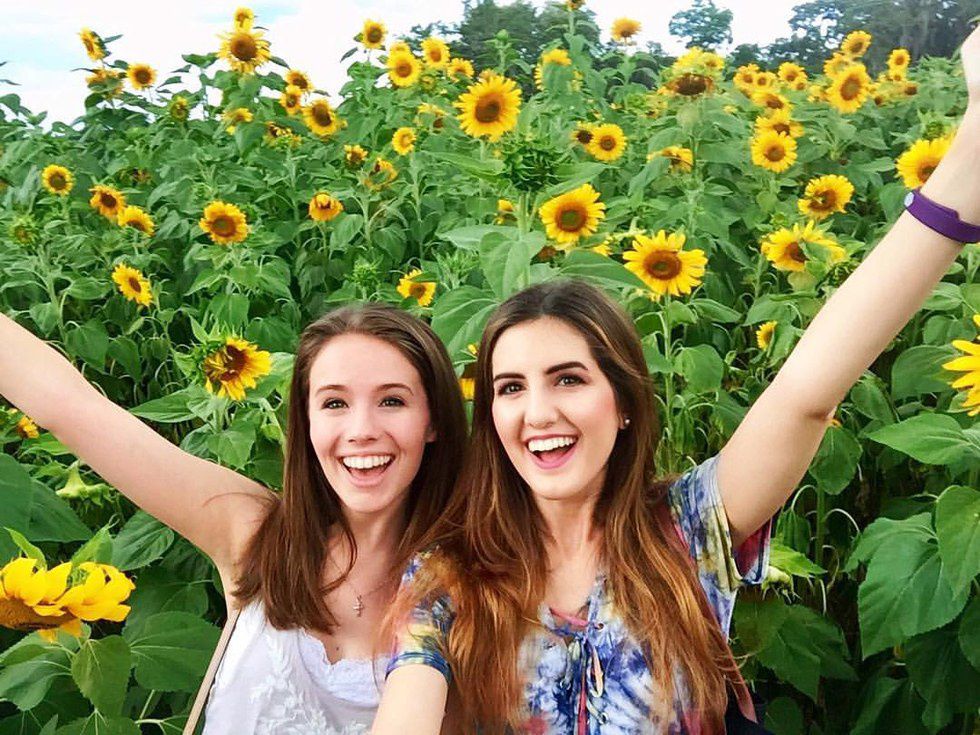
I 100% recommend using a selfie stick if you don't have anyone to take the picture for you. Make sure you tilt the selfie stick in a certain way so you don't see the stick and it won't be obvious that your picture was taken with a selfie stick. Here's an example:
4. Editing your photos
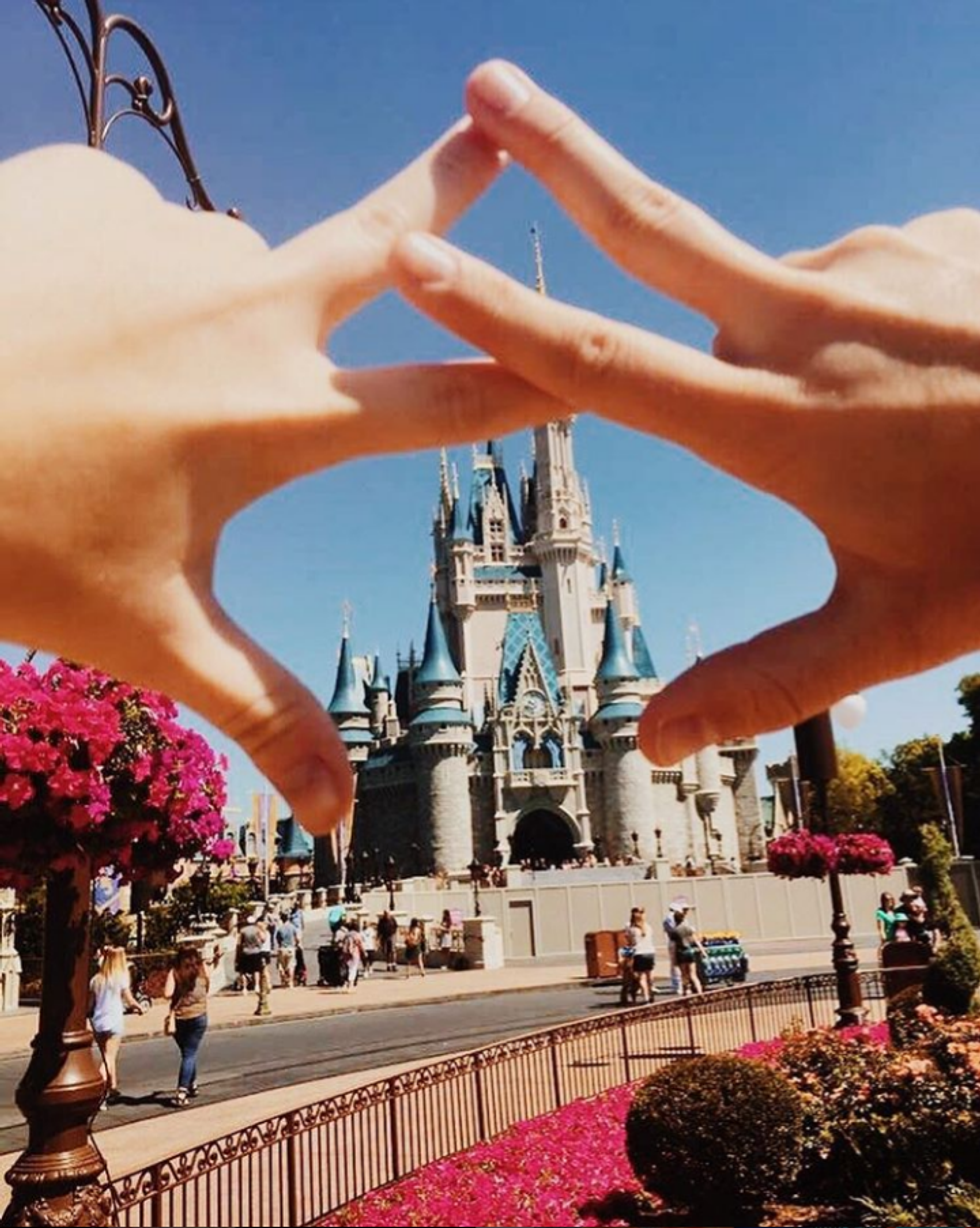
When it comes to editing pictures, my favorite apps are VSCO and Afterlight. I love VSCO because the filters give a vintage effect but don't take away from the quality of your photos. You know how some filters can make your pictures look a little too grainy or blurry? Yeah steer clear of those. I use Afterlight to adjust the brightness, saturation, and clarity of my pictures. What I love about Afterlight is you can do these things without making your pictures look super edited. You can add these adjustments and your pictures will look like they were naturally taken that way. Here is a picture my friend Mariah took and edited using VSCO, throwing what she knows in the Magic Kingdom.
5. How to pose
Deciding how you want to pose for a picture can be a major struggle. To make your picture more interesting, try taking candids. I have found that the best way to accomplish this is to just keep moving around while a friend snaps hundreds of pictures of you. At least one of these is bound to turn out decently, I promise. Here's a picture of my friend Taylor and her sister Victoria being cute and candid at the beach:


