I will start by saying that by no means am I makeup artist. I'm good at makeup, but I'm no James Charles.
I have been wearing makeup since I was in 7th grade. My mom took me to the Clinique counter in Macy's and got me a makeover so I would learn how to apply the makeup, and then we bought all of the makeup the artist used. Since then, I have gone on makeup shopping sprees and Ulta, Sephora, and online, looking the newest and best. I've subscribed to ipsy and Birchbox, and finally, after 5 years, I have come up with my perfect makeup regiment.
When I wear makeup, I get a lot of compliments. With those compliments, I have people asking me what I use. The problem is that I don't just use one brand and I use several products for different parts of my face. Another problem is that what may work for me may not work for everyone else.
Along with some of my favorite products, I also have some tips and tricks I've learned along the way, and some really affordable products that are just as great as high-end ones!
1. Let's start with Primer
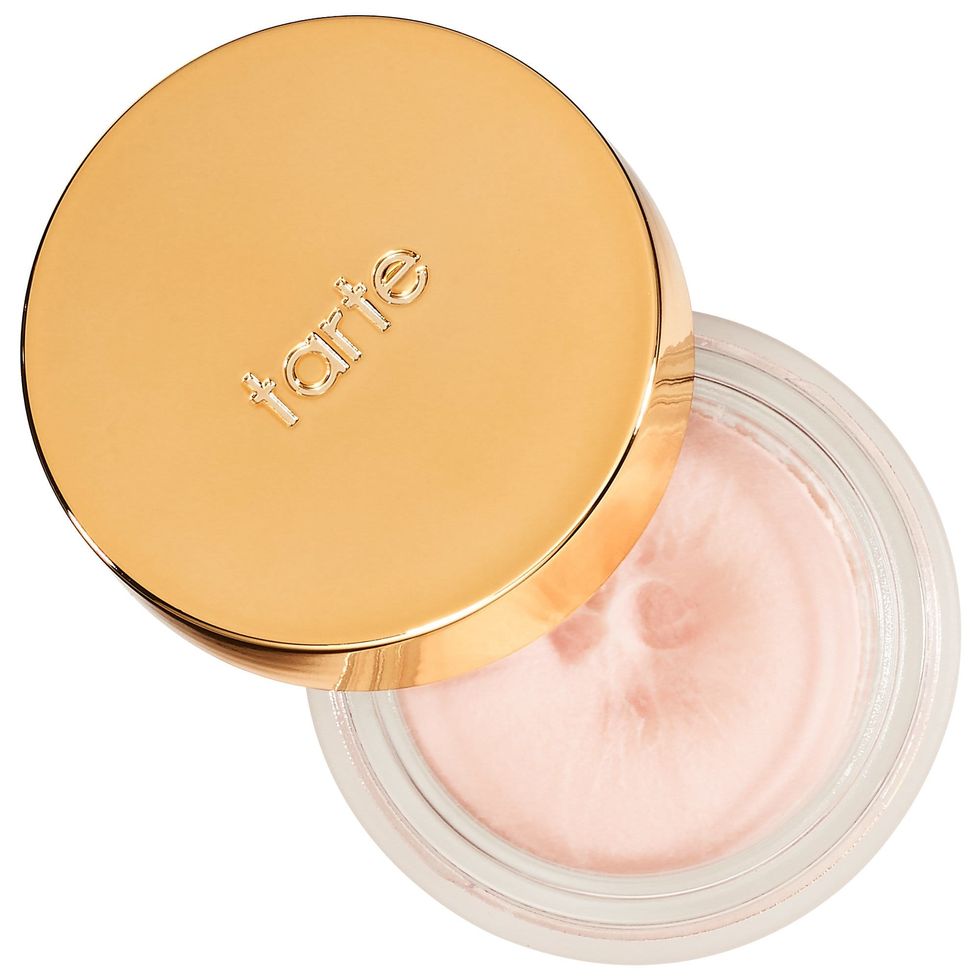
Your skin care routine is an entirely different story, but after cleansing and moisturizing, the first step of your makeup routine should be a primer. I've tried everything from Smashbox Photo Finish Primer to the $75 Guerlain L'Or Radiance Primer with real gold flakes. But right now, my favorite is Tarte Timeless Smoothing Primer. It's not silicone-y or liquidy. It's a nice whipped primer that you're able to press into your T-Zone or spread all over your face. It makes my pores invisible!
2. Brows

Brows are tricky for everyone. They're supposed to be sisters, not twins, but sometimes they don't even look like cousins. I personally love the Anastasia Beverly Hills DIPBROW Pomade. I like the bottom of my brows, fill in the tail, then use a spooly brush to brush the product up into the rest of my brow and shape them. This helps them look filled in, but not too heavy or thick. Also, you can clean up and help shape your brows with some concealer and a small brush!
3. Beauty Sponges
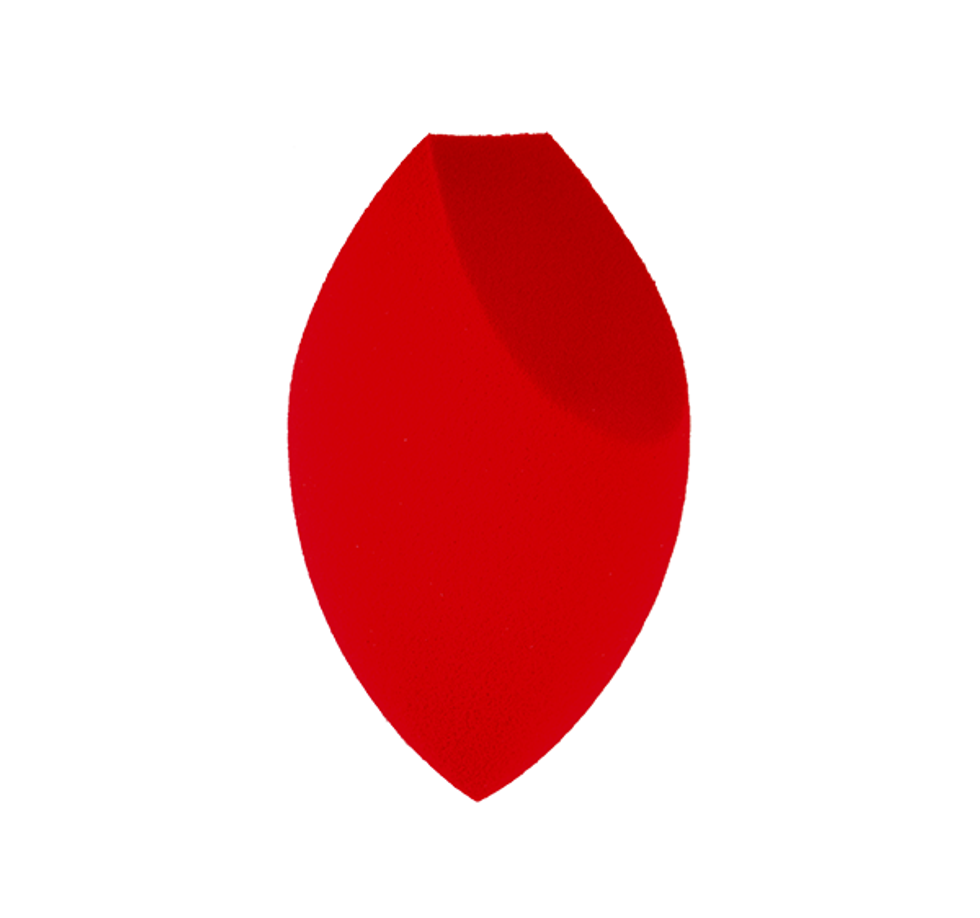
Before we get into foundation, we need to talk about how to flawlessly apply your foundation. Some people like brushes, but I feel that when I use them, my foundation always looks streaky. You can never go wrong with a beauty sponge. There's of course, the original beautyblender , which applies makeup beautifully, but there's a new girl in town! I'm currently in love with the Morphe Highlight and Contour Sponge. I use the rounded tip to apply foundation and blend out my concealer and contour, and the flat edges to apply my powder and bake. It's denser than the beautyblender and when wet, is huge! And it's only $7!
4. Foundation
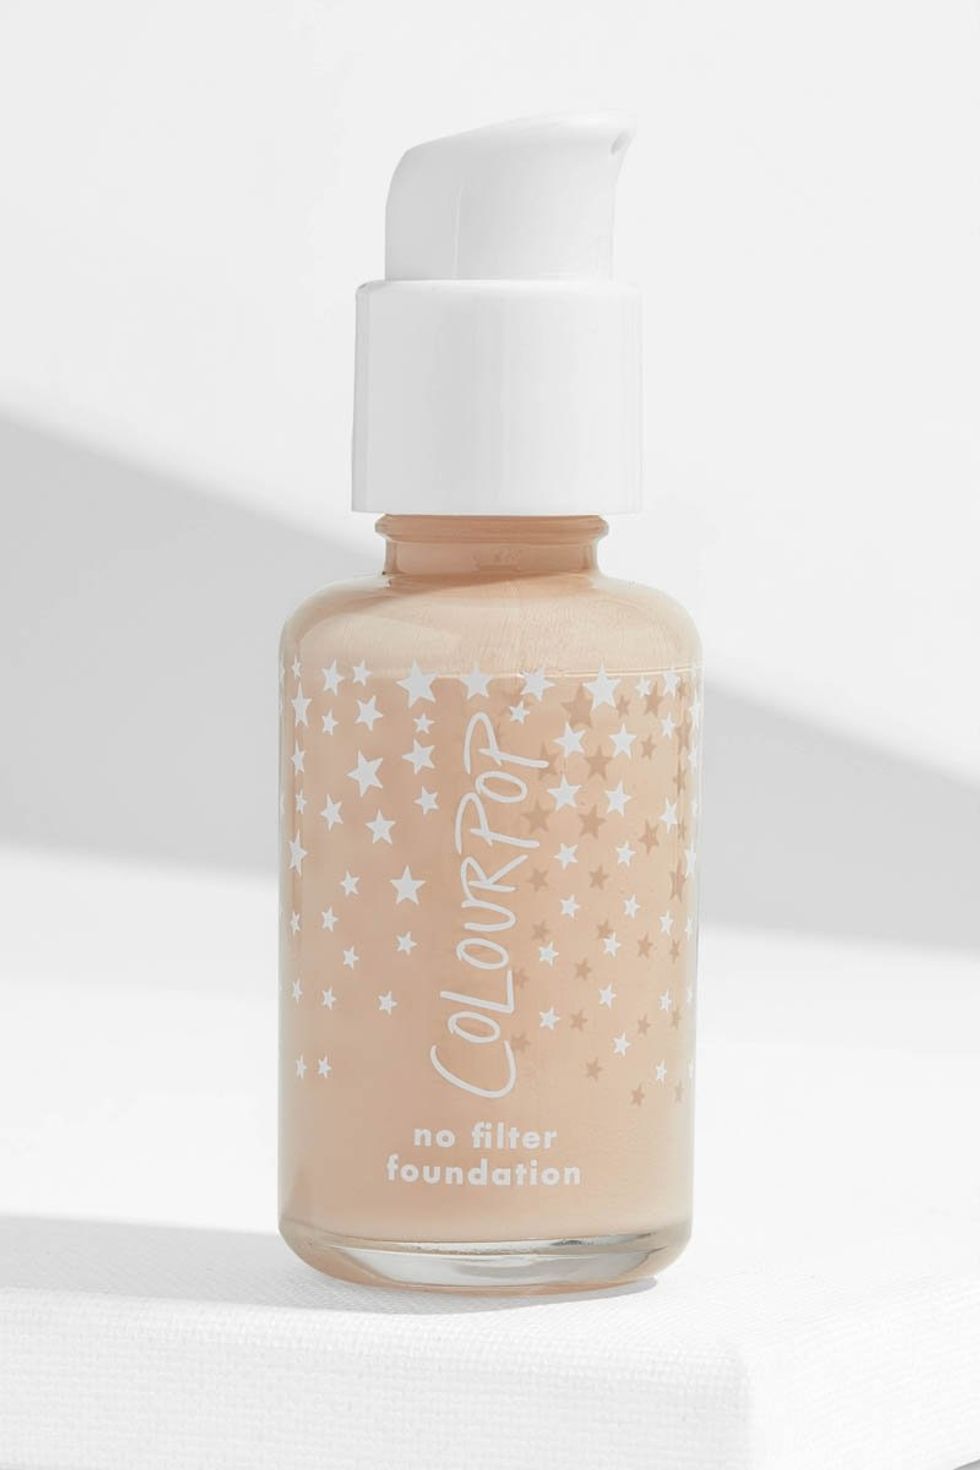
Before this foundation, I was dropping $50 on high-end foundations found at Sephora that weren't really working for me. Then I came across the ColourPop No Filter Foundation. It's only $12 and they have 42 shades! It's full-coverage and matte and they have a really easy system to cross-check different foundations to find your perfect shade. I'm shade 35 and just by entering in other shades I've used from other brands, I was able to find the perfect shade for me.
5. Concealer
images-na.ssl-images-amazon.com
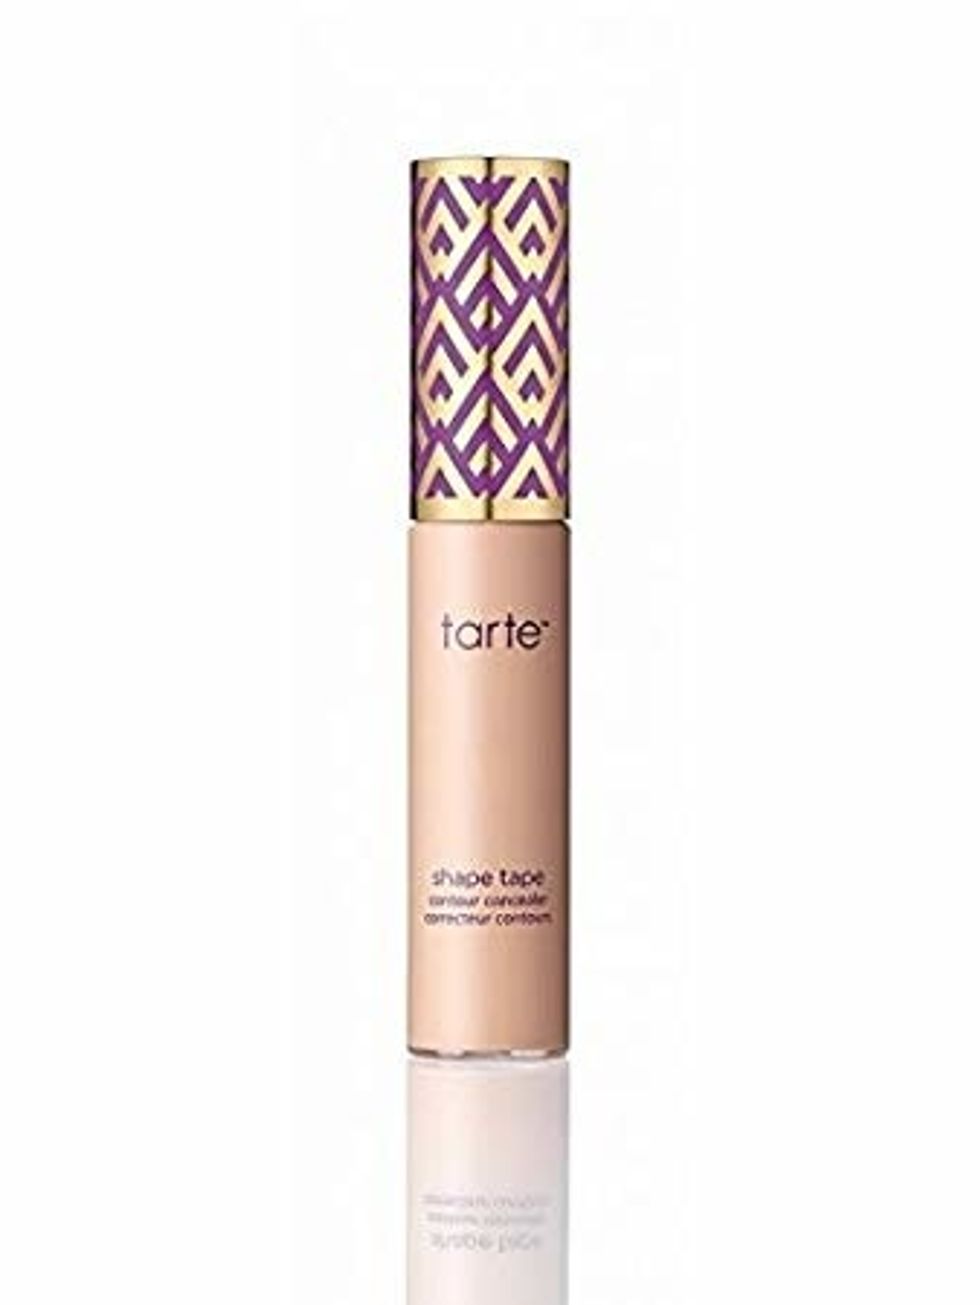
This concealer is a cult classic for a reason! It's so full-coverage, no one will ever know you pulled an all-nighter studying for that exam. Tarte Shape Tape Concealer blends beautifully on the skin. On days where I want to go for a more "natural" look, I apply the concealer on my bare skin where I would usually apply concealer and blend it, and it looks great!
6. Contour
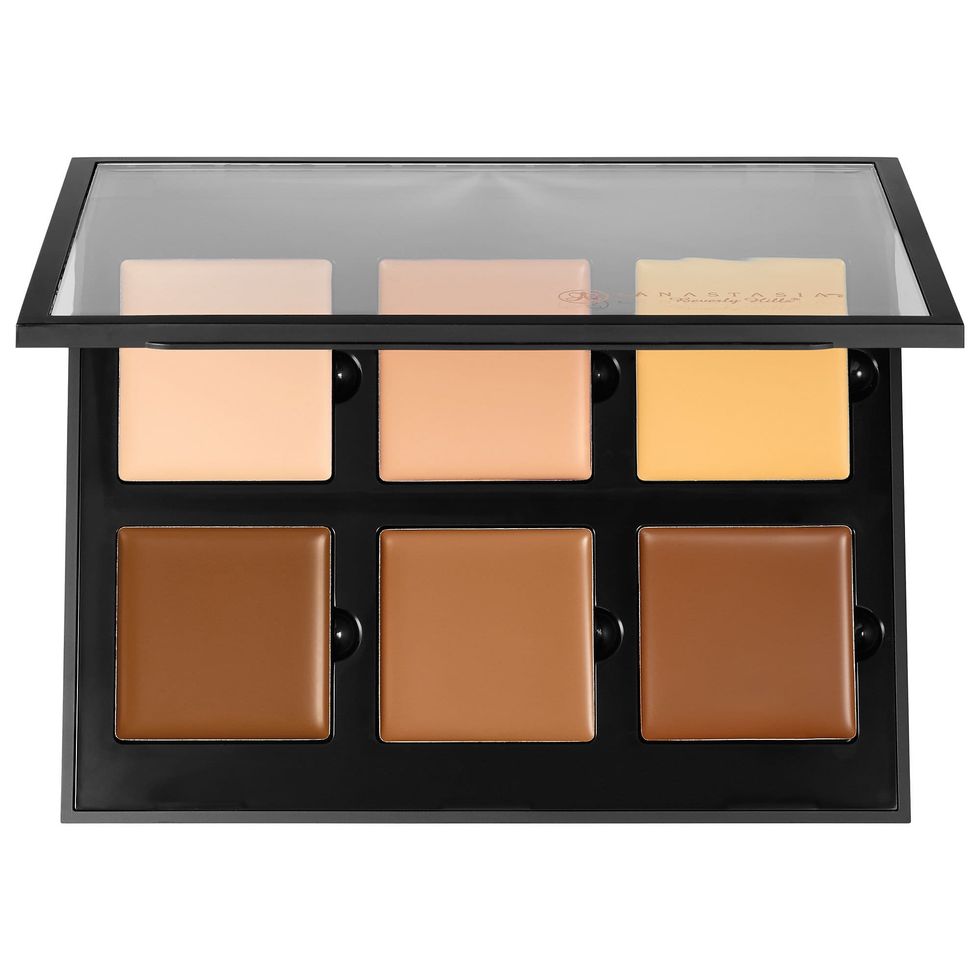
For chiseling out my cheek bones and contouring my nose to make it look like I've had a rhinoplasty, I prefer to use a cream contour kit. The Anastasia Beverly Hills Contour Cream Kit has been my favorite so far. The cream blends well on top of foundation and doesn't look muddy. For a seamless blend, or to tone down your contour, use the side of your beauty sponge you used to apply your foundation.
7. Bake/Setting Powder
images-na.ssl-images-amazon.com
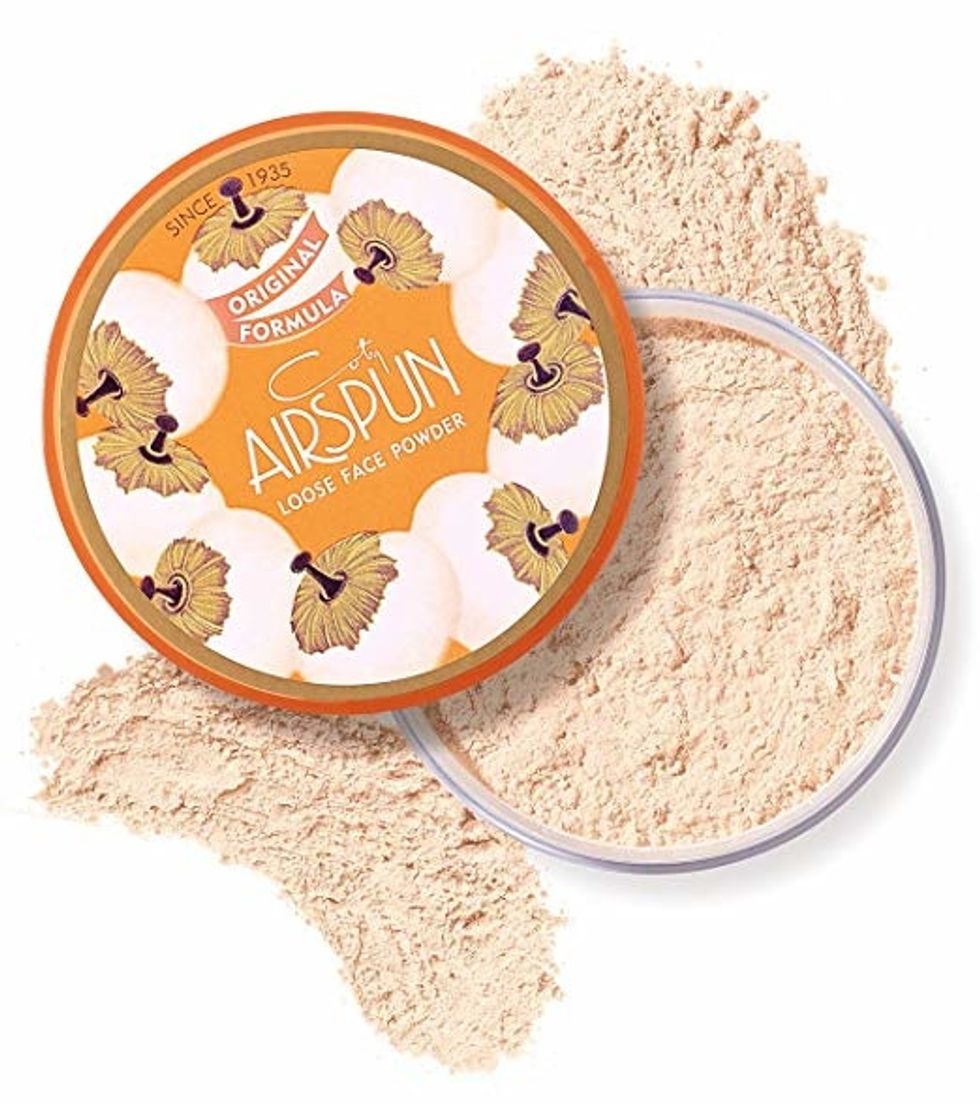
Bake your face like a cake! Baking your face means to apply a generous amount of translucent loose setting powder on the areas you applied your concealer. Leave this powder on while you apply your eyeshadow to easily brush off fallout from your shadows. This will also brighten up your face on top of your concealer. I love the Coty Airspun Loose Face Powder. It is finely milled and smells great! Plus, it's only $7 at Walgreens or $6 on Amazon!
8. Eyeshadow
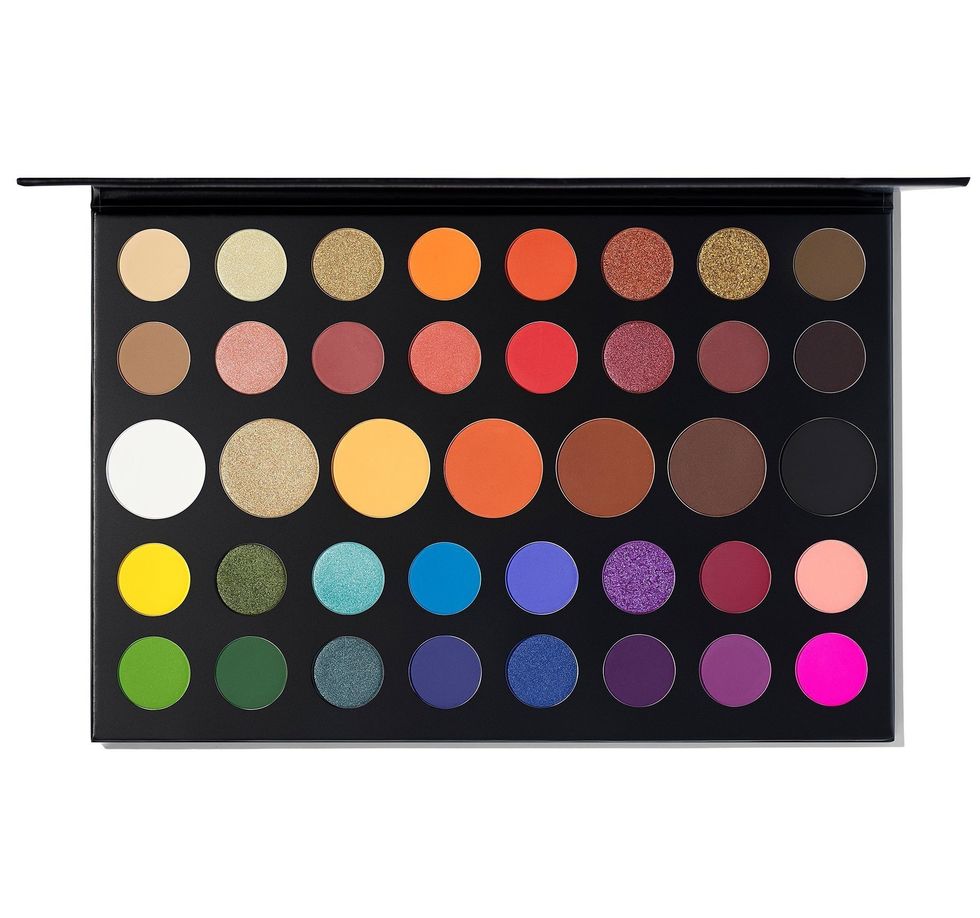
Of course, I have to praise the James Charles x Morphe Palette. I was lucky enough to get this palette in the first release. Ever since getting this palette, I have not yearned for any other palette. That's not to say that the palettes that have been released since then haven't been amazing or beautiful, but I just don't have any need for them. Every color I would ever need is included in this 39 shade palette. As you can see, the first two rows of the palette are shades that are more neutral and can be used for everyday looks. The middle row has larger pans because those are most likely the shades that you would use the most. The bottom two rows are shades that are more artistic and bold, as the mantra for the palette is, "Unleash Your Inner Artist." Before I got this palette, there's no way I would have ever put bright blue eyeshadow on my lids. Now, since I have the option to and the colors are at my disposal, I experiment with different colors and looks for special events, like parties and holidays.
9. Liner
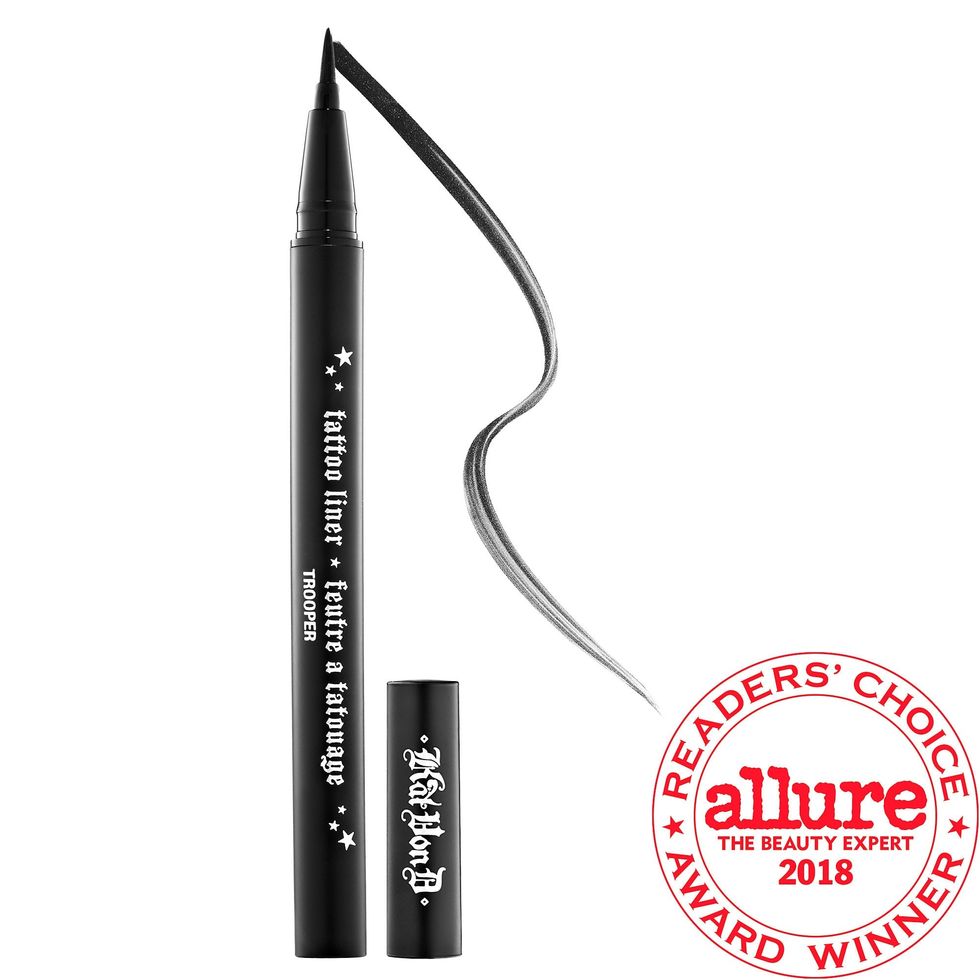
Let it be known that I do not agree with what she says nor do I support her as a person, but damn, Kat Von D's Tattoo Liner is the best liquid eyeliner I have ever used. Granted, I have been using this liner way before all of the controversies towards her came out, and I was so stuck in a routine and in love with this liner that I couldn't come to find another. This eyeliner is perfect for a sharp wing, or just lining your waterline. It is smudge proof and tear proof. A little tip for those who may find it difficult to achieve a perfect winged liner: use scotch tape! Place the tape on your eye where you would like the bottom of your wing to fall. Lightly drag the liner across the tape, connect it with the liner on your lid, and fill in the wing.
10. Mascara
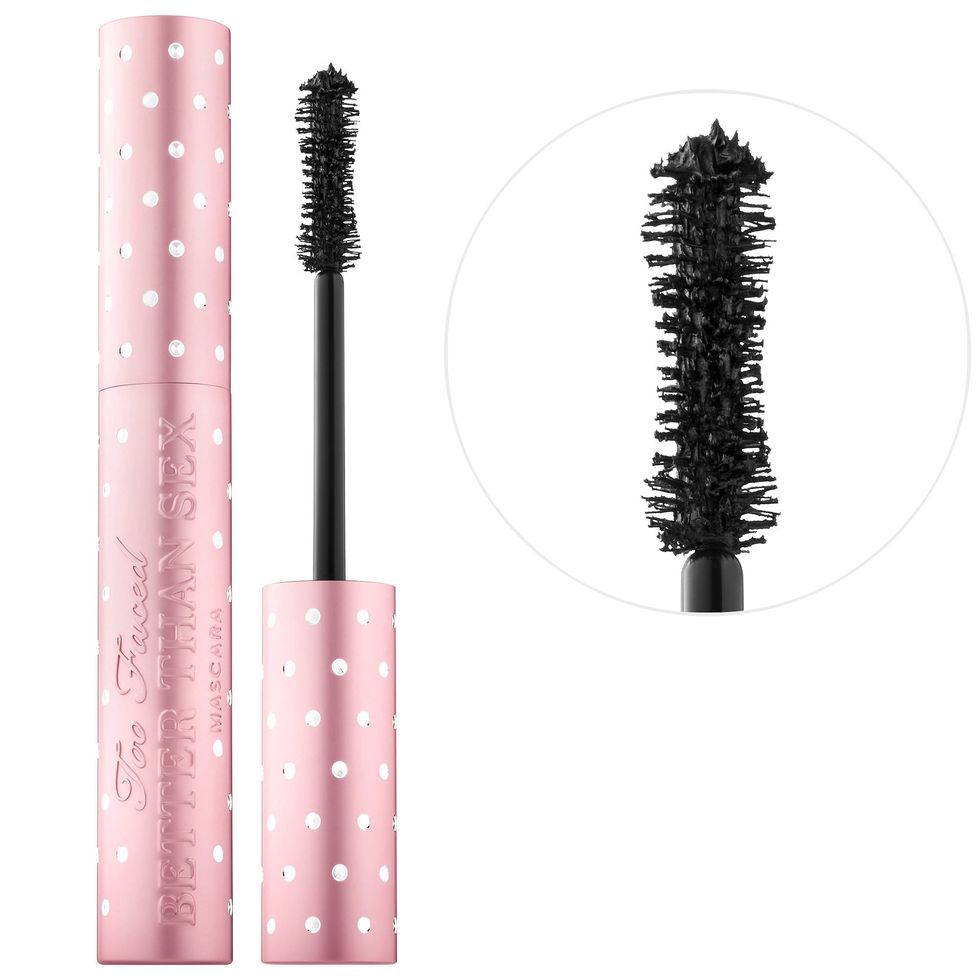
Now, I'm not sure how many other people do this, but for mascara, I use two! I first put on a coat of Benefit Roller Lash Mascara. This helps me achieve curled and long lashes. The wand also separates my lashes and wisps them out. Then I go in and put on a layer of Too Faced Better Than Sex Mascara. This mascara gives me a rich black color and the volume I am aiming to achieve.
11. Blush and Bronzer
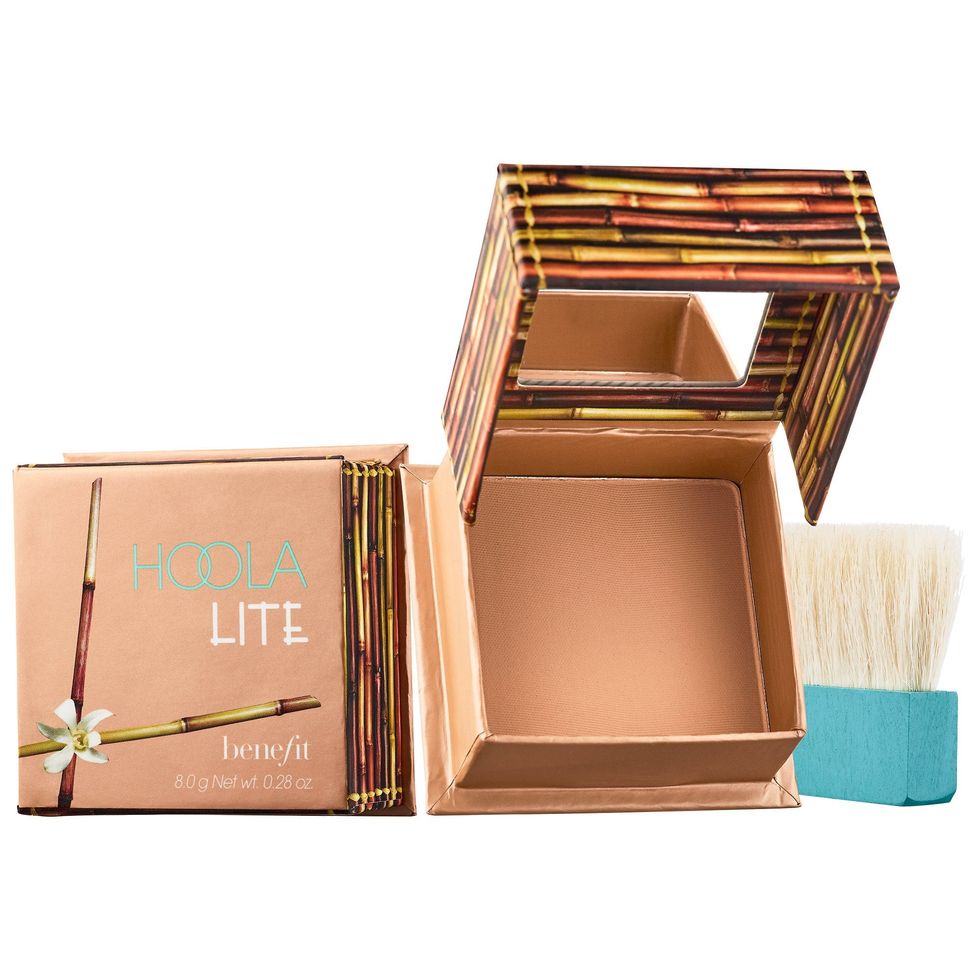
After brushing off my bake, I like to go in with bronzer first. I use the Benefit Hoola Matte Bronzer in the shade "Hoola Lite." I brush this over my contour to buff it out and also give me a warm glow. Then, I go in with Tarte Amazonian Clay Blush to give my cheeks a rosy color. Depending on the look I'm going for, I may go for a lighter, peachy shade. To apply my blush, I smile and apply it to the apples of my cheeks and blend upward towards my cheekbones. Another tip from James Charles is to take the shade "Literally" from his Morphe palette and blend it with your blush and highlight to give your cheeks a seamless transition.
12. Highlight
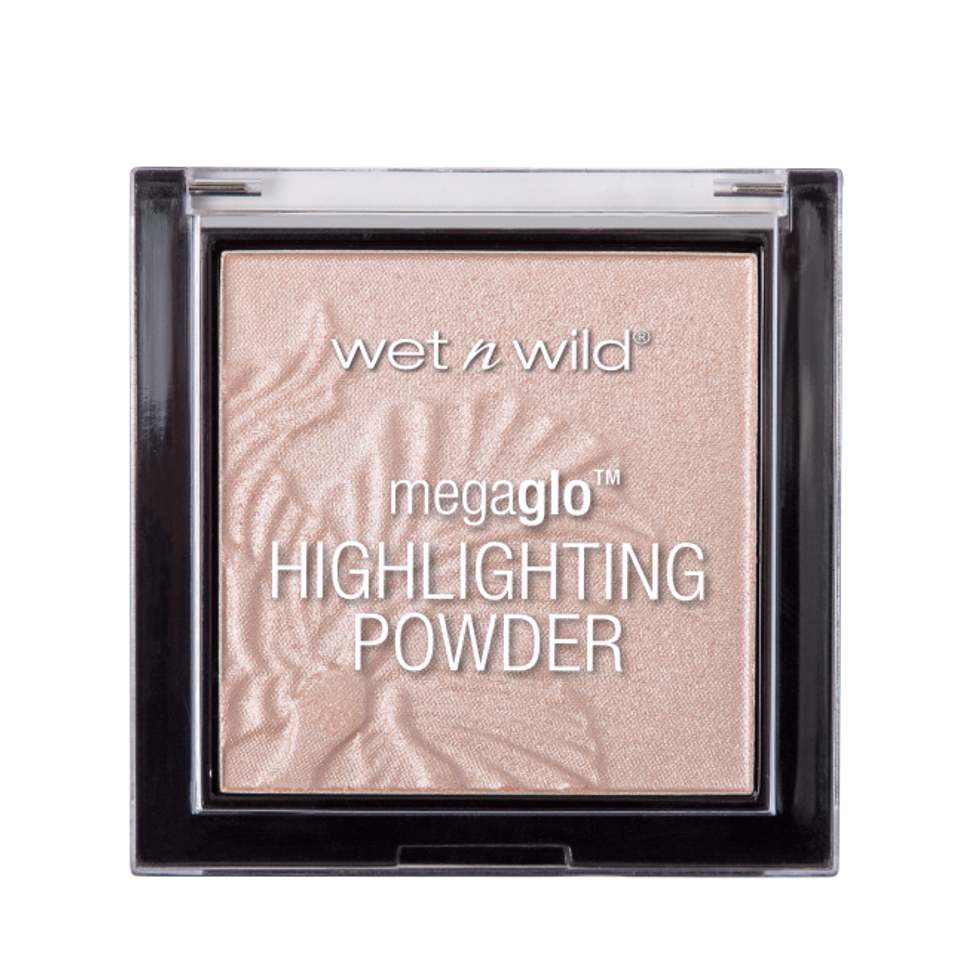
Lately I've been using the shade "Face" in the James Charles x Morphe Palette, but if I'm looking for that perfect pink-champagne blinding glow, I go to the Wet n Wild MegaGlo Highlight Powder in the shade "Blossom Glow." Let me tell you, for $5, this highlighter is amazing!!
13. Lips
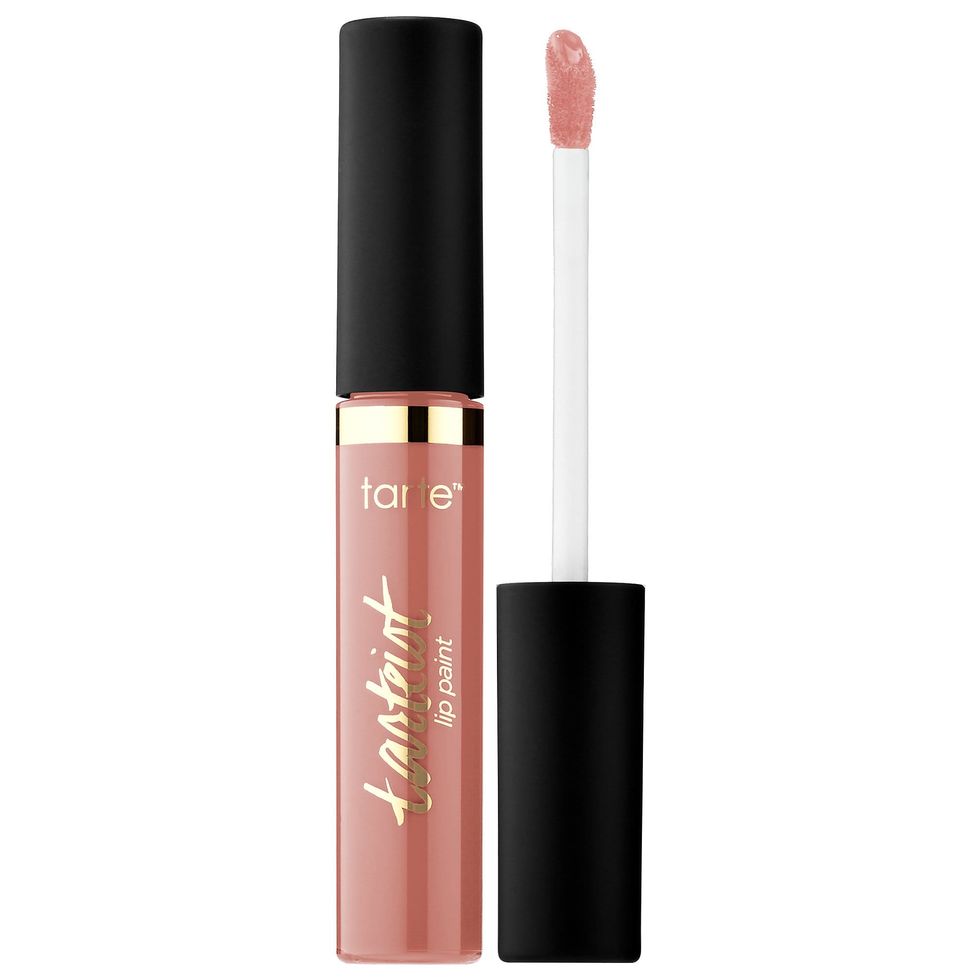
I am very picky when it comes to my lipstick. Seldom do I wear lipstick from an actual tube, and even more rarely do I wear anything with a cream finish. I love a good matte lip, even if it means my lips are dried up for the next few days. I love the Tarte Tarteist Quick Dry Matte Liquid Lip. It stays all day and lip glosses layer beautifully on top of them. Likewise, the Jeffree Star Velour Liquid Lipsticks are amazing, and I can attest that you can eat the oiliest foods and that lipstick will stay!
14. Setting Spray
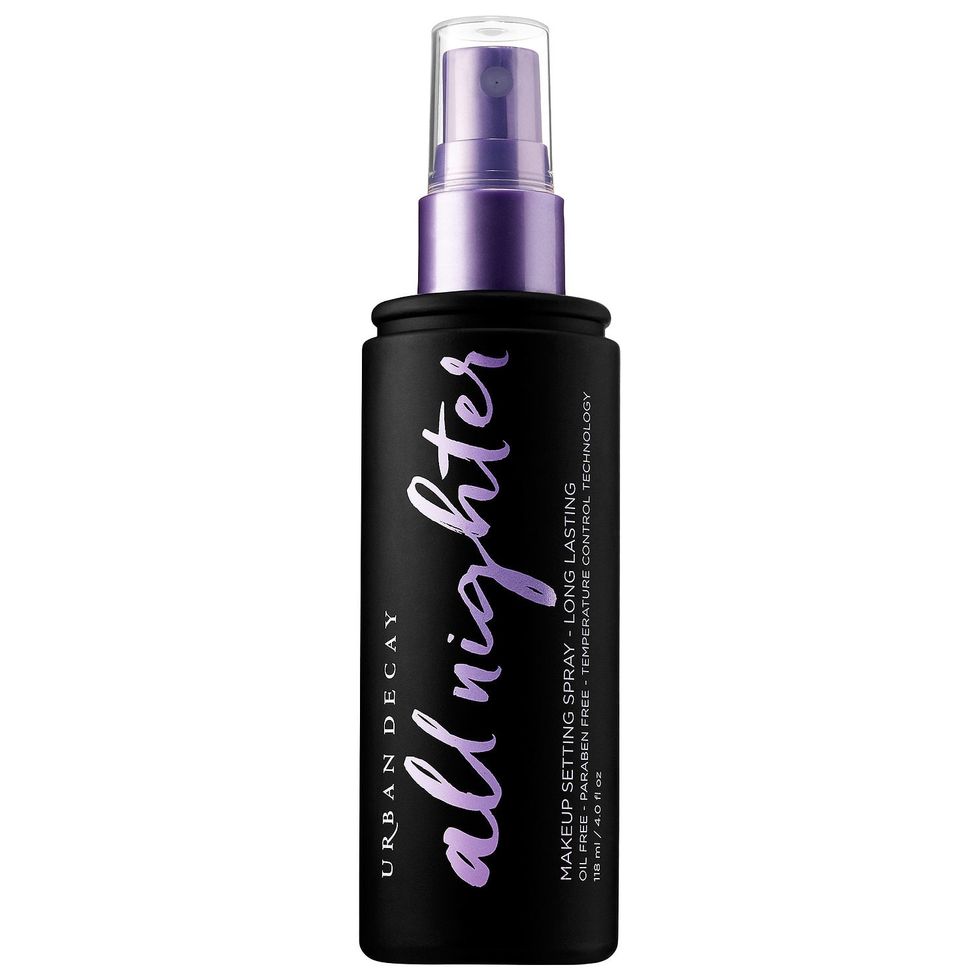
Always! Set! Your! Face! Set your face with setting powder, and then set it with some setting spray when it's all done! I actually feel off or incomplete if I forget to mist my face with setting spray. My go-to is the fan-favorite, Urban Decay All Nighter Setting Spray. I've gone in the ocean and pools with makeup on, and this has kept my face looking untouched.
These are just some of my favorite products in my makeup case that I keep coming back to. Remember, while I may love these, you may not, just like they may not work for you as they work for me.
These products are great for someone who has been doing makeup for a while or even for someone who is just starting out and doesn't know where to start. They are from a variety of brands and stores and are all fairly reasonably priced.

