So a while back I wrote an article on my secret obsession with candles. I bought a new one almost weekly!! I love candles. With the amount of candles I go through, I figured that I should start my own candle-ing. And so I did. I read a lot of articles and a lot of instructions on how it all works, and then tried it out on my own. With a lot of spilled wax and a lot of mistakes along the way, I have decided to share my secrets on what works best for me!
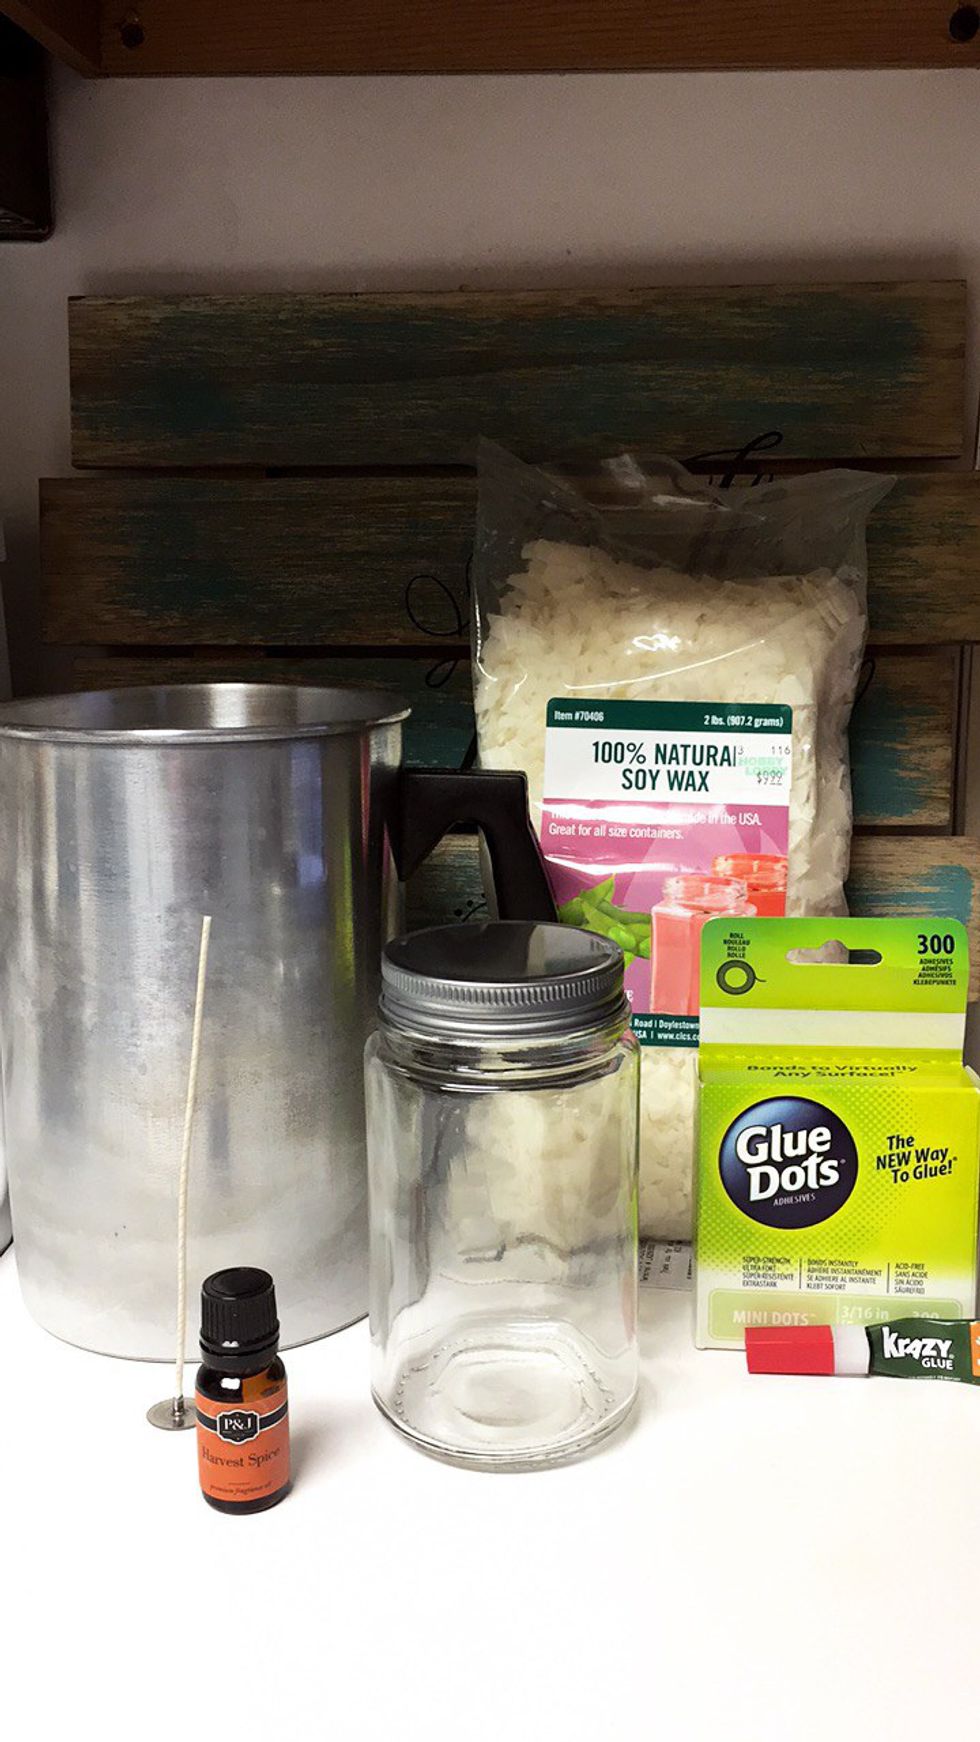
Step 1: Get all your stuff out and ready.
- 100% so wax :: Slow burning, Hobby Lobby
- Regular wax wick :: Burns strong, Amazon
- Cleaned out jar of choice :: Target
- Scented oil of choice :: Amazon
- Pouring Pot :: Hobby Lobby
- Glue dots and super glue :: Walmart
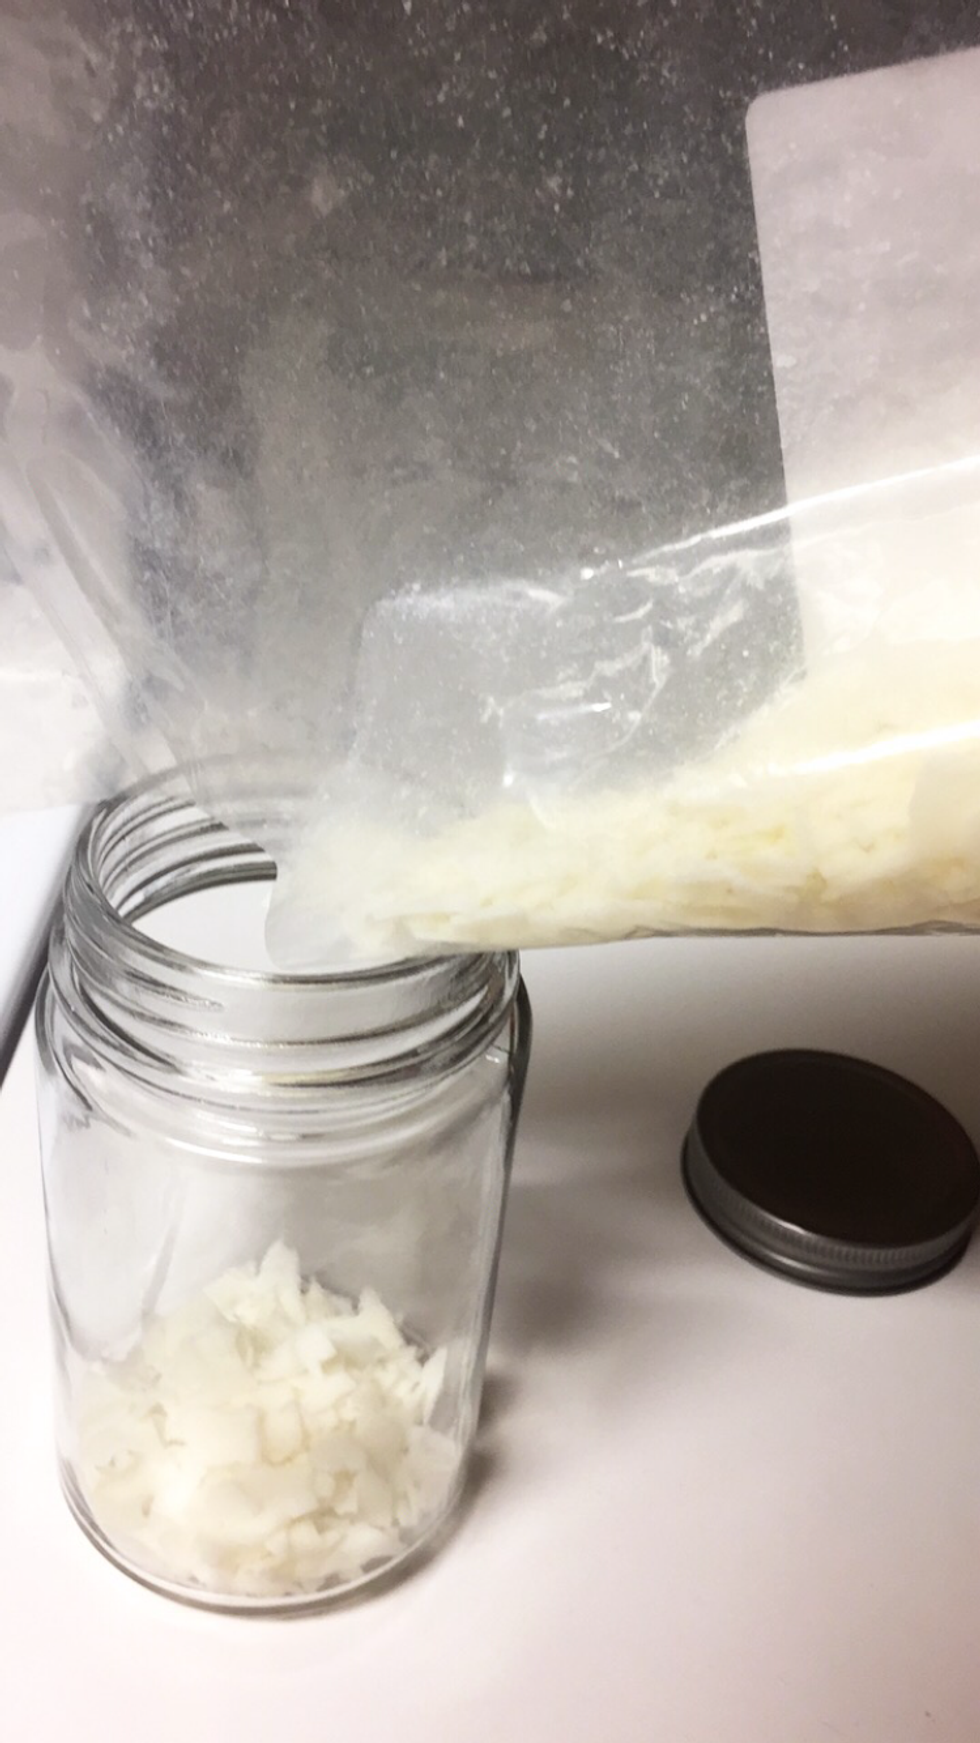
Step 2: How much wax to use.
- Using the container you choose, fill it with wax twice to the top, both times dumping it into the pouring pot.
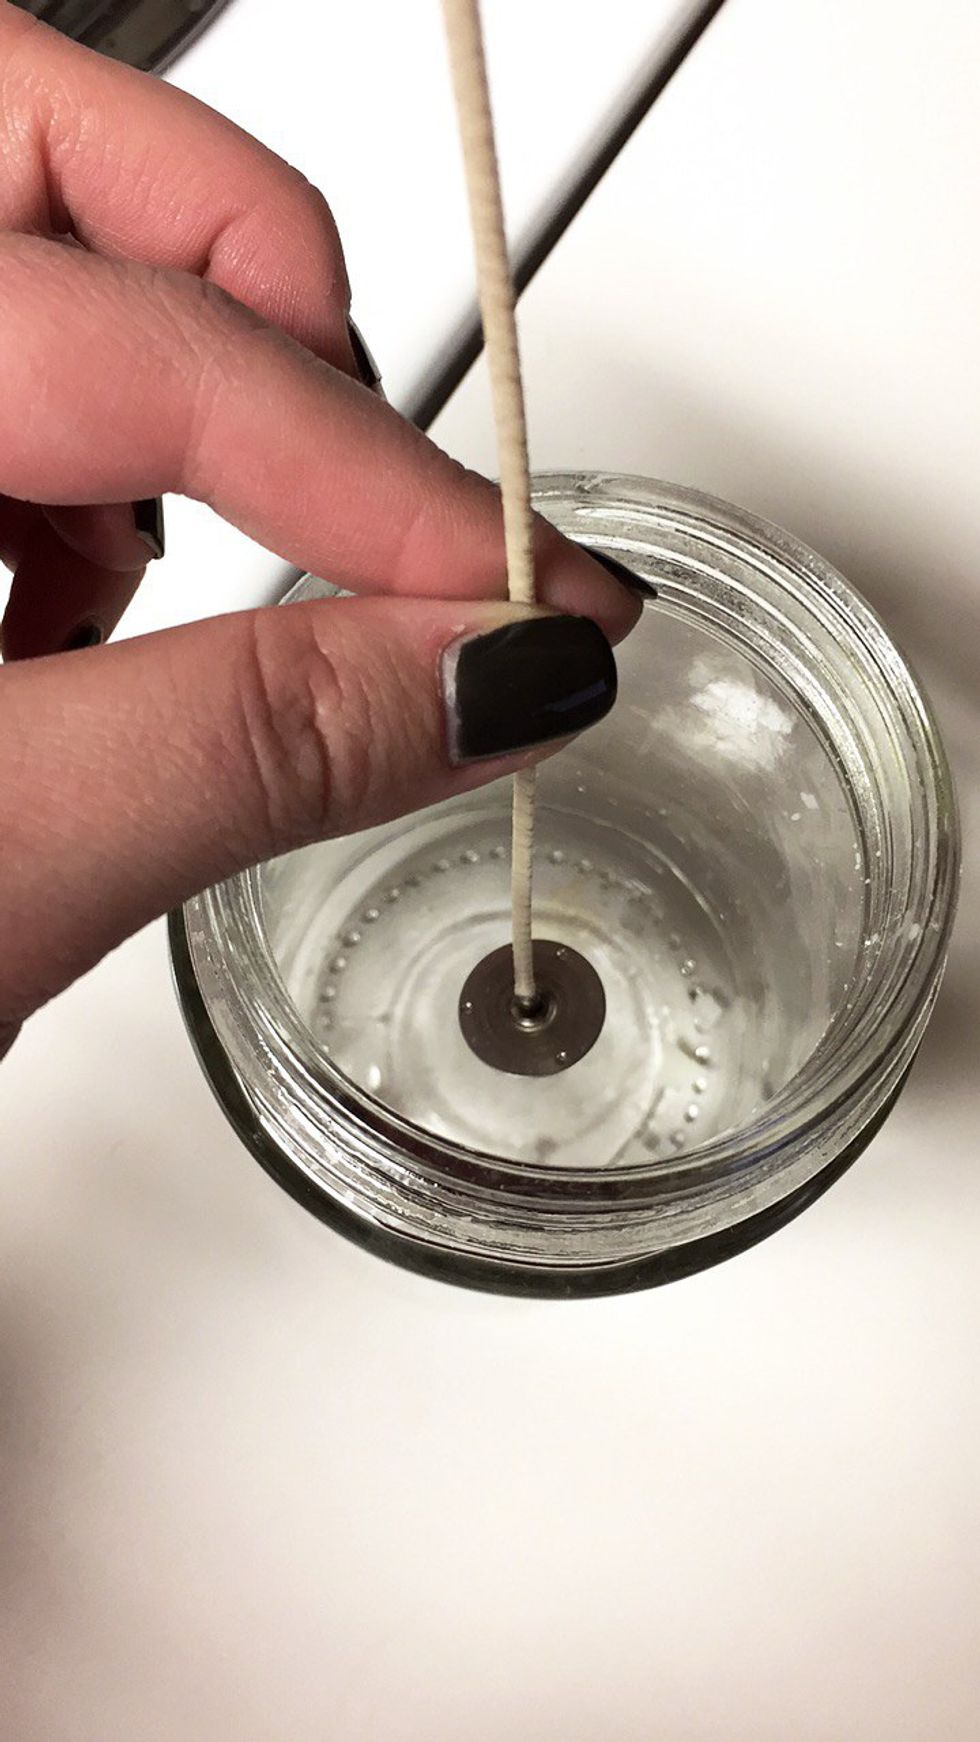
Step 3: Prep
- Wash your jar with hot water and soap.
- Dry it with a microfiber towel or paper towel.
- Using the sticky dots and super glue, secure your wick in the center of your container (sticky dot for a temporary hold while the super glue bonds and dries).
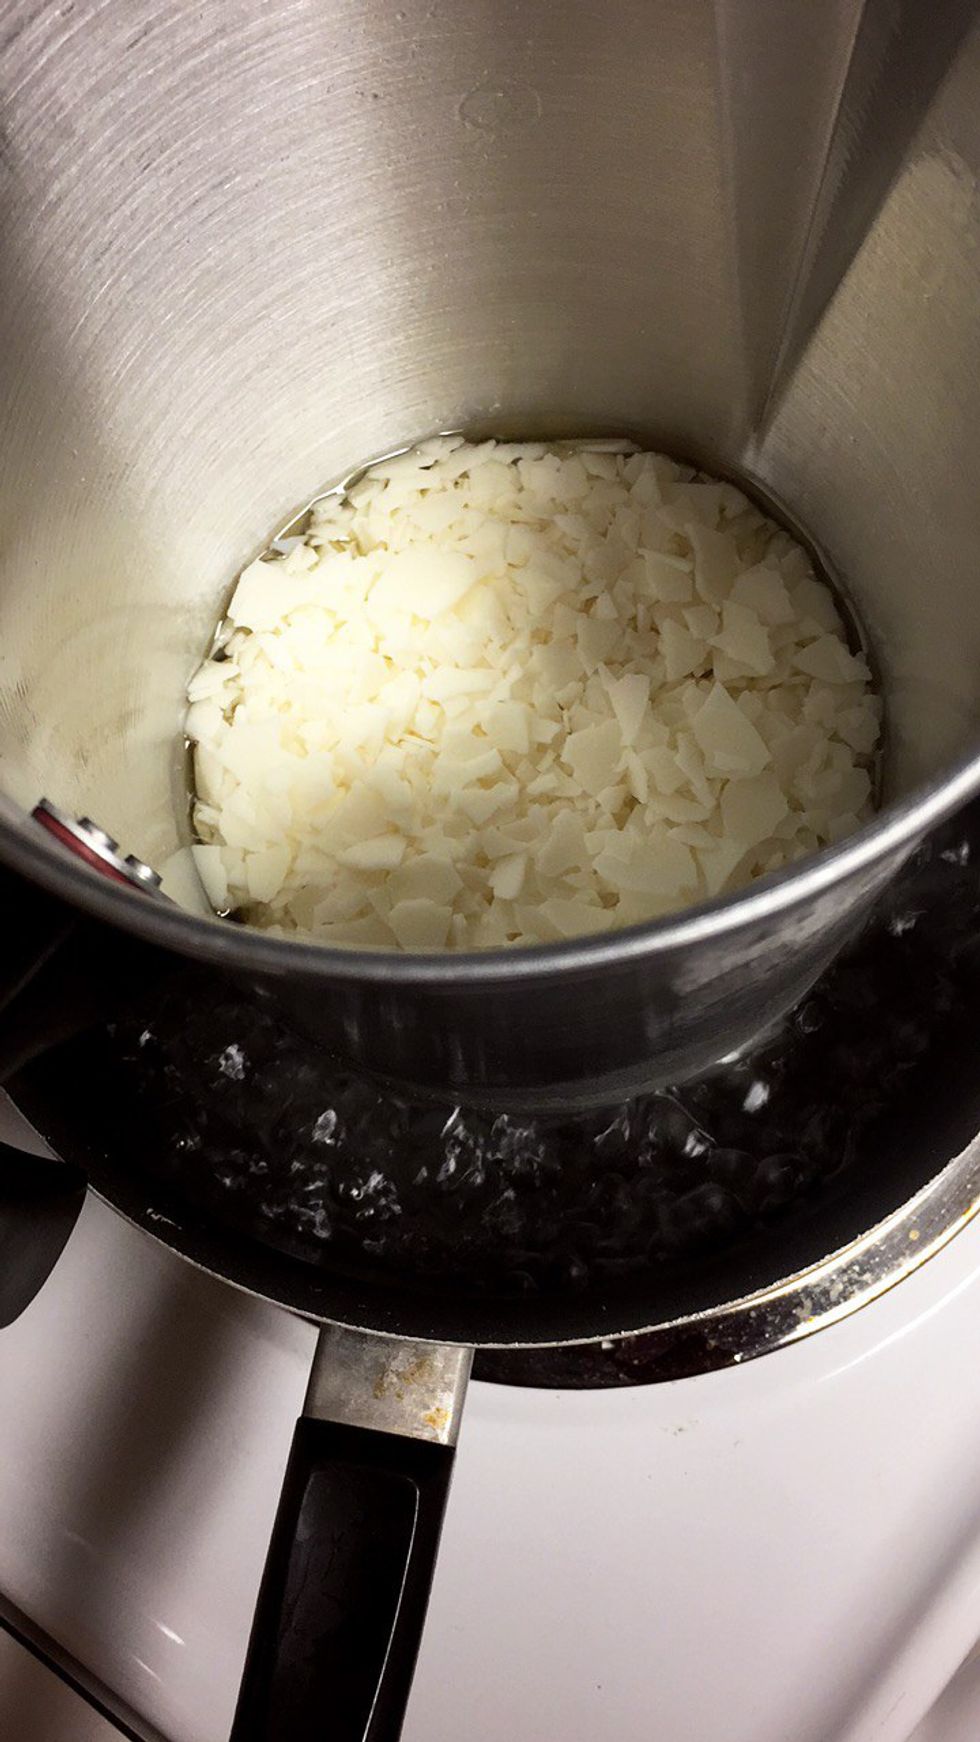
Step 4: Melting the wax.
- Pour 1" - 1 1/2" of water into a medium saucepan (if pouring pot floats, even with wax in it, pour out some water).
- Put the pouring pot with your wax in it, into the medium sauce pan.
- Turn on burner to medium-high.
- Keep an eye on the water. If all the wax isn't melted, but the water is almost gone, just add more water to the saucepan.
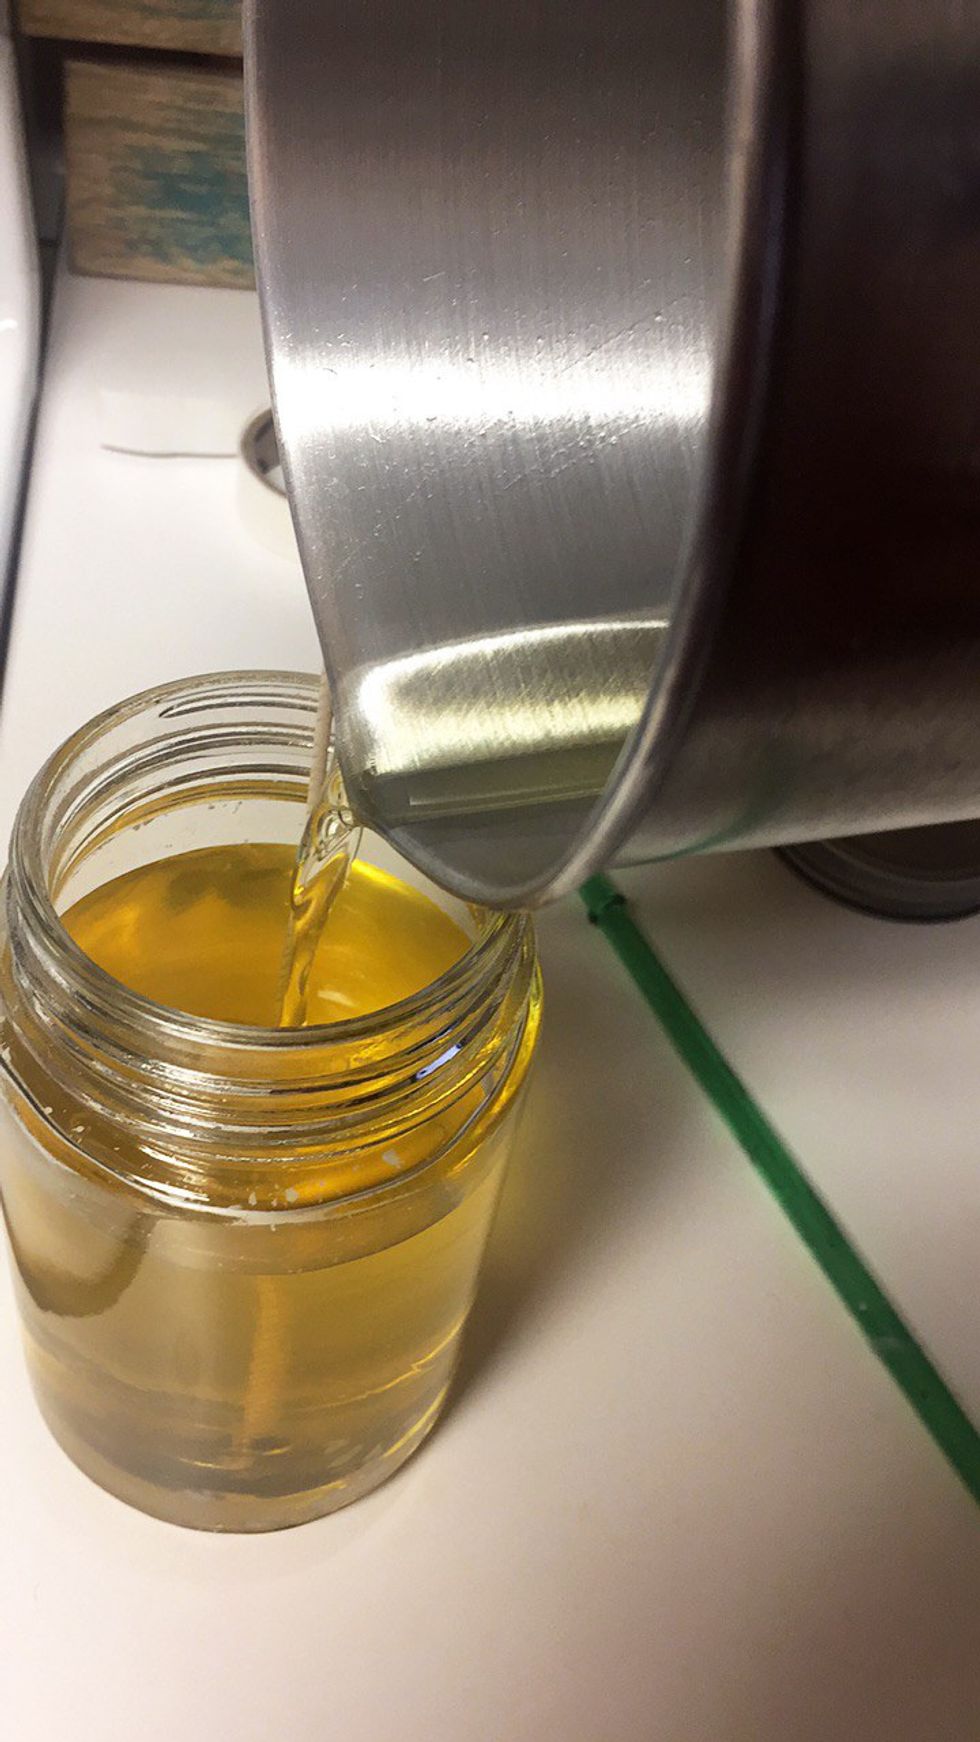
Step 5: Pouring the wax
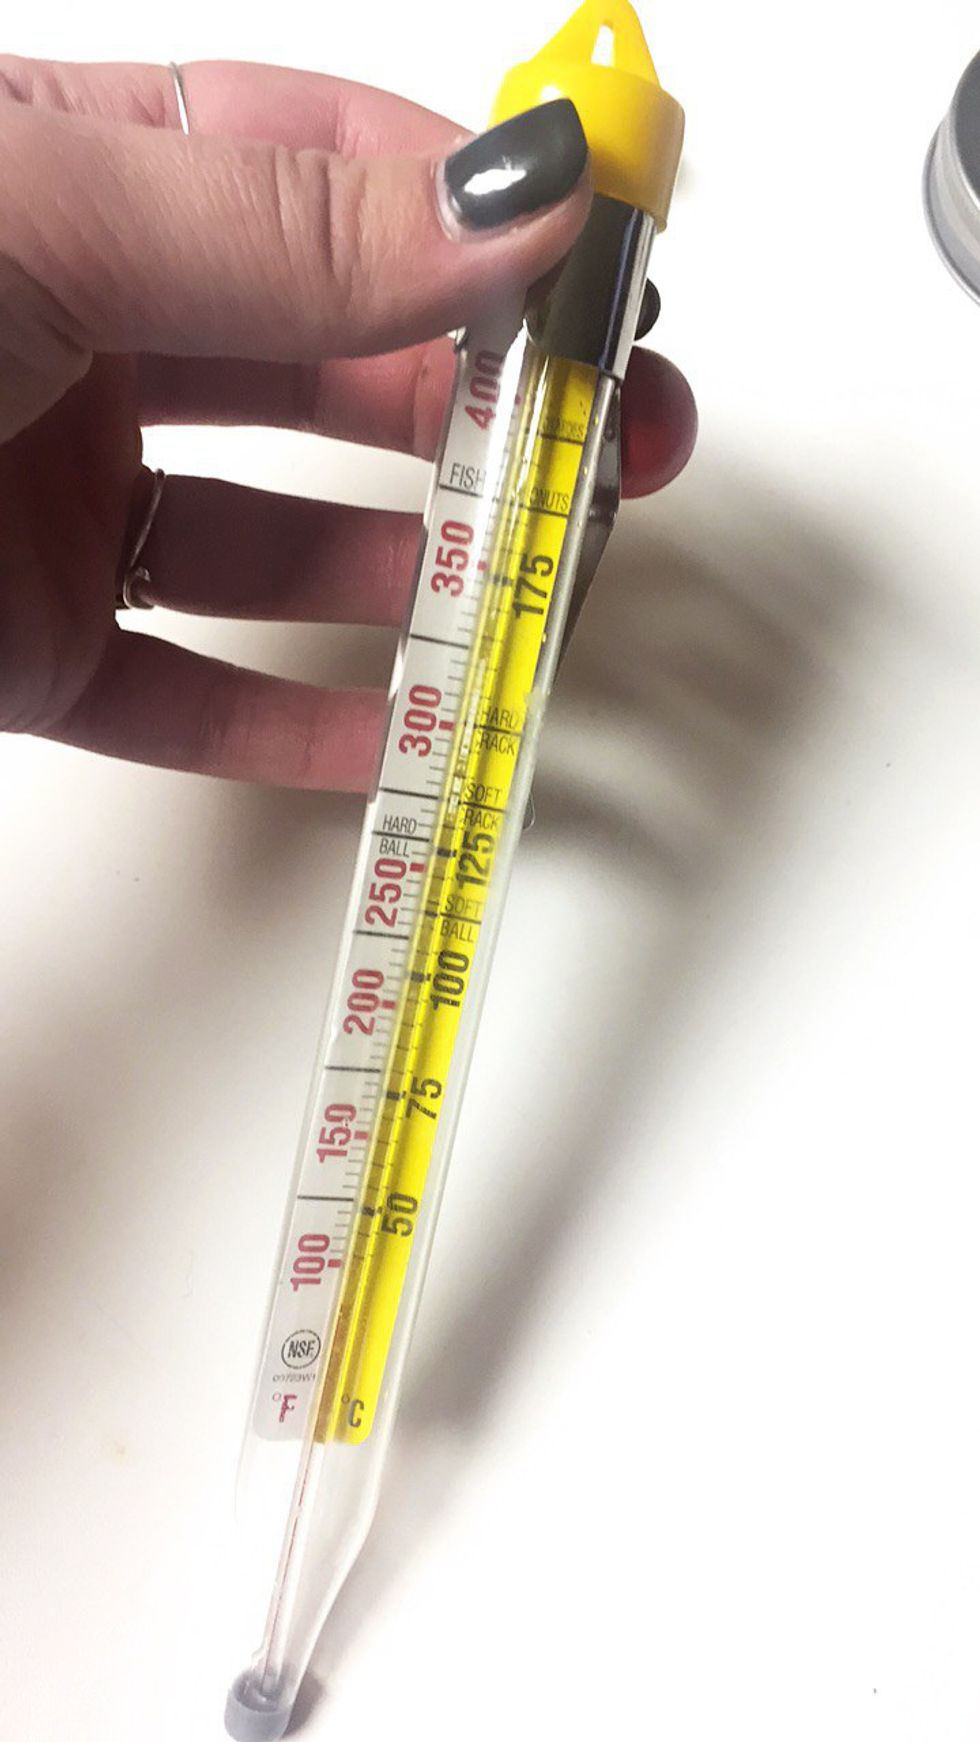
- After the wax has completely melted, use the thermometer to check the temperature of the wax, making sure it between 150-165 degrees F.
- Now carefully pour the wax into your prepared container.
- Wait till the wax has cooled a bit down to 150, only then pour in your scented oil (if you pour it when the wax is still too hot, the scent will evaporate, and if it's too cold then the oil will not blend with the wax).
- For my 16 oz jar I used 5 mL of oil.
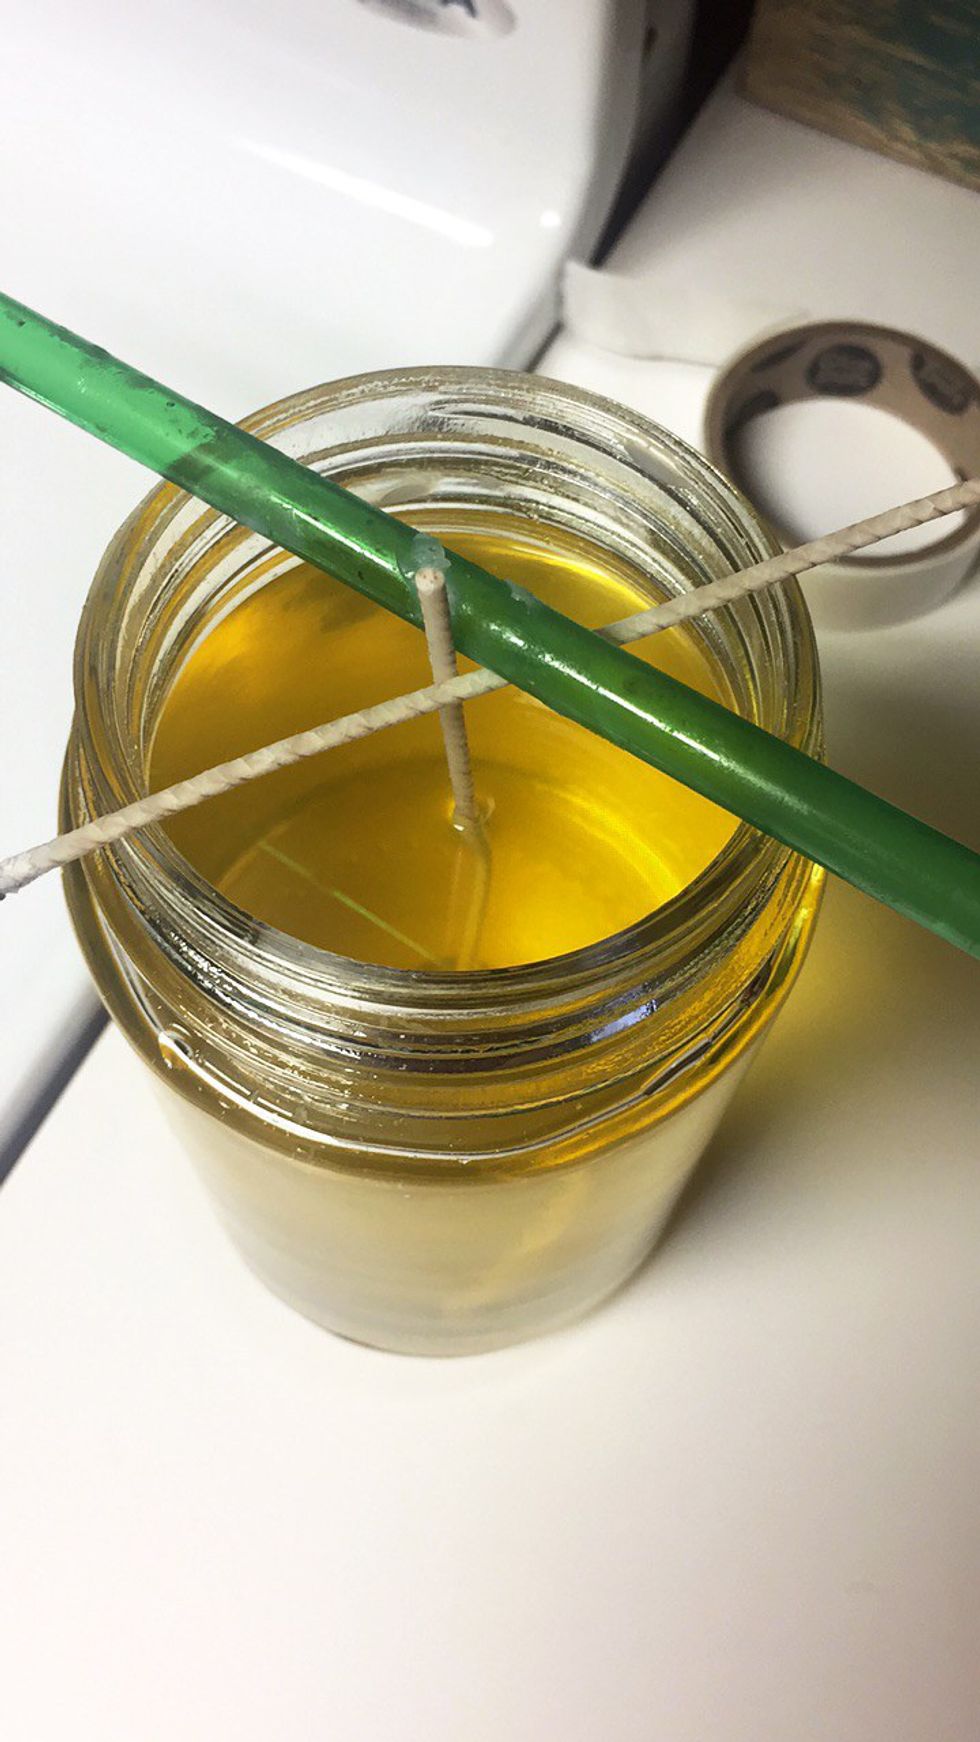
Step 6: Letting the wax settle and cool.
- I used another wick and the plastic straw from some bottle that I have to idea where it is (lol) to steady and hold up with the wick in the jar.
- Move the candle to a place where it won't be touched, shaken, or poked at, to let the wax settle without creating "tunnels and caves" in it.
One last tip and I'll be done: Do. Not. Rush! If you rush, you end up spilling and breaking things, and instead of a nice relaxing peaceful craft, it turns out to be stressful, and you never wanna do it again! But that's it!! So easy, so simple, and so therapeutic! Congratulations on completing your very first candle! If you have questions about any of the steps, or of something that I may have forgotten to mention, let me know!