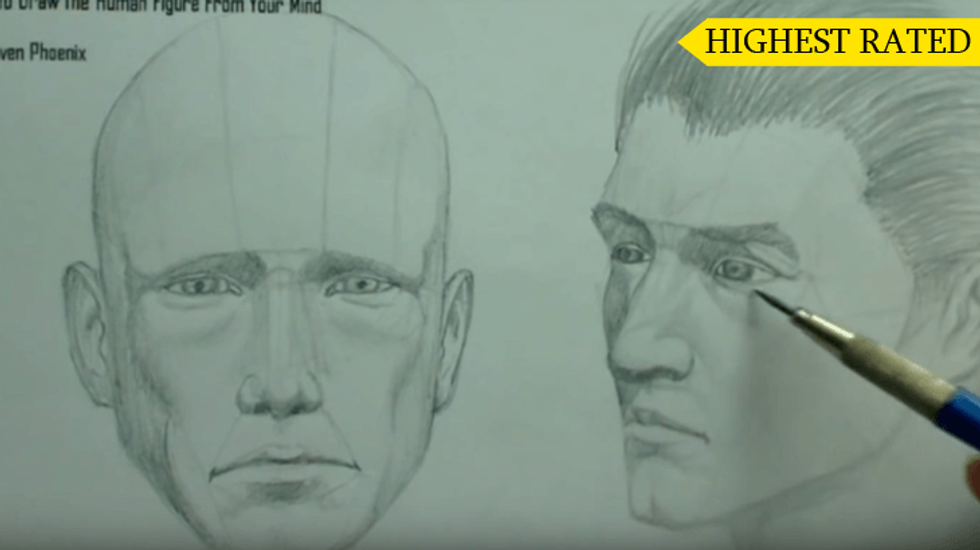
If you do not want or cannot attend drawing classes and workshops, then I leave a series of tips that you can apply. Drawing requires desire, motivation and "zero" nervousness. DO NOT think that you are worse or better than others because we each have a different shape and stroke. If you want to know how to start drawing, keep the following tips in mind.
1. Be responsible and constant in our practices and goals.
The process of learning to draw is quite long, it takes years if we want to be very good. Anyway, each one has its rhythm: some learn very fast, and others a little slower (that's why we should not be discouraged if in a long time we have improved little). And if we want to be good, we must be constant and frequent in our practices.
Thus, we will shorten the learning time and achieve better results.
It is also important that the goals we set are by our level of drawing. For that, we have to be honest with ourselves, if not, we are very likely to think that we are not good for art and that it is not ours (which is not true).
Anyway, I do not say that we can not think big, but as long as we can fulfill what we set out to do, we will achieve self-motivation and we will grow a lot in our learning. This does not mean that in our formation path we do not have difficulties, if not, we would not improve. Therefore, before this, we always continue to look forward.
2. Compare our drawings, as long as it is for our benefit.
Another way to grow artistically is by comparing our current drawings with the old ones (well-known method). This way we will know how we have improved, and how we should pay more attention.
What we should not do is compare ourselves with other people, because as I said before, each one has his own pace and way of learning, and we may end up discouraging ourselves. We all know that we will always meet someone who wants to throw us down, telling us ugly things about our drawings, etc., which is very different from someone who makes us educational criticism and that would help us to be better every day.
We can rely on other artists to learn more, but I repeat, as long as it benefits us.
3. Paper to protect the drawing.
Generally, when we draw, we do it with the hand resting on the drawing (the hand that holds the pencil), which is not bad, but we will achieve two bad things: we will run and blur the drawing already At the same time we are going to get our hands dirty, which will lead us to stain the leaf wherever we put our hand.
To achieve greater cleanliness and avoid these problems, we have two solutions that go hand in hand:
Place a piece of paper under the hand with which we draw and on the place where we do not want to run the drawing, to support the hand on the piece and not on the sheet on which we work. So we can slide our hand freely on the piece of paper, without staining the drawing. But that piece of paper has to be still because if we also slide it, we will also stain the drawing.
If you are left-handed, it is better to work from right to left, and if you are right-handed, from left to right, so we leave behind the part of the drawing that is already worked. Anyway, when making the last touches, we will have to move around the entire sheet, so the piece of paper technique will help us a lot.
4. Use the eraser only when you need it.
This advice is quite basic, and that is why it is taught in almost any class or course.
It happens to most of us that when we draw, we are constantly erasing and erasing mistakes, and then committing them again (sometimes we don't make them again, but it usually happens).
This advice can be applied both in a real drawing and as a practice/exercise.
It consists of abandoning our eraser a bit, and not deleting the wrong lines. With this, we will know where you don't have to go through the pencil again, so as not to make the same mistake as before. Because if we erase the error, we will not know what was wrong, and we could do it again badly.
If we apply it in a real drawing, we would do it in the initial stage of the drawing, in the sketch, and then, only when we have the correct line fixed, would we clean the lines that do not work.
On the other hand, if we apply it in a separate practice, we can leave all the lines we made, and then pay attention to where we spend more time the pencil and where there are more lines, and improve in those aspects.
5.Practice using different styles and equipment
It is very important to learn that there are different drawing techniques and tools, for this. It is very useful to know, at least, the most basic styles because they will lead you to improve your skills. It is also necessary to perform exercises that may seem simple or even "dumb" but that in the long run help a lot.
Practice making spirals, vertical and horizontal stripes on paper. You can also practice with textures and shading using different types of pencils. Remember that drawing can be done with many things and not just with pencils; You can also do it in ink, for example. Play with the drawing and experiment.
6.Practice using different pencils
Discover the amount of utensils you can use to draw. With a little information and practice, you will realize that those letters and numbers that have the majority of pencils, indicates something. These letters and numbers indicate the hardness and density of the mine. Therefore some are good for technical drawing, while others are for sketches and others to increase the details and shading of the drawing.
You can try to draw the same object with pencils of different density, to visually check what I have said in the previous paragraph. Also, you will see that there are multiple tools to draw like a pen, colored pencils, charcoal, cake.


 sunrise
StableDiffusion
 bonfire friends
StableDiffusion
 sadness
StableDiffusion

 purple skies
StableDiffusion

 true love
StableDiffusion
 My Cheerleader
StableDiffusion
 womans transformation to happiness and love
StableDiffusion
 future life together of adventures
StableDiffusion


