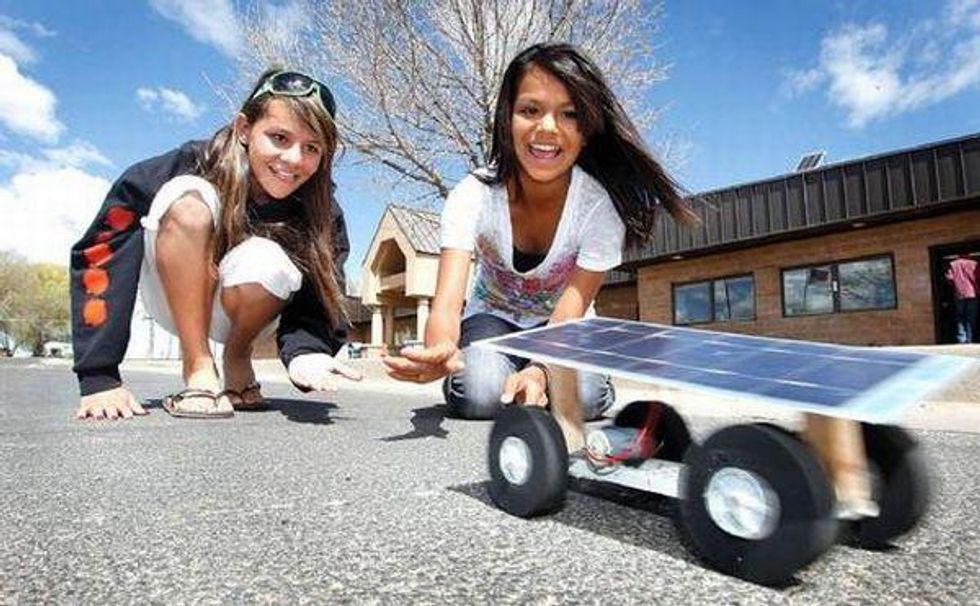
Inspiring your students to get interested in renewable energy sources can be tricky. However, when you bring in an exciting experiment for them to get their teeth into then you can help them to learn whilst having fun. As most of the earth's renewable energy comes from the sun, teaching students about solar energy is a great place to start. This solar powered toy car experiment is sure to make you the most popular teacher in town!
The basics of solar energy
To begin with, it is important to teach your students that solar energy comes from the sun and is a renewable energy source. As opposed to the energy that comes from burning fossil fuels which release pollution and carbon dioxide, energy from the sun is free, clean, and does not cause any damage to the environment. This energy can be captured through solar panels which contain silicon crystals that produce an electric current. Now that's the facts over, it's time to show your students how solar energy works in action.
How to build a solar-powered toy car
Materials Required
Make sure you have the following before getting started:
- Long, wide straw
- Glue gun
- Tape
- Spool of a thread
- Pen
- Ruler
- Scissors
- Solar cell with leads attached (5 volts)
- DC Motor with small gear and leads attached
- Large gear for the axle
- Cardboard or plastic to form the base for the car
- Wheels and axles for the car
Step-by-step guide
1. Create the base for the car
First of all, get your cardboard or plastic and cut out the shape for the base of the car. This part can be a little tricky as it needs to be narrow for the wheels to be able to spin, but not too small as otherwise the motor and the solar cell will not be able to be accommodated.
2. Mark out space for the wheels and axles
Using your pen, mark out where the wheels and axles will be attached to the car. Make sure you do this on what is the bottom of whatever material you are using. This should be about half an inch in on both sides of the car base.
3. Cut out a space on the base of the car
This next bit is quite tricky and requires concentration and precision. Cut out a small rectangle on the car base near to where the front tire will sit. This is necessary as it creates a space for the gear on the axel and the motor to interact which will enable the front wheel to spin once powered up by the solar energy. Make sure the space cut out is slightly larger than the gear on the axel.
4. Cut your straw to size
The next stage is to grab your straw and cut it so it is the same length as the lines you have drawn along the base of your car, this is because the axles will pass through these straws and mean that the wheels can spin. For the bottom of the car, this will be one piece of straw cut to size, however, for the top, the straw pieces will need to be cut to accommodate the space for the gear. Once you've got your straw pieces at the right size, glue them to the base of the car using your glue gun.
5. Attach the axles and wheels
Once the glue has dried and the straws are firmly attached to the base of the car it is now time to attach the wheels and axles. To do this, simply push the axles through the straws and attach the wheels on either side. For the top of the car, you will also need to make sure that the axle passes through the gear which should be in place in the space you cut out. Make sure everything is in place and that the wheels can move.
6. Connect the gear and motor
Now for the exciting bit, grab your large gear and glue gun and attach the gear to the top of the car. Once that is in place, attach the motor to the car base using your glue gun – this might need to be at an angle so that the motor and gear can engage.
7. Attach the solar panel
The spool you have is to ensure that the solar cell is elevated on the car so attach these together using tape, and then tape to the base of the car. Using tape means that the solar cell can be adjusted when needed.
8. Make the connection
Finally, make sure the leads from the solar cell are connected to the leads on the motor so that the circuit is complete and your car is ready to go.
9. Get outside
All you need to do now is capture the sun rays – we're sure your students will love this bit! Get outside and allow the solar panel to soak up the sun and get your car moving.
This simple experiment is a great way to teach your students about solar power and we're sure you will come back to it again and again – enjoy!


