You've probably seen an aesthetic looking photo wall somewhere on your social media—Pinterest, VSCO, Instagram—you know what I'm talking about. I am always in awe of these beautiful collages; they're the perfect way to spice up your room in a non-permanent but transformative way.
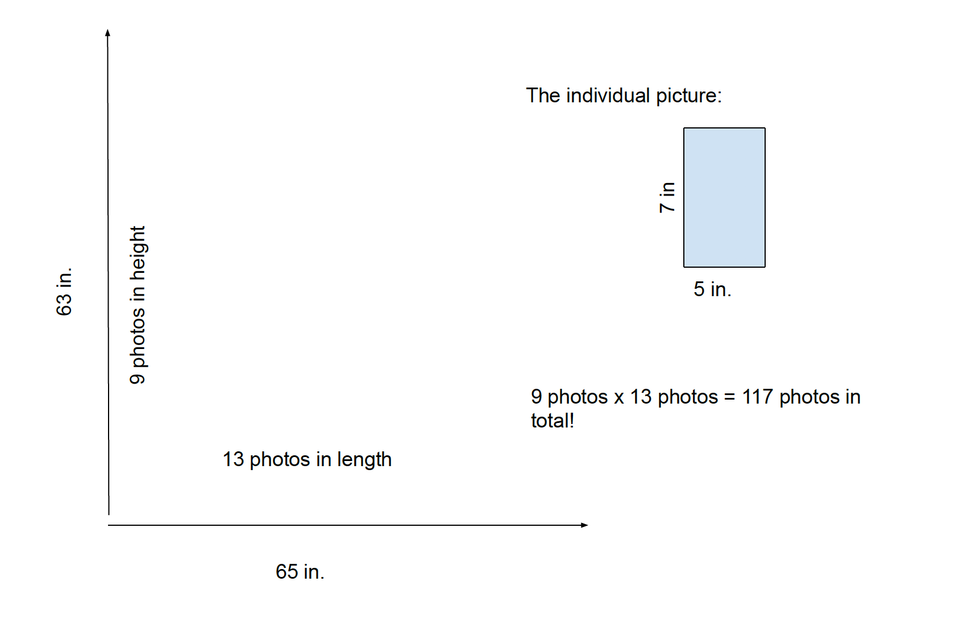
During lockdown, I decided I would tackle the project for a 63 inch x 65 space in my room. I'm not going to lie to you, this was quite the process. But I think I've learned the ins and outs and can help you if you're interested in making one! First, I'll show you the finished product of mine to vouch for my abilities.
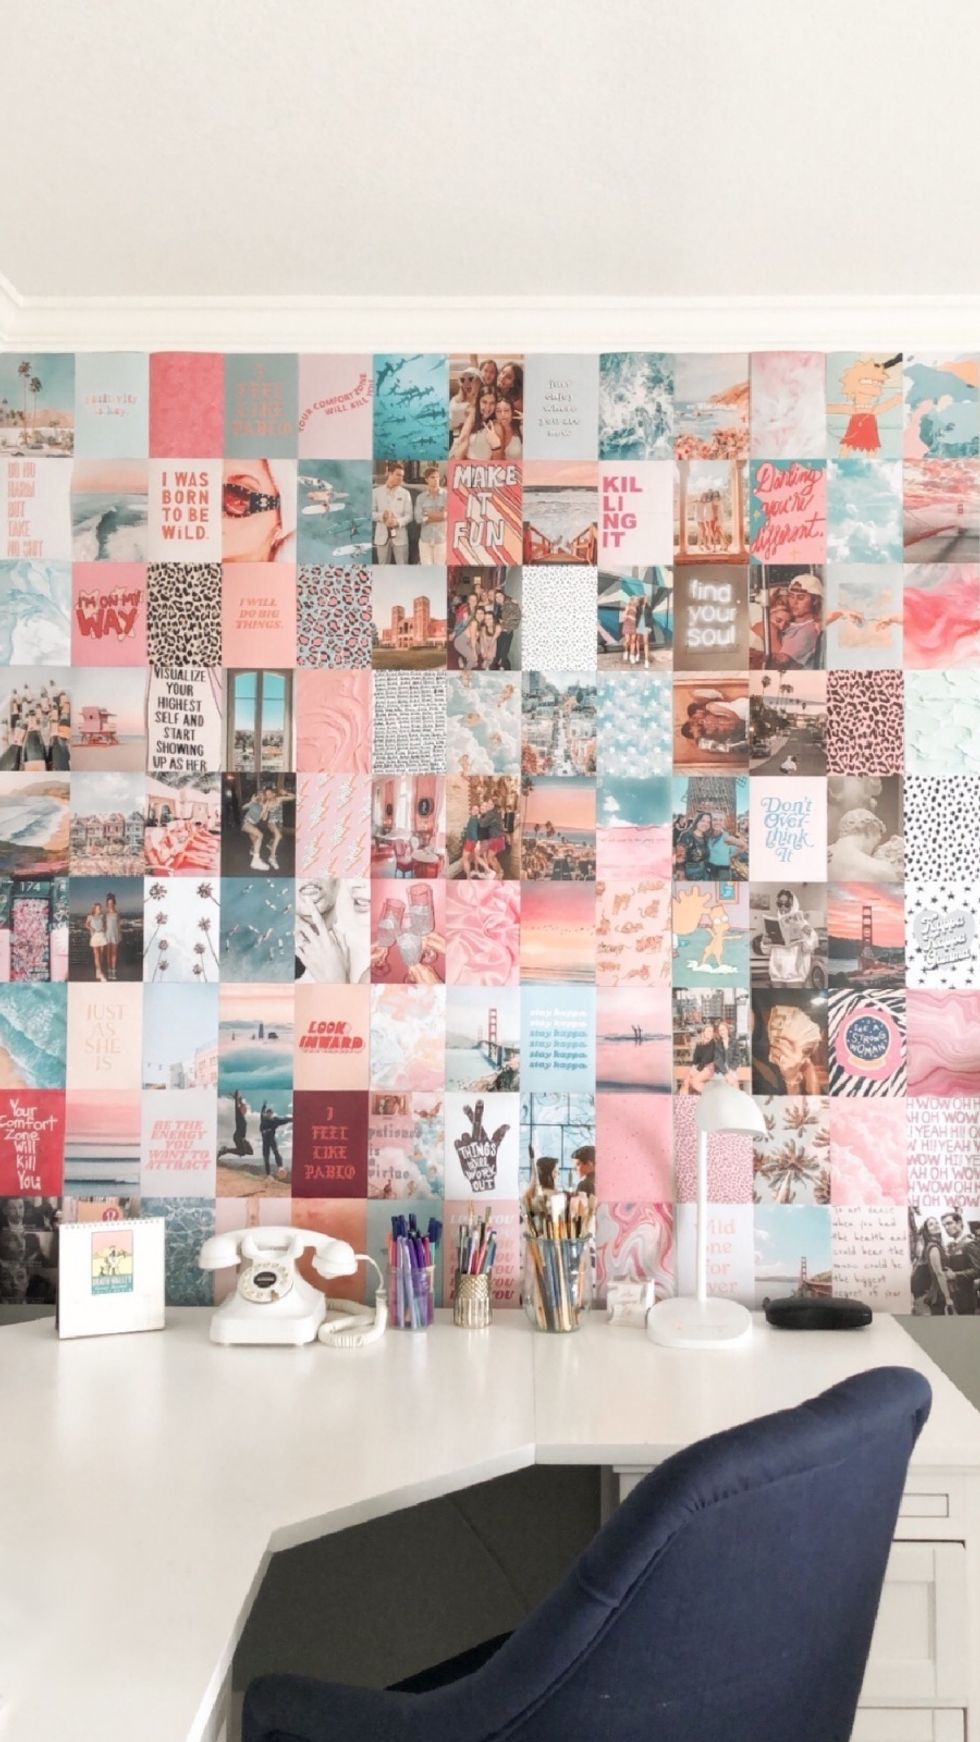
Pick your place: Decide where you want your work of art to go. A small wall, a big wall, your ceiling — the flat surface options are endless! Whatever location you select, measure out the length and width of our space. Then determine what the size of each individual photo will be. This way, you can calculate how many pictures you'll need. I'll insert the math I did with my three brain cells to figure that ish out. Don't start the hysterics though, if I can do it, you sure as hell can.
A visual mission statement: You're going to want to visualize the theme of your wall. Let your creativity take you on a brainstorming journey. The intention behind your wall can be as simple as "pictures that spark joy," "faces and places I love," or even something incredibly specific like "Paris in the spring." Whatever floats your boat. Keep this mantra, if you will, in the back of your mind when you're selecting photos.
Pics or it (literally) didn't happen: Next, it's time to find the photos. I chose to combine inspirational pictures, quotes I found on Pinterest and VSCO, and pictures of the legends of my life, along with personal pictures from good memories with my friends. I recommend saving all of your pictures to some sort of folder so that they're all in the same place. It can be a Pinterest board or a desktop folder; which ever you decide, having the pictures altogether so that you can look at them and make sure there's some sort of continuity is a major key. I also recommend collecting more photos than you need so when you look at your archive of photos, you can pick out the best options.
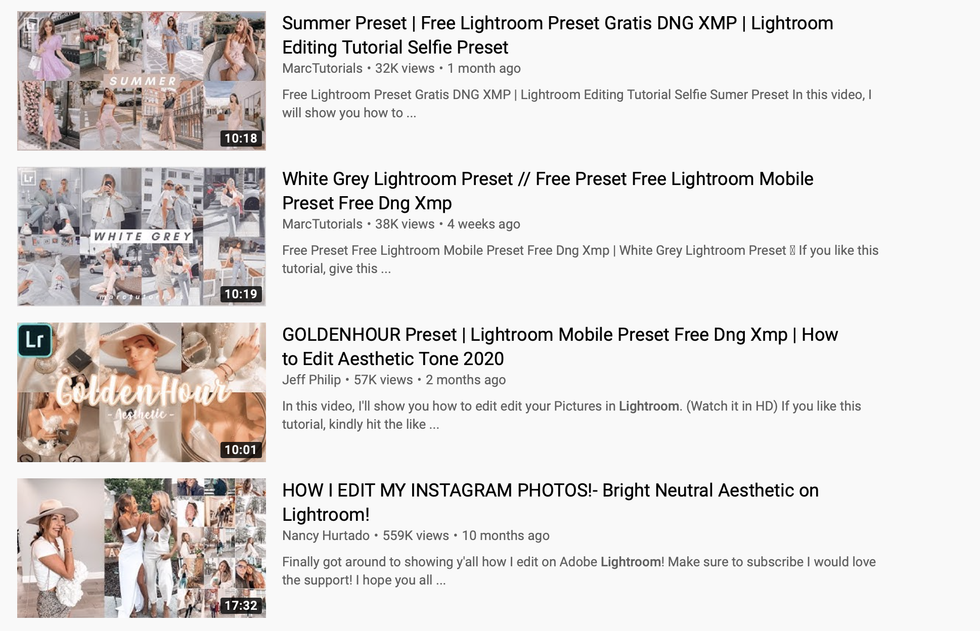
Editing: to achieve the look of a cohesive photo wall, editing the pictures is essential. What I found to be most successful is creating a preset on Lightroom that you can apply to all of your pictures. This way, all of your pictures will be filtered in the same way so certain colors will standout more and there will be no harsh contrast between pictures. You can look up YouTube videos to find presets that photographers use to edit their photos.
Print that ish out: For best results I recommend printing out your pictures onto a matte finish picture paper. This will prevent any reflection and shine on the wall so that your pictures no matter where the sun is shining in your room. Because you've edited your pictures, you might run into issues with printing out the pictures in a larger dimension. To solve this, use a photo in large dinner. Here's the link to the one I used. I sent my pictures off to be printed by a professional company, but that is definitely not an essential. If you have the means at home, that's the move.
Stick it to the Wall: Once you've gotten your photos, it gets pretty self-explanatory. Slap the photos on the wall and finish the job. I would recommend finding a large space on the floor that can be used to arrange the photos in your desired grid before you start to place them on the wall. Also make sure to use an adhesive that will not hurt your wall! I used blue tape—a little bit on the corners is enough. To solidify your work, press a heavy object against your photo wall once all the photos have been assembled
All done! You did it! Look at you, queen!


