I'm broke. I'm in college, and I'm broke. Surprise, surprise, right? I'm also getting a little chubby, but aren't we all?
As a result, I can only afford to spend big money on one or two people for Christmas, and I'm choosing wisely this year. With my car payment, insurance, rent, and food (occasionally), I have very little money left to buy something extravagant for every person on my Christmas list, although I wish I could.
This year I bought one or two gifts for a couple important people in my life, but for the most part this girl's going DIY. That's right - homemade Christmas cards and goodie bags for everyone. Just kidding, I'm not making goodie bags, just the Christmas cards.
The beauty of modern technology in the 21st century is that it has Pintrest. It has DIY gift ideas for your boyfriend, best friend, mom, dad, or neighbor's best friend's cousin. Yes, sometimes they're similar to those Facebook recipe videos we all share and never do, but sometimes you can find some really good stuff on there. That is, once you sort through all the advertisements and pointless pictures of clothes most people will never be able to afford or actually buy off of Pintrest.
Here are 5 of my favorite Pintrest gift ideas for the holidays, complete with things you need and how to do it. This is not a spoiler for anyone on my list getting DIY gifts - I don't give up secrets that easily, my friends. A few of these I've actually done before, a few others have been on my to-do list (aka my Pintrest boards) for a while and I haven't had the motivation to start them.
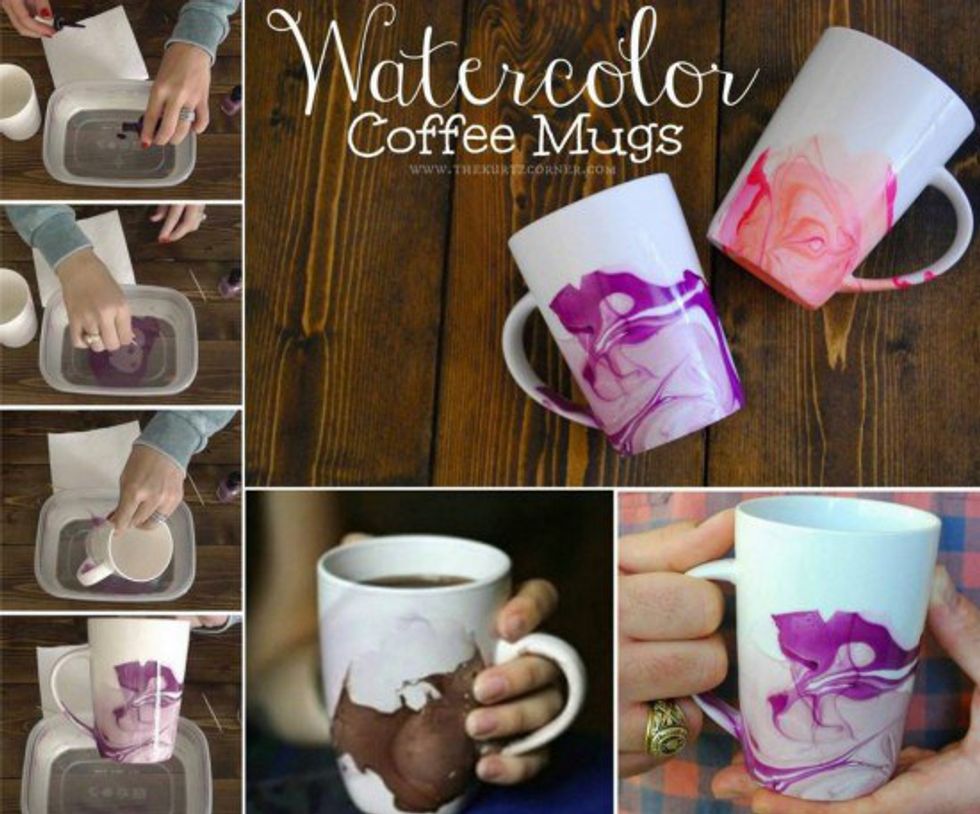
1. Nail Polish Swirl Coffee Mugs
What you need: coffee cups/mugs, nail polish (any colors you desire), warm water, a toothpick for swirling, and a plastic container deep enough to dunk the coffee cup you are swirling.
How it's done: This is definitely one of the easiest projects I've seen. Put the warm water in the container, put a few drops of whatever color you want to use for the mug in the water, and swirl your coffee cup (these instructions just do the bottom half of the mug) in the water until you get the swirl texture around the outside.
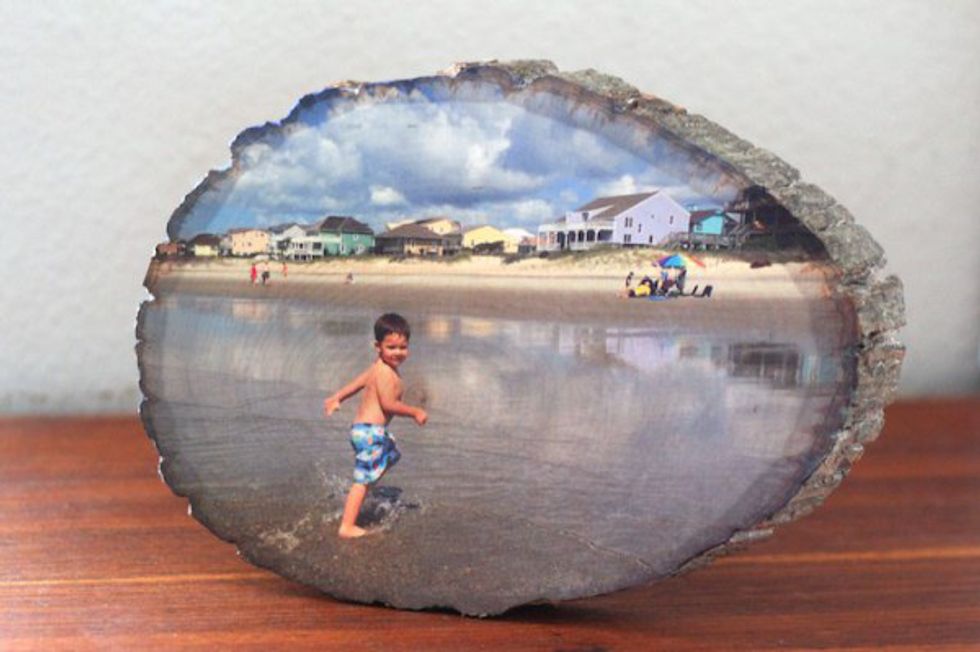
2. Photo Wood Transfer
What you need: temporary tattoo paper, photo (print according to directions on tattoo paper), wood slice (this link says under 11"), scissors, and a washcloth.
How it's done: Granted, this project is a little more difficult to pull off on the fly but it's cute and not hard to do once you have all the supplies. Cut around the photo leaving room for the wood slice. Then, remove the shiny, clear sheet from the tattoo paper with your photo, and place the wood slice down over the photo. Do this part carefully, because you can't adjust it later. Trim the photo around the wood to make it fit perfectly. Wet your washcloth and gently press it on the photo. The picture should start to show through as it's transferred from the paper to the wood.
Click here for the full, photo step-by-step instructions.
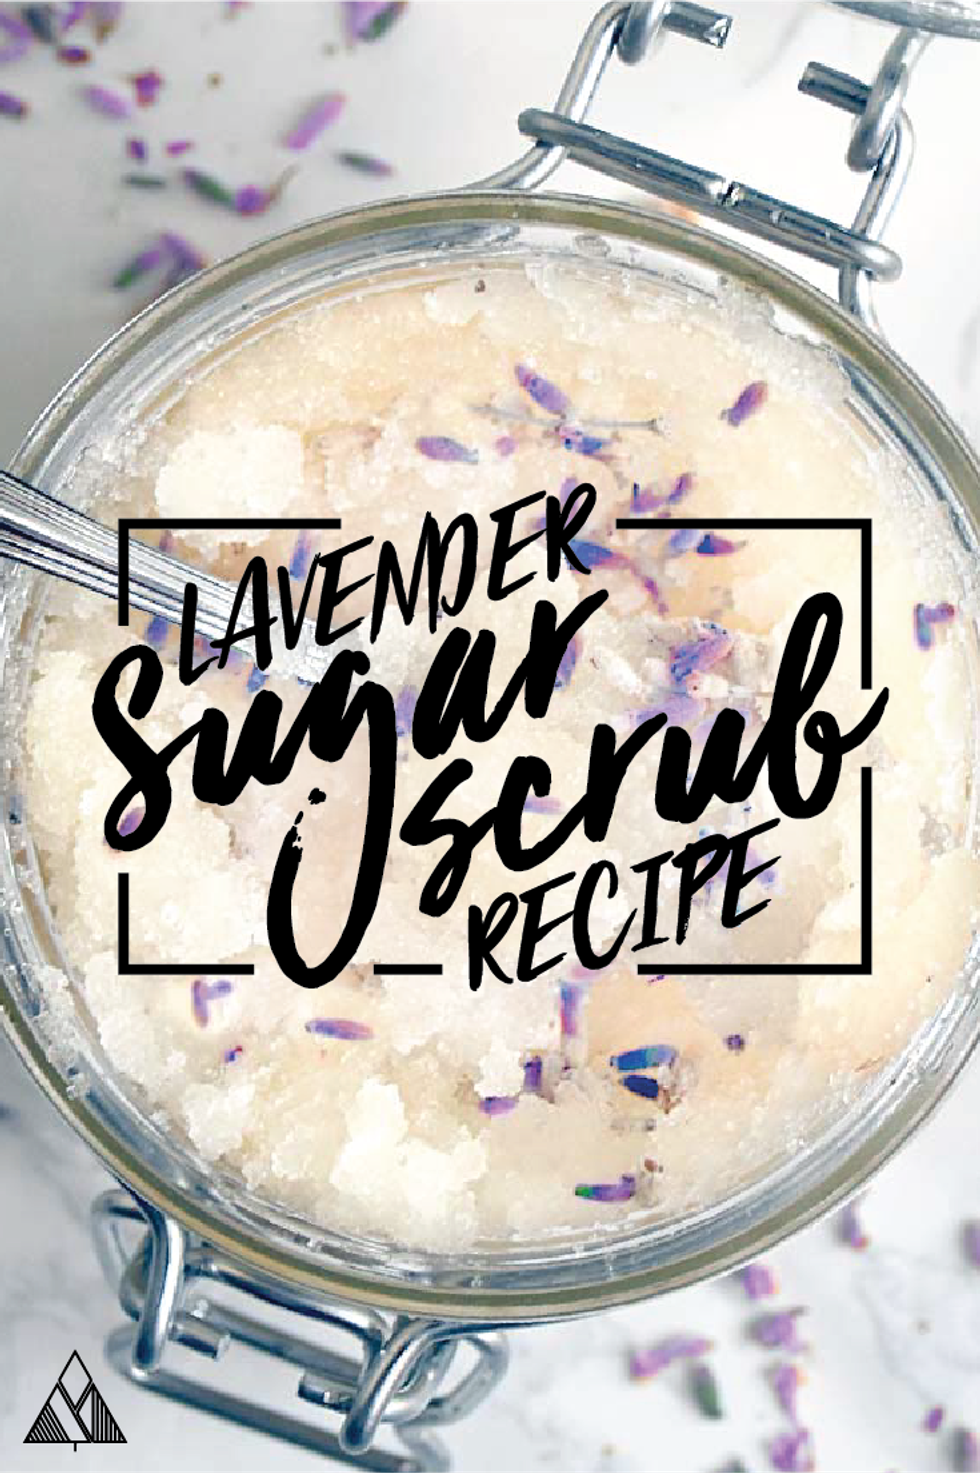
3. Sugar Scrubs
For sugar scrubs, you can do just about any recipe you want. I have made these for years, and I usually do the lavender because it's easiest to memorize. That's the recipe I'll describe here, but the link I include has a bunch. This isn't good if you're just making it for one person, it gets a little pricey. I'd suggest using your ingredients for other recipes, too.
What you need: 1 cup white sugar, 1/2 cup almond oil, 1/2 tsp. Vitamin E oil, 1 tsp vanilla extract, 15 drops of lavender essential oil.
How it's done: mix it all together in a bowl, and store in a jar (with a lid is preferable). They don't last very long as there are no preservatives, so make sure they're used quickly.
Click here for all the recipes.
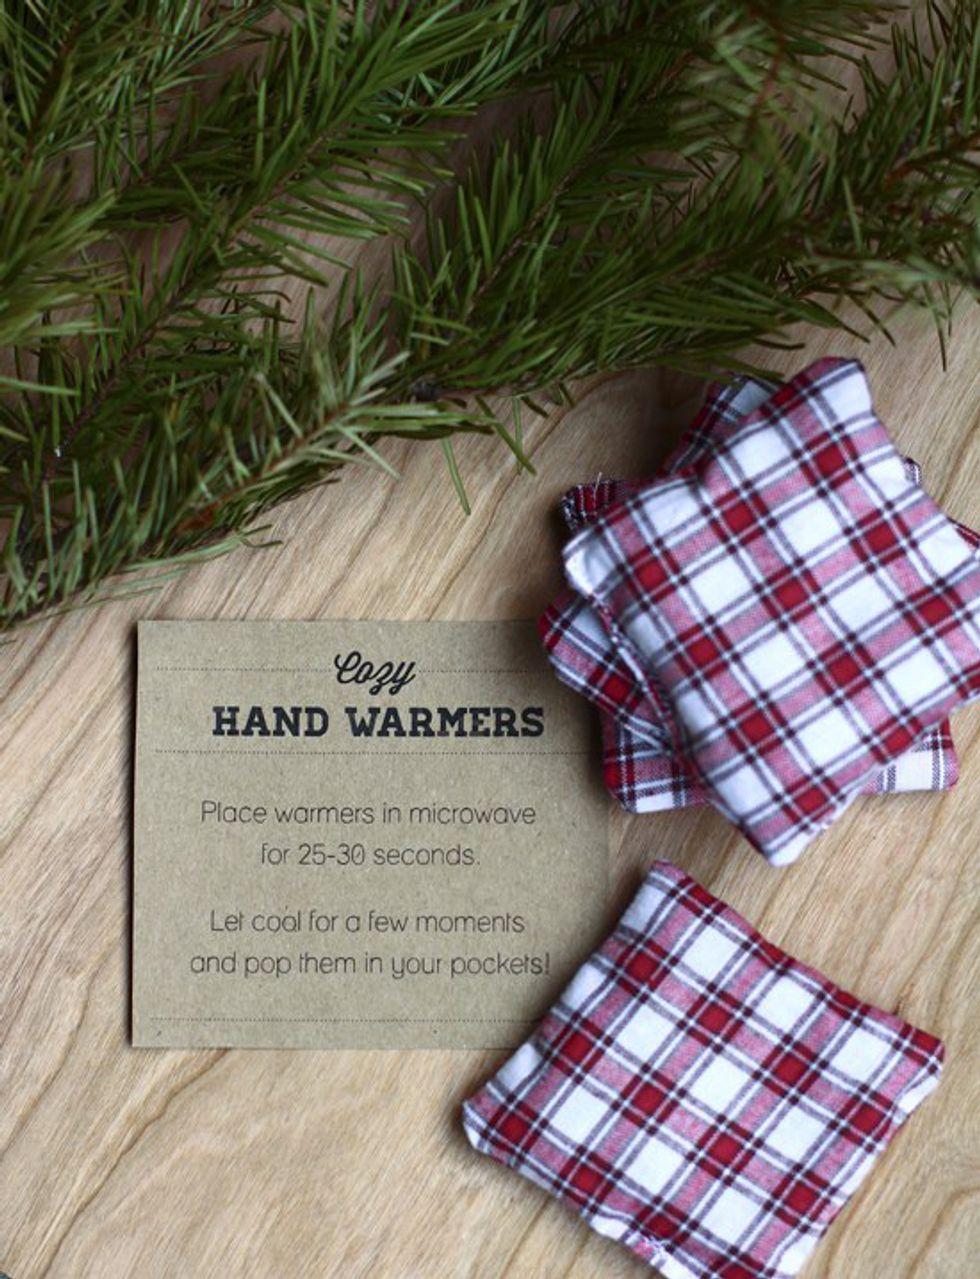
4. Homemade Handwarmers
What you need: 4 pieces of 3x3" (at least) cotton fabric (this link says no blend fabrics), sewing machine/supplies (I can't sew so hand sewing is how I would do it), and uncooked rice.
How it's done: Pin two pieces of fabric together (wrong side out), and sew around the edges leaving about an inch open. Turn the square right side out and fill it 3/4 of the way with rice (with a spoon would be easiest), then hand sew/stitch the opening shut.
Takes less than 20 minutes if you're a really good hand sewer, but the sewing machine would make it much quicker. Just pop them in the microwave for a little bit and then keep throw them in your stockings!
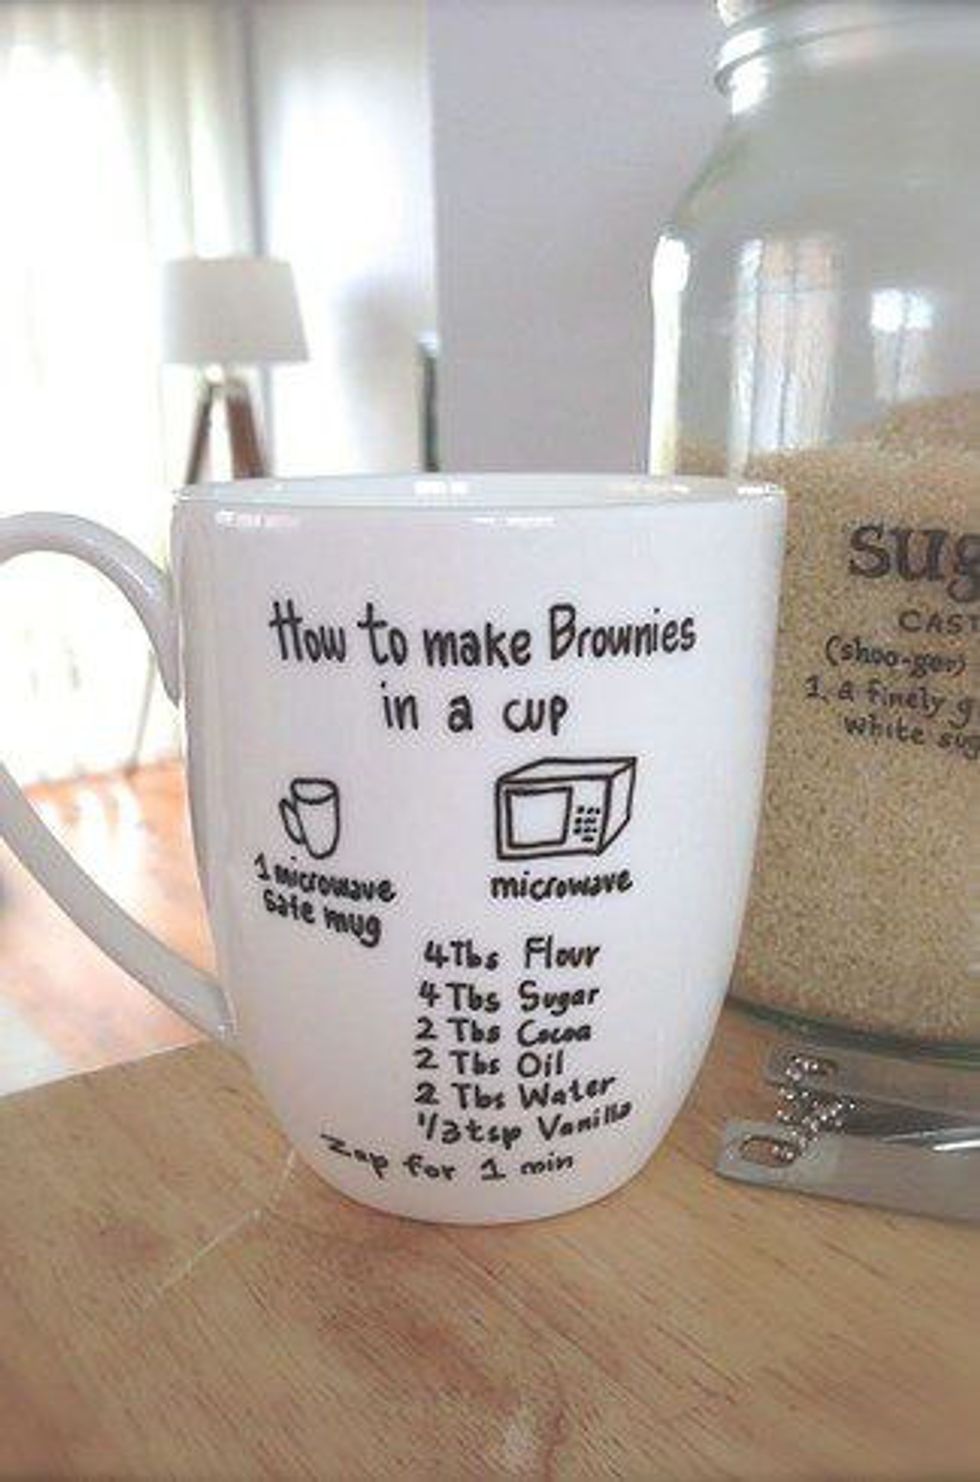
5. Brownies in a Cup Mug
What you need: microwave-safe mug/coffee cup (preferably white), a black (or whatever color) sharpie
How it's done: With your sharpie, write those instructions above on the mug. This could be where you get creative and change the recipe a little but make sure it still cooks correctly since it's a microwavable recipe. Then, bake your mug on 350°F for 30 minutes, putting it in the oven before it's completely preheated and then letting it cool down completely after the 30 minutes. Wash afterwards when cooled.


