A random acts of kindness movement has swept the WORLD! The Kindness Rocks Project has chapters in cities throughout the United States and in various countries. Learn more about the global movement here, and the 12 ways it will make your day!
The mission of the project is to spread random acts of kindness in your community and one way to do it is by painting rocks for other people to find. They then get to re-hide the rocks to pay it forward unless there is one they are particularly attached to and want to keep.
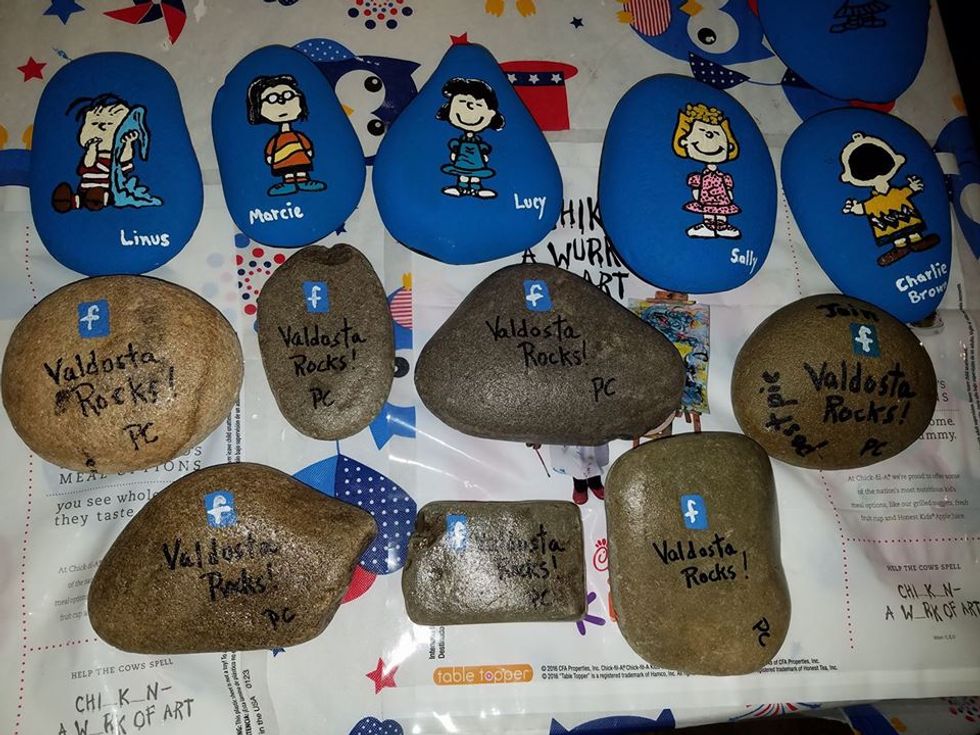
With a Facebook group name on the back, they can post a picture to that group so you see some of the people who find your rocks and where they take them to. So if you'd like to be a part of this fun activity and life enriching movement, you're going to need to know how to paint your rocks. I've learned some techniques from several rock artists in my area, including how to help them endure the elements.
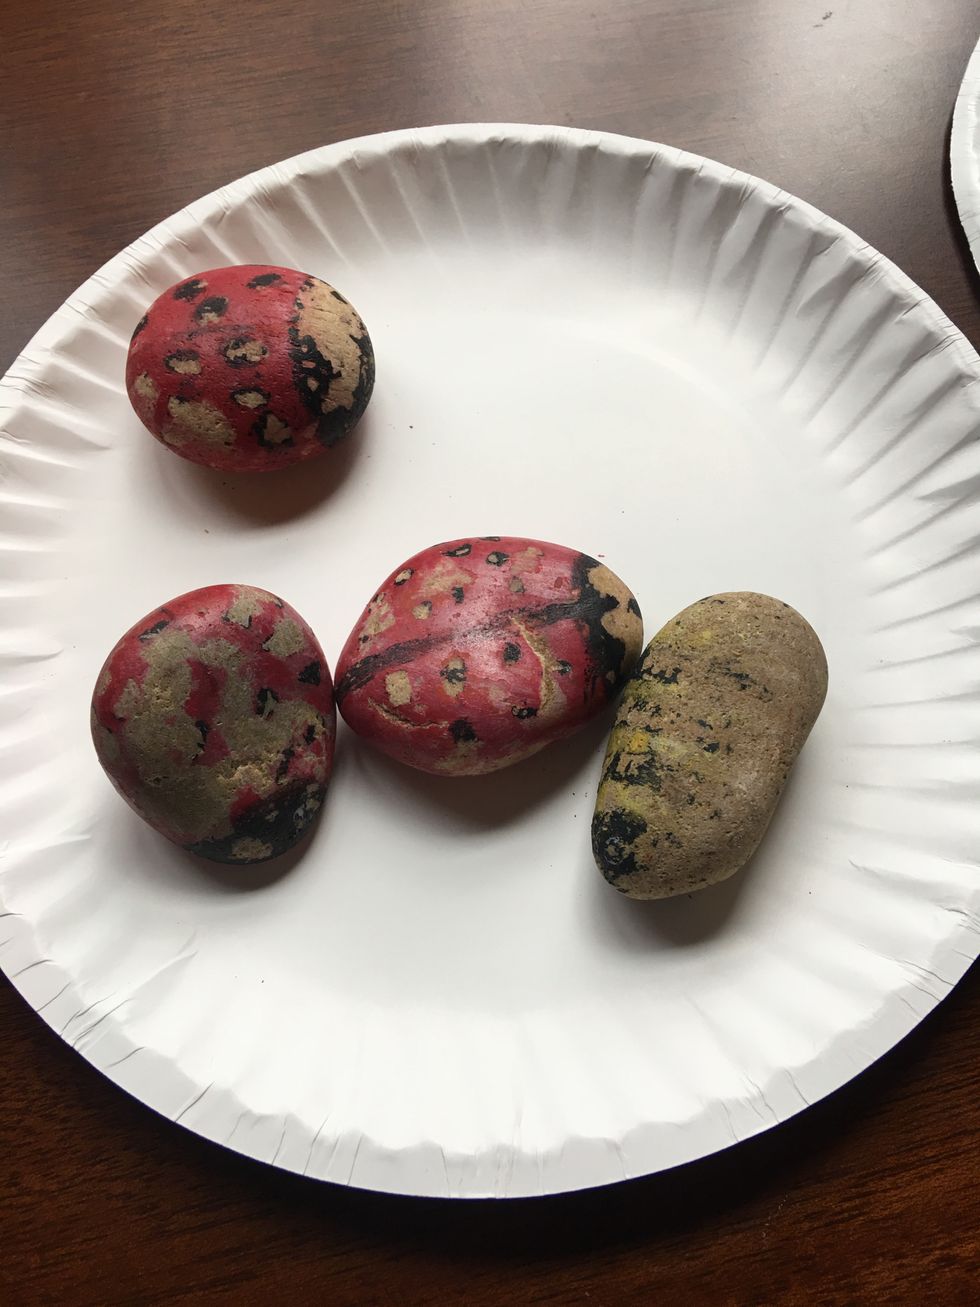
Without this know-how, your rocks will look like this:
Before I knew about Kindness Rocks, I painted these with my daughter for our garden. I sprayed them with sealant but in no time at all they became very weathered. Now I know how to make them last as well as a few other tricks!
Here are 8 tips and tricks for painting your kindness rocks like a boss:
1. River Rocks Work Best
While there is no rule about what kind of rocks you use to paint kindness rocks, it is definitely easier to use river rocks because they have such a smooth surface. You can get a bag full at any hardware store!
2. Paint, Seal with Mod Podge, then one final seal with clear spray paint
As recommended by the The Kindness Rocks Project's official webpage, the best way to seal the rocks so they can weather the elements is by painting one coat of clear mod podge over the dried paint, then finishing it with one clear coat of spray paint.
3. Label, Seal, and Dry Backs First
Rather than flipping back and forth between drying times, you can finish the back first and once dry concentrate on the art and sealing on the front. The back should have your local Facebook Chapter on it so that when the rock is found across the country or the world, the person can find your group to let you know where it has traveled.
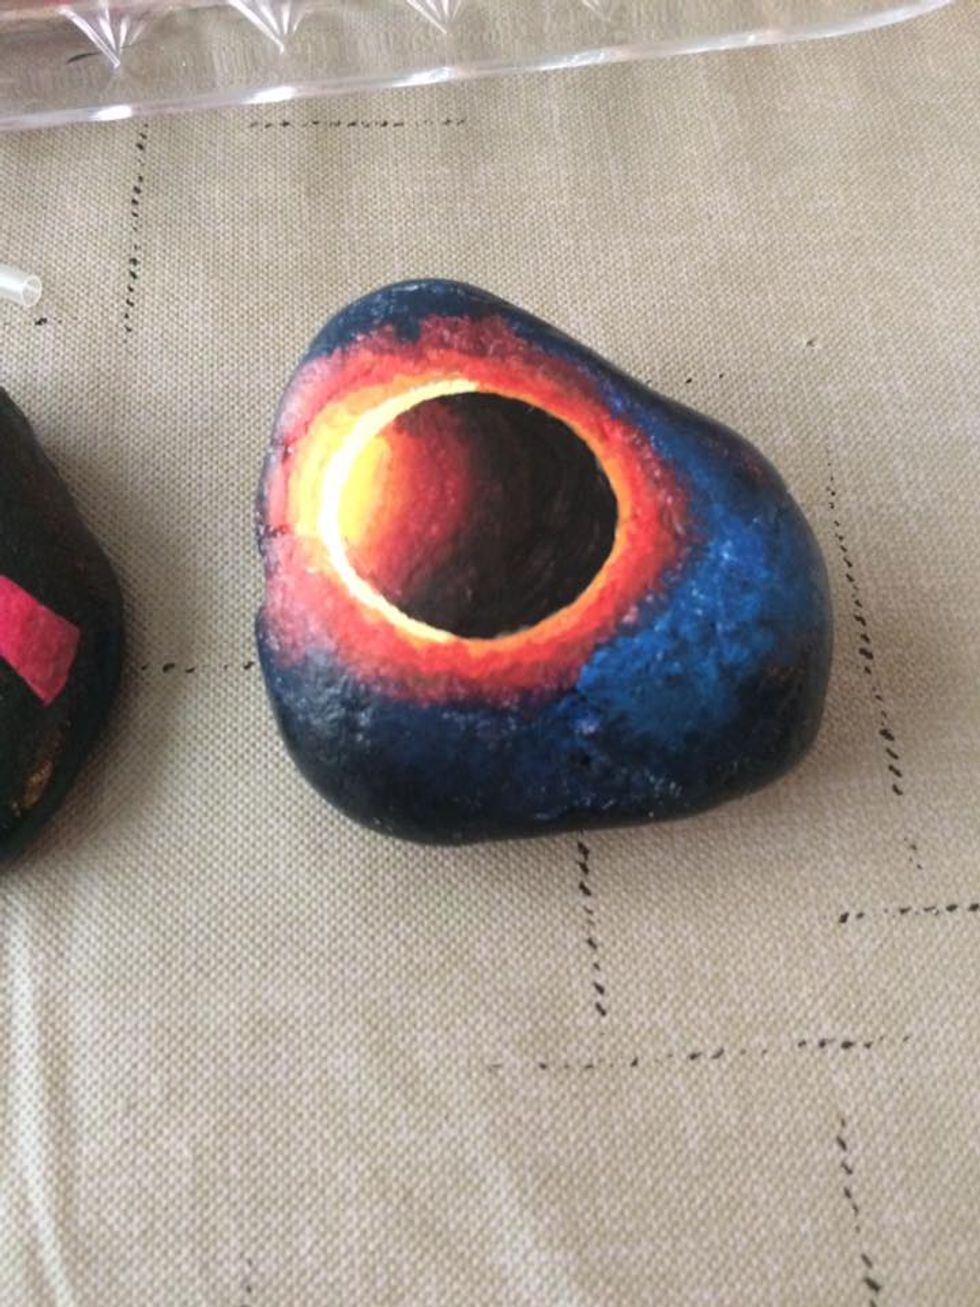
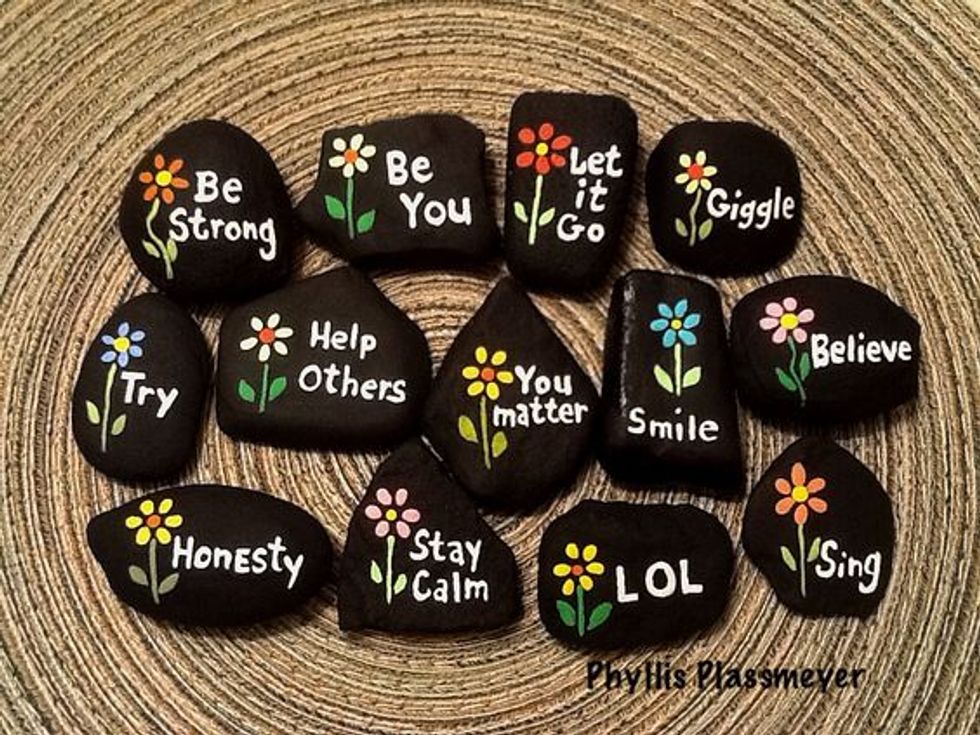
4. Use Contrasting Colors
Nothing will make your art and message POP like incorporating sharp contrasts in your design. The kind messages on these rocks really shine with their light color against the dark background.
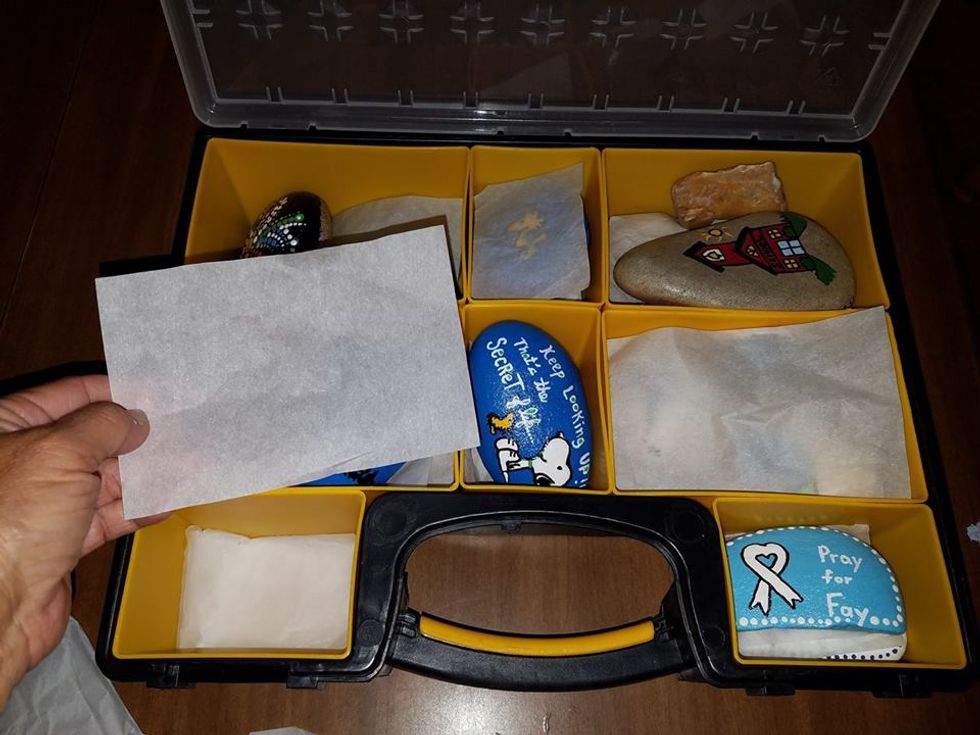
5. When storing or transporting the rocks, use parchment paper between them
This will prevent scuffing on the paint while they are still newly designed and sealed and help them last longer.
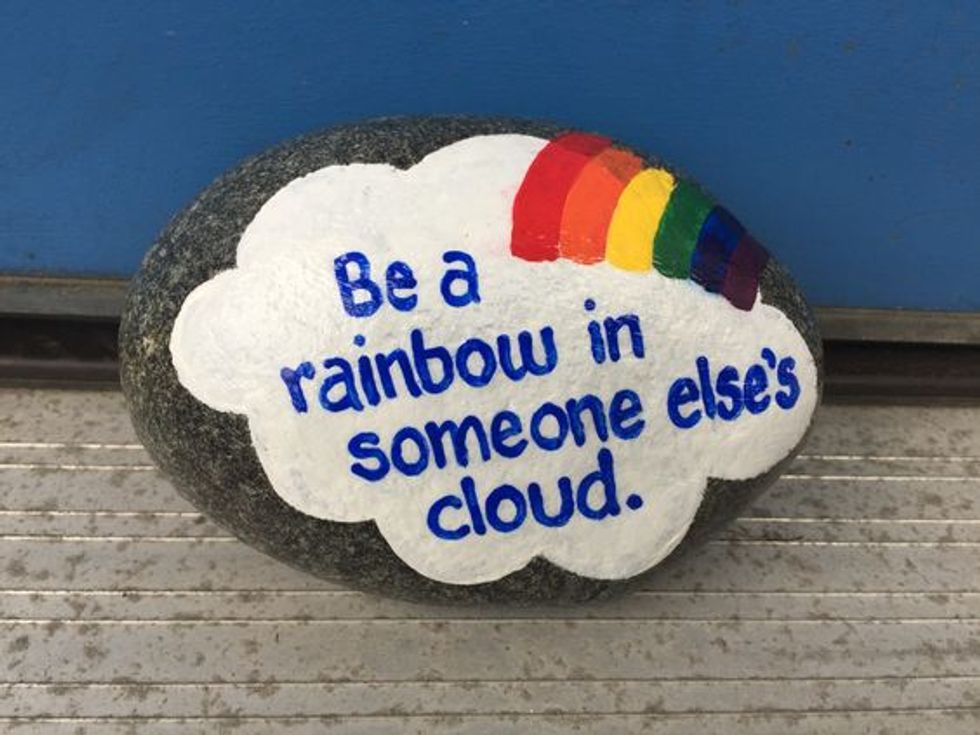
6. Don't forget to be inspiring
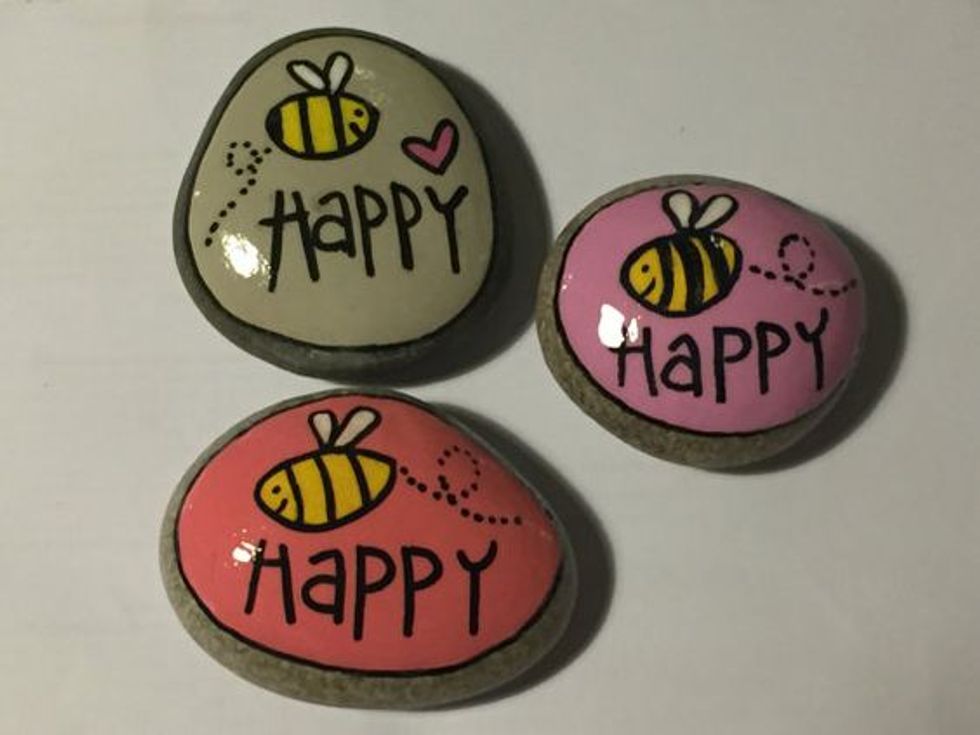
Remember that the purpose of the project is to spread kindness. There are endless possibilities. You can be funny, motivational, light-hearted, or entertaining; try to create rock designs that can make someone else's day.
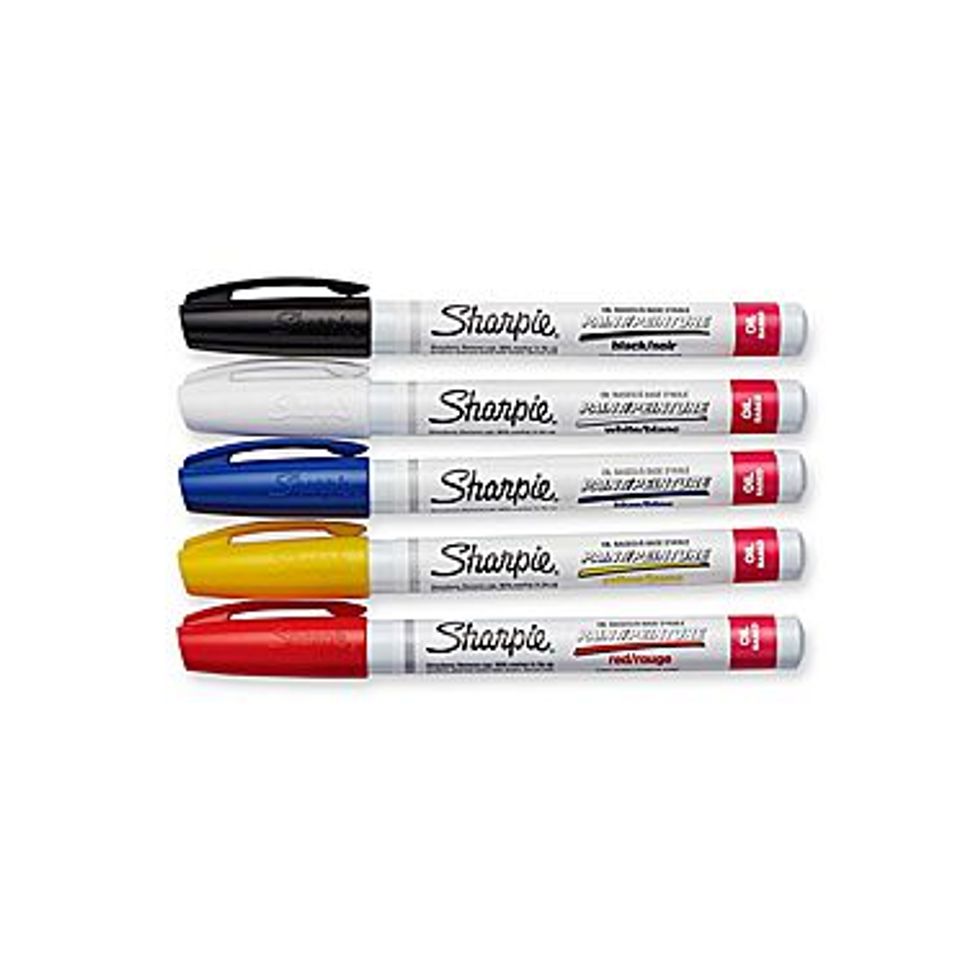
7. Use Sharpie Paint Pens for Details
Straight lines and details may be difficult with a paint brush but sharpie pens make the job a little easier.
8. Designs can also be mod podged on!
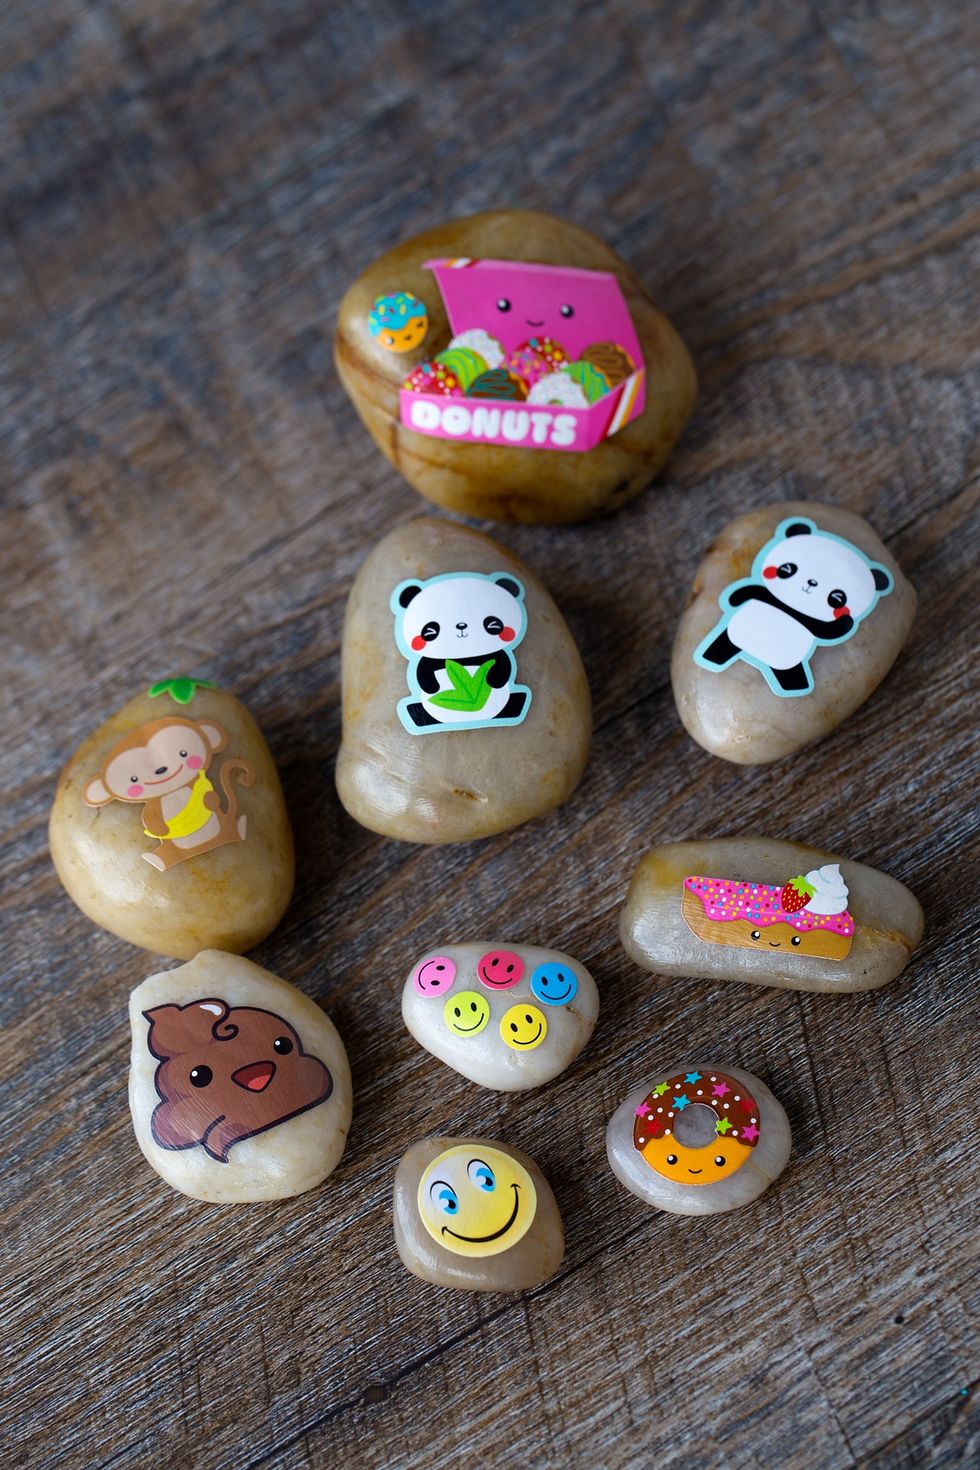
Check out how blogger Fireflies and Mudpies uses stickers and Mod Podge to decorate kindness rocks! If you'd like to join the movement but don't feel particularly artistic, or you just don't want a mess, this is a great way to do it! You can use stickers or cutouts of paper as long as the rocks are smooth and you use plenty of Mod Podge!
If you've thought of joining the movement, these tips are a great place to start. You can also share these tricks with friends so that more people can participate.
Check Facebook for your local chapter or find out how to start your own by visiting The Kindness Rocks Project's official page and have a rock painting party with friends. The craft is not only fun but exponentially meaningful! What are some of your favorite tricks?


