"Photography, as we know, is not real at all. It is an illusion of reality with which we create our own private world." - Arnold Newman
I never realized how rewarding it would feel to see the final product of a picture until I started my film photography course. Last semester, Spring 2016, I changed my minor from Art to Photography in hopes of more enjoyable classes. Don't get me wrong I loved drawing and painting in my Art courses, but I realized my heart wasn't in it. I have always loved taking pictures, but with a digital camera because that is what everyone uses now or our cell phones. Little did I know what real photography looked like until I struggled and struggled with learning about film photography. The only film I have done is those disposable cameras I got as a little kid, that we would take to Walmart to get developed. That is nothing like what I am doing now.
This kind of film photography is hard work, but very worth the long process. Before taking this course I had a limited knowledge of that process. I saw snips of the film developing process and making the final print from watching shows like "Saved By The Bell" and "Pretty Little Liars" episodes.
I am going to take you through the steps of how film photography is made into a beautiful black-and-white photo.
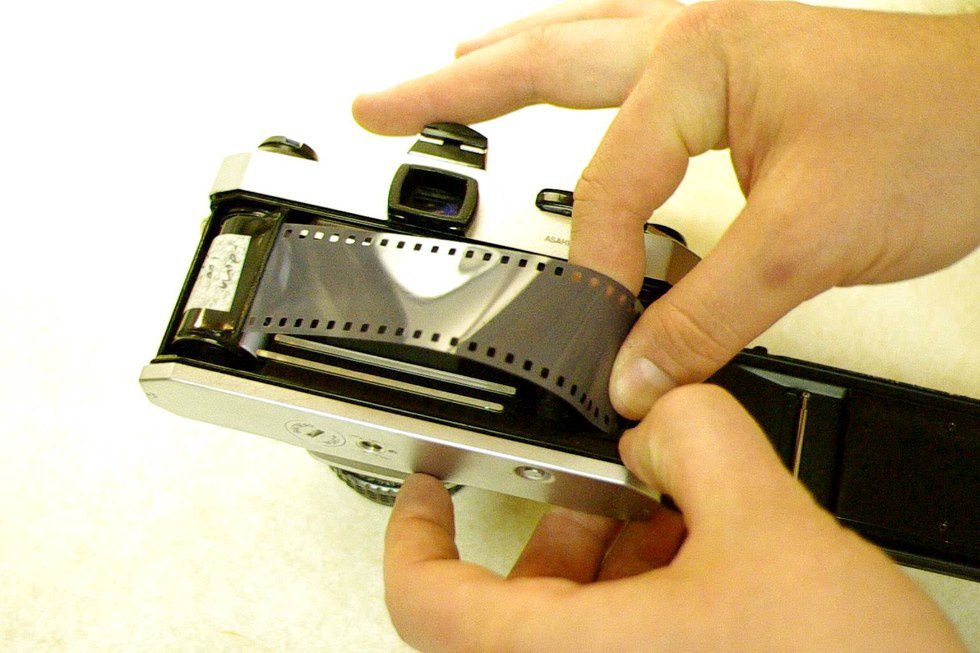
Step One: Load the film.
This can be a tricky process, at least for me. All you do is place the film in the camera, put the beginning of the strip into the slit at the other end. After that, you send it through with the Film Advance Lever until your counter is on one.
Step Two: Metering and Taking the Picture.
Metering - Determines the correct exposure with a specific ISO setting by combining shutter speed and aperture. This feature allows you to get a very good contrast of black and white in your pictures.
Step Three: Developing the film.
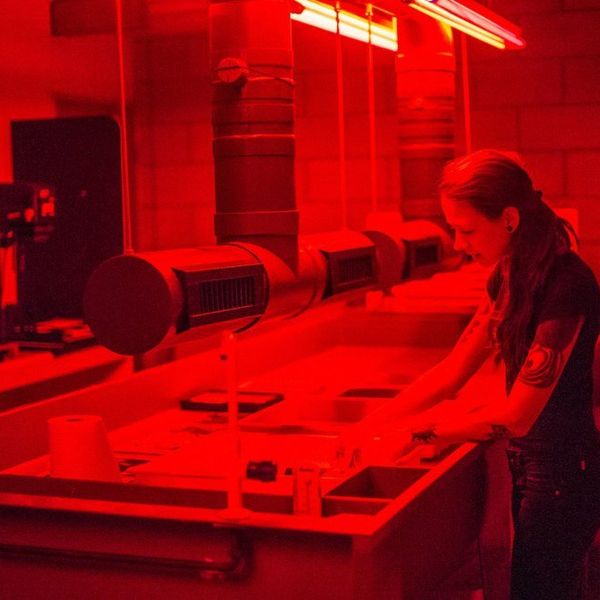
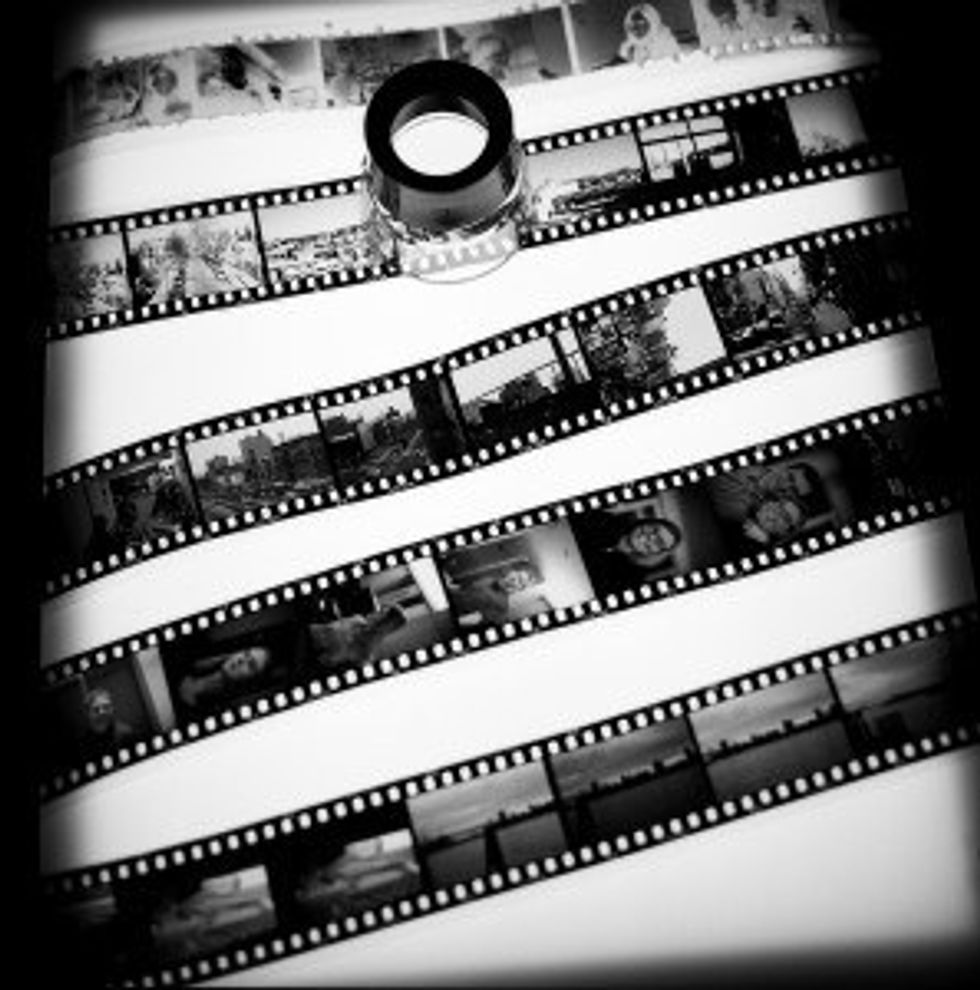
This process can get tiring, but when done right the reveal of your film is totally worth being exhausted. Before you can work in the light, you must venture into the darkness of putting your film in a light safe tank. While in the dark, you are using tools such as, a handheld can opener to pry open the film canister, scissors to cut each end of the film strip, and then the reels that go in the tank. One think to remember, always handle your film by the edges so you don't leave fingerprints on the film, this is easier said than done. Then after you get the film safely in the tank, the lights come back on and the developing begins. Water, Film Developer, Water again, Fixer, Water one more time, then lastly Photo Flow to remove streaks on your film. Lastly, you remove your film strip from the reel and hang it to dry.
Step Four: Contact Sheet.
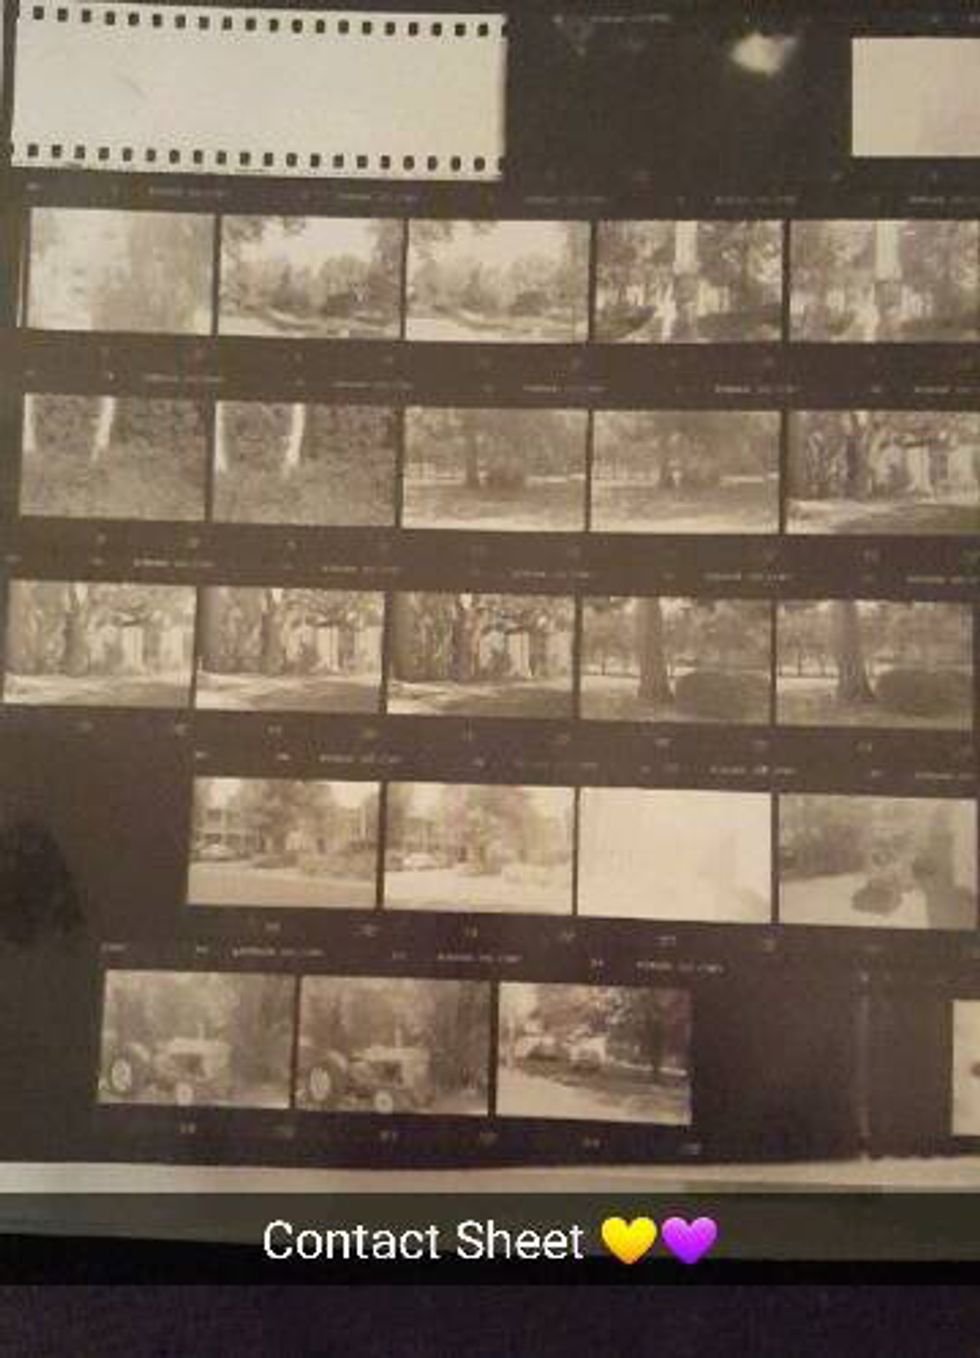
This is a step my photography class does, one I had no idea was possible before this class. Instead of making larger prints of every picture, we make a Contact Sheet. This is a print of every slot on your film strip that you developed. Below is a picture of my Contact Sheet from my second assignment.
Step Five: Developing prints
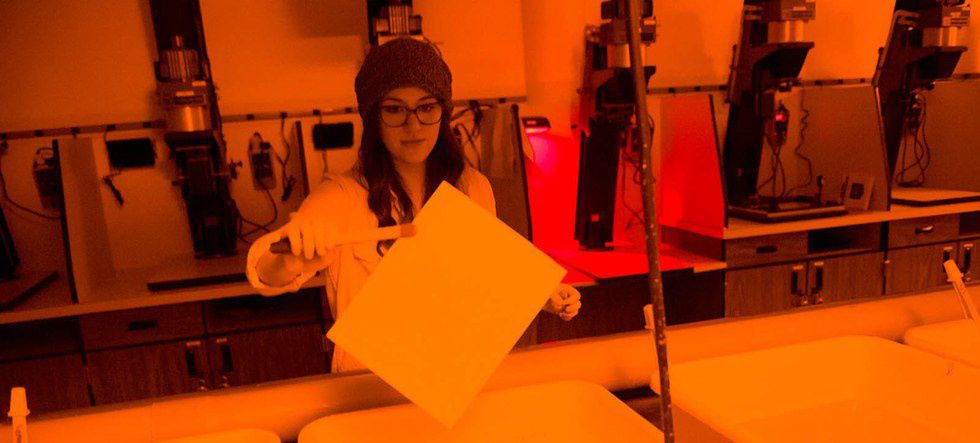
This is the step that will make you go, "Ahhh", every time! After picking the picture you want to make an 8 by 10 inch print of, you exposure RC paper to the light from the Enlarger where your film is in the film carrier and that image is projected onto the paper on the Easel. After exposing the paper for which length of seconds is best for your print to get a good contrast of black and white, it is time to watch your image appear on the paper. Using two trays of chemicals and two trays of water; You use 3 tongs - Print Developer, Stop Bath (water), and Fixer (a silver chemical).
Step Six: Finished black-and-white photographs
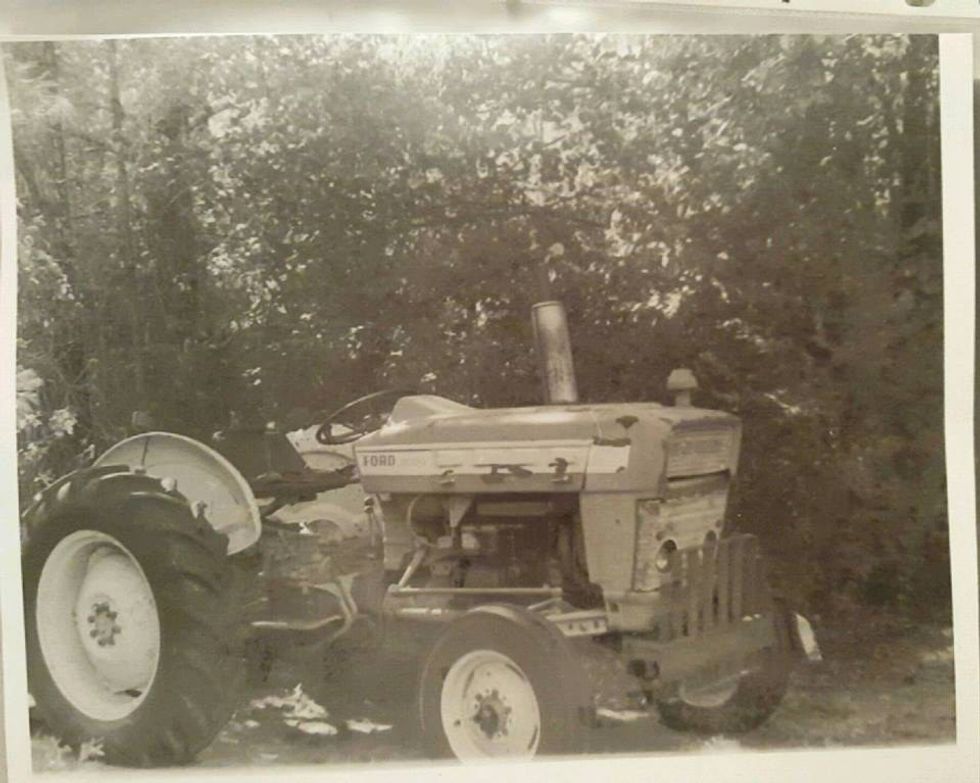
Finally it is time to look at your picture close up, and it is truly a rewarding feeling. After struggling and struggling, you finally have a print of your own photograph. Below is my second print for my second assignment, "There's just something about a Tractor."


