I taught myself how to draw and paint.
This might explain a few things.
At any rate, without a face-to-face teacher, I've turned to inspirational fellow artists to help me improve. Below is a simple (like, noob simple) tutorial on how to create watercolor paintings when you don't really know all the professional techniques.
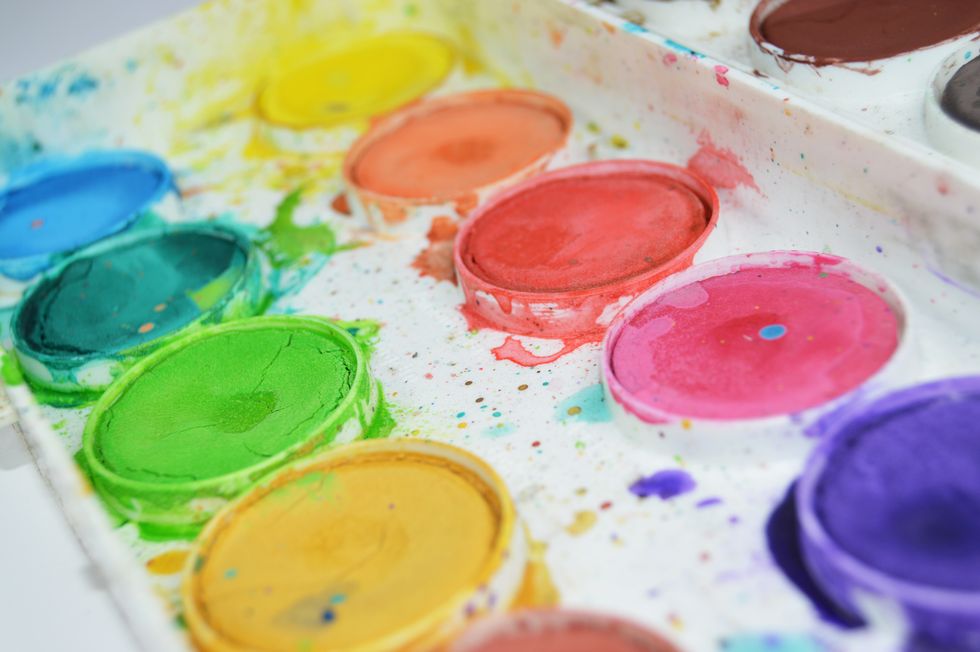
So crack out the brushes and that old tin of watercolors you've had since you were in second grade. It's time to paint!
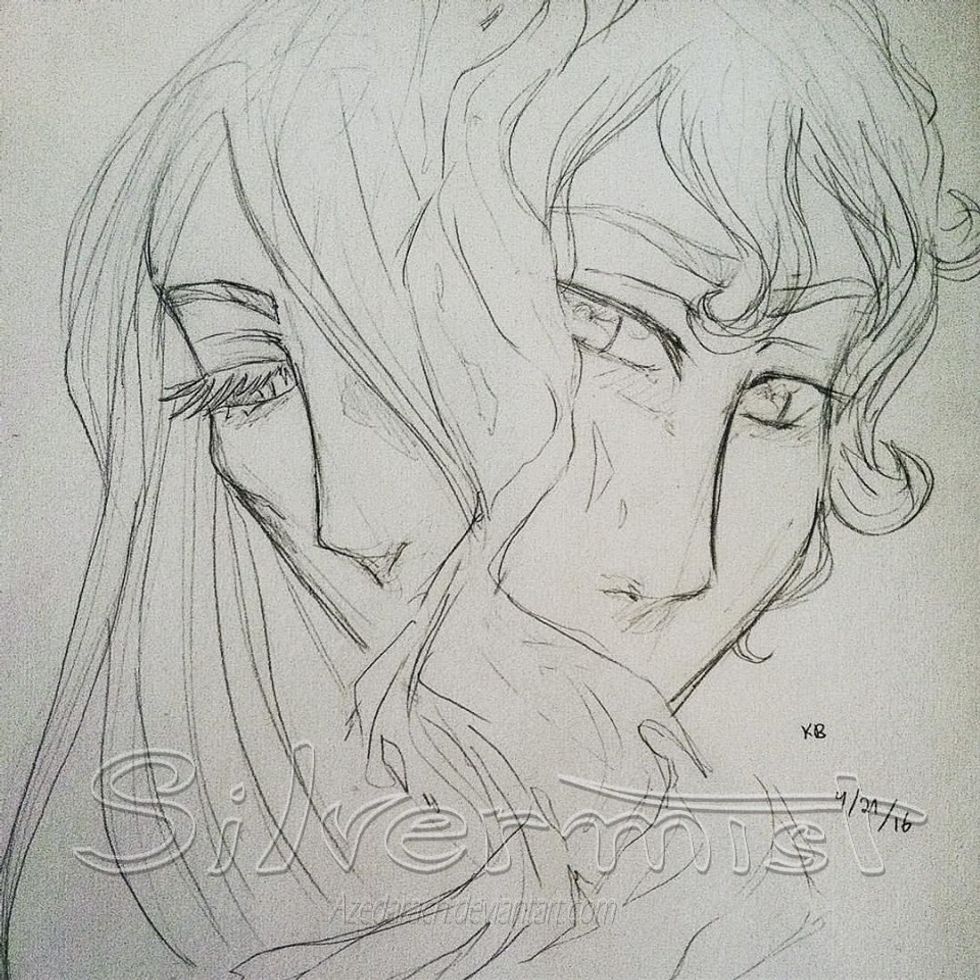
1. Sketch.
Sketch out your thumbnail in a separate sketchbook (I usually use normal-weight paper to avoid screwing up my precious, expensive, expensive watercolor paper). You can do whatever you want with this sketch because the likelihood of recreating it perfectly are very small.
Once you’re satisfied, re-sketch it onto the watercolor paper. (For encouragement: when I was little I used to read a lot of how-to-draw books, and one told me “If you can draw something once, you can draw it again.” Trust yourself!)
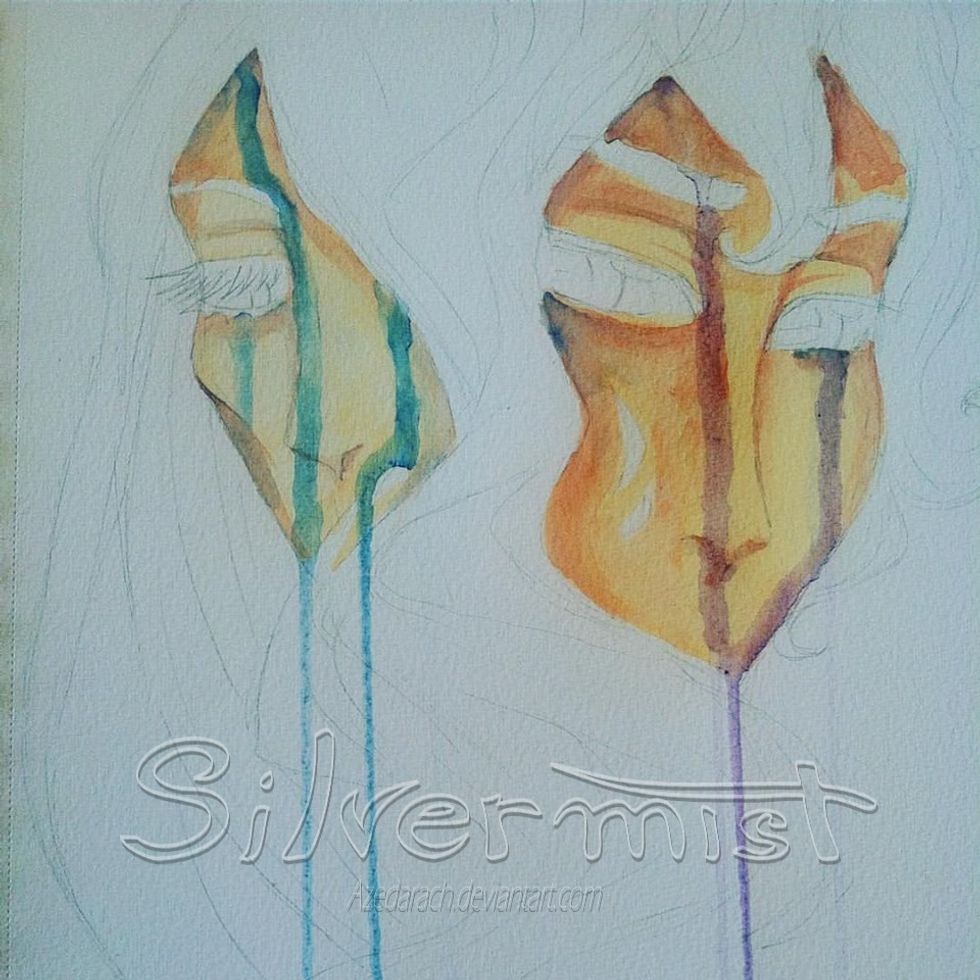
2. Base colors.
Lay down the biggest patches of color first. This prevents washing out small details LIKE A NOOB WOULD. (Here I shake my fist at my past self). I chose to start with the skin.
The drip-down technique is something I learned from watching AgnesCecile on YouTube. She is an amazing artist and I have watched her videos more times than I can count just to try and learn how she creates such gorgeous paintings.
(Remember my ancient article about How to Do Anything? I'm tellin' you, folks. YouTube it).
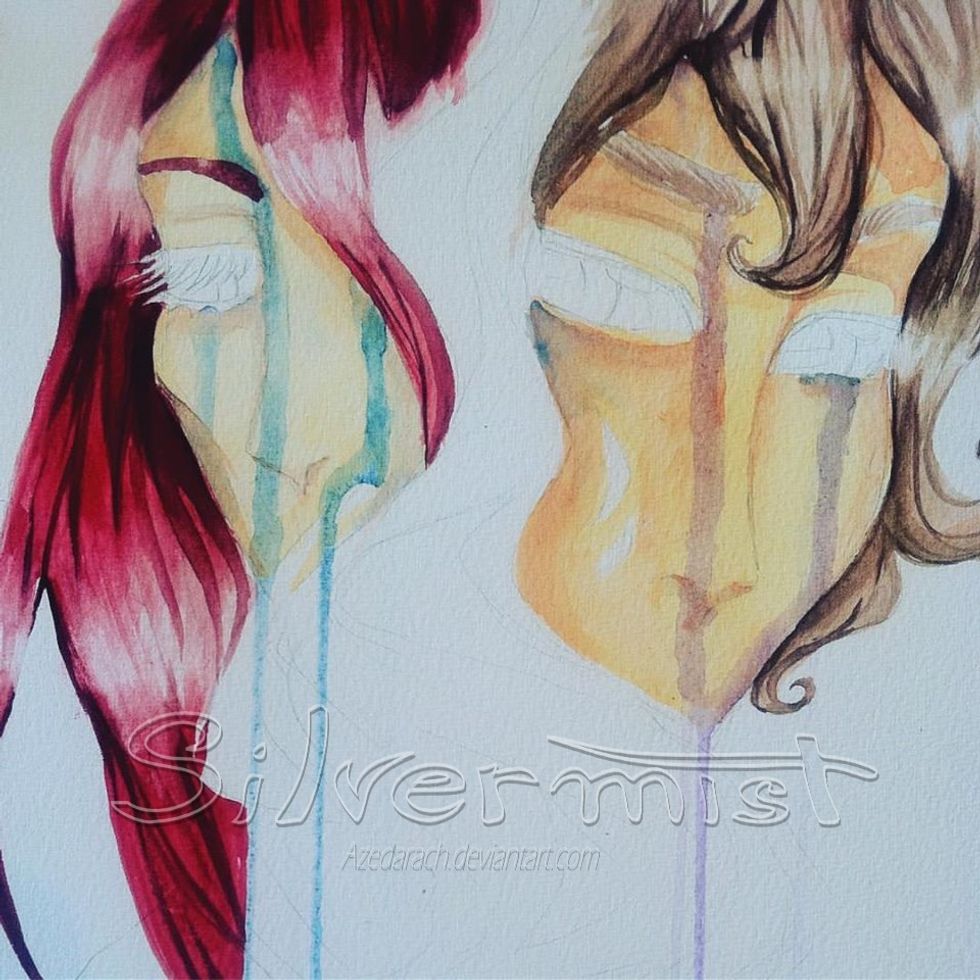
3. Lighting effects.
If you’re like me and like to draw a lot of hair, remember to paint the highlights into the base wash, not over. There is always room to add more color, but it’s quite hard to remove it. Leave plain white paper where you want your highlights.
This... is clearly not a perfect example, but this isn't about being perfect. It's about learning, right?
...right?
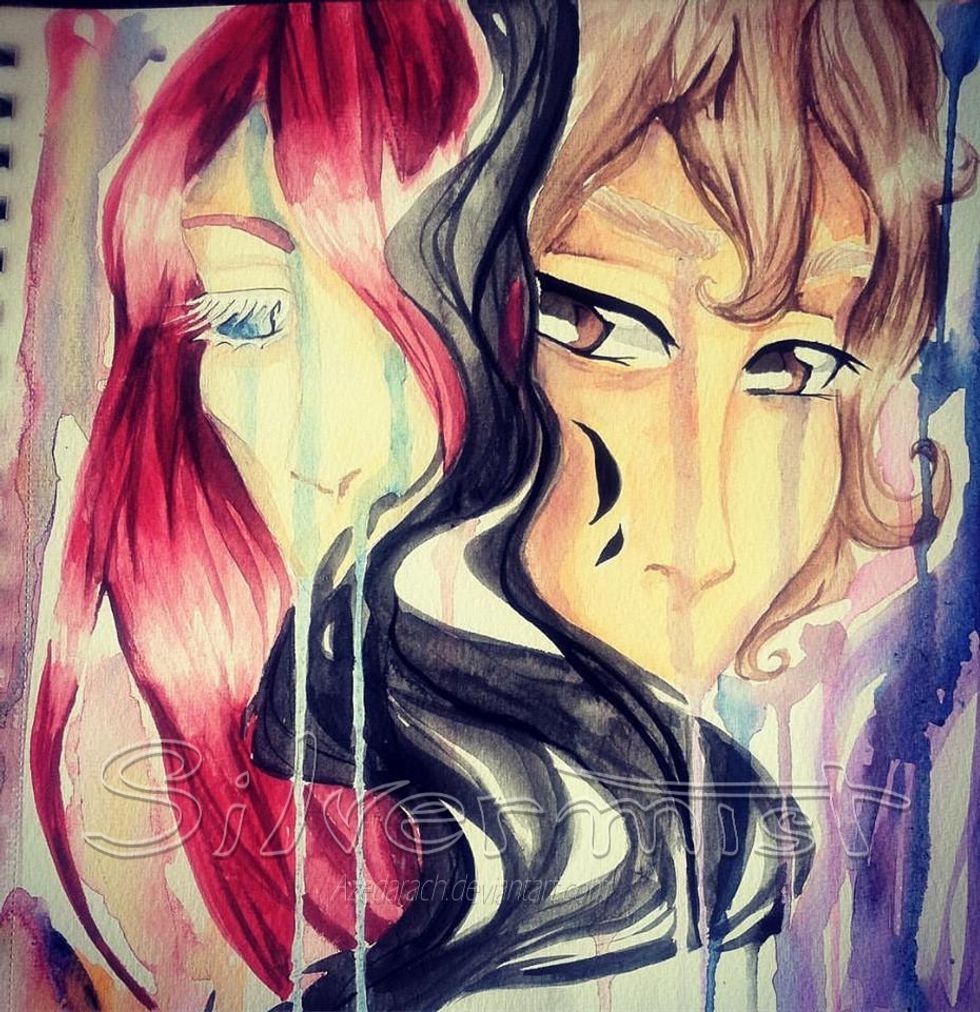
4. Details.
Fill in details as best you can. I’ve found with watercolors, it’s much harder to attain fine detail work because a) I’m a noob and b) watercolors are, by nature, watery (NO WAY) and like to run into each other.
If you’re a digital artist on the side, like me, you will bemoan the lack of layers. Layers are life.
Layers.
Are.
Life.
But in their absence, just work slowly and carefully to place eyelashes, iris highlights and in this painting’s case, the essence of a black spirit being who contains the evils of the entire universe. (Oh yeah... I’m a writer and 99% of my art is based on what I write).
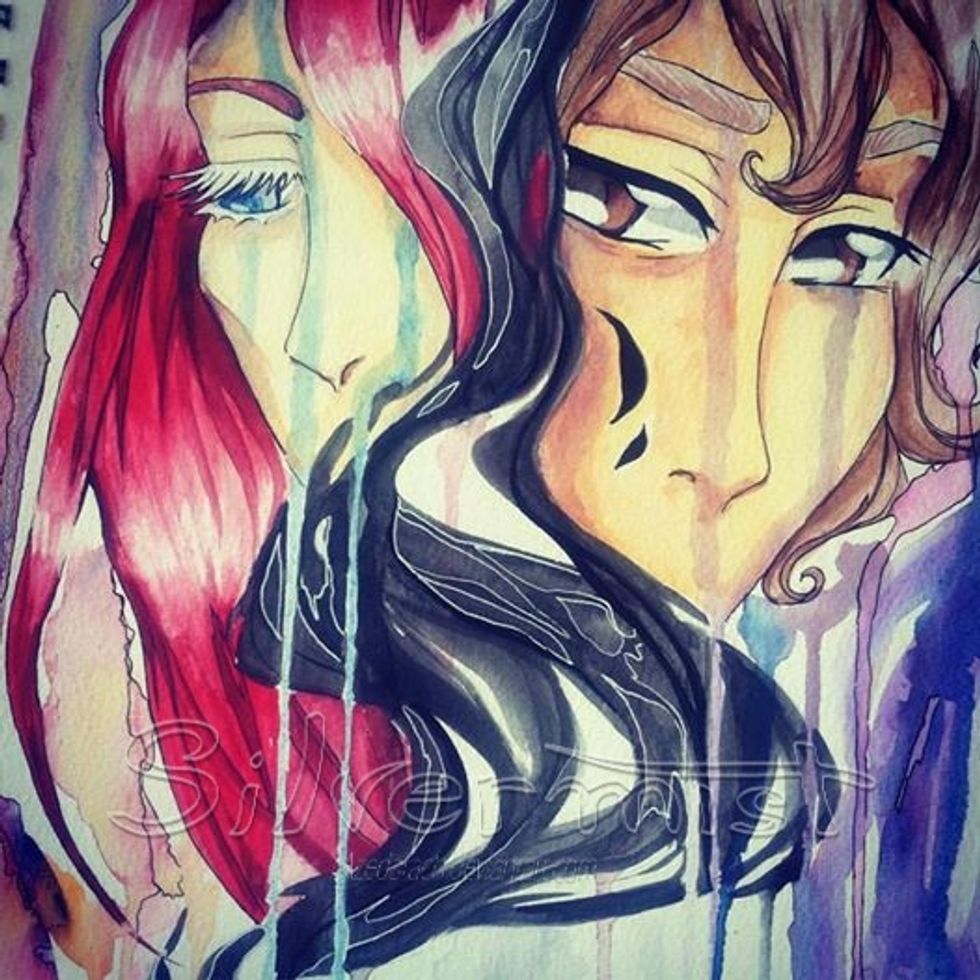
4. Finishing work.
Ink! I am head-over-heels for inking pens, and by going over my vague watercolor work with a sharp line, I bring out the details better than I can with a brush. I use Micron brand pens because they don't smudge as much as, say, PrismaColor, and they don't bleed like Sharpies.
By doing fine outlines around some of the drip work, I was able to create a stand-out effect (once again, learned by observing the lovely AgnesCecile).
White gel pens were new to me in this painting, but I had a moment of divine revelation when I first touched the tip to the paper. It covered the paint, glided smoothly and brought out a different type of outline than my black pens.
I have seen the light.
I am changed.
And I will forever use my white gel pen whenever I can.
There you have it! Another quick, sparse and hopefully somewhat helpful tutorial for you new-ish watercolor enthusiasts. Take it from a fellow noob. Most of this process (at least my process) isn’t about technique and precision. It’s about slapping paint down and continuing to work with it until you achieve the results you think look best. My biggest piece of advice is simply not to give up.
Painting isn’t easy for me, but I still enjoy the challenge and, more lately, the finished product. So paint away! Creativity is your greatest asset.
See more of my original artwork at my DeviantArt page.