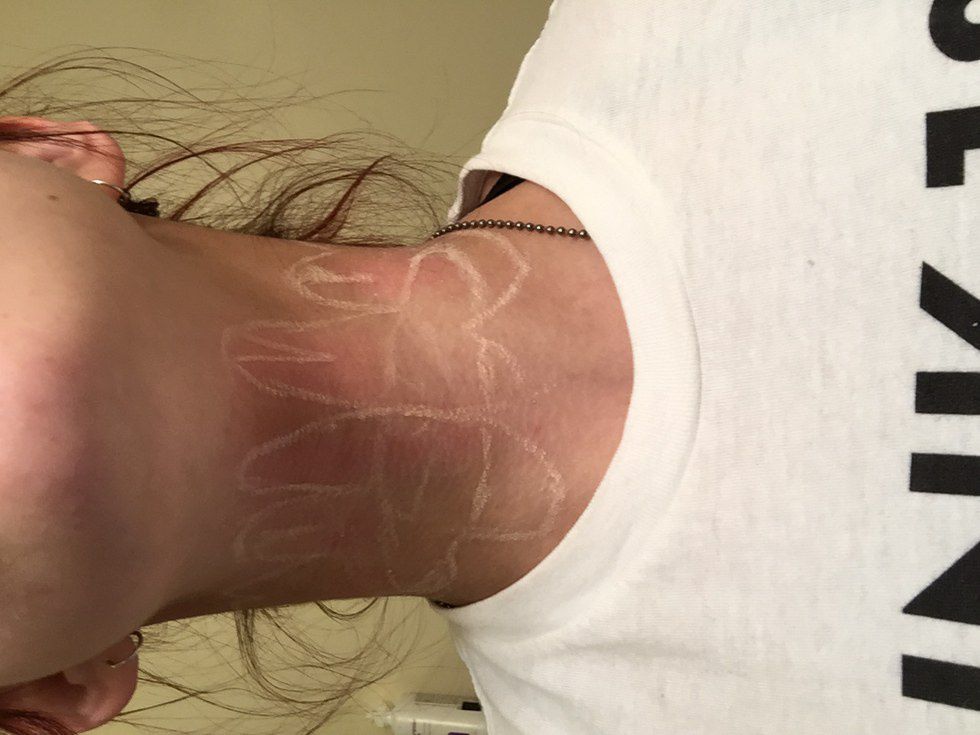
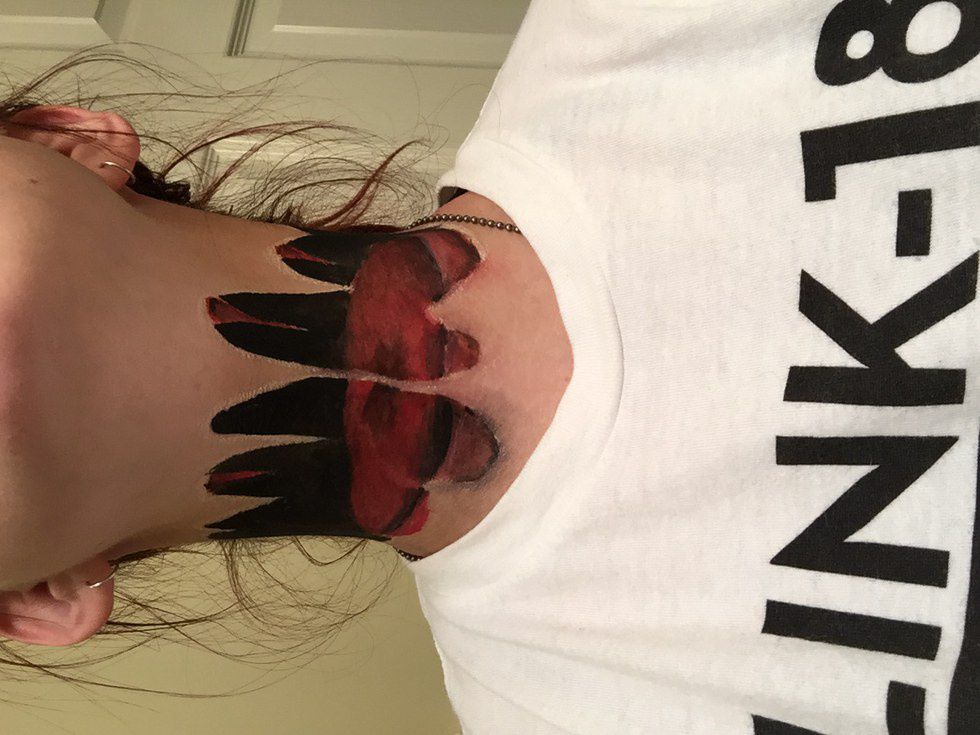
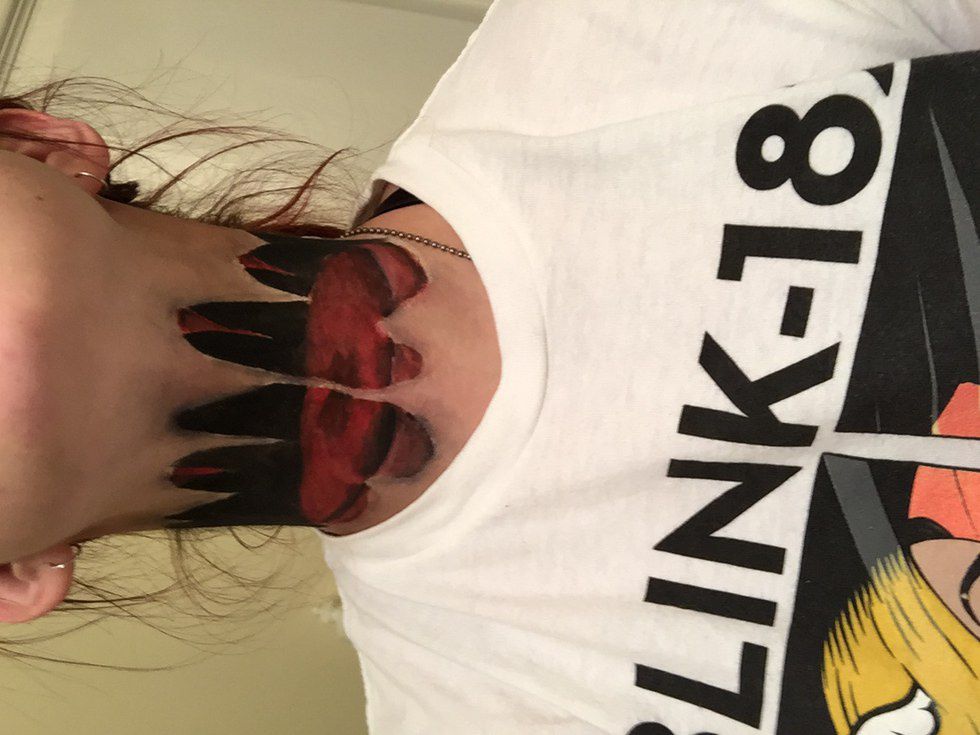
Materials: White or tan and black eyeliner, black, pink and red face paint, blood
Step 1:
Draw the outline of the torn skin and the inside of your neck in white or tan eyeliner.
Step 2:
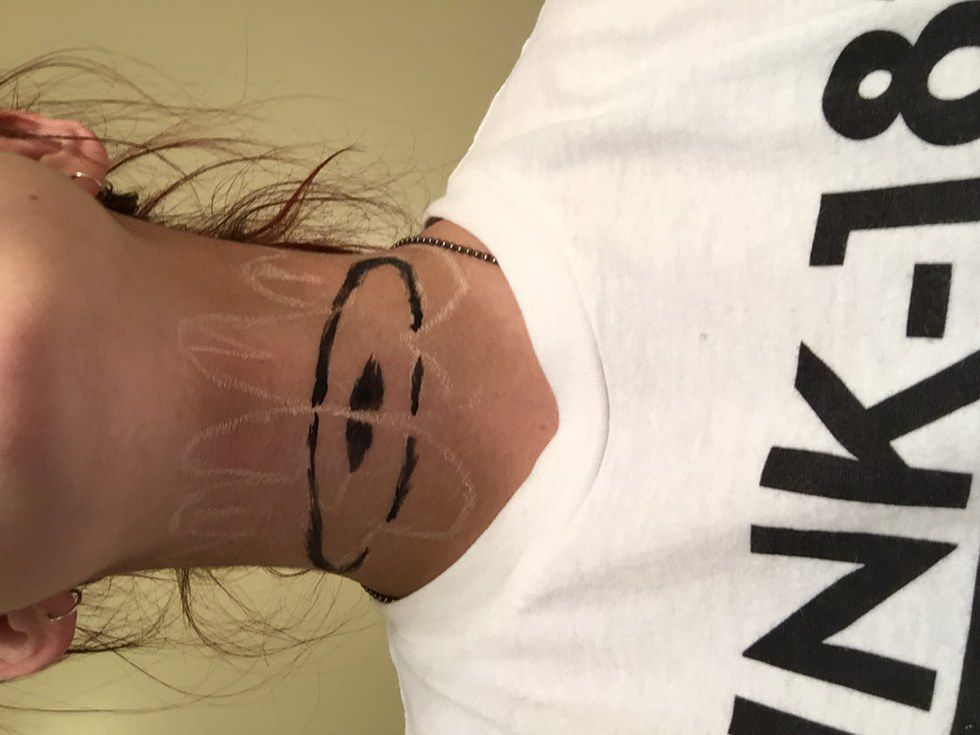
Paint a circle of black on the inside of your neck and on the edges as well.
Step 3:
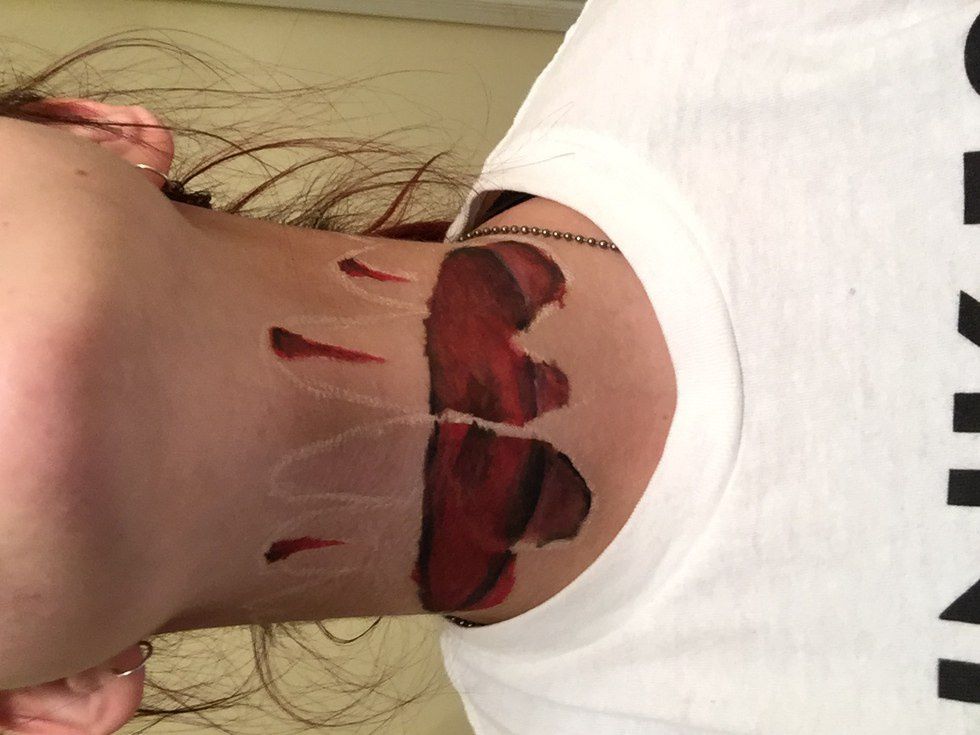
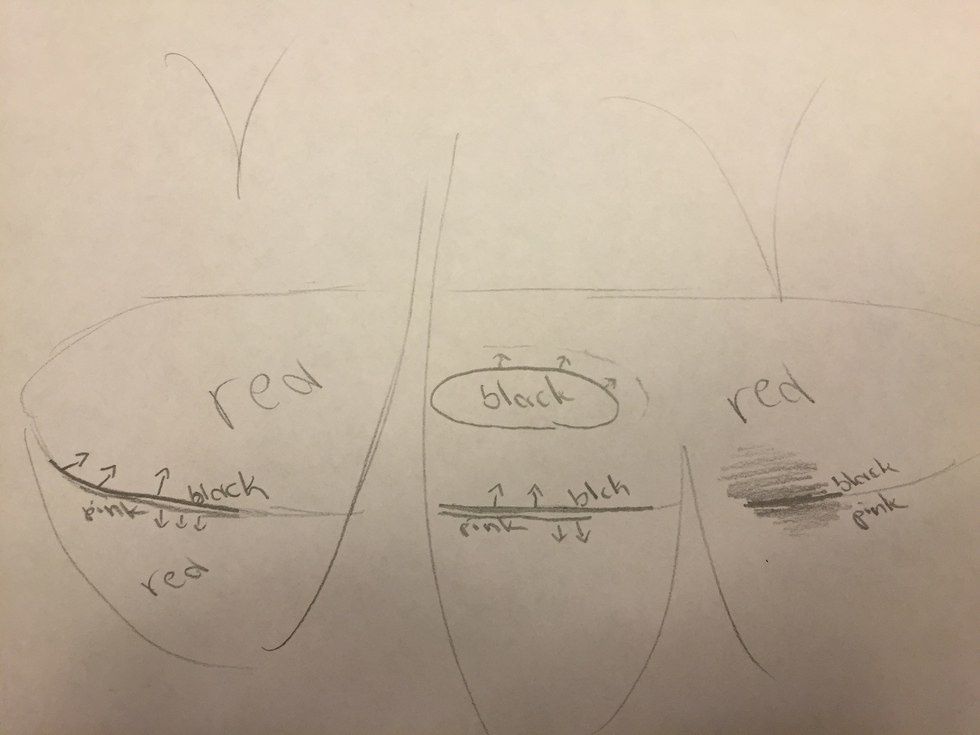
Paint the inside of your neck and the back pieces of the skin red. Create the effect of them in the back by shading black from the top down. When shading the outer edge of the neck paint a line of black and shade toward the circle in the middle. If you happen to shade down the sides accidentally you can simply paint some pink and shade it down the side to create highlight. Since that might seem a little complicated I drew a picture depicting which way to shade.
Step 4:
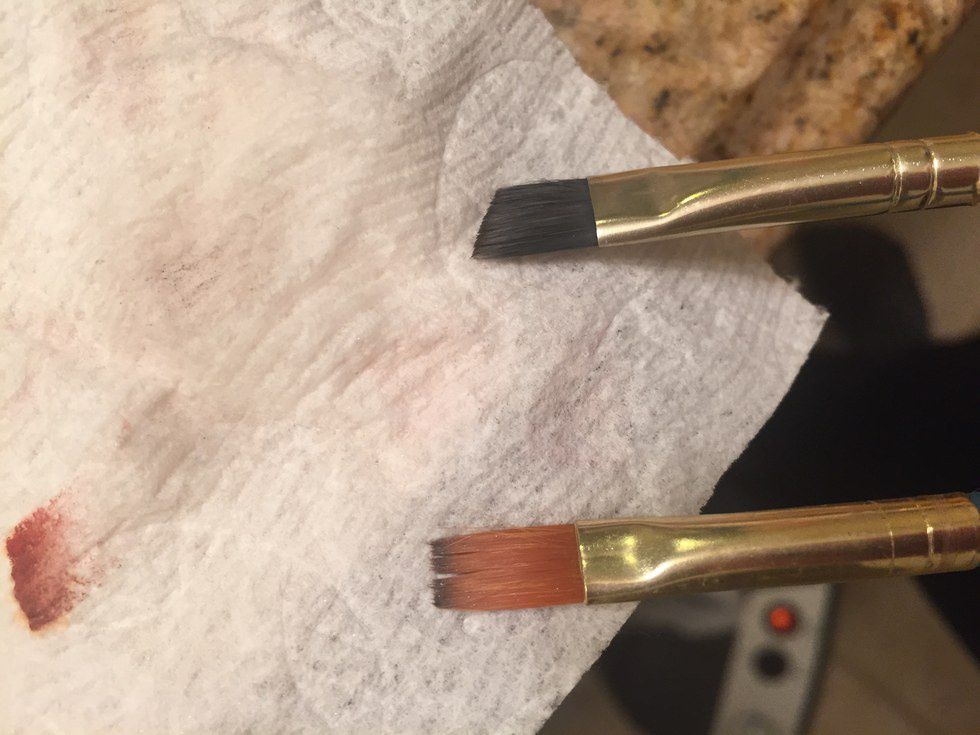
Paint where your neck is missing black. I found it easiest to use a chisel paint brush for cleaner edges around the skin. In this picture I cleaned up the edges where I painted over the lines with a stiffer flat paint brush and water since the paint I used was water based. If you're using a cream makeup you can just use a piece of tissue or q-tip rolled to a paint for precision.
Step 5:
Add shading around the strings of skin for depth. For this I just used pencil eyeliner but you could also use black paint.
Step 6:
Add blood. This step is optional. I'm wearing a white shirt I got from a concert and i don't want to ruin it therefore I will not for this tutorial. However if you choose to add blood simply add it to your neck stump dripping down over the bottom strings of skin. There's never a right or wrong way to add blood cause it can get everywhere during any injury let alone your neck being torn so just have fun with it.


