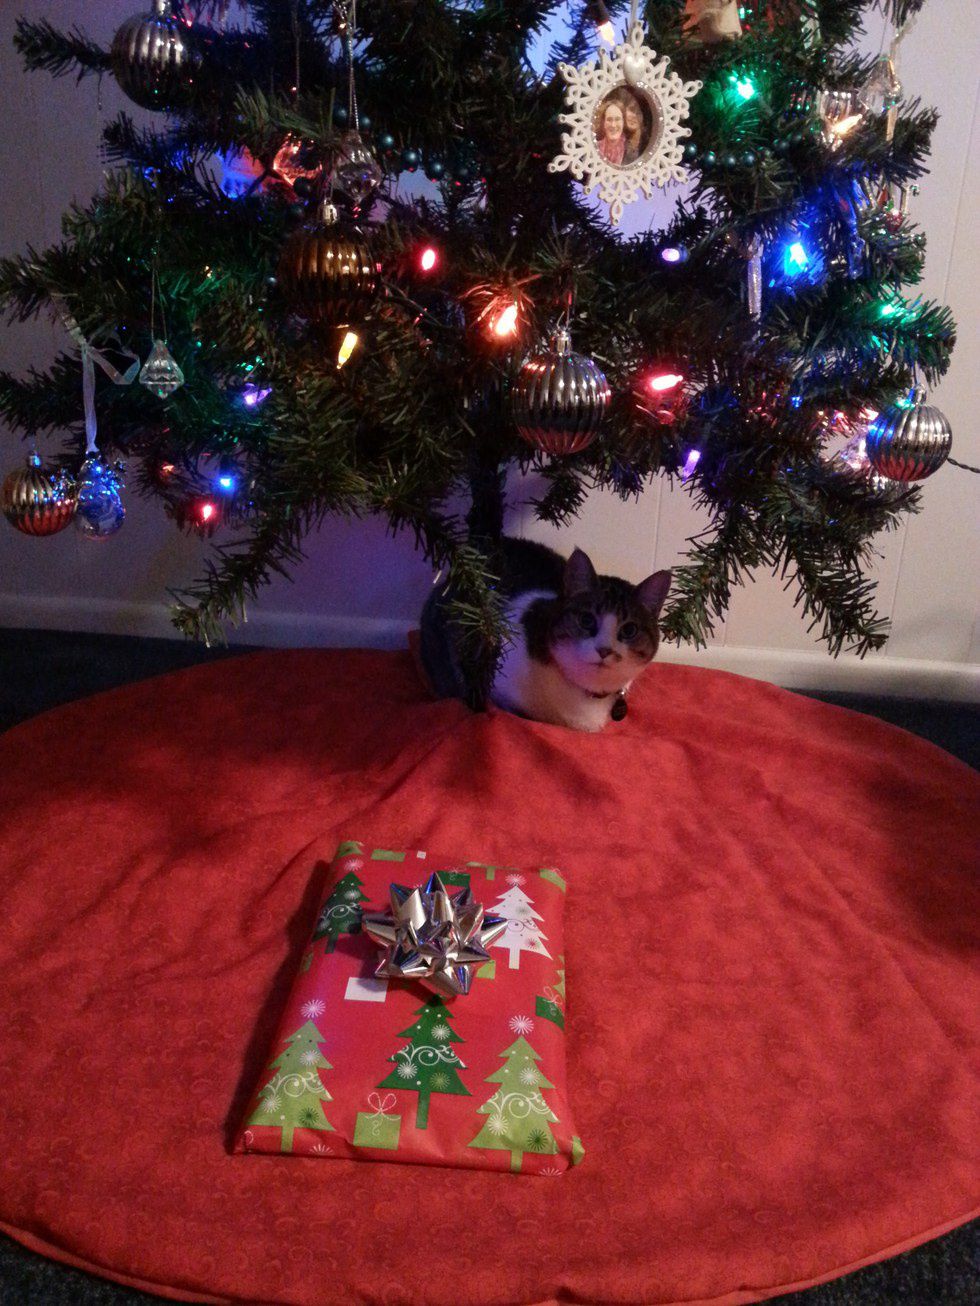
With Christmas less than a week away, most of your holiday decorating is already done, right? That's what I thought, too, until I looked under the Christmas tree. All of our presents are already wrapped and accounted for, nestled safely underneath.
Sitting on the floor.
You see, although my hubby and I have been married for three years, we never purchased a tree skirt to complete the aesthetic. Any time I would go to the store and browse the selections, there were never any reasonably-priced options that caught my eye, and even if I was willing to splurge on a pretty one, it was often made of a fabric that our cat would snag in a matter of minutes.
Yes, I'm sorry to say that even though we trim the tree every year with love and care, we wrap a sheet around the base to hide the stand. This year, since we picked up a second tree, we knew that now was the time for change (if we wanted to have any sheets to put on our bed, that is). Unfortunately, when I checked my local retailers, I was either underwhelmed with the quality of the skirt or overwhelmed by the price. Why, I could make a better skirt for less!
And so, that's exactly what I did. Here's how you, too, can sew together a stellar tree skirt in no time at all!
What You'll Need:
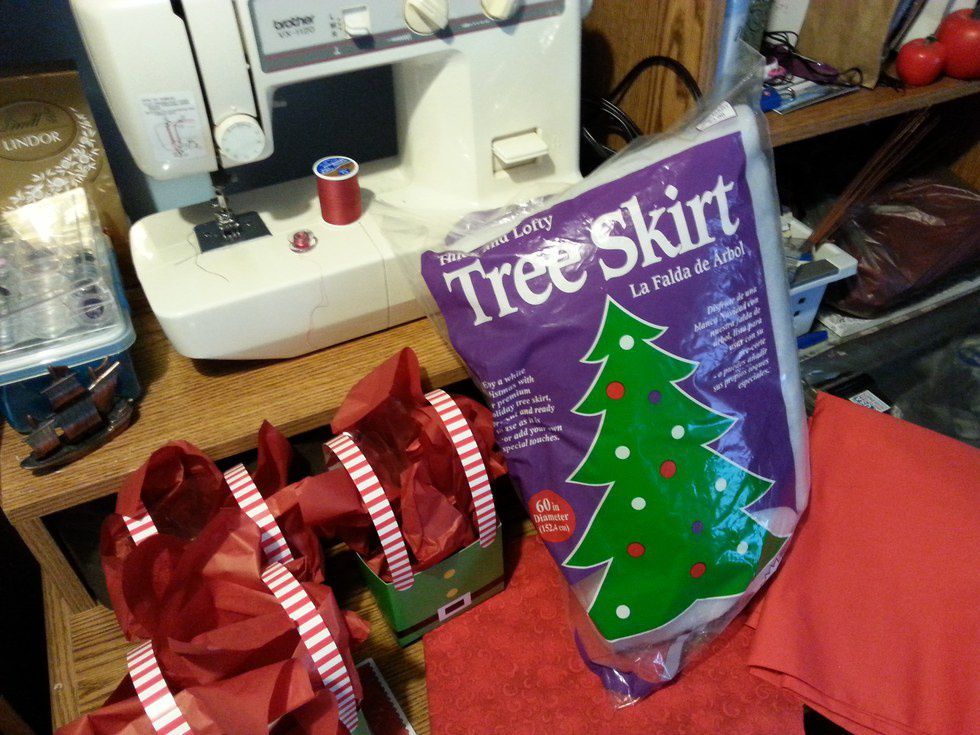
1 1/4 yard of fabric for the display side of the skirt (Hint: Try to avoid flashy geometric patterns as they will draw attention to any mistakes you make. Choose more flowing, abstract designs.)
1 1/4 yard of fabric for the hidden side (Hint: It can be the same as the display side, or it can be totally different. I made one skirt with a fleece underside, and the other with a solid color cotton fabric. If you want to make a reversible skirt, choose a pattern just as pretty as your top side!)
1 spool of thread to match your fabric (I always forget!)
1 cheap polyester tree skirt (the kind that looks like it's just a rolled-out piece of fiber-fill) to use as batting between your layers
Lots of pins
Scissors
Sewing machine (Hint: You can sew the skirt by hand instead, if you want! It just goes a lot faster if you have a machine handy.)
What You'll Do:
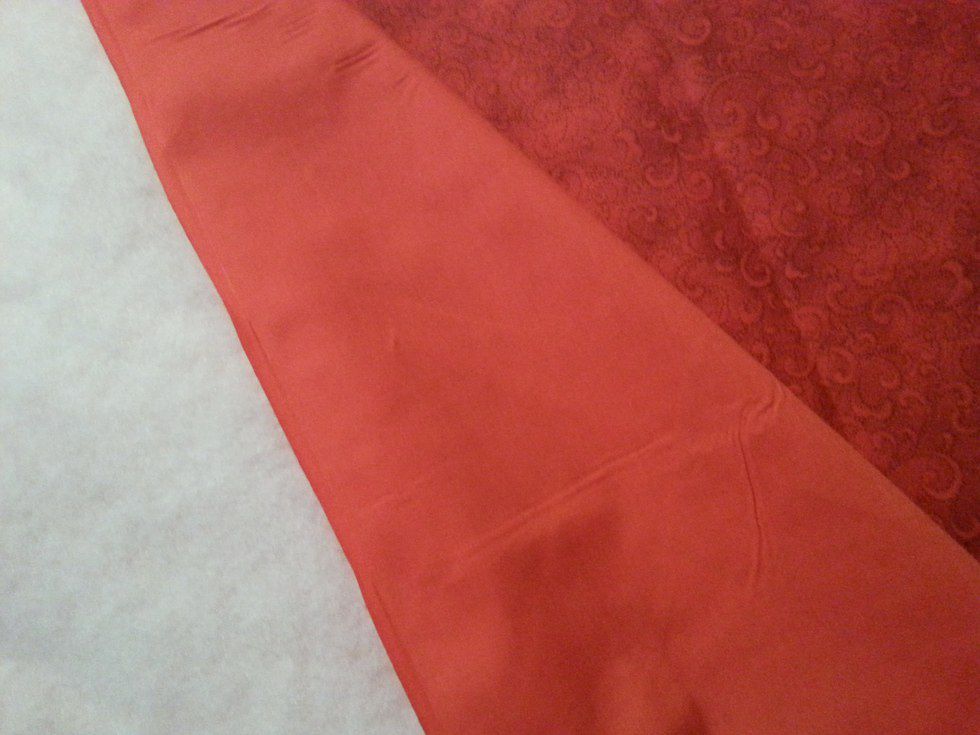
1. Iron your fabric and lay it out on your work surface (I had to use the floor) like so: Display Side - pattern facing up; Hidden Side - pattern facing down against the Display Side (Hint: The pretty sides should be face-to-face!)
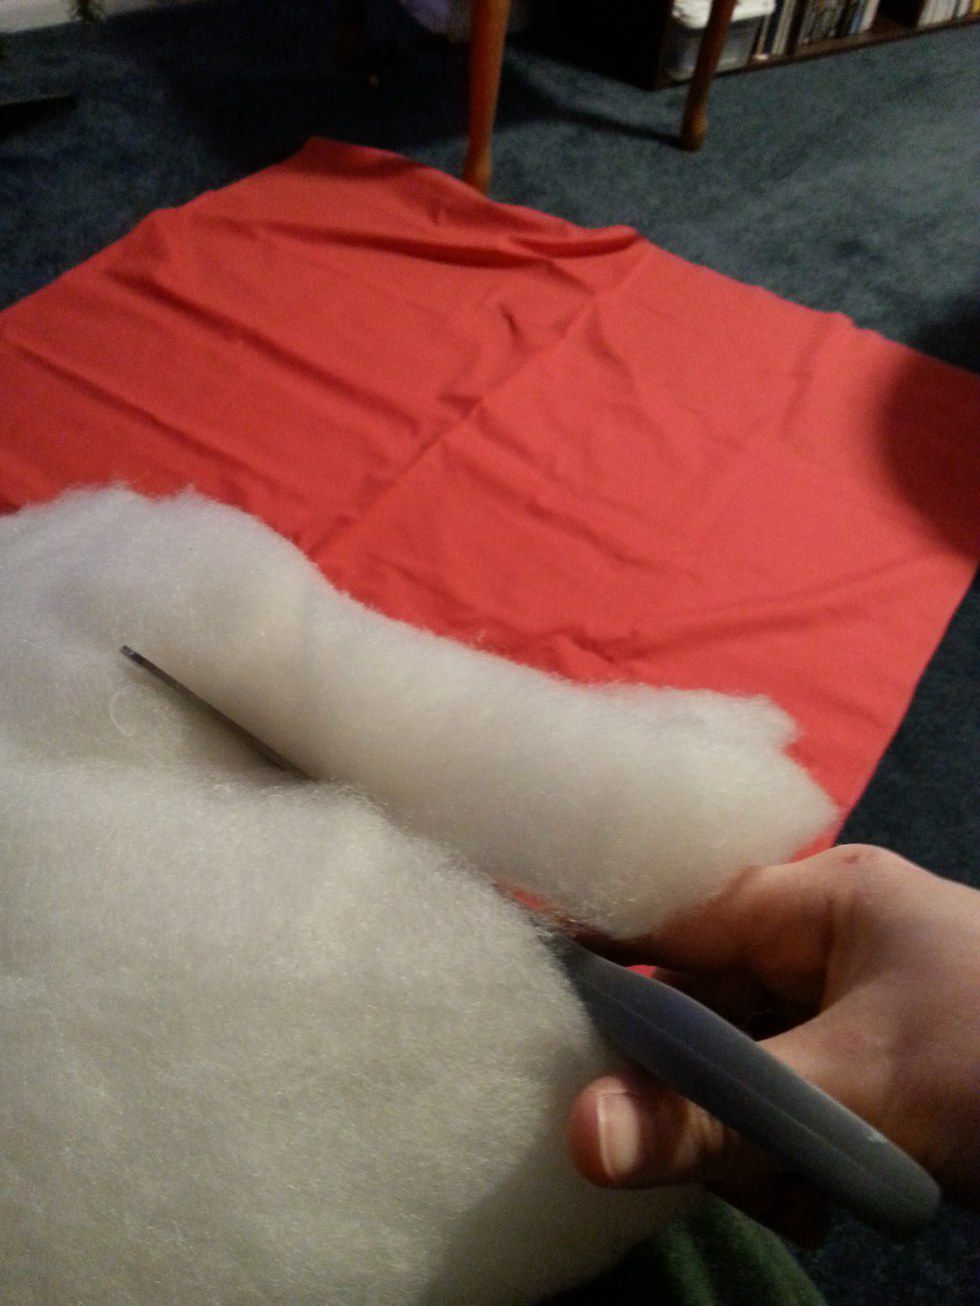
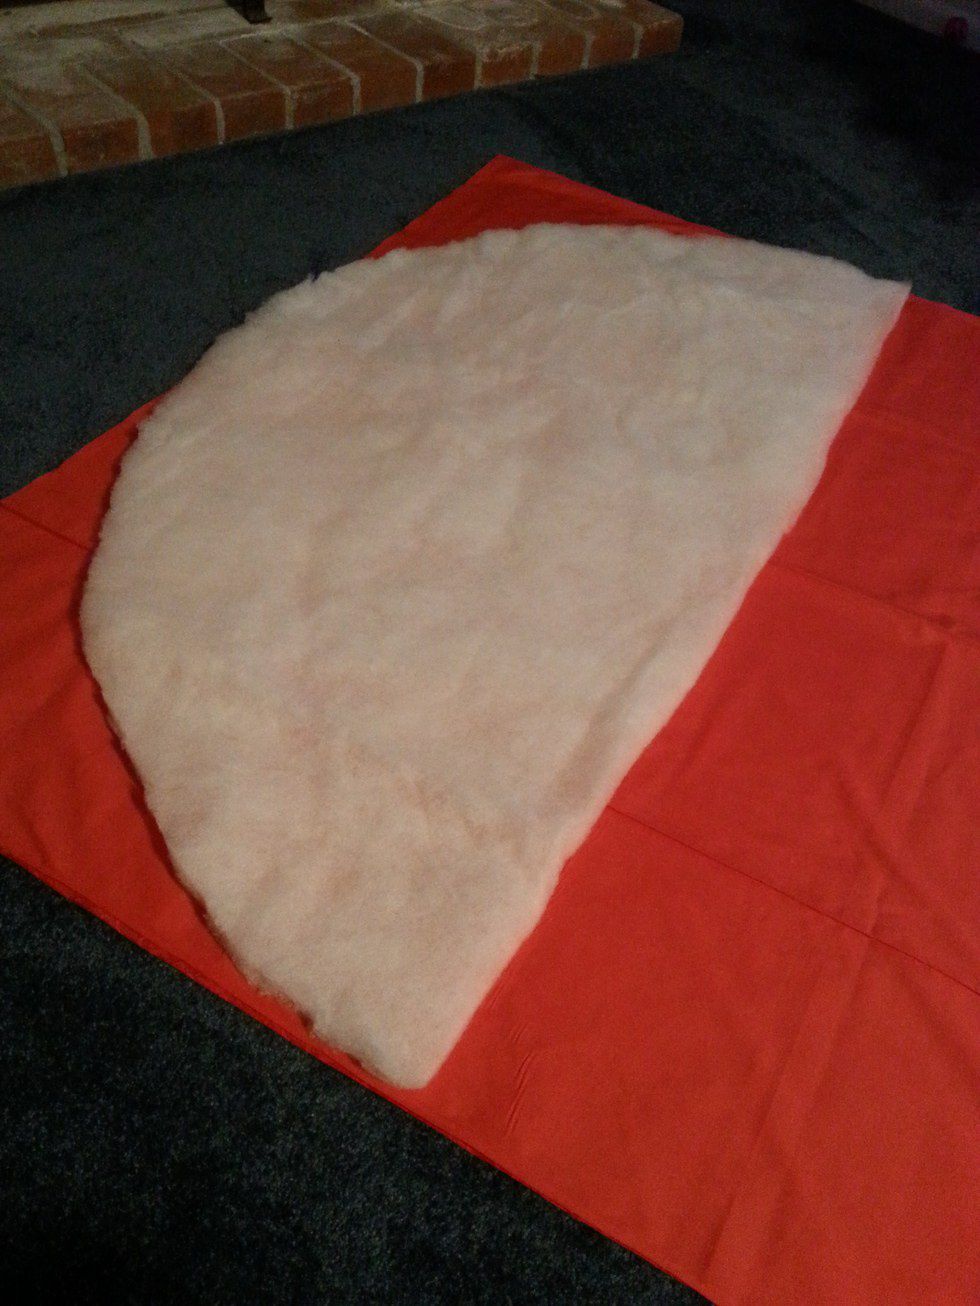
2. Trim your polyester tree skirt until It fits the 1 1/4 yard size of your fabric (Hint: Fold the circle in half, then fold that half circle in half. Fold that quarter once more so it looks like a slice of pizza. Following the shape of the curve that the polyester already has, trim the "pizza crust" off until you get a good fit.)
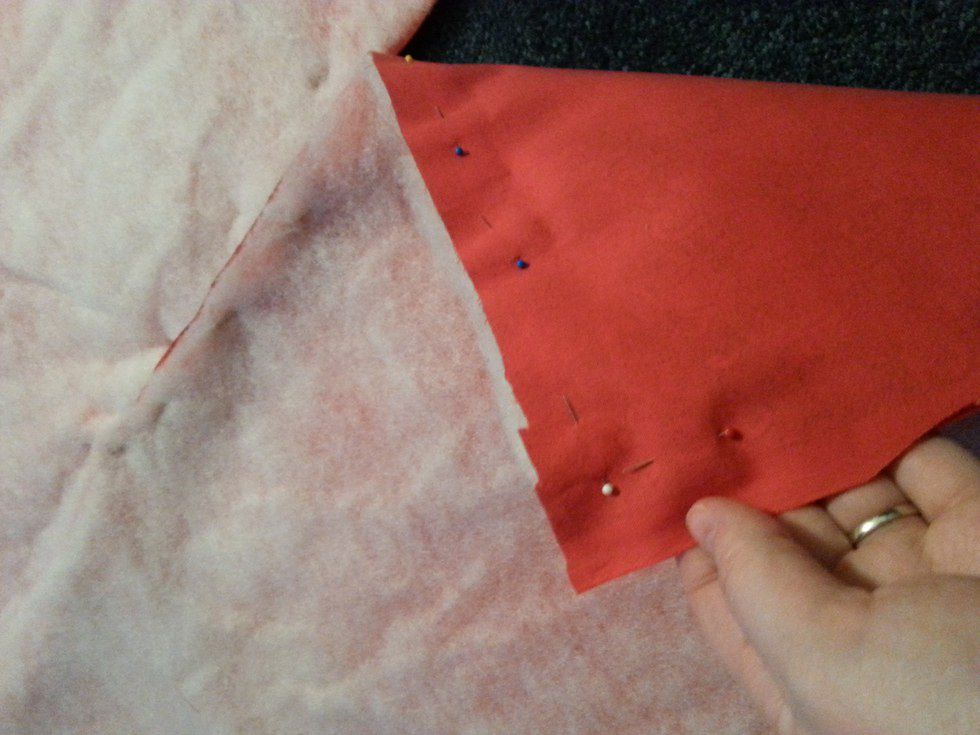
3. Laying your polyester skirt on top of your fabric, trim your fabric to match your polyester pattern (Hint: I used the pizza folding method again, but if you want to just trim the corners off while it's laying flat, that's fine, too!)
4. Cut a slit in your fabric where the slit in the polyester pattern is (Hint: Don't cut the whole way into the crack - leave at least 1/4 - 1/2 inch for a reinforced seam later.)
5. Pin these three layers together, using however many pins you need (Hint: I put my pins in so that the back of the Display Side was facing up, which is how I wanted to have it while sewing on the machine for easy removal. Also, as you start step 6, make sure you take your pins out as you go.)
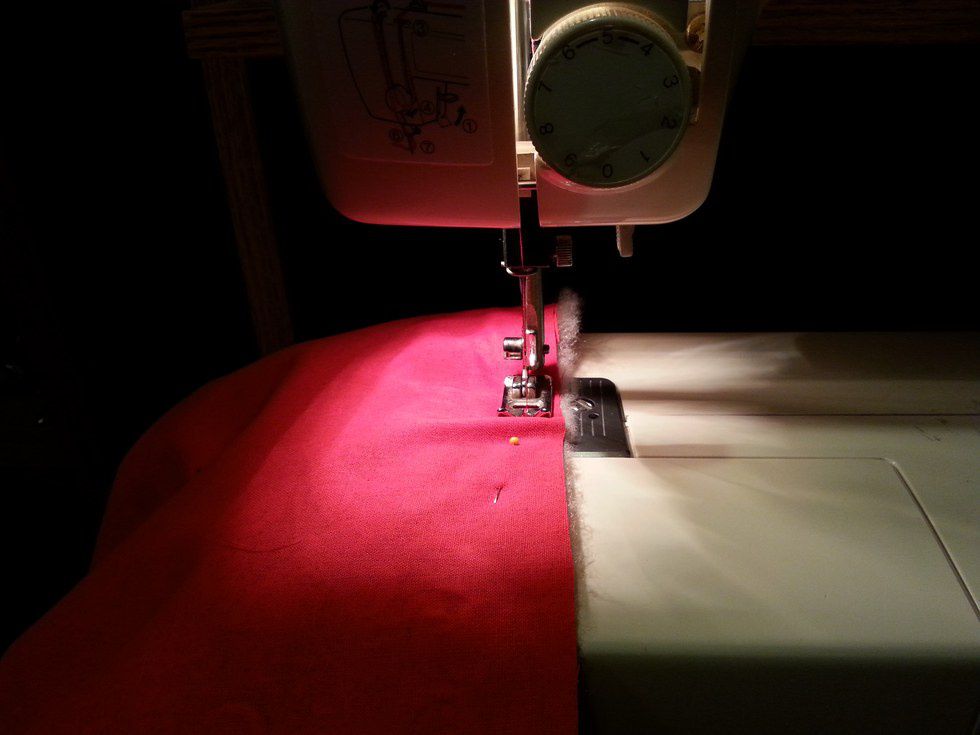
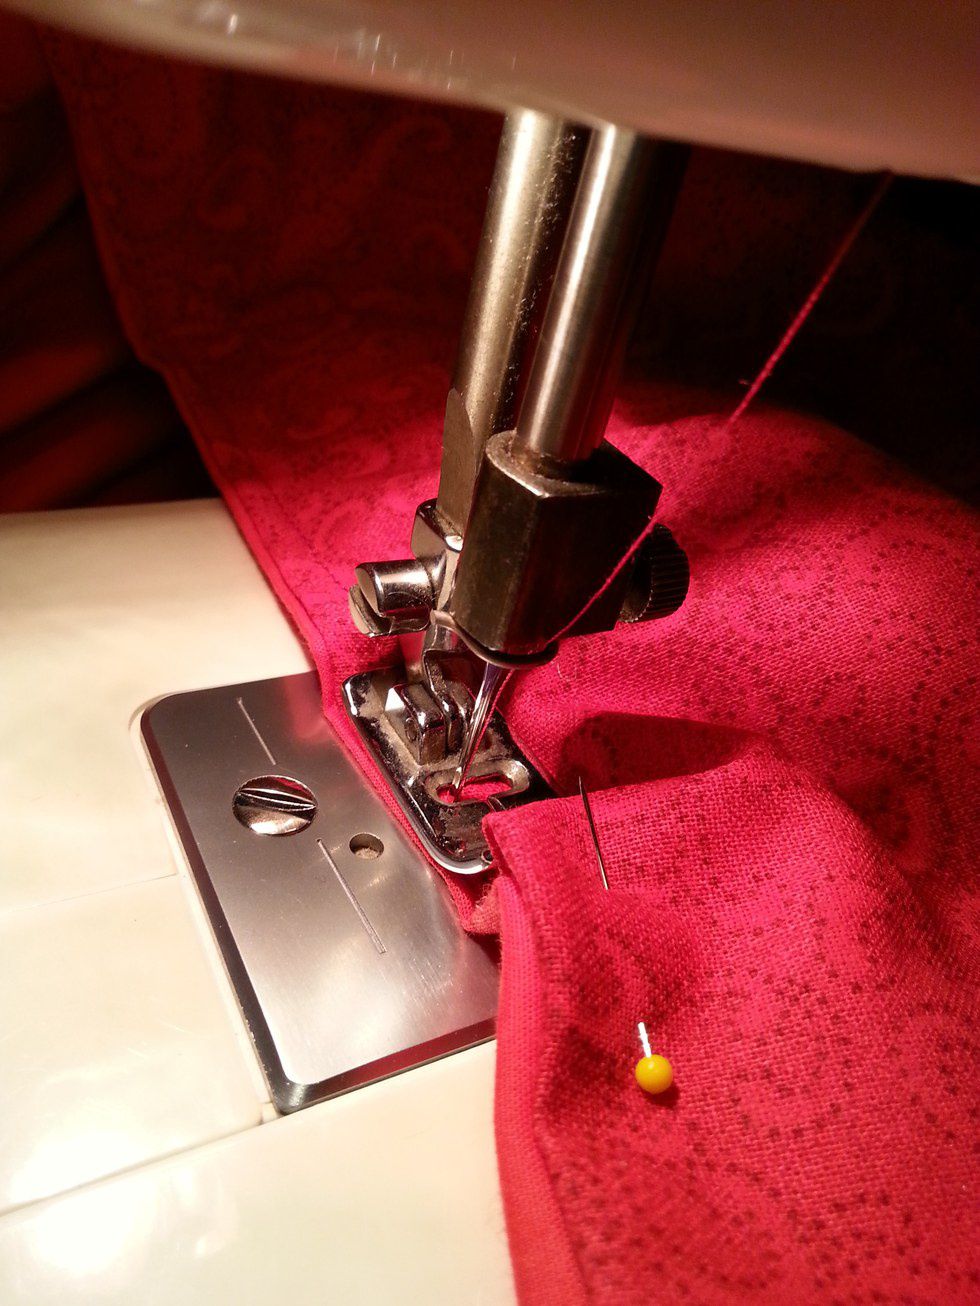
6. Sew, beginning with reinforcing the top of the slit, leaving an even seam allowance all the way around the project (Hint: STOP when you have sewn the outer circle - you should have one side of the slit unfinished.)
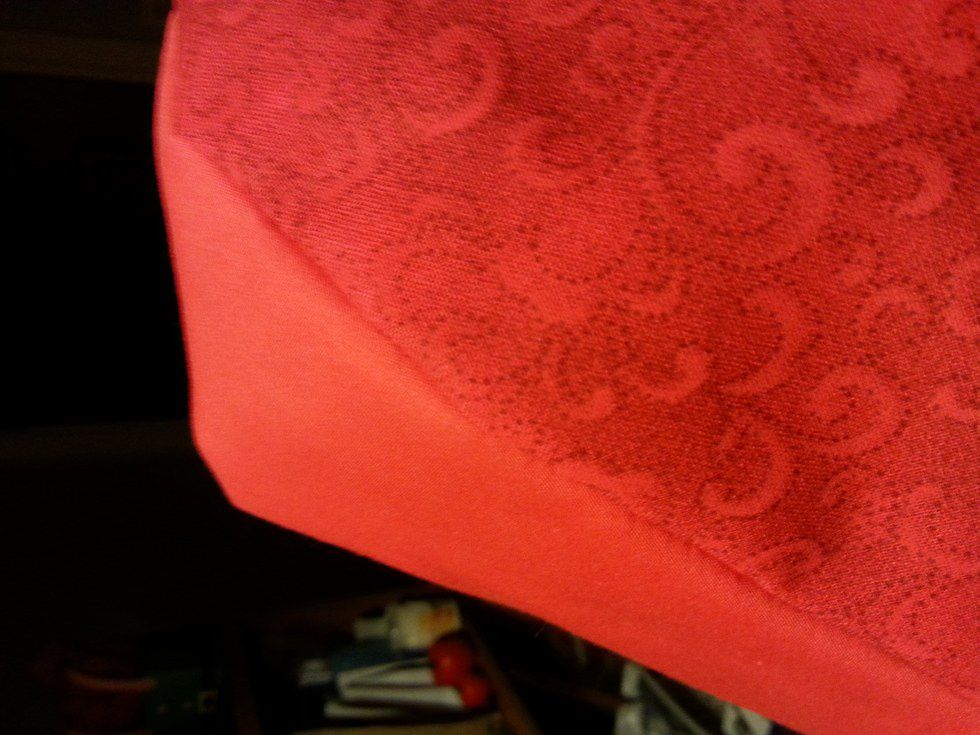
7. Take the pins out of the unfinished side of the slit and turn the whole thing inside out, pressing the inside of the seam with your fingers as you go to prevent unsightly lumps and bumps along the edge (Hint: The pretty sides should now be on the outside of the project.)
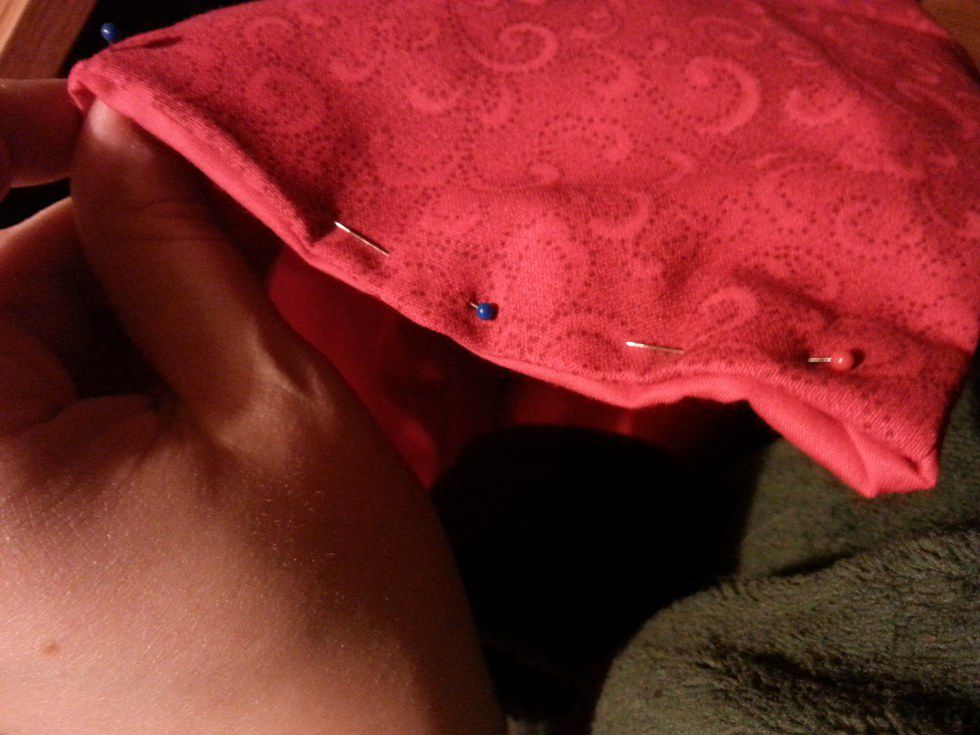
8. Once you are satisfied, re-pin the unfinished slit, folding the edges of the fabric inside of the seam so that they will not be seen
9. Sew the final side of the slit (with the needle as close to the seam as you dare)
10. Wrap your finished tree skirt around the base of your Christmas tree
11. Admire your handiwork (Hint: See, I knew you could do it!)
A simple tree skirt really is that easy! So, don't fret if you don't find the perfect one at the store, and don't use up all of your bed sheets to make your presents look cozy. Time's ticking! Get sewing!


