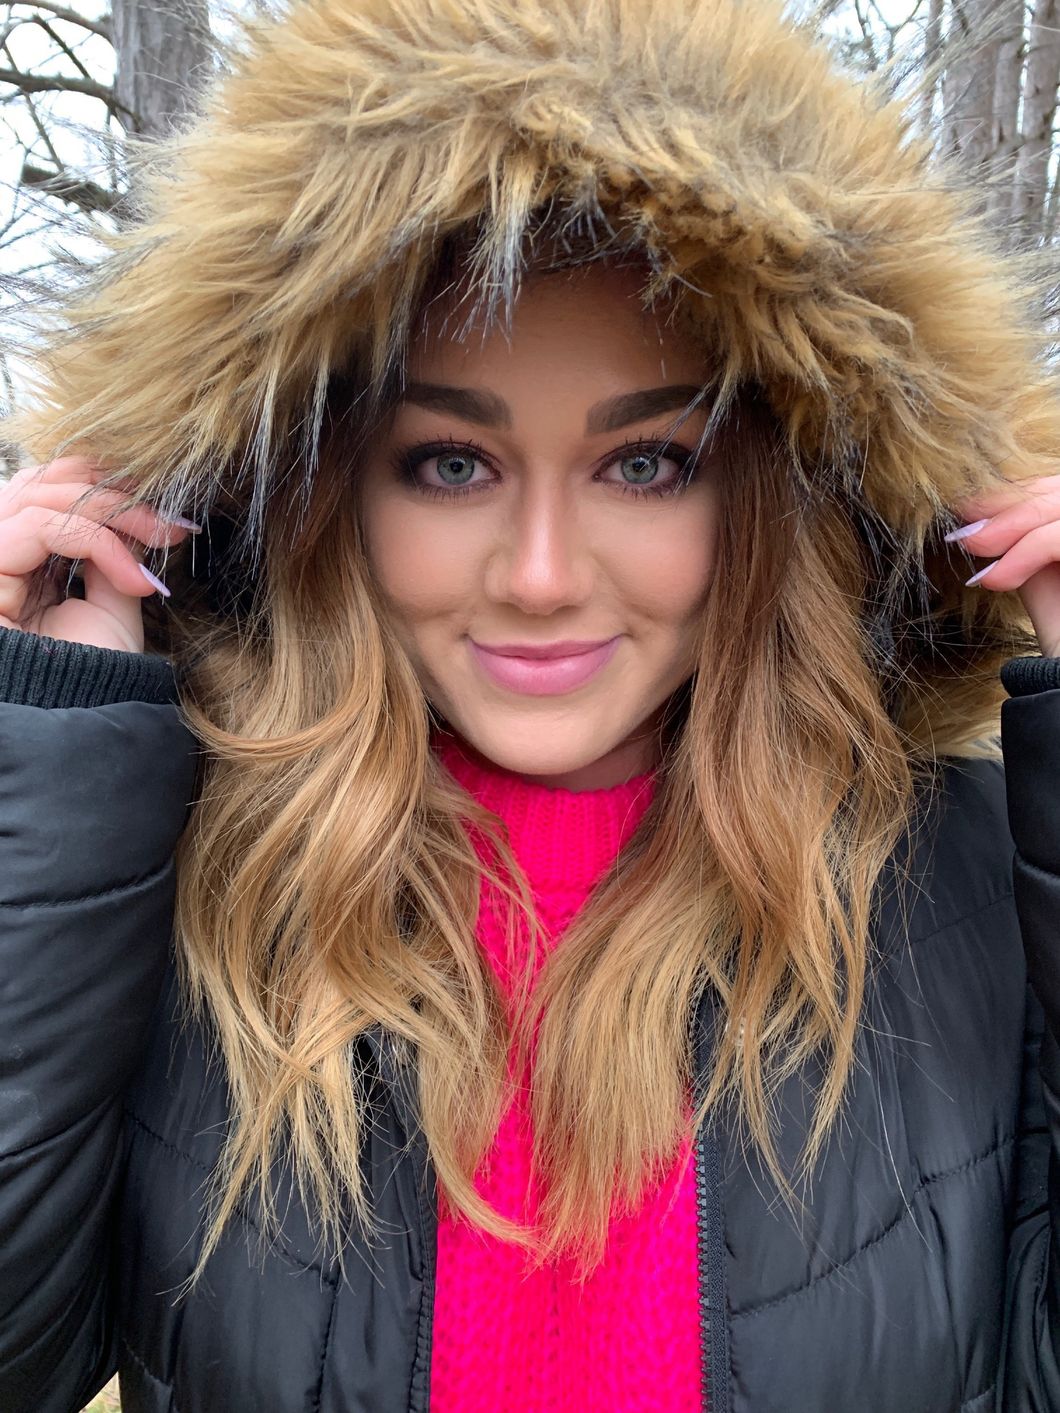
As a former blogger, I know photos are the most important way to grab people's attention. However, it can be hard to keep up with others if you don't have a professional camera or photographer. The more you know about the aspects of photos and how to improve them, the better off you will be. You don't have to be a blogger for this article to pertain to you. It's for anyone who wants better quality pictures.
Familiarize yourself with the terminology
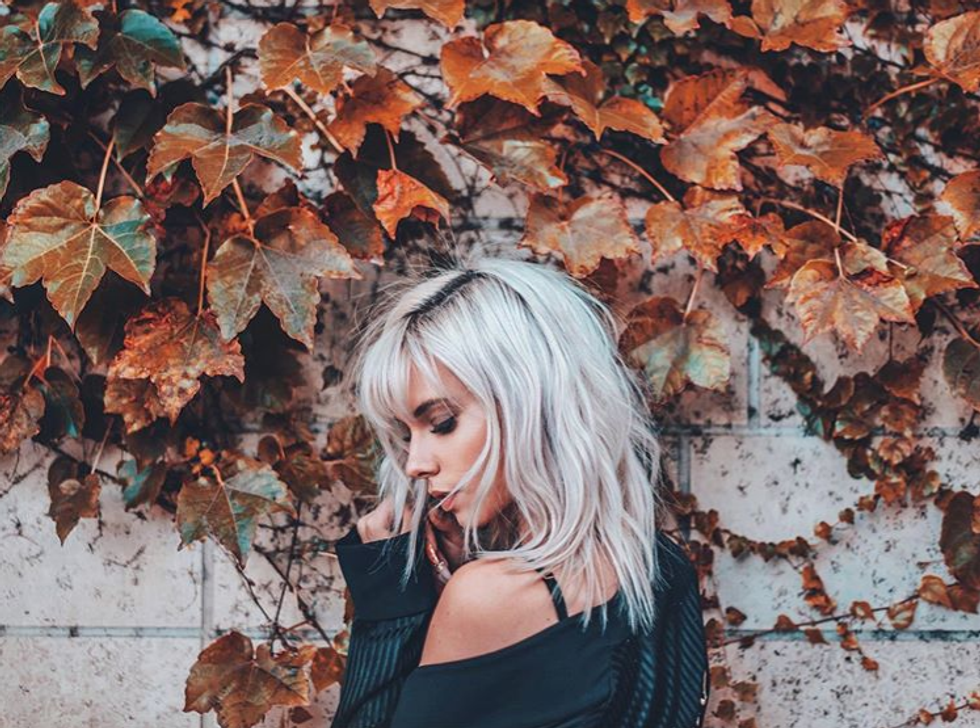
First, let's get familiar with the terms of the characteristics of photos before we dive into editing.
Exposure - the amount of light per unit area.
Contrast - the difference in tones from the lightest tone to the darkest tone.
Highlights - bright spot in the photo.
Shadows - dark or shadow spot in the photo.
Blacks - the darkest tones in the photo.
Whites - the whitest tones in the photo.
Temperature - refers to the spectral property of light. The low color of temperature is the warmer and yellow to red light whereas high color temperature are the colder, blue tones.
Tint - adds white to colors. It makes the colors a paler version of themselves.
Vibrance - the intensity of the more muted colors and leaves the saturated colors be.
Saturation - the intensity of all colors in a photo.
Clarity - brings out the texture and detail.
Dehaze - eliminates fogginess and makes the photo clearer.
Vignette - the reduction of the brightness on the outer edges of a photo compared to the middle.
Grain - granular or sand-like appearance.
Sharpening - enhances the definition of edges.
Noise Reduction - reducing visual distortions that look like tiny colored pixels or specks.
Color Noise Reduction - reducing the splotchy fluctuations of color tone between pixels.
The best mobile photo editor apps
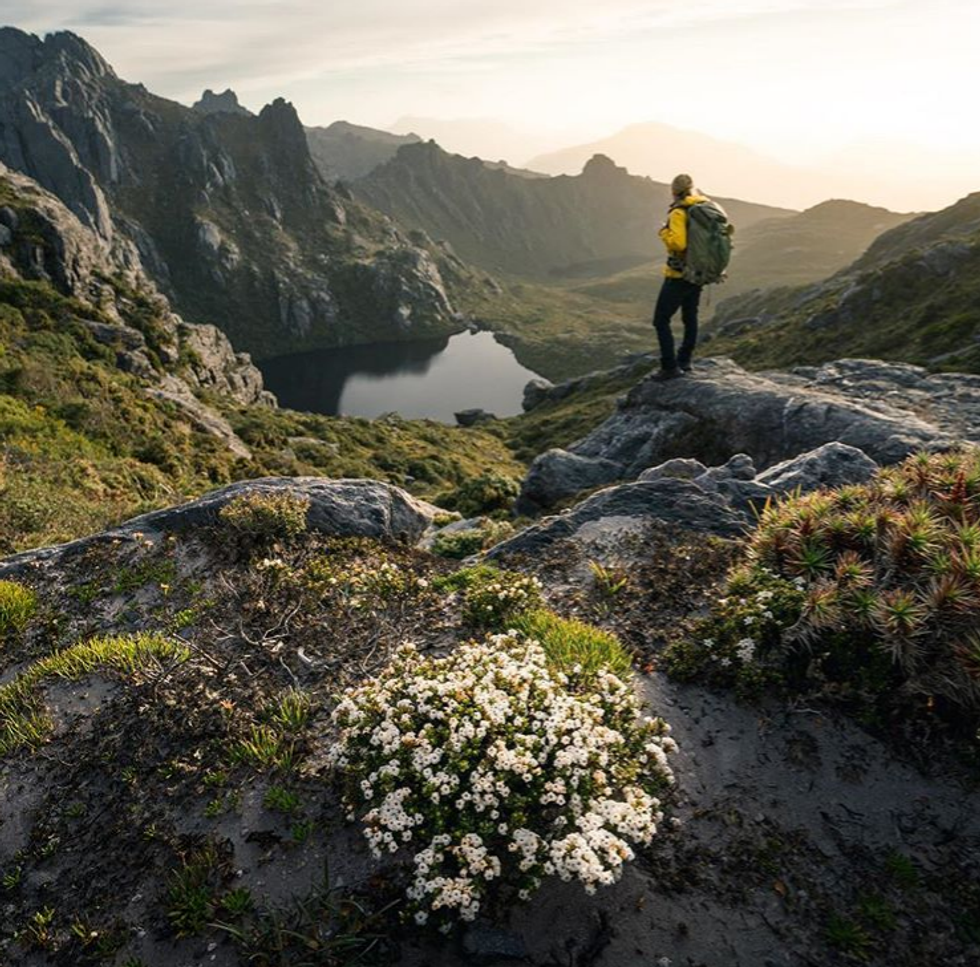
Lightroom CC - my all time favorite photo editor. This is made through the creators of Photoshop. This has saved so many dark pictures for me by being able to adjust things such as the lighting and so much more.
Facetune - for cosmetic edits such as reshaping, smoothing, detailing, and skin tone.
VSCO - great for making presets. There are so many filters and also for edits such as exposure, sharpening, etc.
Airbrush - for edits such as teeth whitening, eye brightening, skin smoothing, acne removing, and under eye brightening.
Presets
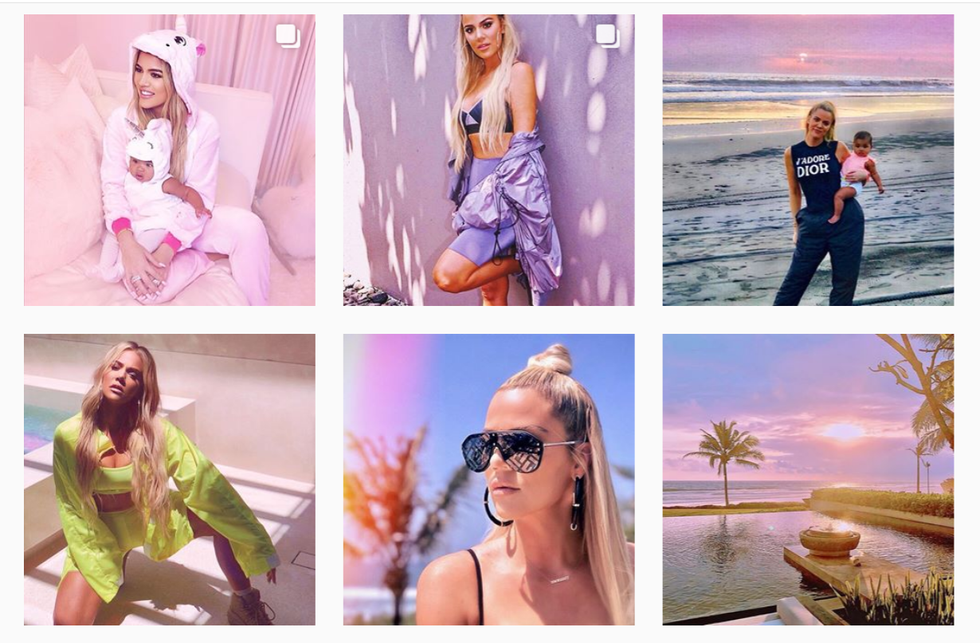
Pick a look or style and stick with it. Put together your favorite edits and save them to create a preset to put over each photo. You don't have to keep it forever, but use it for a while. This makes your photos look more uniform and put together. Check out Instagram's such as @khloekardashian or @brandonwoelfel.
And that's about it! It will take some practice if you aren't familiar with it already, but I think anyone can achieve great photos. Try to take photos in the best lighting possible because that is half the battle. Have fun with it and let your personality shine!

