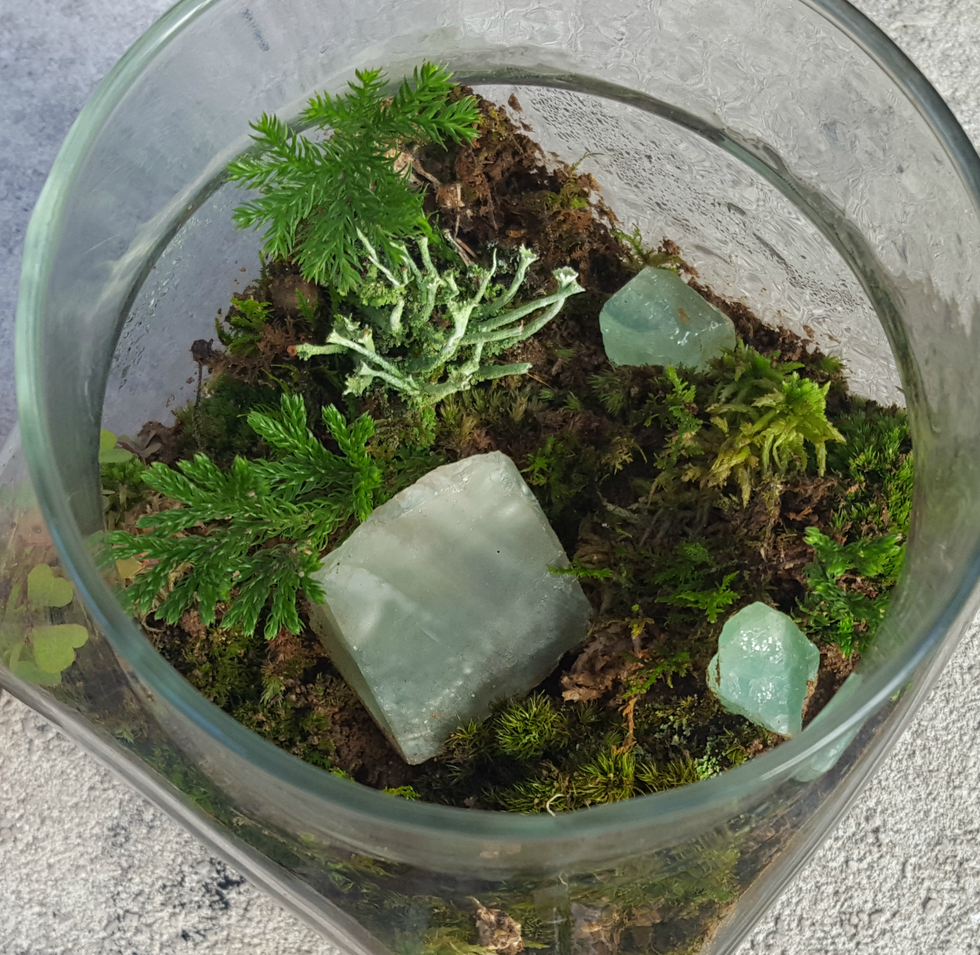
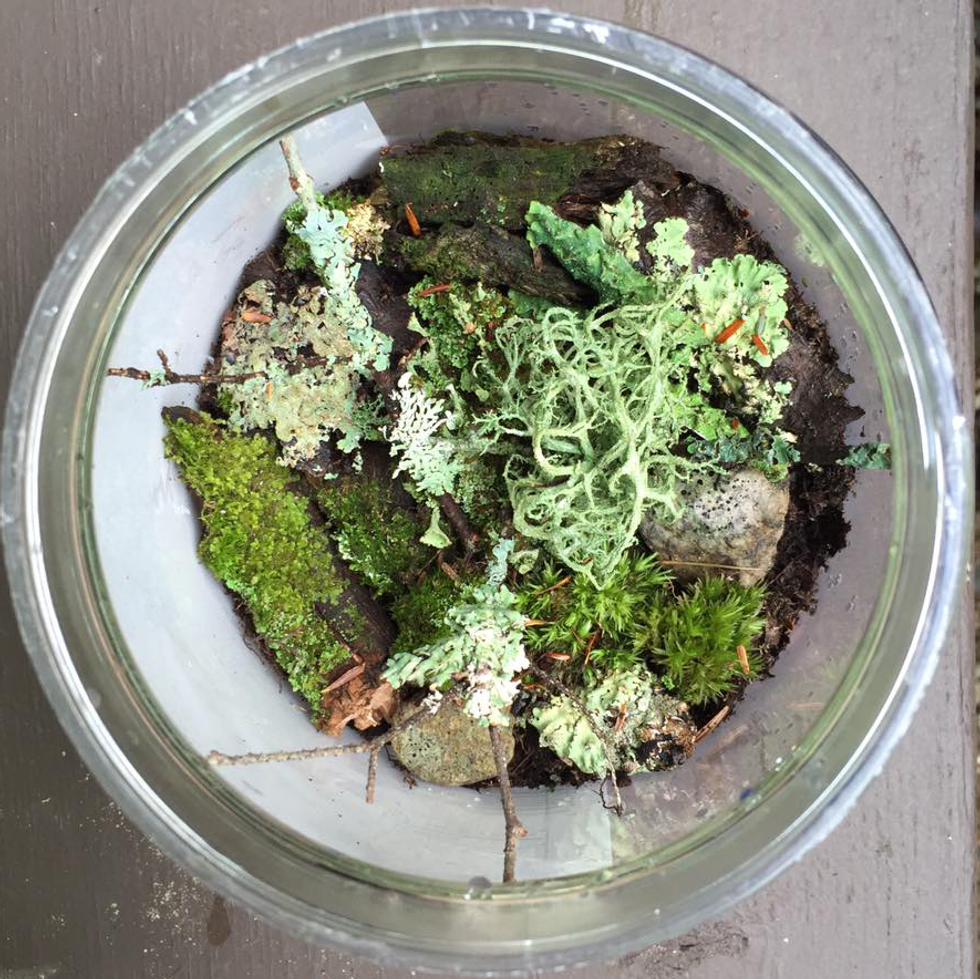
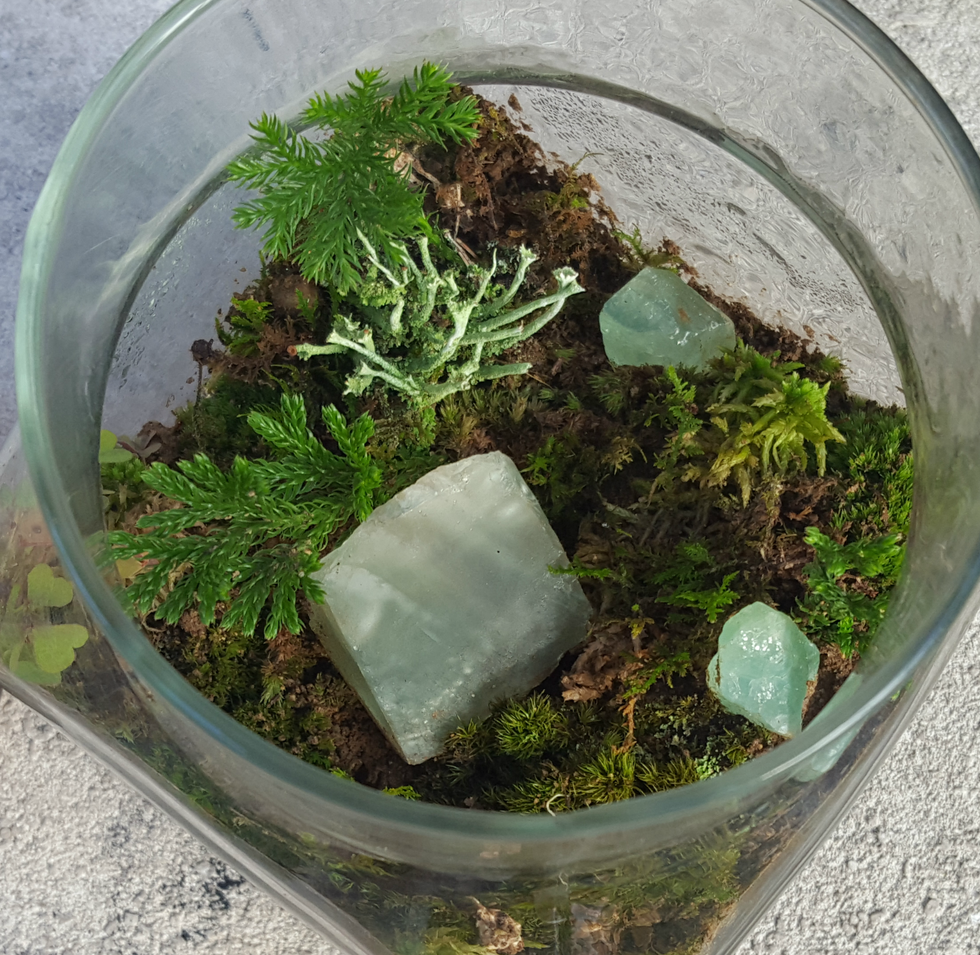
What I call the "Recyclable Terrarium" can be done anywhere by anyone with whatever type of plant-life you want, and it requires only a tiny bit of time and can be done entirely from scratch. Whether you're from an urban, suburban, or rural environment, you'll quickly find that these little bastions of beauty are all around you just waiting to be assembled!
Materials (All can be scavenged!): Transparent container, plants, moss, lichen, pebbles/gravel, soil, decorations.
Step 1.
Go for a walk! You need not prepare yourself with anything but your own two hands and some knowledge. However, a small shovel or even a spoon might be convenient. (You may use your own prepared supplies for these steps, of course.)
Step 2.
Take inventory! Keep an eye out for any sort of transparent containers. Old coffee cups, water or soda bottles, Tupperware-type containers, plastic jars, or even glassware (make sure it isn't broken or dangerous!) all make great homes for your miniature gardens.
Step 2.5 (Optional)
Wash your container! Some containers might still hold chemicals or food residue which can either ruin the appearance of the container or possibly even damage the plants that will live inside of it so blast it with some water if you can and scrub all that crud out before you put any goodies inside!
Step 3.
Build your drainage layer! If you can find any small pebbles or gravel, use it as the first layer as it will serve as a drainage layer and protect your soil and plants from over-watering while also helping to circulate air within the environment.
Step 4.
Build your soil layer! Collect soil from the environment of the plants you plan on collecting and pat it down lightly into your container if you can. Make sure the soil layer is deep enough for some rooting, if you plan on having rooting plants. Otherwise, make sure you leave enough room for your plants and decorations above the soil!
Step 5.
Set your plants, mosses, and lichens! Wedge those little guys right on into the soil. If your plant has roots, plant it as you usually would by burying the roots and patting a bit more dirt over the base of the plant. I try and vary the colors and sizes of my plant-life throughout my container to create a more interesting or naturalistic look. Be creative!
Step 6.
Decorate! Place any finishing touches of rocks, wood, figurines, or anything carefully among the plants inside your new terrarium and enjoy!
!!! Do's and Don'ts !!!
DO...
-Rescue uprooted or damaged plants.
-Rescue plants growing out of cracks in asphalt or concrete.
-Rescue lichen and moss growing on fallen sticks and bark.
-Mist and/or water your terrarium weekly.
-Place it in partial or indirect sunlight.
-Collect your materials on your own property, public property, or get permission to collect materials from a friend's property.
-Keep adding to your terrarium and pay attention to its health as needed! (The plants will tell you how they're doing, just watch them.)
DON'T...
-Let your terrarium go dry.
-Place it in direct sunlight.
-Place it in a poorly lit area.
-Trespass, steal, or vandalize when collecting materials.
-Harm other plants or small creatures on your terrarium adventure.


