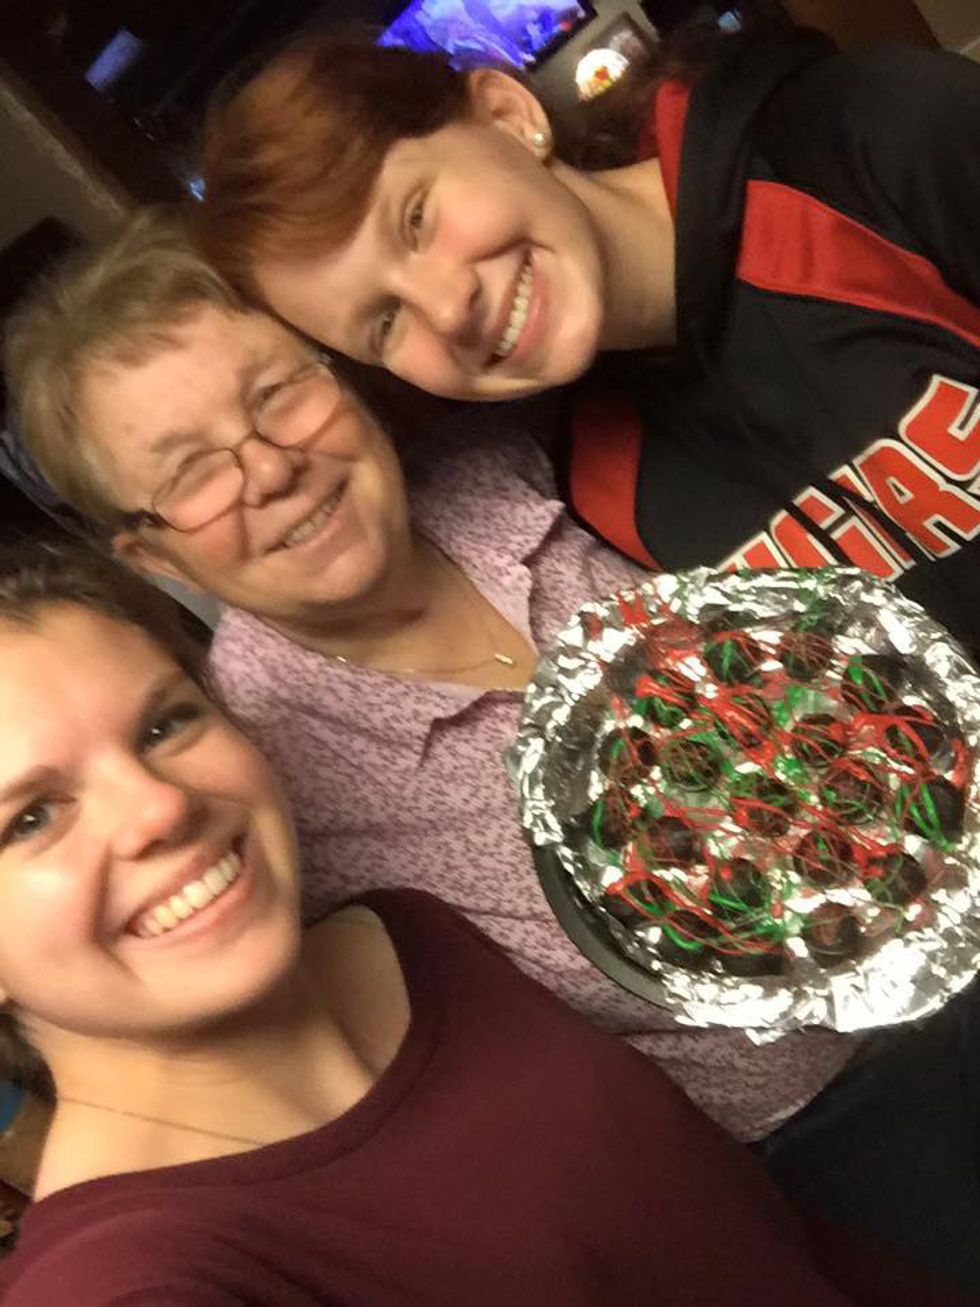
For the past couple of years around Christmas time, I have been using my favorite cookie to make the most amazing treat, Oreo Balls. Simple, delicious, and fun for all ages, Oreo balls have been a hit at holiday parties. Here’s how to make them:
Ingredients:
1 package of cream cheese (8 oz)
42 Oreos (A little over a package, I prefer to use Double Stuff)
4 packages of semi-sweet baking chocolate, in your color of choice
Instructions:
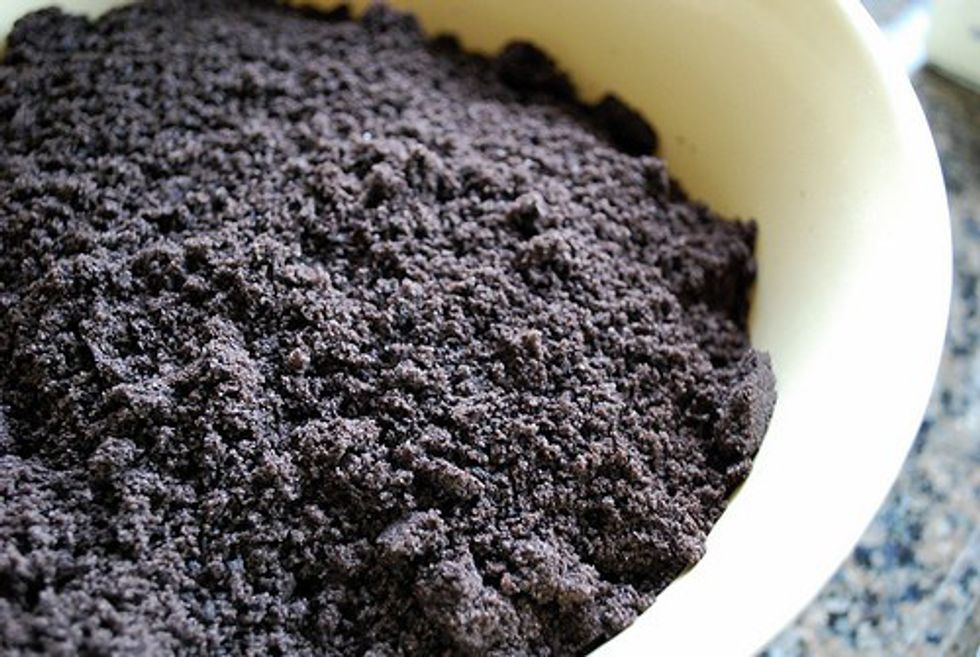
First, crush those Oreos! Typically I use my Nana’s grinder, as it is easy and quick.
Put about five Oreos in at a time so the machine doesn’t get stuck, and keep switching them out.
But if you don’t have access to a grinder, I have also accomplished crushing them by putting them in a gallon Ziplock bag and using a rolling pin. It’s the same idea, they just might not be as fine as in a grinder. Once you have all of your Oreos into a fine powder without lumps, put them in a large bowl.
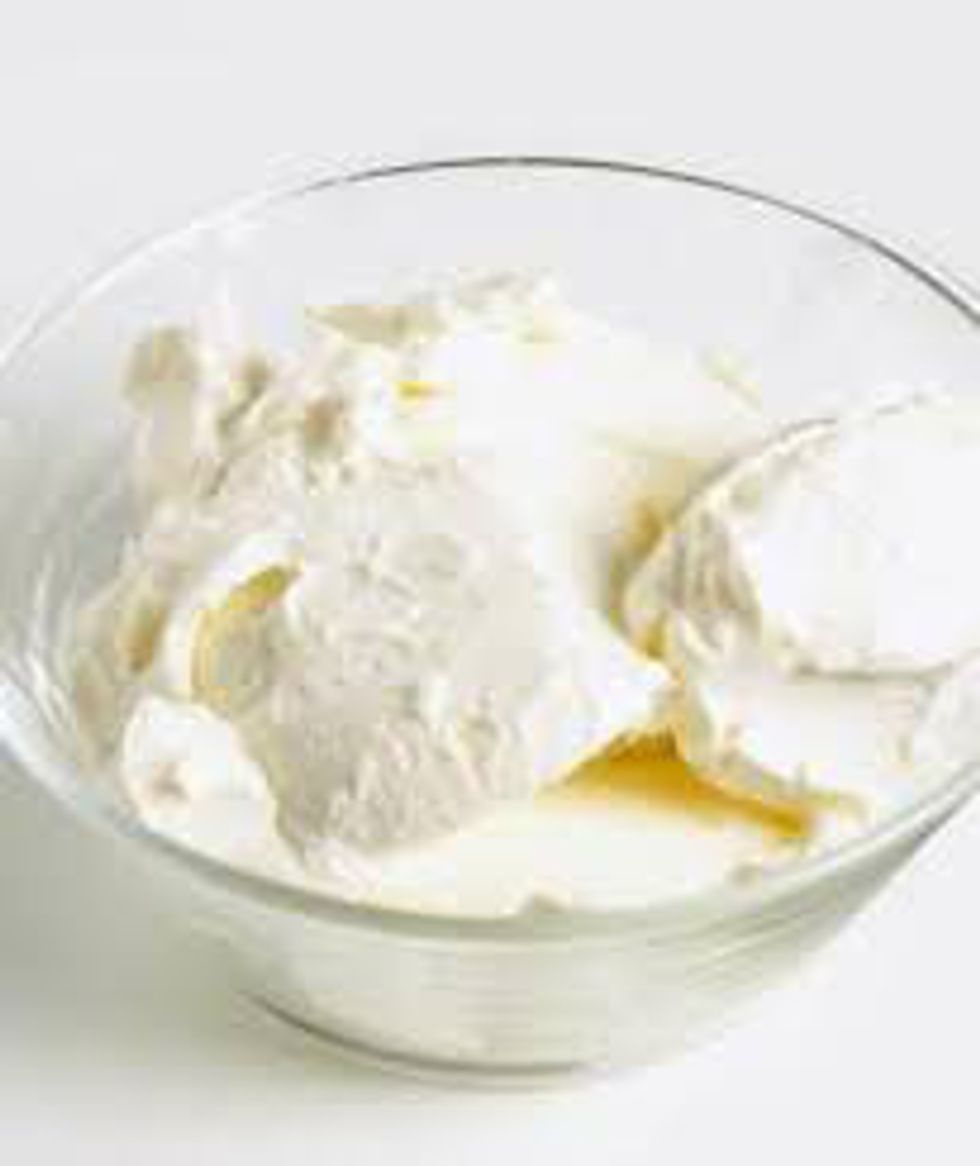
Next, soften the cream cheese in the microwave. Make it so it can be easily mixed with the Oreo powder. Once it is softened, stir it into the bowl until you cannot see anymore white, and you just have a huge mass of Oreo goodness.
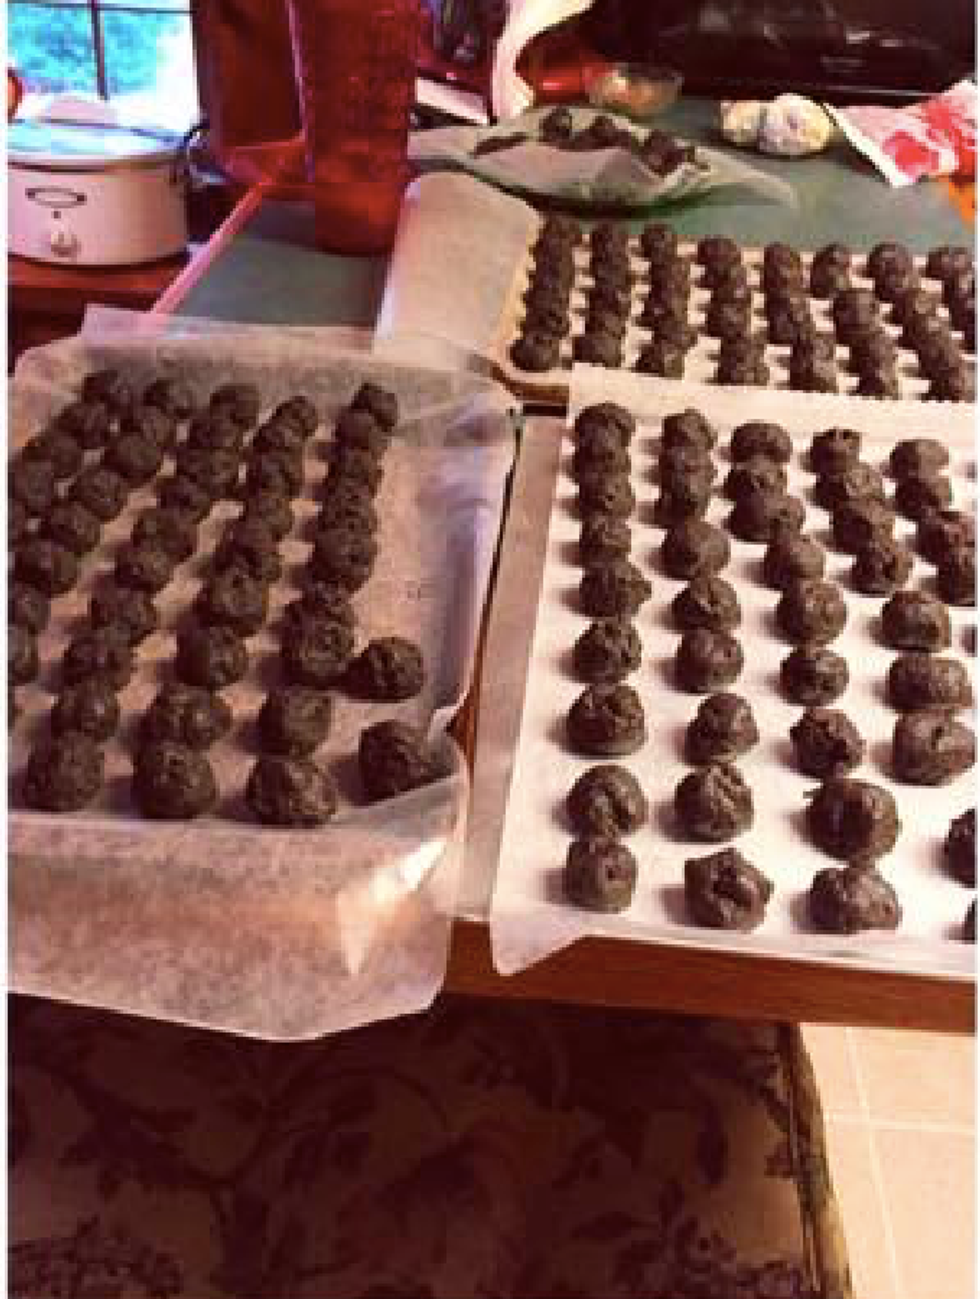
After that, take a little bit of the mixture at a time -- and I mean a little bit. Just about a teaspoon full, roll it into a ball, and place it on a baking sheet. You want to keep these small -- they are so rich that a large one can be too much! (I made that mistake the first time I made them).
Once you have done that, put the baking sheet into the fridge for about an hour, or until they feel firm. You want them to feel hard rather than soft, as if they are too soft they are melting.
While the Oreo Balls are in the fridge, take the opportunity at the end of the hour to melt your semi-sweet baking chocolate. I like to use red, green, and white for Christmas, but it’s your own personal preference. Or you can just eat them as is! They are still delicious.
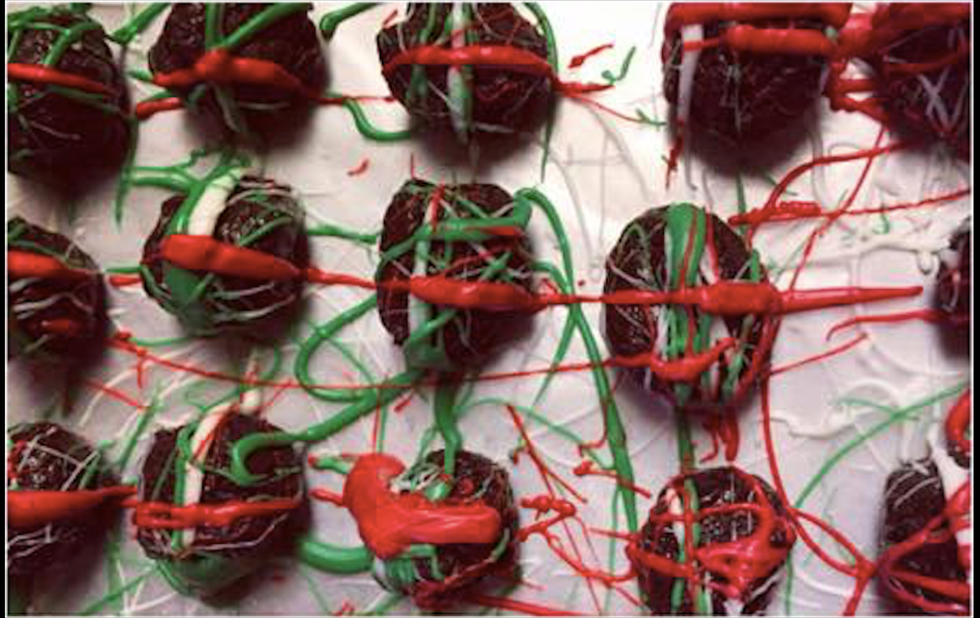
The Oreo Balls are out, the chocolate is melted, and next, you can do one of two things. One thing you can do is opt to dunk the entire ball into the chocolate, covering it entirely. The other, which I prefer as it isn’t too sweet, is to drizzle the chocolate over. It can get creative, a little messy, but is fun to do. I like to combine the colors so each Oreo Ball has a little bit of everything!
Finally, they are ready to serve. I recommend putting them back into the fridge until your guests arrive, so they don’t soften while sitting out. They are perfect right out of the fridge! And, if you go to a lot of family parties like I do, they go quick, so you may have to make double batches!
And, if you're gluten-free, just follow the same steps above and substitute in gluten-free Oreos instead!
Enjoy your Oreo Balls, and have fun making them!


