Snapchat. We all love it. Well at least the 150 million daily active users worldwide. I discovered an awesome new feature today while I was making a filter on Canva, so I thought it was the perfect time to share some tips. I'm going to teach you how to make your very own custom filter for your next event. Whether it's for a house party, wedding, school function, or a meet-up, Snapchat filters are such a fun way to let people know what you're up to and if you have your own business it's a highly underpriced form of marketing. Snapchat calls these filters on-demand geofilters. Let's begin!
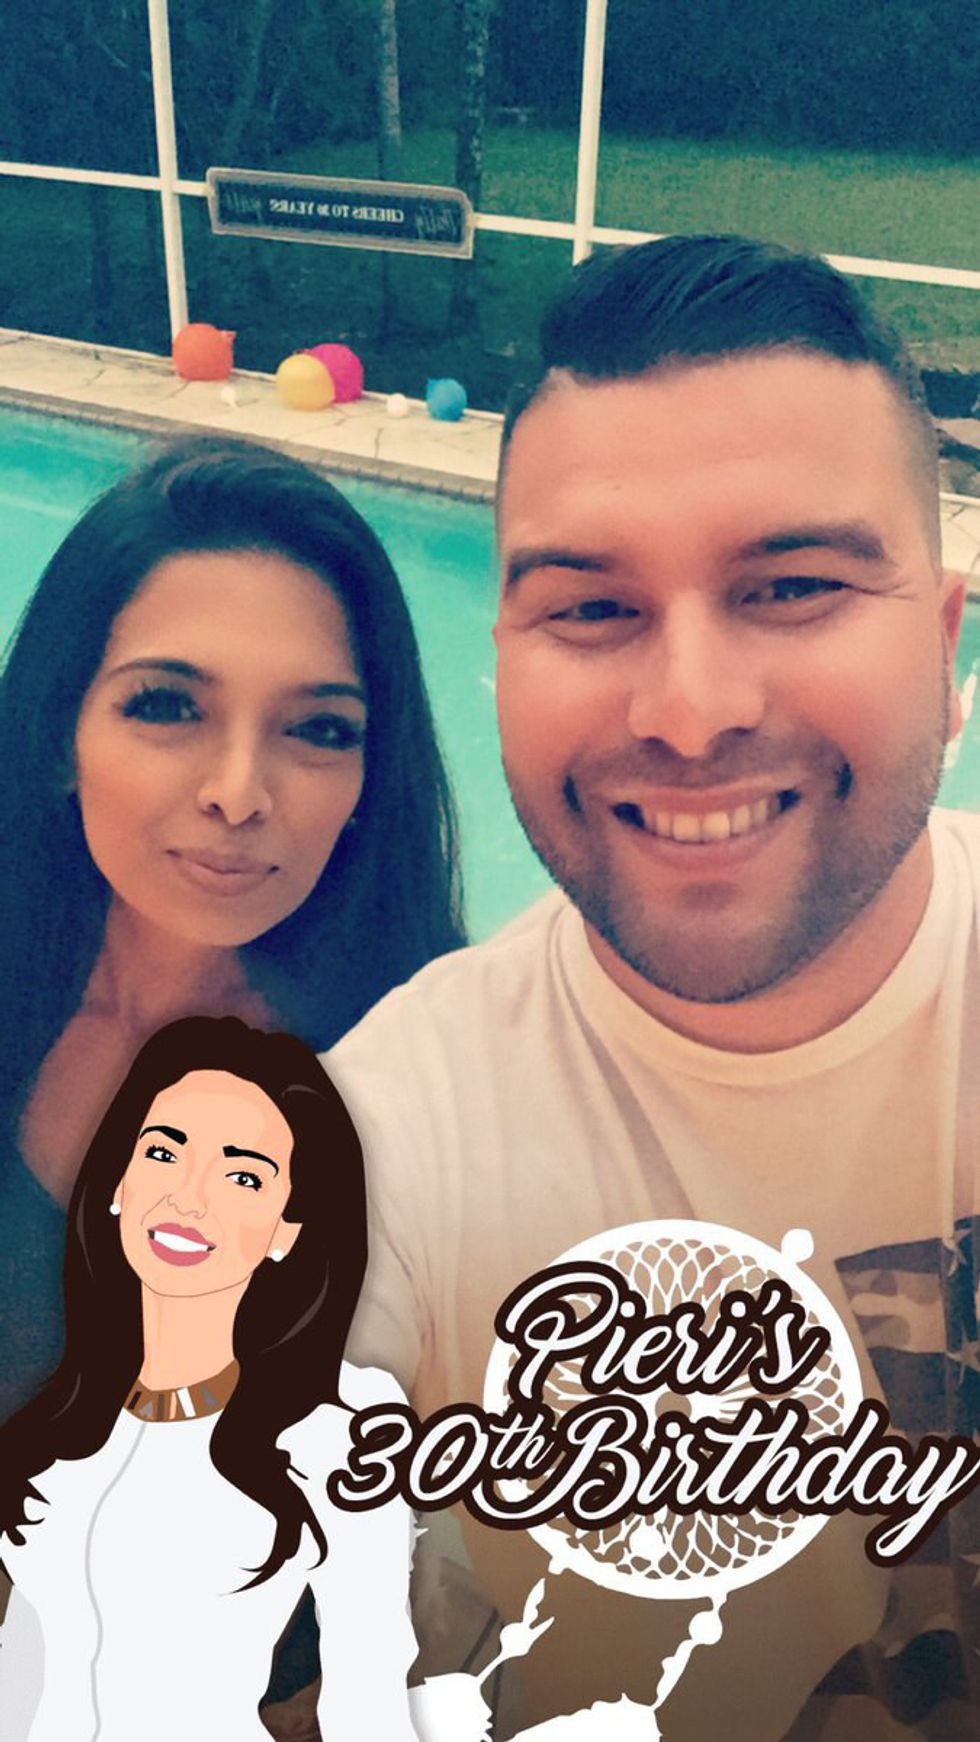
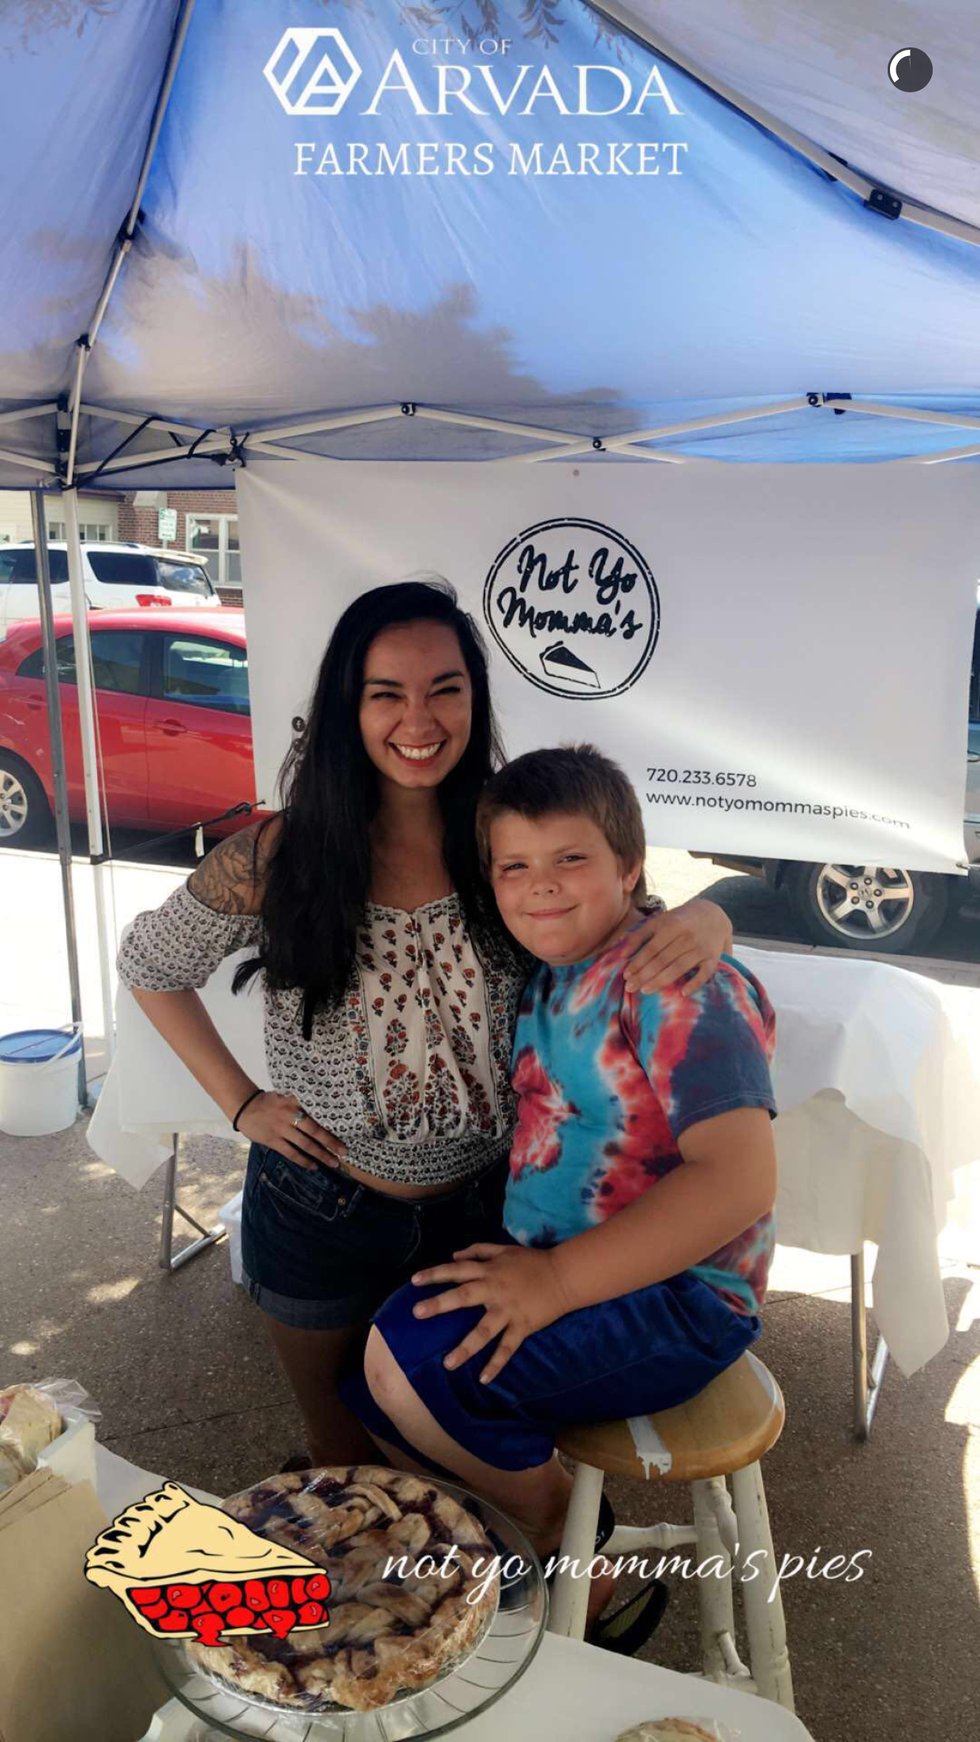
Once you've decided which occasion you'd like to have a filter for, the next step is to brainstorm your design. The possibilities are endless! Here is one example from my friend Carlos Gil, a social media speaker & strategist and one example that I designed for my friend's pie stand at the local farmers market:
The next step is to bring that design to life. I am Photoshop illiterate so I use my favorite online tool, Canva. Canva has made it possible for anyone to become a graphic designer. You can make perfectly sized social media images, cover photos, and more! Recently I started using Canva for Snapchat filters. All you do is open up Canva and choose "custom dimensions." The size for a filter is is exactly 1,080px wide by 1,920px tall.
The most important part when designing a filter is to make sure it's saved as a PNG (must have a transparent background). I just found out that Canva allows you to save as PNG. You can create your filter from start to finish using this software! Game changer!
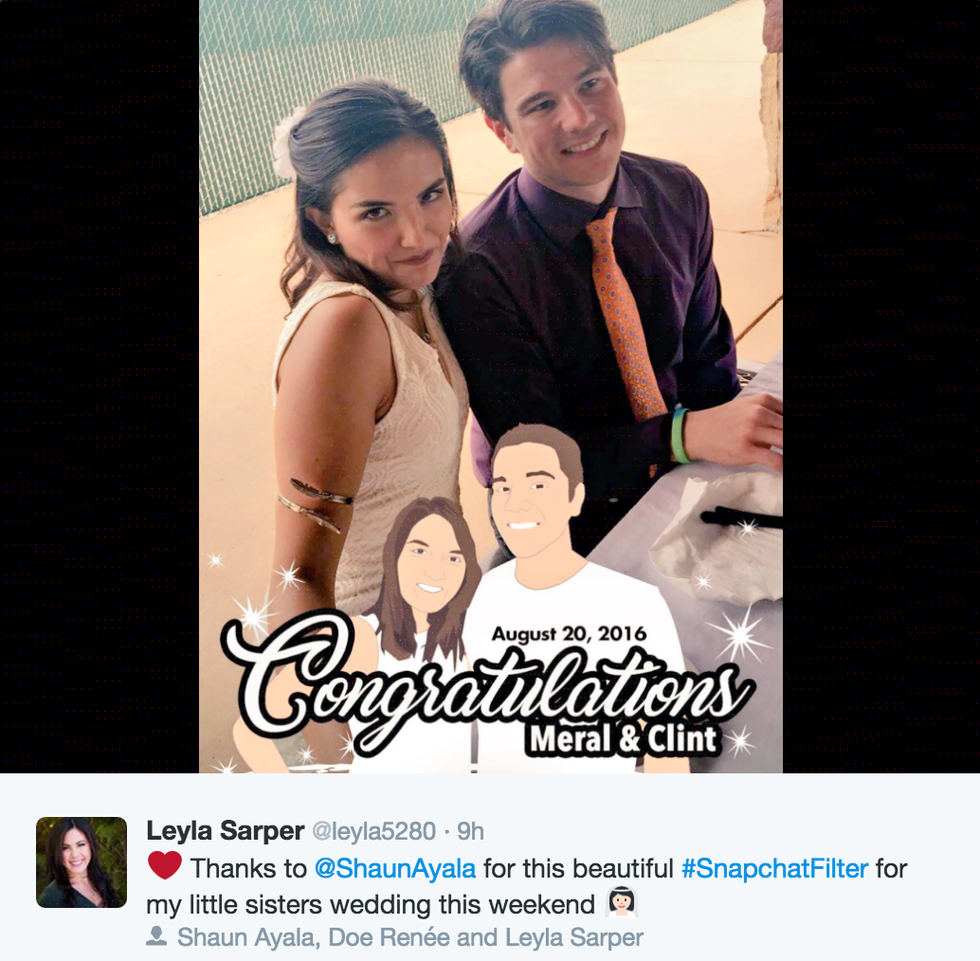
Don't worry, if you can't create the artwork yourself, there are many people out there who can do it for you. Any graphic designer or photoshop savvy person should be able to help you out. Or you can hire someone like Shaun Ayala. Many people have built their businesses around Snapchat strategy and designing filters and the prices are very reasonable. Here is a filter that Shaun designed for my sister's wedding:
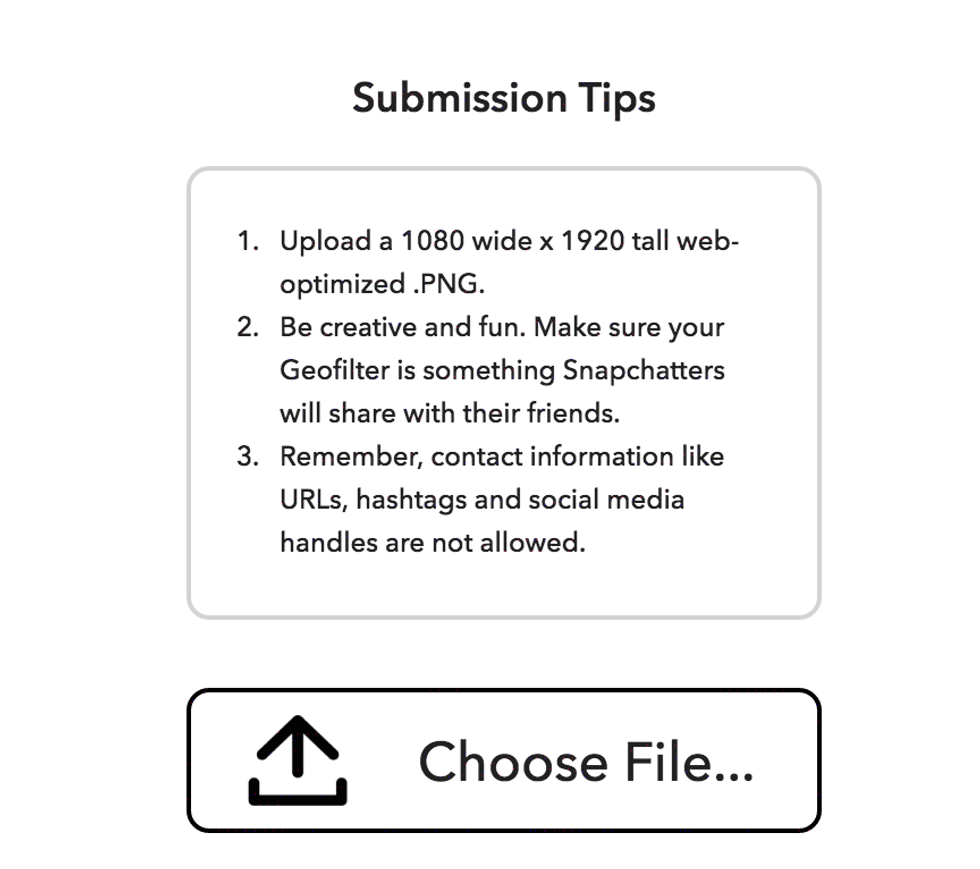
Now that your filter is designed the next step is to upload into snapchat.com. To get started, you’ll need to go to the On-Demand Geofilters page and click on the Create Now button. Here you will upload the file, choose the date, geofence (the location you want the filter to appear), and enter your payment details. Tada! It's as simple as that. After you've submitted it you should receive an email from Snapchat saying it's under review and then shortly after you'll get another one saying it's been approved! If it's gets declined for some reason, they typically let you know why.
Check out this article from Tech Insider that goes into greater detail on how to create filters as well as defines the difference between community filters and the paid on-demand geofilters we discussed today.
4.) My last tip is to think of some ways to promote your filter so people know to look for it and to use it. Some suggestions are: in-store/ on-site signage, posting on Twitter, Facebook, etc, as well as just telling people before and during the event.
Once your geofilter has run its course, Snapchat will send you one last email letting you know. From here, you have the option to extend or renew your On-Demand Geofilter, which is great especially for recurring events.
My favorite part about creating filters is being able to see how many people used it and how many people viewed it. Check out Snapchat's site to learn how!
I hope this has been helpful for you! A lot of people have been asking me about this topic lately so I hope I've shed some light on Snapchat Geofilters and how simple it really is to make one for your next event. If you have any questions I'd happy to answer them for you. You can find me on Twitter @Leyla5280.


