Summer continues, and I still haven't gotten a job, but despite it meaning I have insufficient funds for pretty much anything, it also means I have more free time to create makeup looks that will make my family say things along the lines of "You're so creative!" or "You're not wearing green lipstick at my graduation!" With June being pride month, I considered doing Mabel's rainbow sweater from The Love God next, but dozens of online makeup artists have already done rainbow eyeshadow looks, and it felt redundant. So instead, I opted for another colorful design.
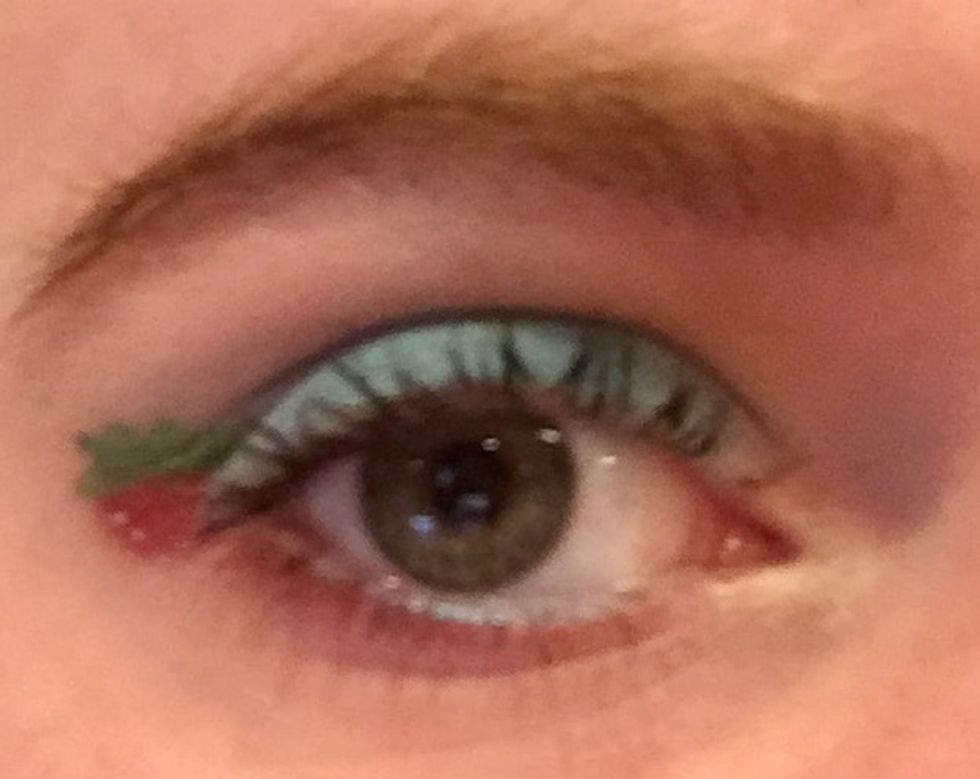
This week: The Strawberry
1. Apply crease and lid shades.
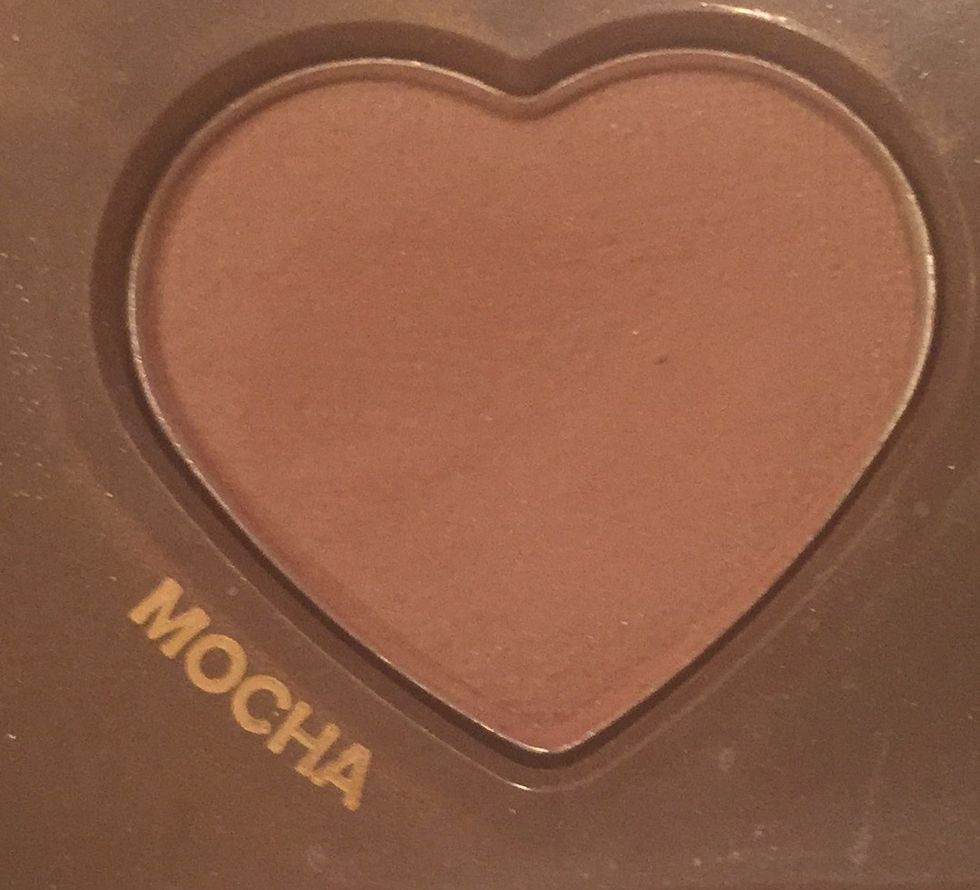
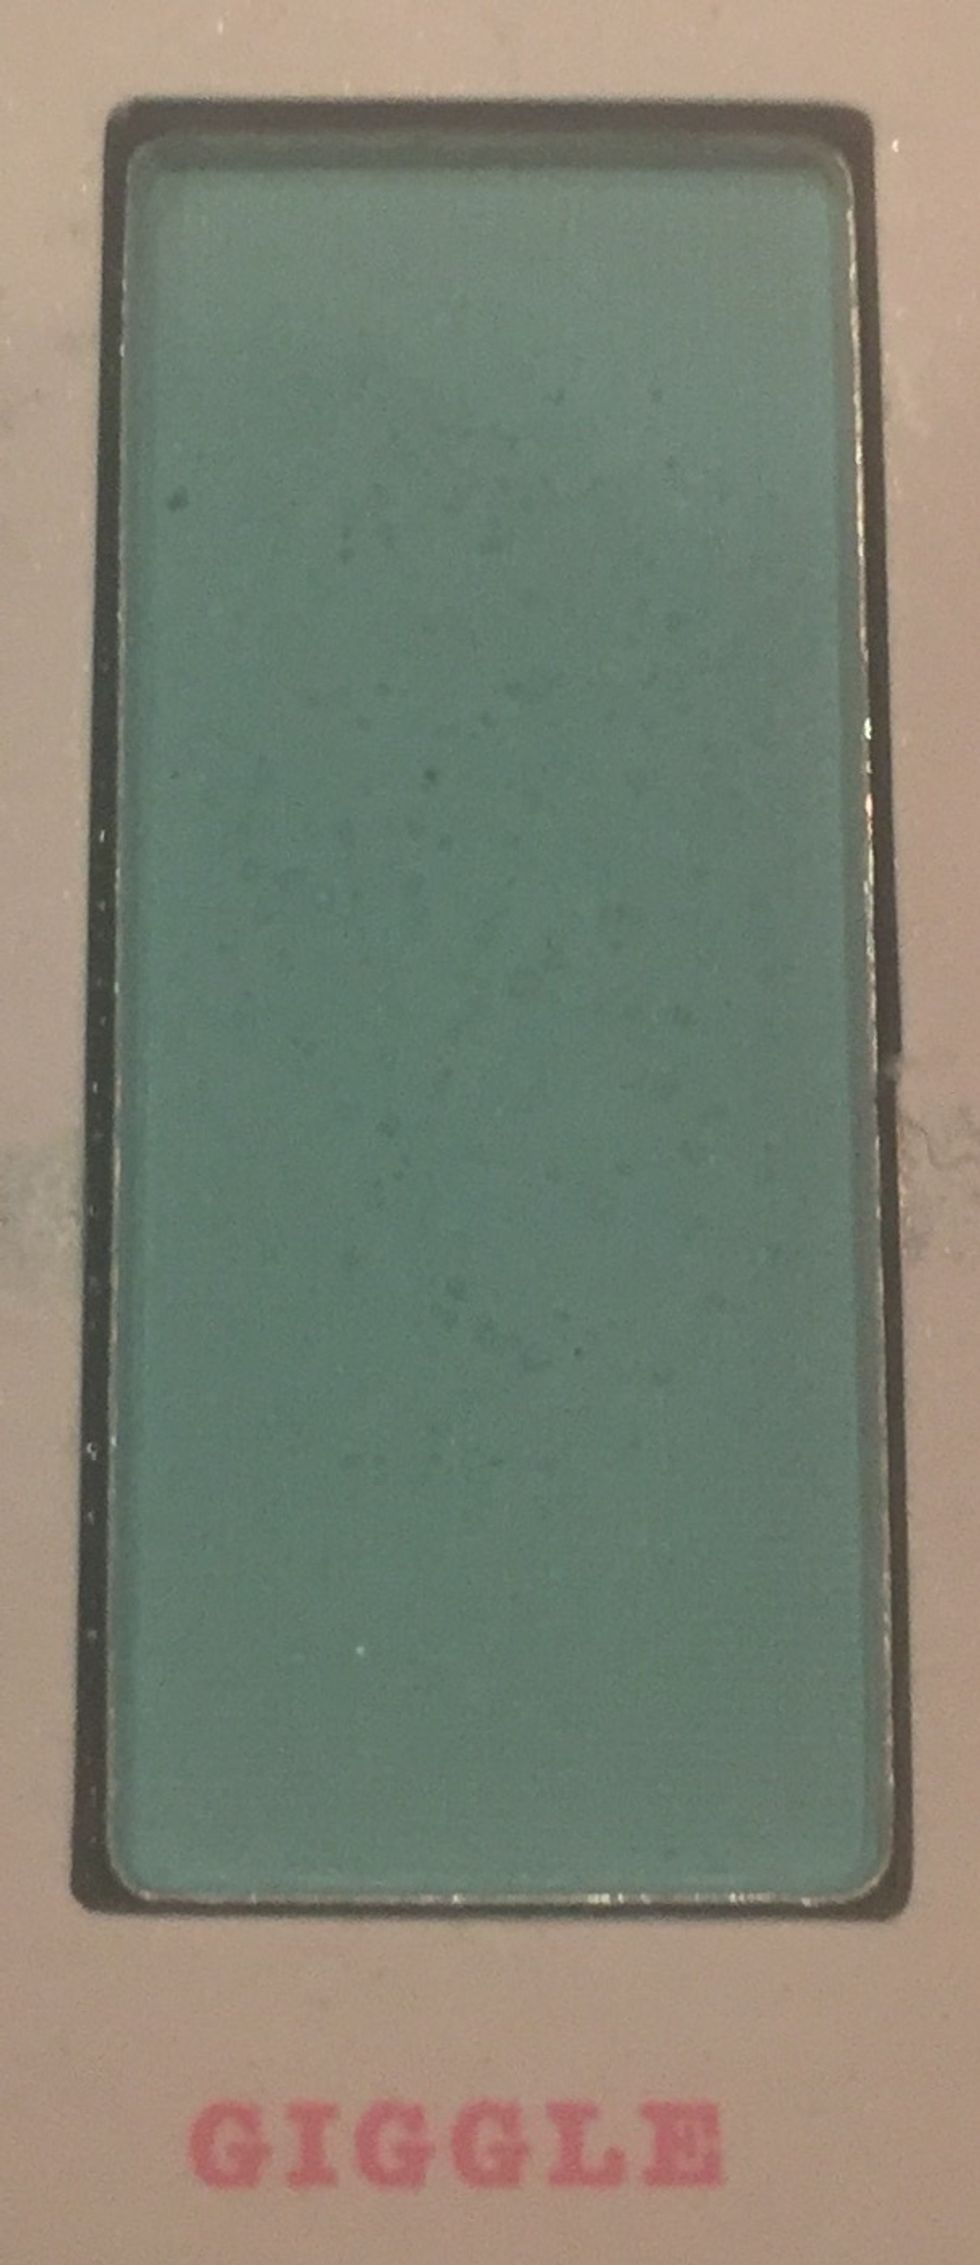
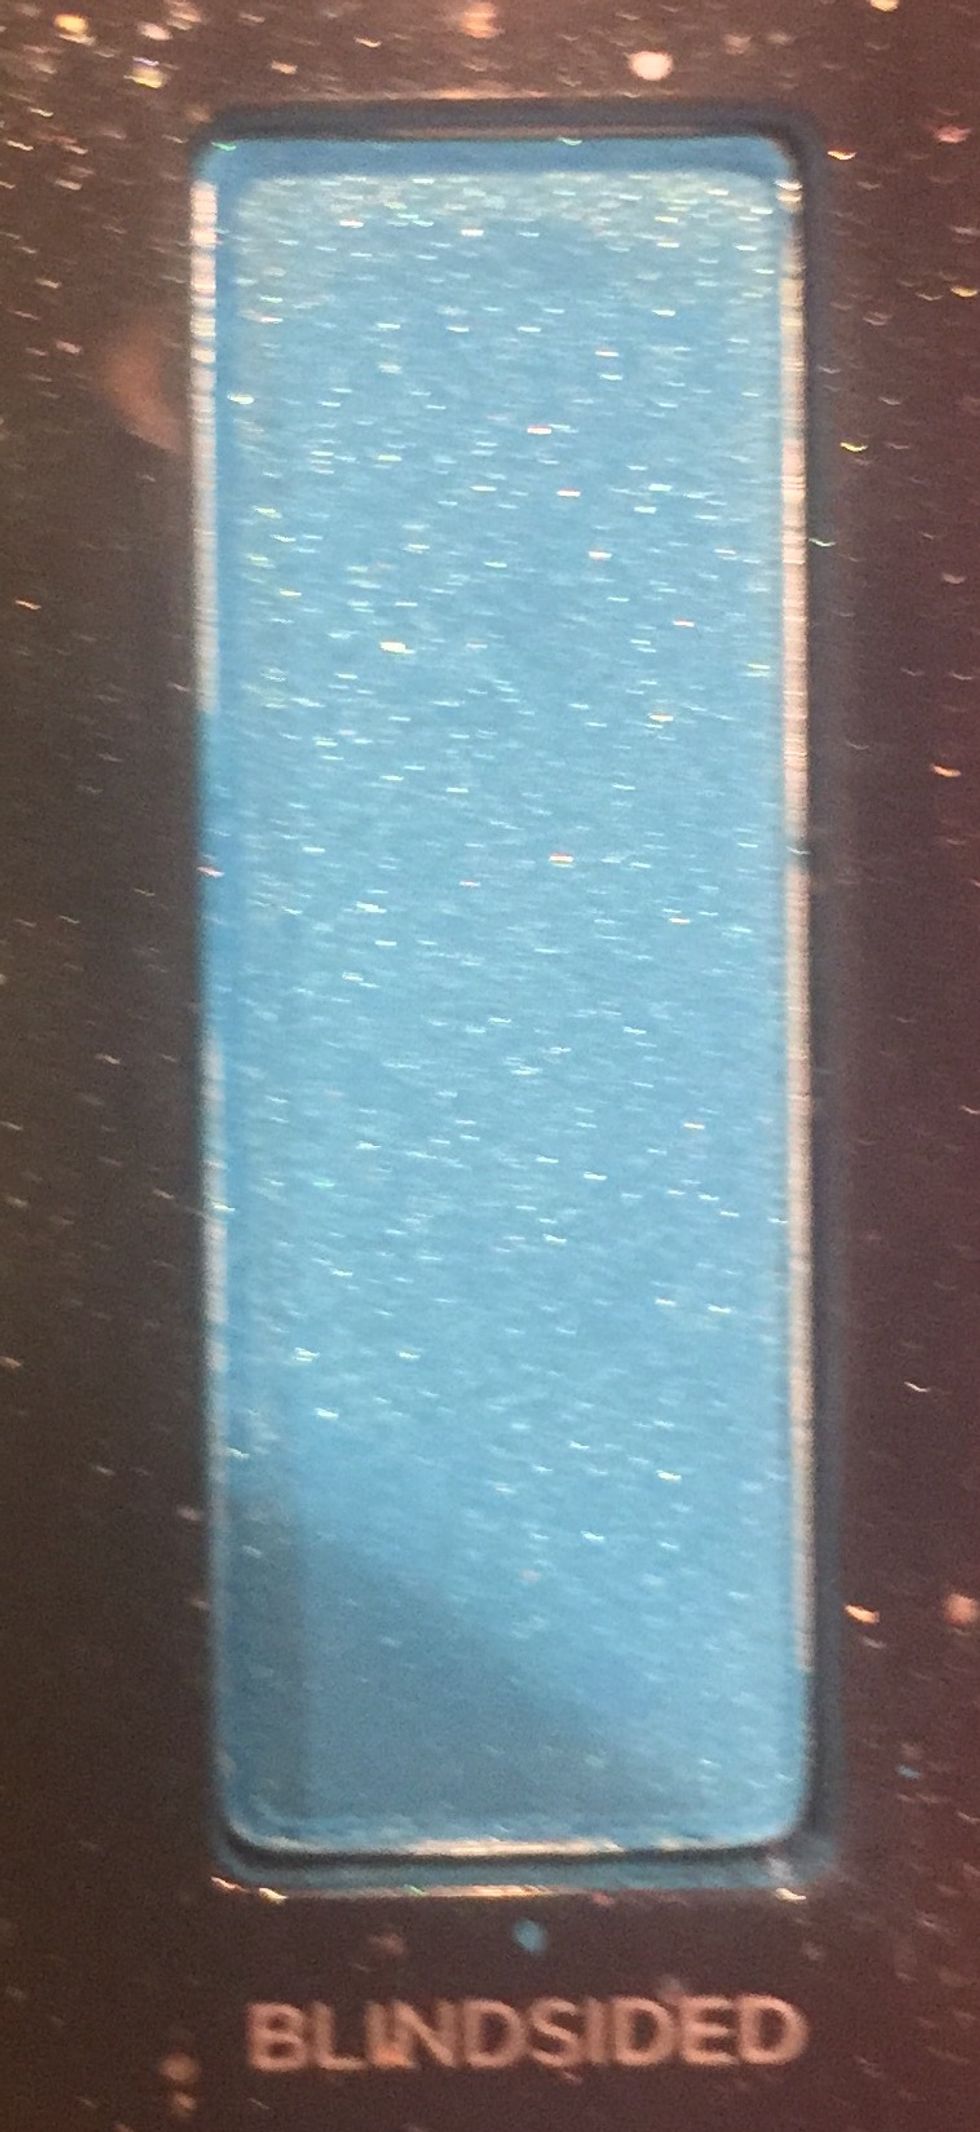
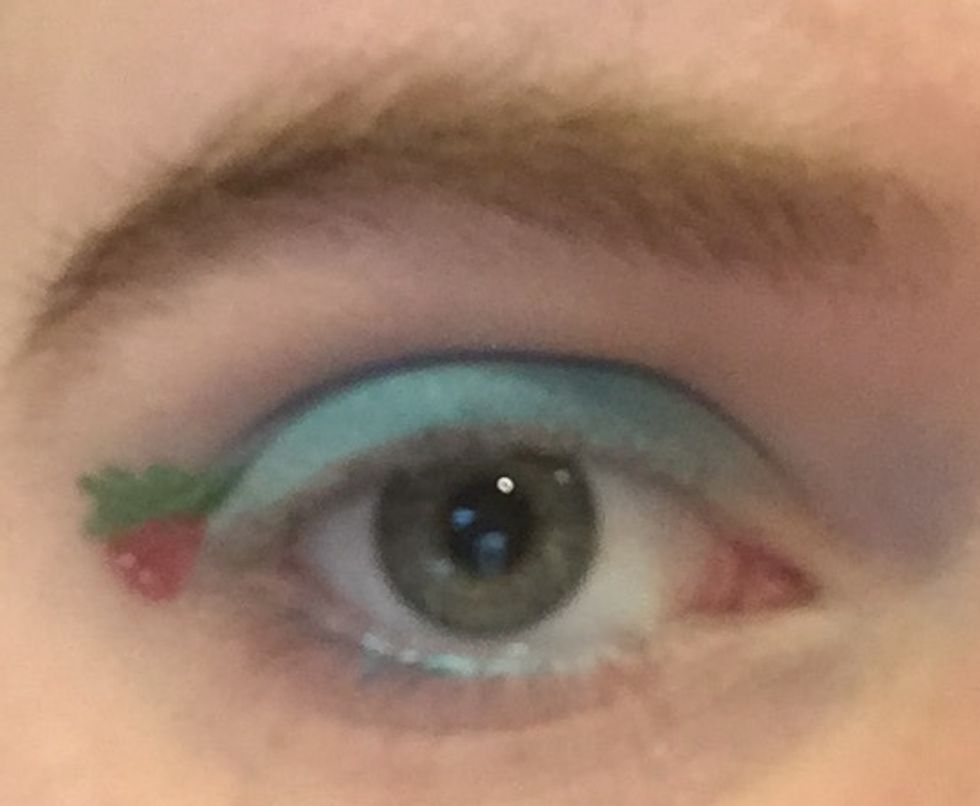
After applying and setting an eyeshadow primer, blend a light brown shade into the crease with a fluffy brush and apply a light blue or teal all over the lid, then a slightly darker blue shade into the outer corner. I found later that I wasn't satisfied with my lid color, so I went back over it with a brighter shade.
2. Draw the leaves and berry.
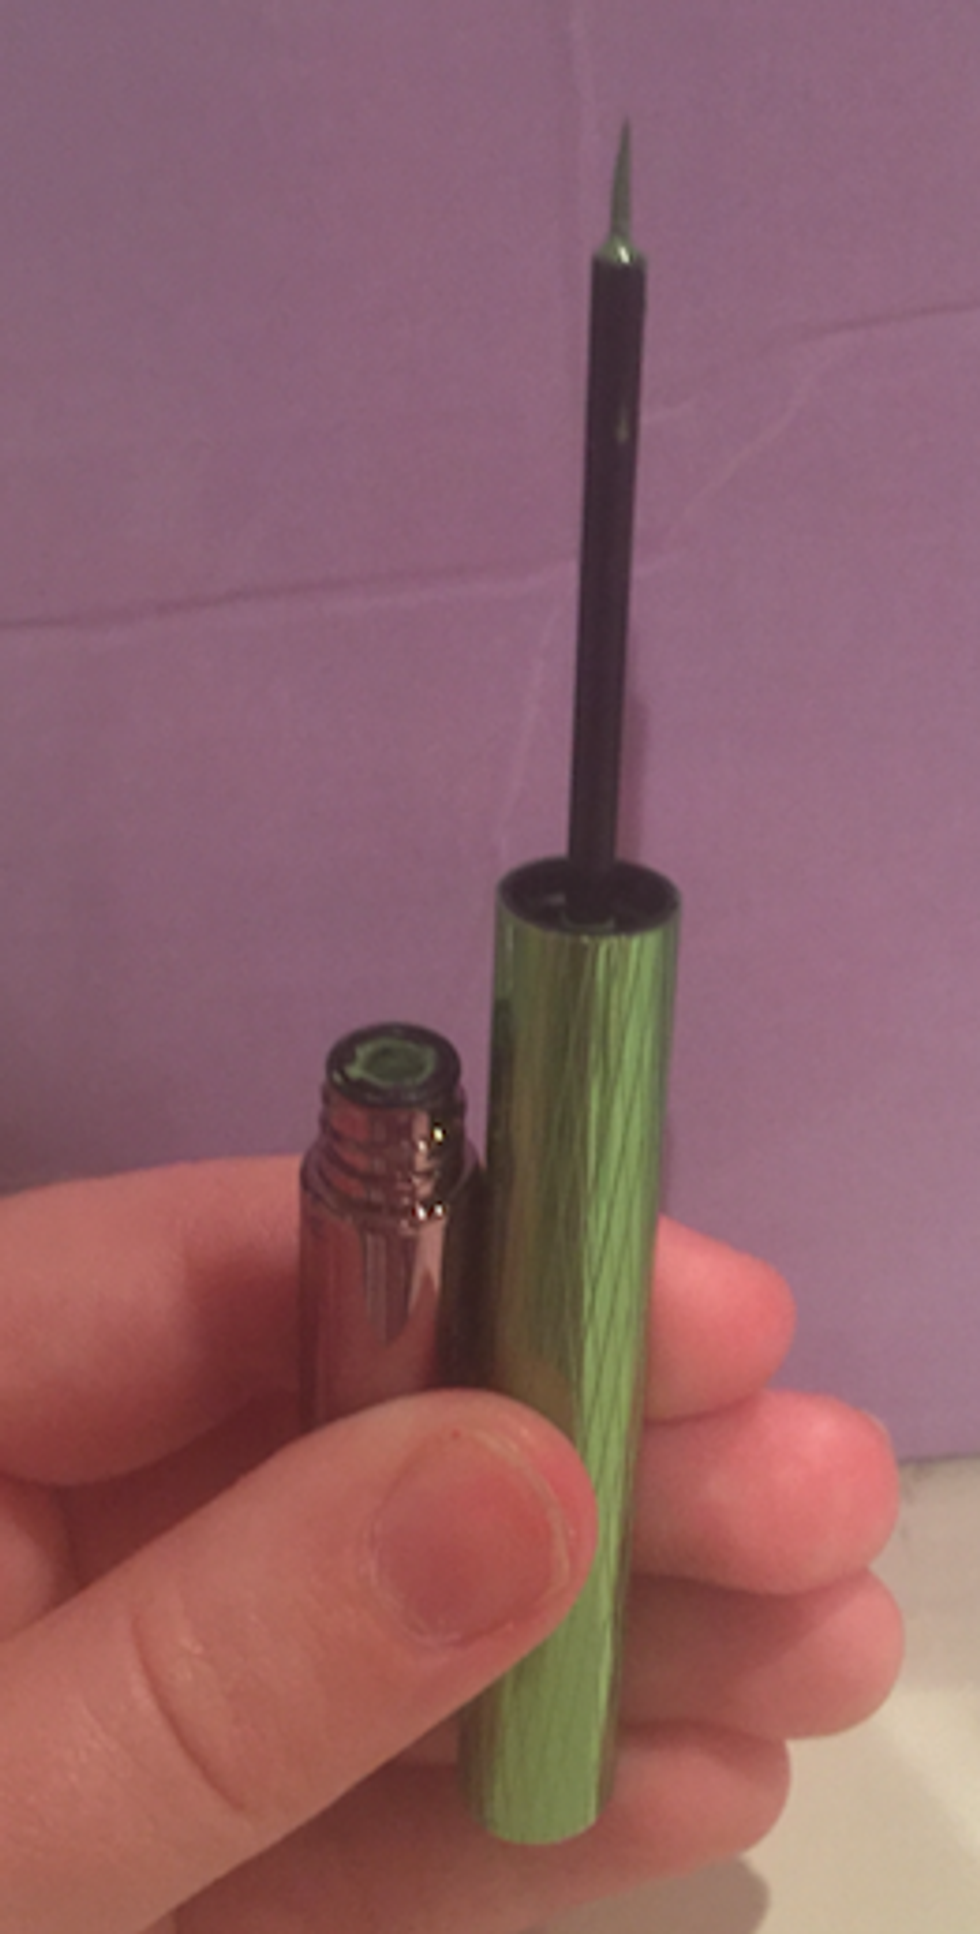
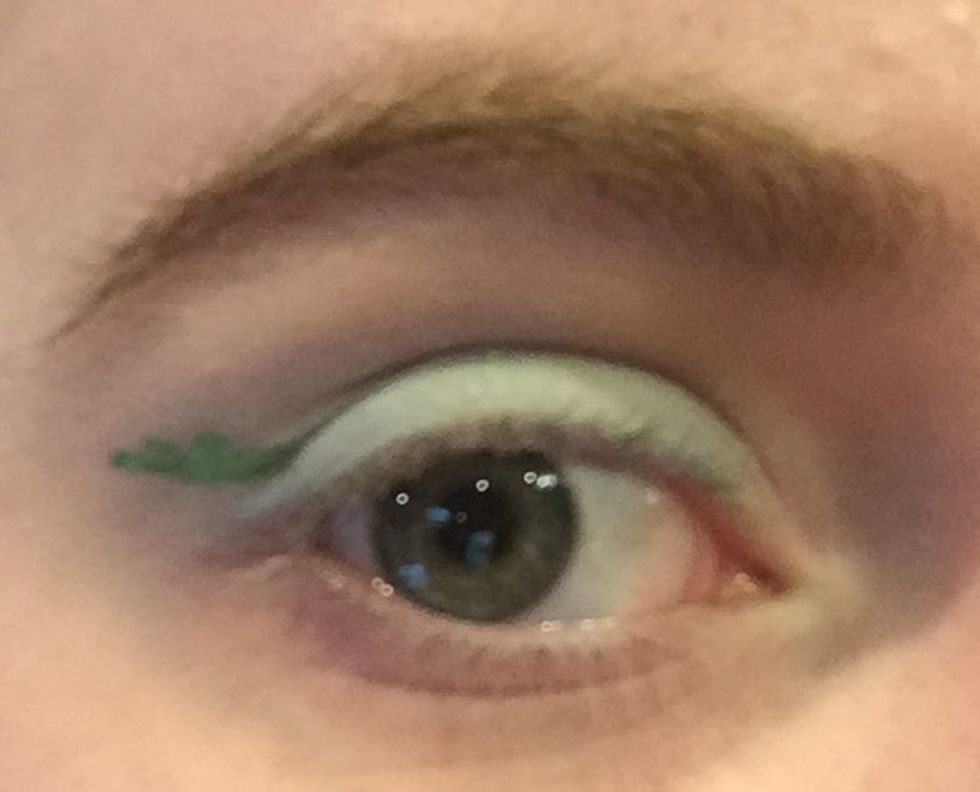
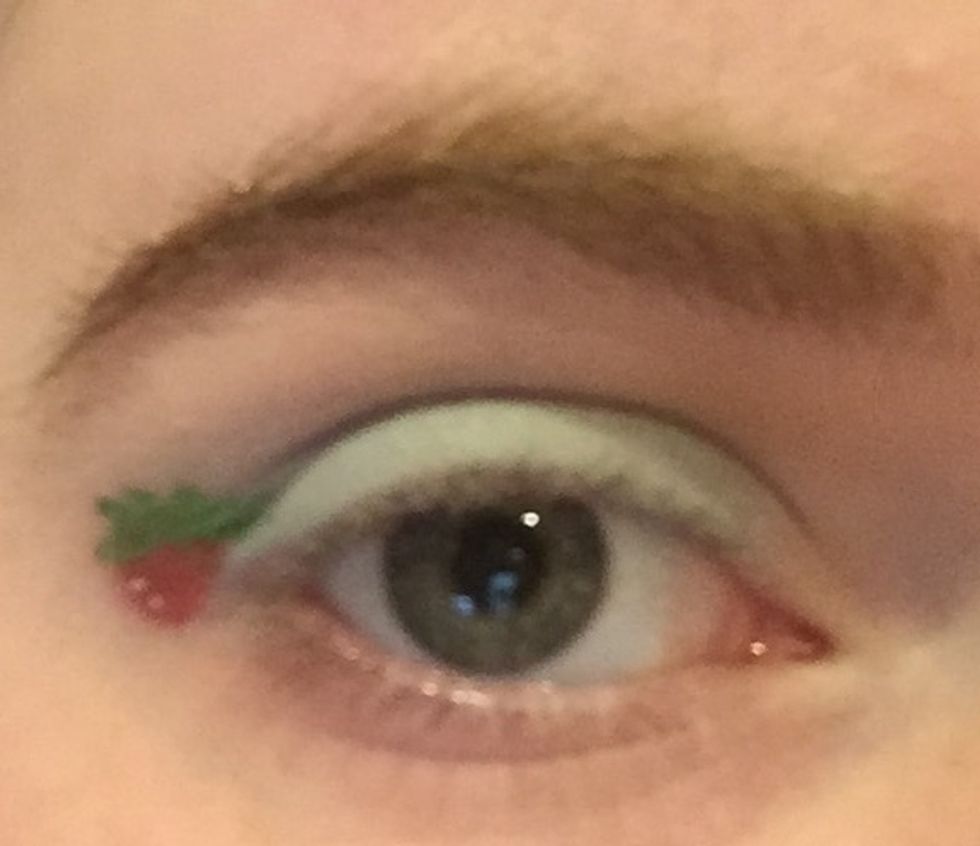
Use a green eyeliner to draw some simple curved lines on the outer corner of the eye, then use a red liner (or eyeshadow on a wet brush) to draw a simple upside-down teardrop shape under the green color. Once it dries, draw two small dots toward the bottom of the berry with a white eyeliner.
3. Tightline.
(Optional: This was when I went back over with the brighter blue/teal shade.)
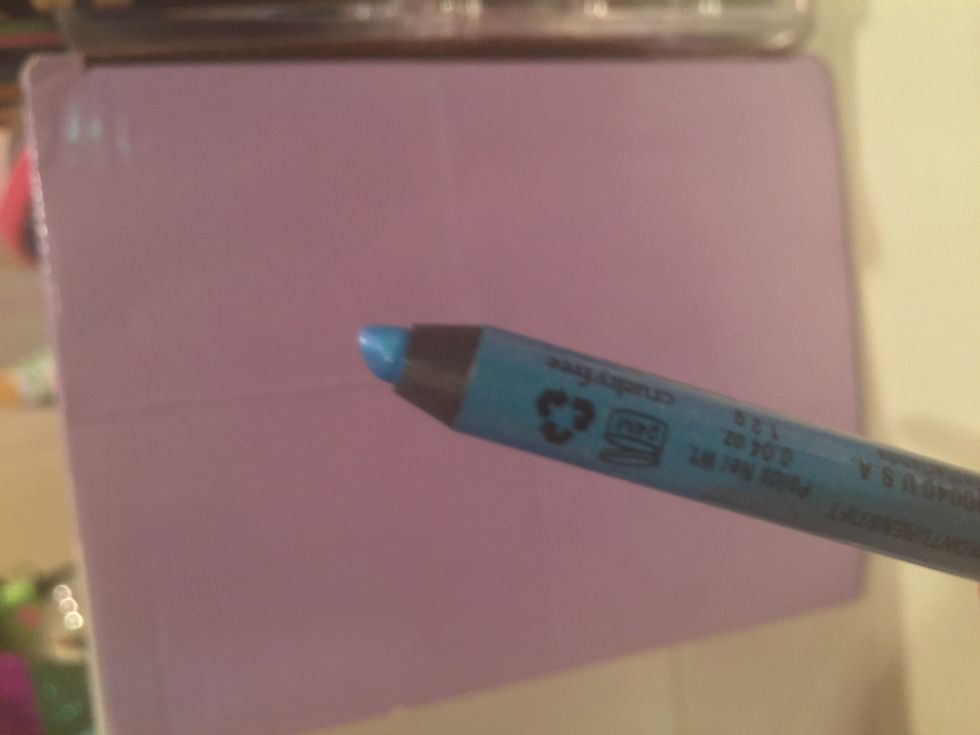
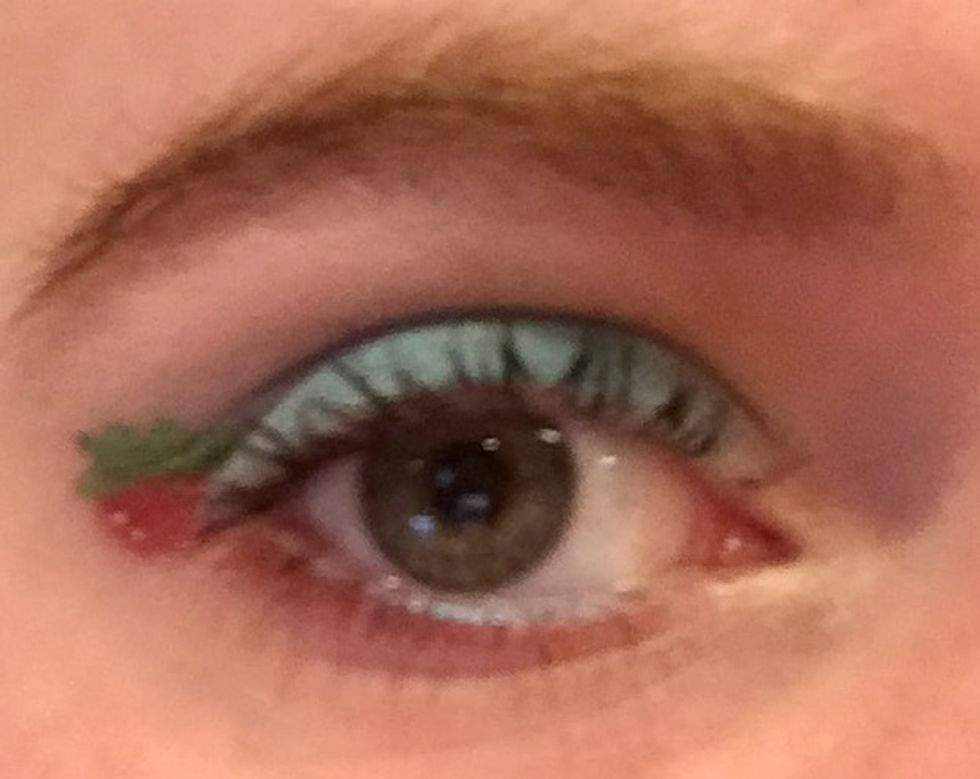
Tightline the lower waterline with a teal eye pencil. If necessary, use a flat brush to set it with an eyeshadow of the same color.
Smudge the red liner or eyeshadow along the lower lashline, highlight the browbone with a matte white shade (or one that's a shade or two lighter than your skintone), and finish with a black mascara.


