I've been seeing a lot of those "Recreating My Old Look" videos on YouTube lately and it got me think "What was my 'old look'?"
I thought about my freshman year of high school when I lined my waterline in the darkest pencil eyeliner I could find.That routine was short-lived because I didn't have the funds to support the raccoon eyes.
Then, I thought about how I became an ULTA Rewards Platinum member and a Sephora VIB all within eight months, all because I decided it was time to change my look a little bit. I must have spent any second of my free time just playing around with my tools, slowly learning what works and what doesn't as I go. In the last year, while messing around with different combinations and products, I came up with a nifty on-the-go makeup routine that will get you up and ready in less than 20 minutes.
Step 1. Make sure you wash and moisturize your canvas.
And by canvas, I mean your face.
Step 2. Primer
If you're going for a BB or CC cream (which I'll discuss later), you need a primer. Primers are great because they prep your skin for a beating. Depending on your skin type, you want to choose a primer that combats the problem. Since I have skin so oily it's enough to fill a deep fryer, I use primers with a more matte finish.
Step 3. Foundation/BB cream/CC cream
Once your primer is pretty much dry, you want to layer on a foundation that also suits your skin, both in type and in tone. I keep a couple of different shades throughout the year because my color fluctuates a lot.
If you reeaallly don't feel like taking the first step of slathering primer all over your face, BB and CC creams are your best bet. They have all the benefits of a foundation, moisturizer, sunscreen and primer built into one formula for easy use. The only difference between them is that CC creams contain color corrector. A color corrector is used to combat specific problem areas such as redness, dark circles, visible veins, etc. It masks these imperfections and gives your skin a more even tone.
Step 4. Translucent powder.
Two words: baby powder. If my make-up guru of a younger sister ever saw this, she'd be livid by how cheap I live when I do my makeup. Take a beauty sponge and load that sucker up with some baby powder. Pat along the underneath of your eyes, extending along the tops of your cheek bones almost to your temple. Let that sit for a couple of minutes.
Step 5. Fleek-ish eyebrows
Depending on how much brow you have, you may or may not have to skip this step. Personally, I like to just define them and lightly fill them in.
Step 6. Mascara
Pretty self-explanatory.
Step 7. All over setting powder.
Like foundation, you want to choose a powder that is closest to your skin tone. Using a powder brush, you want to dust some setting powder all over your face, making sure that you blend the translucent powder in with the rest of your makeup, so there isn't an awkward white cast on your face.
Step 8. That glow!
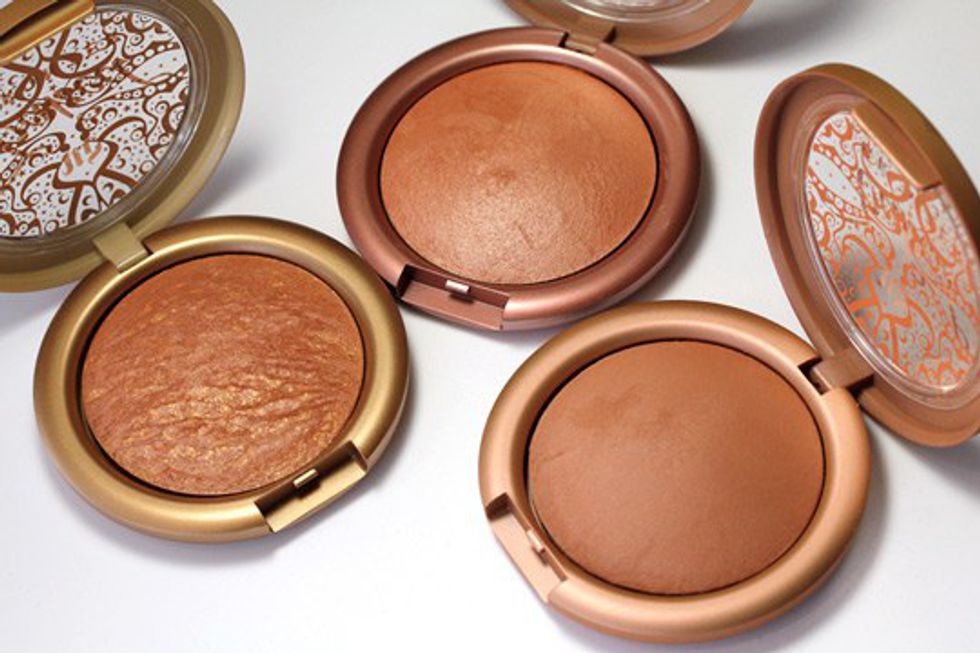
If you're anything like me, multi-tasking is a must when it comes to everything and anything. And this is where the fun comes in. With a bronzer, take a dense buffing brush and start lightly contouring. The shade of bronzer shouldn't be too dark, because you're really not trying to carve out your jawline or cheekbones. This will just create a shadow that defines your features in an extremely subtle way while giving color to your face.
With the same bronzer and a fluffy eyeshadow brush, pat it onto your lid and into your crease, making sure that it's blended out nicely. You don't want any harsh lines when it comes to eye makeup (except for maybe a sharp winged liner). This will add definition to your eyes and make them look fierce.
That being said, you're ready to take on the day.
But honestly, if all else fails and your alarm goes up two minutes before the start of your class, just flip your hair, grab your coffee and S-L-A-Y with that natural beauty of yours.


