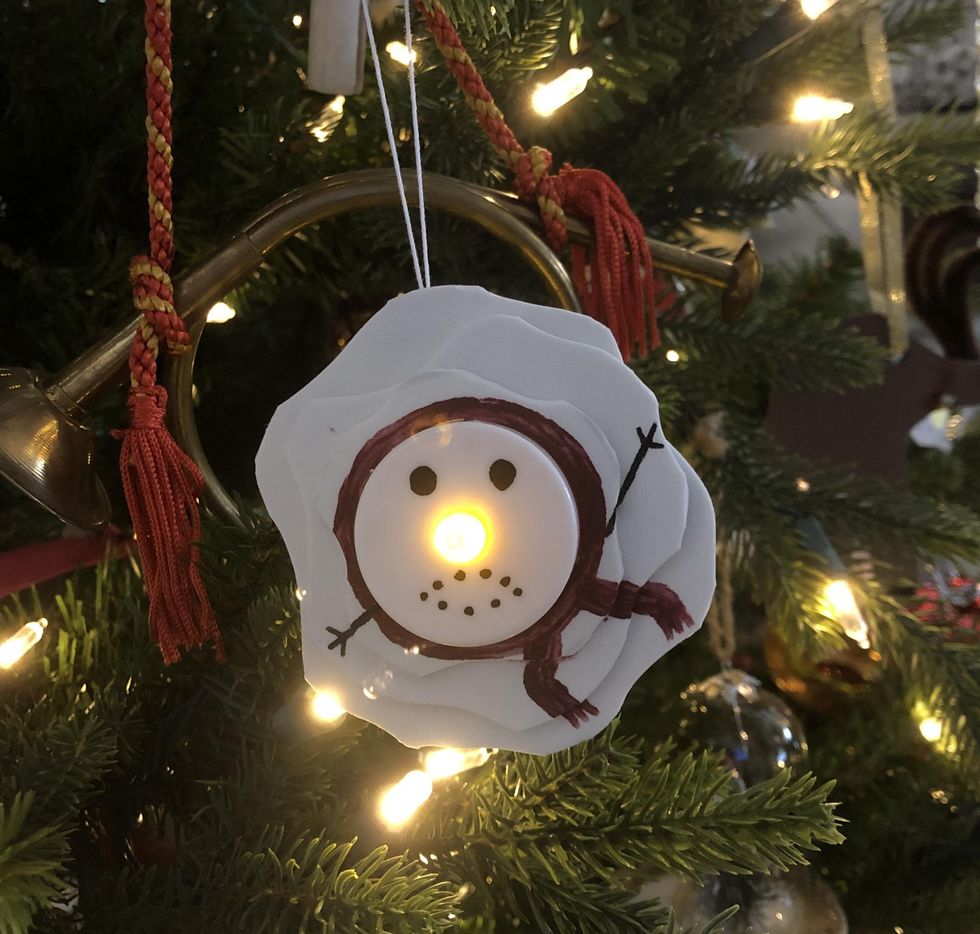
Christmas is only two days away! For those who have all of their gifts wrapped and sitting under the tree, the approaching holiday is something to be celebrated. But, for those who are just now realizing they forgot to get a gift for that one person on their list, the fact that Christmas is looming on the horizon brings stressful feelings, not those of giddy anticipation. With the holiday approaching and time running out to get a gift, this dollar store DIY could be your lifesaver this holiday season. Here's a step-by-step guide teaching you how to make a melted snowman Christmas ornament with supplies you likely already have, or could get at your local Dollar Tree.
Step 1: Collect your supplies.
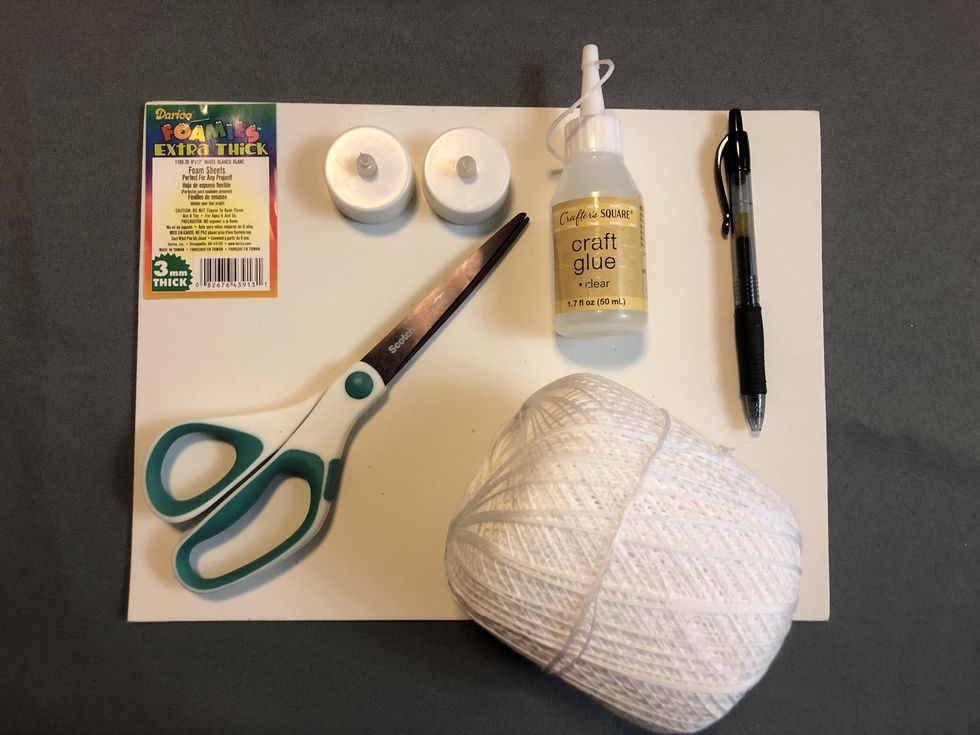
Here are all the supplies I used!
For this DIY the list of supplies is really short! Here's what you'll need:
- An orange electric tea light candle (available at Dollar Tree in packs of 2)
- White craft foam sheets/card stock/copy paper
- Black Sharpie or pen
- Hot glue/glue stick/craft glue (available at Dollar Tree)
- String/twine/yarn
- Scissors
Step 2: Cut craft foam sheet/card stock/copy paper.

This picture shows all steps: traced circles, cut out circles, cut jagged edges, traced tea light, and cut out center.
This step is possibly the most complicated, but I've included pictures to hopefully help you out! All you need to do is cut three circles out of your white foam, card stock, or paper. They should all be bigger than the circumference of the tea light, but they should also be concentric, meaning they should get smaller as they go. Then, go around the edges of your circles and give them some curvy edges and dips. This will make it look like a puddle of melted snow. Finally, trace the circumference of your tea light on all of the pieces and cut out the center so the pieces will fit around the tea light. Be careful not to cut too much out of the center, or else the pieces will slip right off the tea light.
Step 3: Glue the pieces to the tea light.
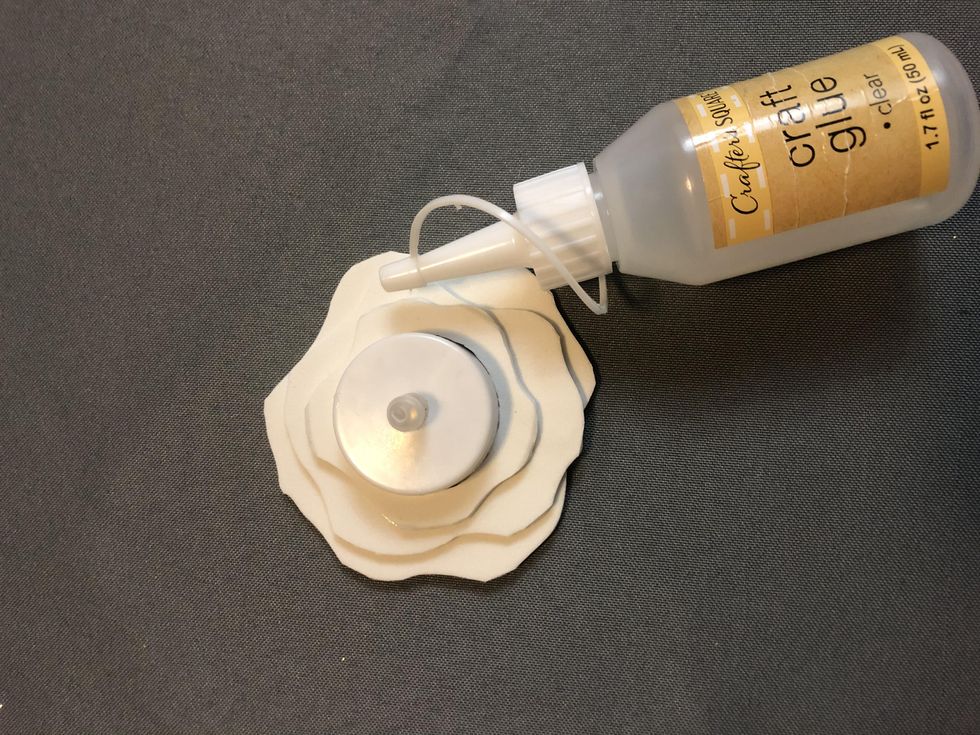
I glued the pieces to the tea light, and also glued them to each other for some extra strength.
This is where some customization can come into play! You can glue the pieces to the very bottom of the tea light like I did, or you can space them out to leave room in between each sheet for a more three dimensional effect. If you're using glue that takes a long time to dry, be sure not to rush through this step, or else you may disturb your glue before it dries completely. Patience is key!
Step 4: Decorate!

I painted on the scarf with craft acrylic paint instead of drawing with a pen.
This is my favorite step! Use the black Sharpie or pen to draw eyes on the top of the tea light above the flame. You can give your snowman a smile, or a frown made out of coal. You could also draw stick arms or even draw on a scarf on the sheets of foam/card stock/paper if you wanted to! This is when your melted snowman will really come to life. I also think it's a good idea to write your name and the year on the back of the ornament. This personal touch will help whoever you give the ornament to remember who made it and when they got it.
Step 5: Attach the string/twine/yarn
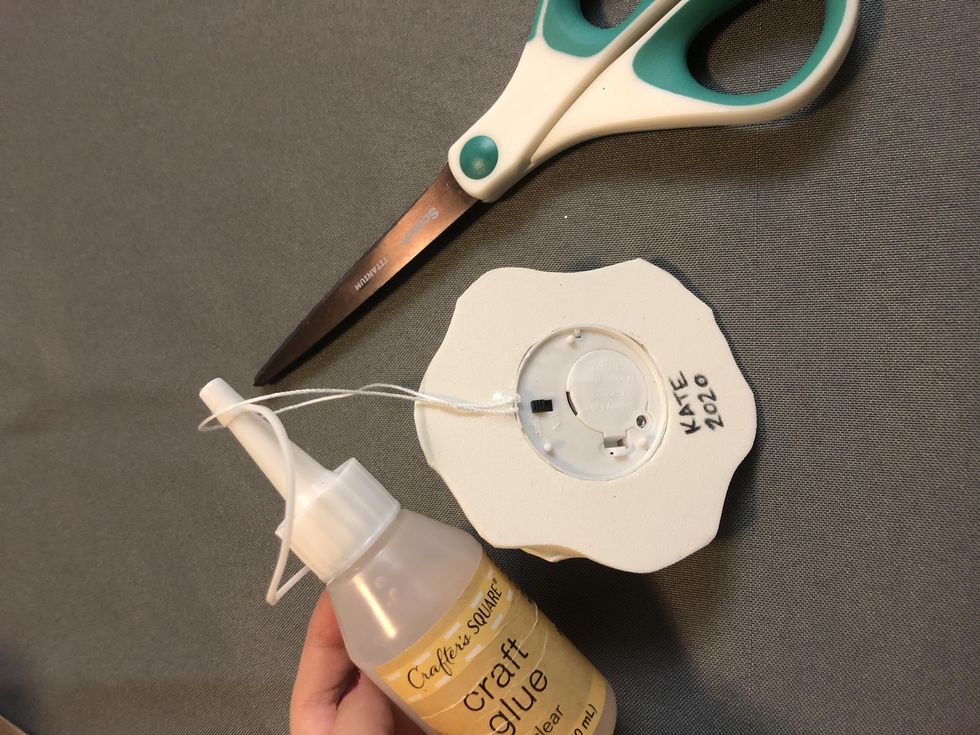
String is attached to the craft foam sheet instead of to the back of the tea light.
This step seems easy, but there are a few important things to keep in mind. First, cut an appropriately sized length of string, twine, or yarn (mine is about 9 inches long). Since this ornament will light up, you'll need to make sure you don't glue the battery compartment shut. This way the new owners of your ornament will be able to change the batteries when necessary. Also, make sure to double check the placement of your string/twine/yarn so that you don't end up hanging your snowman ornament upside down! I've included a picture of a good way I found to glue my string to avoid gluing the battery compartment shut, but will still keep the snowman hanging upright.
Step 6: Gift away!
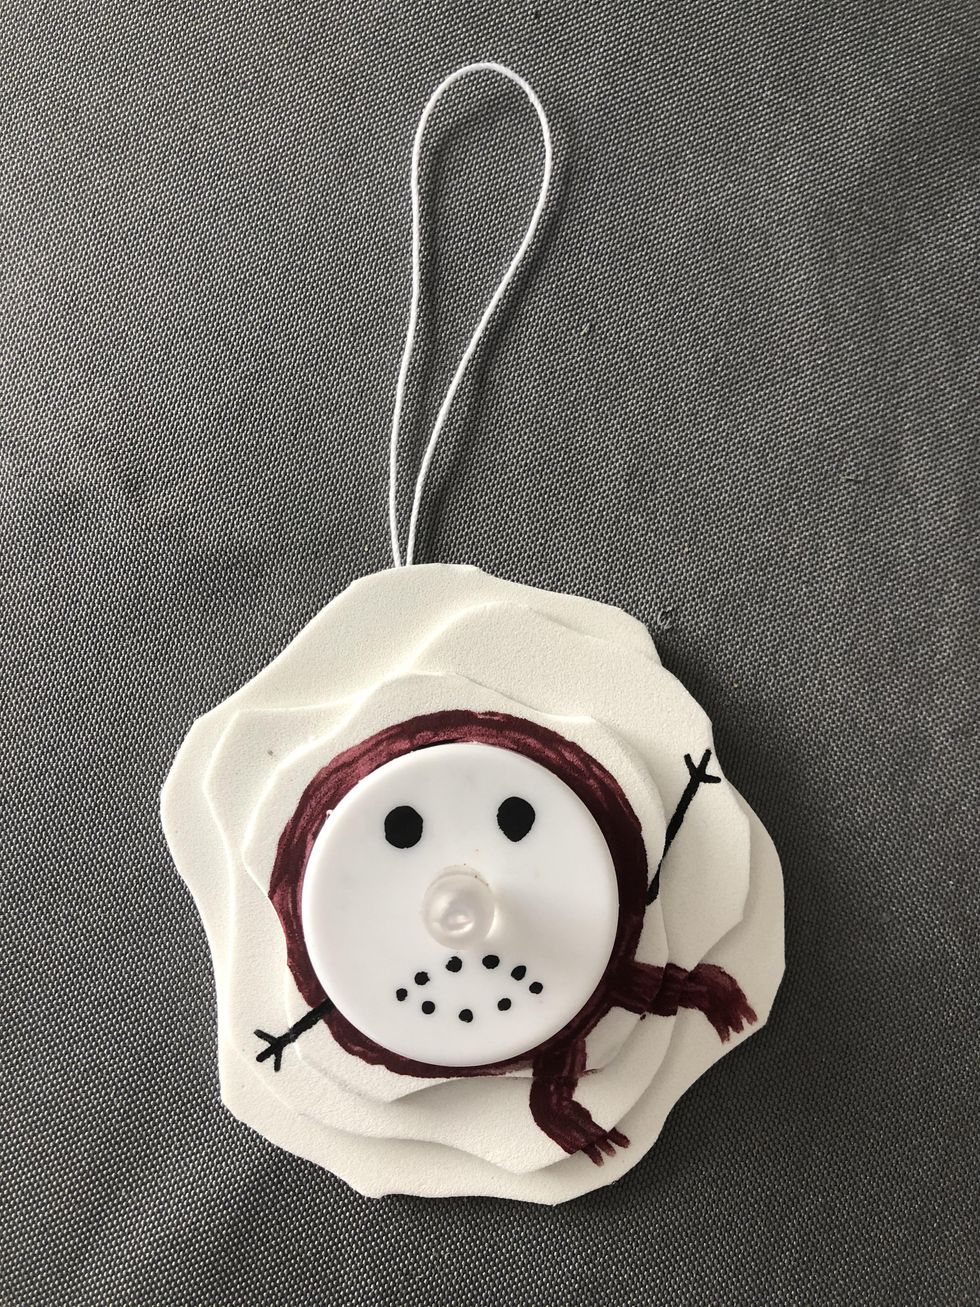
You can turn the tea light on to make his nose glow orange, but I left mine off for this picture. See the cover image for the glowing nose!
Congratulations! You've completed your melted snowman ornament. This last minute gift will be a great stocking stuffer or personalized present for that one person you accidentally forgot about this year. Plus, it's a gift that can be used in future years, so whenever they decorate their tree, they can remember the crazy year of 2020 and the thoughtful gift you took the time to make.
I hope this last minute gift idea is helpful to you this year, or in years to come. Even if you've already gotten all of your gifts, this could be a fun craft to do with your family this year to celebrate the holiday season. This year, I hope you find the joy and light to celebrate despite the fact that 2020 has been so dark. Maybe you're celebrating seeing your family safely. Maybe you're celebrating the fact that you can afford to have food on the table, or presents under the tree. Whatever you choose to celebrate this year, I hope this DIY was able to relieve some of the stress of the season so you're able to focus on all of the good feelings that come with this time of year. Happy holidays and happy crafting!

