This summer, I have been in an extra "crafty" mood. It must be the fact that I actually get to decorate my room from scratch this school year or because I'm a girl with many Pinterest boards. During one of my midnight craft sessions, I thought about making shampoo bars. It could have been because I have been having a lot of "plastic-in-the-ocean" videos popping up on my timelines or because I am obsessed with Lush and they make awesome bars as well.
Since I am an environment-loving nerd, I did some research about shampoo and its environmental impact. It turns out that not only does your shampoo come in a plastic bottle, there is also a good chance that there is plastic in the shampoo itself. Companies are trying to come up with recycled shampoo bottles and they're also making sure consumers know that they can recycle their bottles after they are empty. However, 552 million plastic bottles end up in landfills each year. So, I wanted to try an alternative version.
After searching for vegan shampoo recipes (my sister-in-law is a vegan and we wanted to make them together), we found one on an organic beauty blog called "So Green So Good".
The Ingredients:

Alexis Stachurski
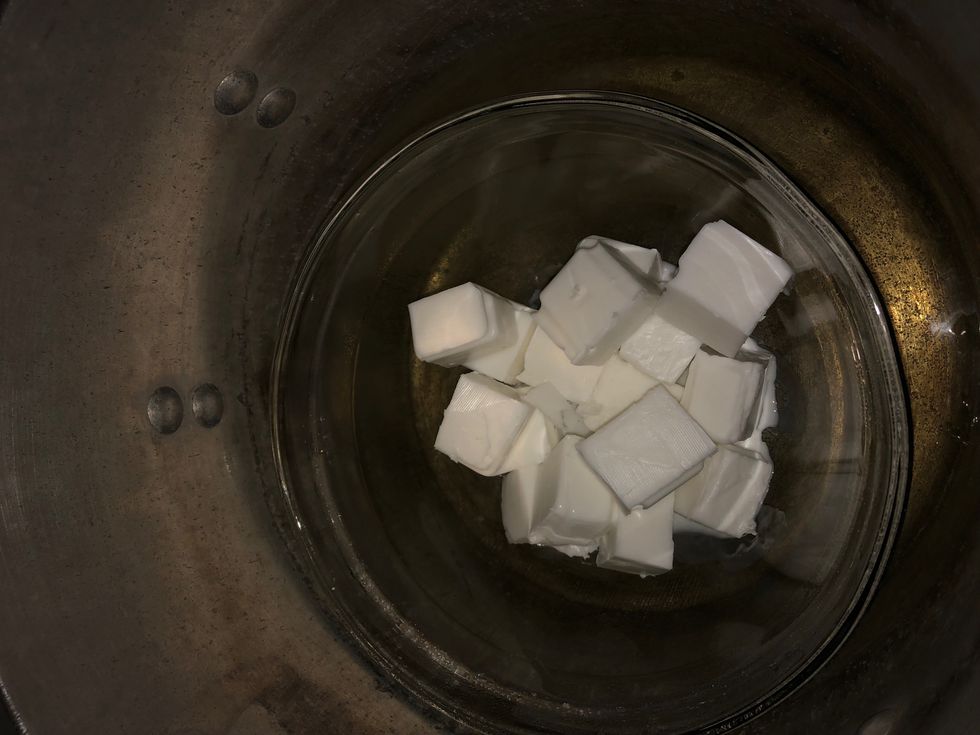
*1 lb Melt & Pour Soap Base ( I used a Shea Butter Soap Base because it is vegan)
* 2 tsp Castor Oil
* 1 tsp Shea Butter
* 25 drops of any essential oil or blend of essential oil (We used tea tree and lavender buds)
Now, on this same blog, the writer states the different essential oils that you can use depending on your hair care needs, whether you have oily, brittle or dull hair.
We bought everything from Hobby Lobby
Instructions:

Madi Ty
Step 1: Using a double boil system, melt the soap base first
Step 2: After it's melted and removed from heat, add Castor Oil and the Shea Butter, along with the essential oil(s).
Step 3: Pour into soap molds
Step 4: Let cool! (we popped ours in the freezer for a couple hours)
End Product & Storage

Alexis Stachurski
The molds we chose really helped make them cuter than just squares of shampoo bars (squares are fine too)! To store these, I recommend keeping them in a dry container until you use them. Once in your shower, put them in a soap holder or a metal tin. Keeping them dry even when stored is important because if they are constantly wet, then they will melt.
Testing it out!

Alexis Stachurski
I wanted to give you guys the full rundown about using these. First thing, they don't lather up like traditional shampoos. That's because sodium lauryl sulfate is a detergent added to shampoos and soaps to create that bubbly effect that everyone looks for. So given that, it seems more like a conditioner bar than a shampoo. Since I didn't have conditioner, my hair was SUPER hard to comb out with my wide-tooth comb.
And of course, the day that I decide to try these out was the most humid and hot day of the week. So my hair got extra frizzy super fast, but then it flattened out. My hair felt a little different than usual, but I think that's just because I didn't have my conditioner.
Overall, I liked this experiment. The shampoo bars are super easy to make and the whole thing cost about $30 but the castor oil and shea butter can last for a few batches, so the only thing you would need to purchase every time is the Melt and Pour Base (about $12 for two batches). This whole experience made me feel better since I was using less plastic during my shower time. These bars are cute to bring to the beach for a quick hair wash or on a camping trip since they're less bulky! I brought some to camp and it made my bag so much more spacious without my usual bottles.
Let me know through my socials if you tried this DIY out! I wanna see what you guys think of it as well :)


