Are you someone who is tired of taking bland and boring photos? If so, you hit the jackpot this week. Well... Maybe not. This is slightly misleading now that I think of it. My tips might not turn you into the world's greatest photographer, but it will most likely help spice up your camera roll.
Back to business. OK, the first way to improve the quality of your photos is to make sure you're shooting in landscape orientation. Especially scenery and group shots. We all have that one family member on Christmas who tries to take a group picture and ends up cutting 75% of the group out of the picture. This sounds redundant, but it really does help to capture everything in frame. A photo taken in landscape orientation is almost 100 times more interesting than a photo that is oddly cropped in portrait.
Disclaimer: This rule does not apply to all photos. I've taken some great pictures in portrait orientation on my iPhone, but its only when I want to take something that has a lot of vertical elements in the photo (i.e. this picture from my hotel room at Virginia Beach in May).
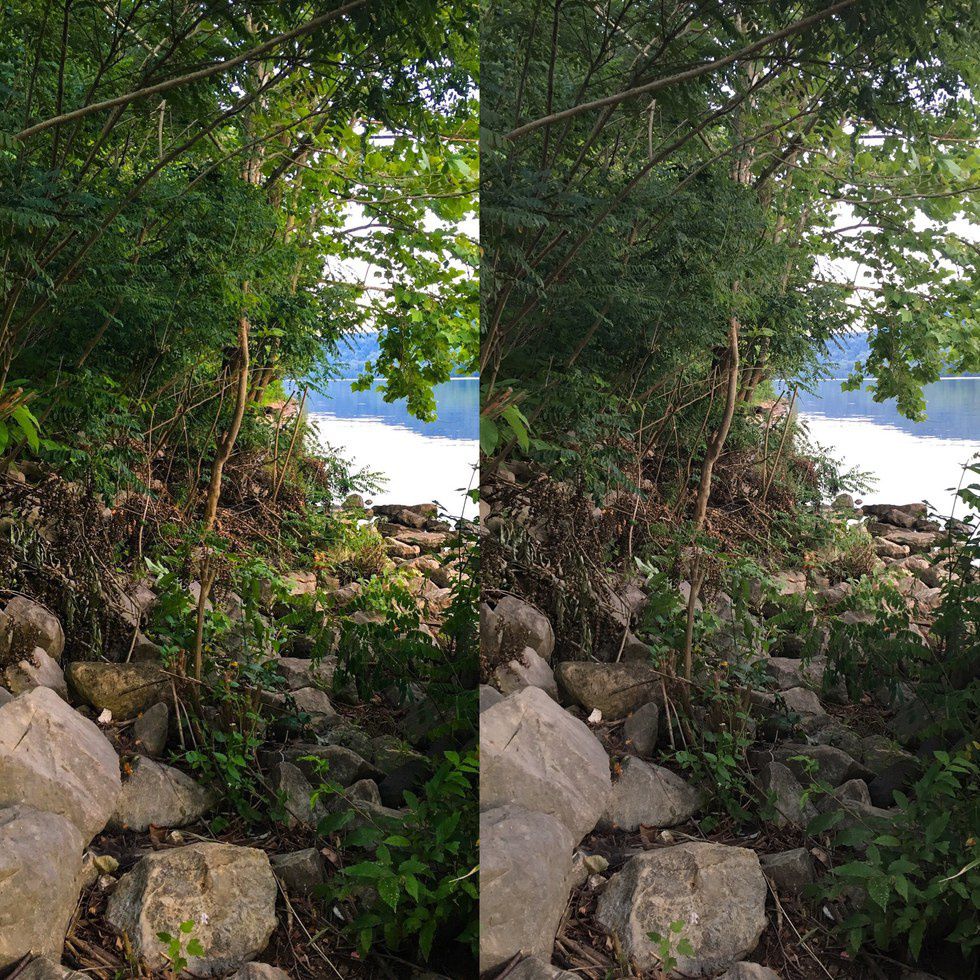
Another sure fire way to get the best quality out of your photos, regardless of orientation, is making sure to shoot in HDR (High Dynamic Range) mode. Turning on HDR mode will enhance and balance the exposure in your pictures. This feature is recommended to be used when shooting outside on sunny days. Here is a side by side comparison of pictures that I took. (One with HDR enabled and one without.)
As you can see everything is more vibrant and the shadows are less prominent in the HDR picture on the left as opposed to the shot on the right.
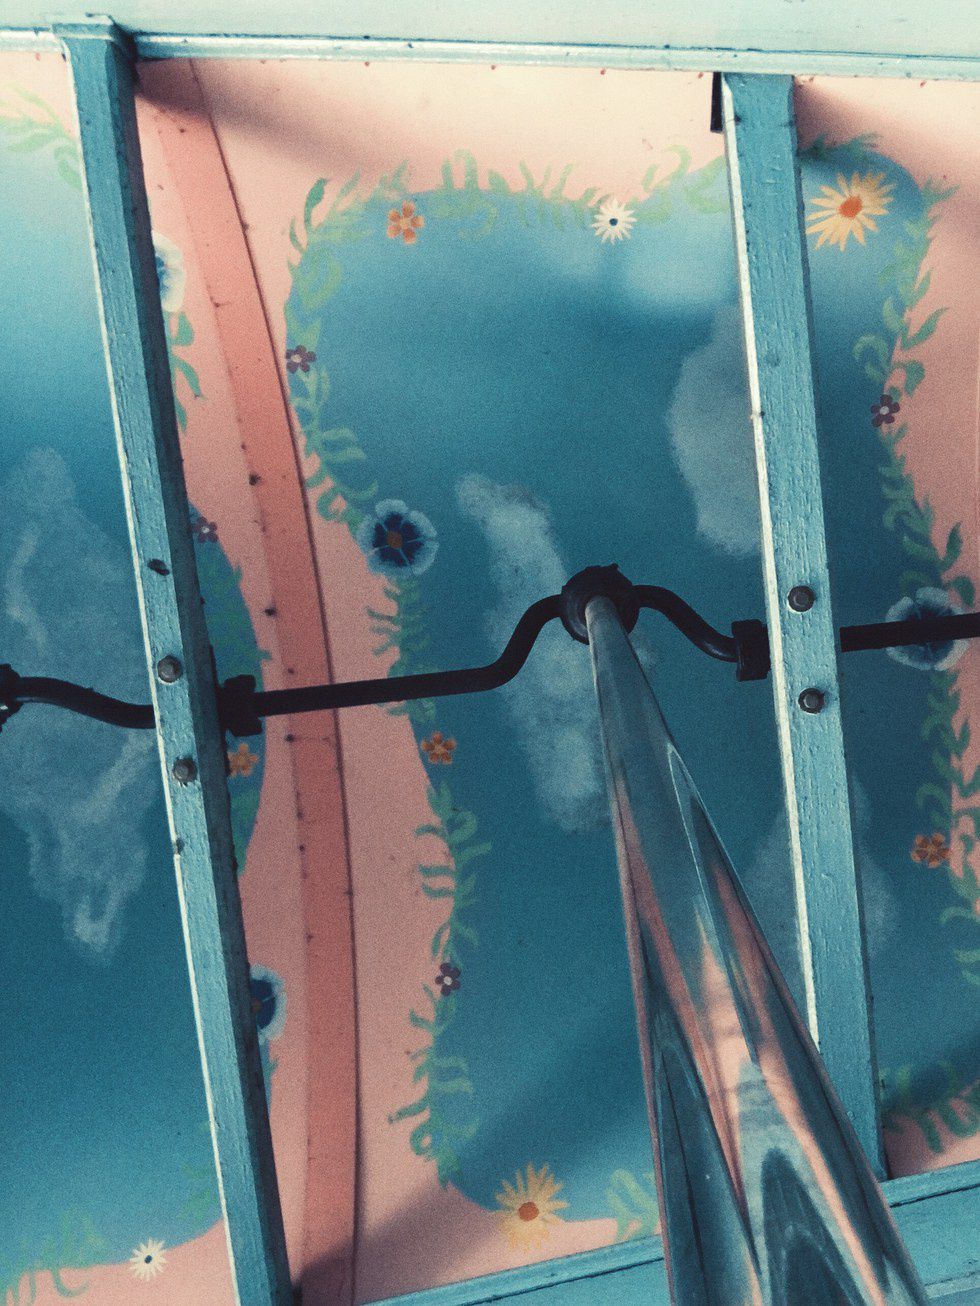
When shooting in any orientation, it is important to take into account the rule of thirds. The theory is that if you place points of interest in the intersections or along the lines of a grid, your photo becomes more balanced and will enable a viewer of the image to interact with it more naturally. (You can turn on the grid in your settings.) This rule can instantly make your photos 10 times more appealing.
For example, the beams in this photo are on each side which helps even out the negative space.
Lastly, one feature that you should try and use when shooting on an iPhone is the AE/AF Lock. (Auto Exposure/Focus) This feature helps focus on an object by locking onto the place that you pick while simultaneously giving you the control to customize the exposure levels. This helps when shooting in dimly/intensely lit areas.
I took this picture in my school parking lot. I used the AE/AF Lock to focus on the sunset only and brought down the exposure to make the colors in the sky stand out more.
I hope you've now learned a thing or two about photography on your iPhone! Photography is always something that can only be expressed through experimentation. I encourage you to try new strategies and settings to help achieve the perfect shot!


