Photoshop is expensive. Like really expensive. So what happens when you need to photoshop an image but don't feel like dropping $119.88 just to edit one picture? Sure, you could sign up for a one-month free trial and hope the system glitches and gives you another month free when you run out of time, or you could use another program entirely. One that you already have... PowerPoint! Now when you think of PowerPoint the last thing you would think of is photoshop, but guess what? You can photoshop pictures in powerpoint for free! Here's a step by step guide on how to do so.
Open PowerPoint
A simple blank presentation will do.
Alexandra Michalski
This is a no-brainer, but you'll want to have powerpoint already downloaded on your computer. If you don't have it download it. If you only have google slides... well I don't know how to help you there. ¯\_(ツ)_/¯
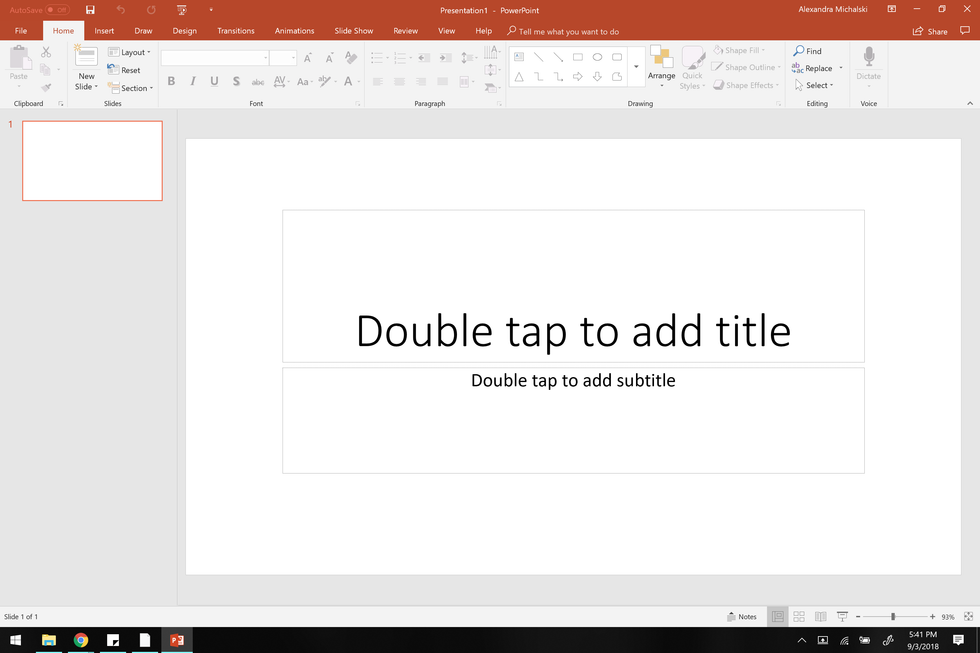
Insert your background image
Inserting images is an important PowerPoint skill to master.
Alexandra Michalski
Click on the insert tab next to the home tab which should already be open. Then click on pictures and locate the image you want to be your background. Once you select it, press the open button, and the image should appear on the slide.
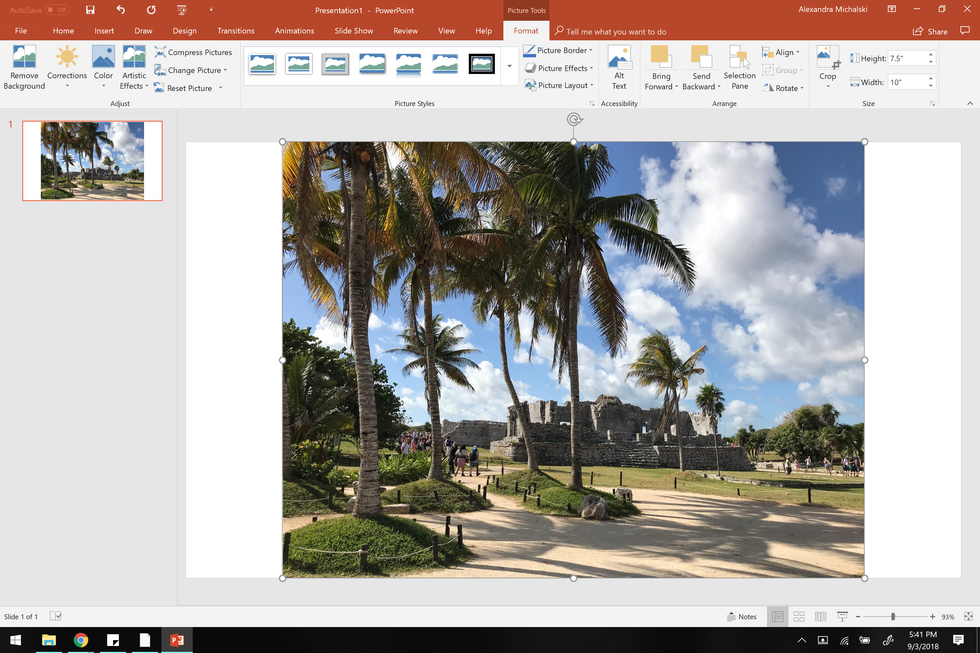
Make your overlay image transparent (PowerPoint Only)
Take your time. Cutting out an image is crucial to your final product looking good.
Alexandra Michalski
Now, this next step has two possible routes: the first is just to remain in PowerPoint, the second uses another free program available for download on Microsoft devices which is detailed in the next step. The PowerPoint route entails you repeat step number two but with your top image instead of your background. Now before you freak out about the pictures just being on top of each other, you need to delete the background on your top image. Go all the way to the left and click on the Remove Background button. If you have an easy to crop picture such as this one most of the work will be done for you. Simply click mark areas to keep or mark areas to remove and click on the parts of your picture you would like to keep or remove accordingly. Now because this is PowerPoint and not Photoshop this task can take a while and may not come out 100% perfectly. That's where the second option comes in.
Make your overlay image transparent (PhotoScape X)

PhotoScape X makes it so easy to cut out images and it's free!
Alexandra Michalski
PhotoScape X is a free program you can download in the Microsoft store and makes this step much easier to complete when compared to using PowerPoint only. Open the app once you download it and locate the Cut Out option on the top toolbar. Click this, and you will be greeted by a new workstation. On the left side of your screen will be your files; locate the image you wish to make transparent, click and drag it to the workstation. On the right side of your screen, you will see three options: Magic eraser, lasso, and brush. The easiest one to use is the magic eraser because you can just click on the sections you want to get rid of and the program will do most of, if not all, the work for you. Lasso is useful if you have a single area you want to keep and the brush is handy to touch up the other options or to erase a particular section of the image. Once you erase the parts you don't want, make sure to save it as a PNG file (the save button is all the way in the bottom right-hand corner of the screen). Once the image is saved go back to PowerPoint and repeat step two but with your newly cut out top picture.
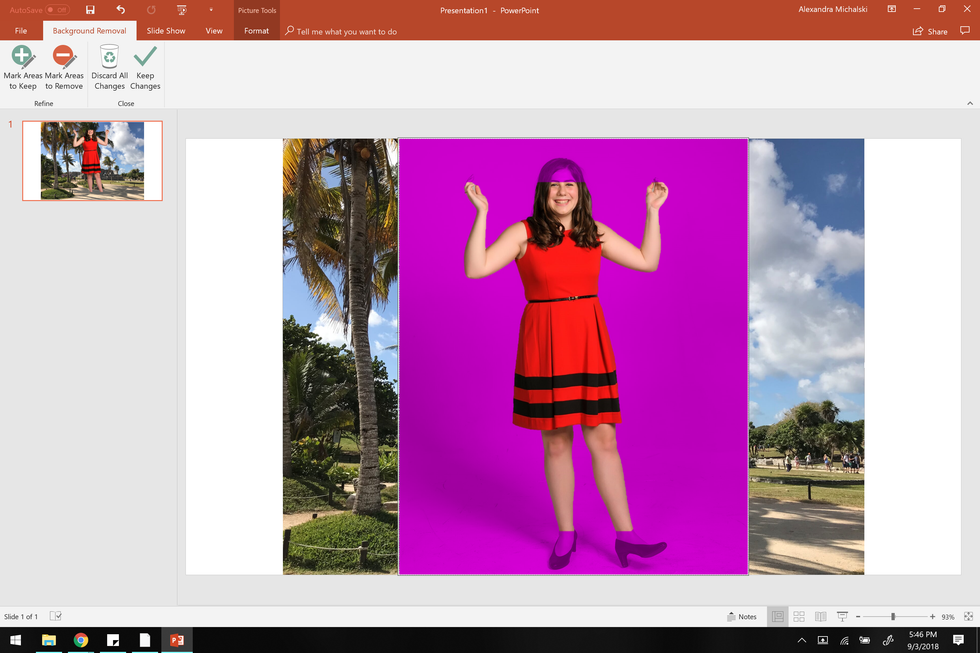
Combine the two images
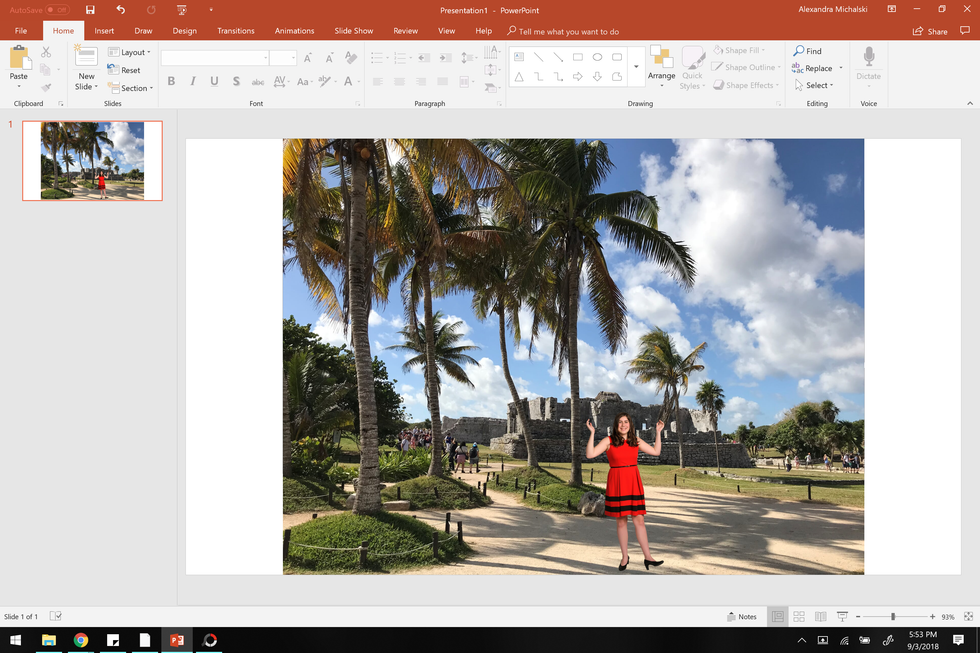
Now my senior year self is at some Mayan ruins in Tulum, Mexico!
Alexandra Michalski
Once both images are on your slide, feel free to adjust them however you see fit!
Crop your image
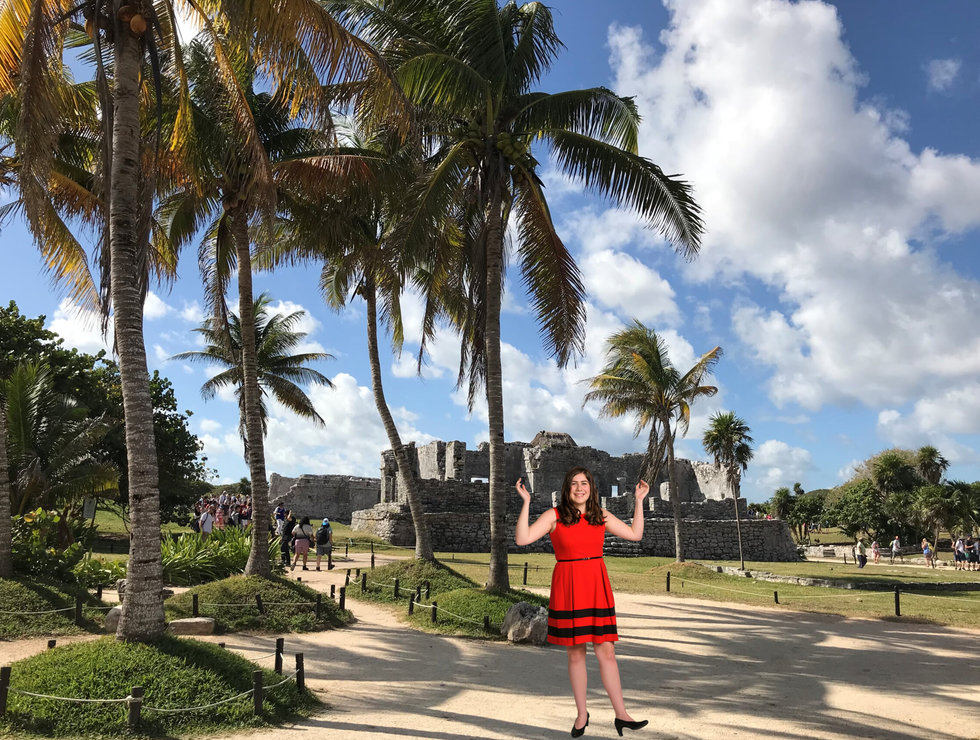
The final product!
Alexandra Michalski
Take a screenshot of your creation by pressing the windows key and prtscn buttons on your keyboard at the same time. The image will be saved to your screenshots folder. Locate it there and open it. Click on edit and create tab, then edit, and finally on crop. Crop the PowerPoint parts of your image out and viola! You have successfully photoshopped a picture for free!