If you have never made cookies before, then understanding our recipe is probably a struggle. Actually, even if you have made cookies before, understanding (or even reading) our recipe might be a struggle. Like "mix dry and liquid." What constitutes as dry? What about liquid? Aren't eggs technically a non-newtonian fluid? Can't you just dump all the ingredients into one bowl and stir really hard? (No, actually. Please don't do that.) But don't worry-- I've put together an idiot-proof (probably) guide to making the best damn chocolate chip cookies in the world.

Preheat your oven to 375 degrees. You'll notice that I kind of ignored that temperature, but that's because my oven is super-enthusiastic and runs really hot. If you have a normal oven, stick with 375.

You'll need one and a half sticks of butter for this recipe, which is the same as 12 tablespoons or three-quarters of a cup.

For this recipe, the butter has to be ultra-soft. Think... somewhere between pudding and Vaseline. If your butter isn't soft, cutting it into really small pieces will help speed along the process for science reasons. Don't microwave it though-- parts will melt while other parts are still cold, and that's no good.
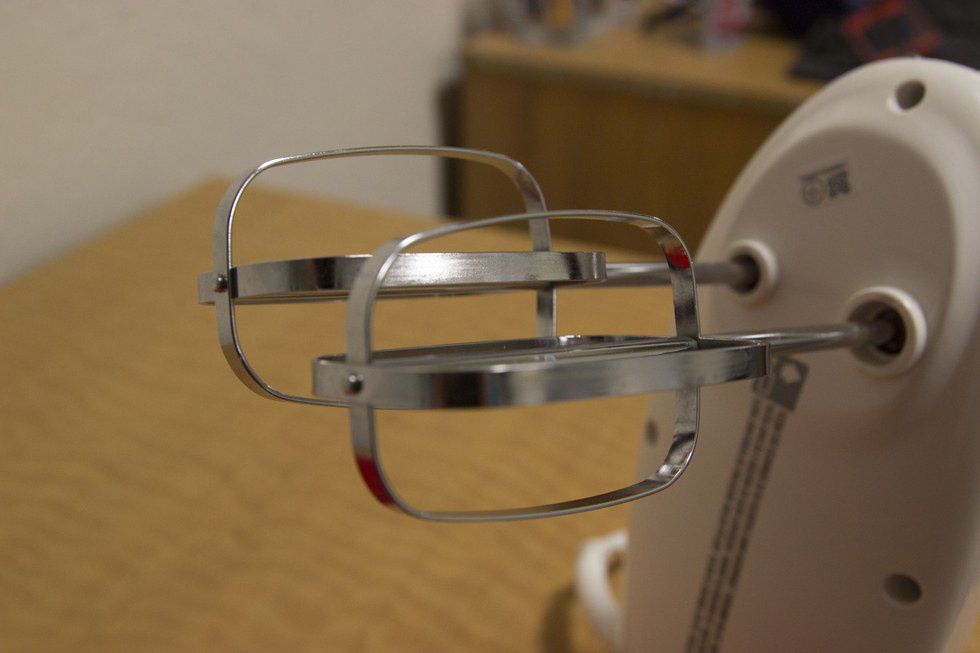
This is an electric mixer, which will be your bff during this recipe. However! You can totally still make these cookies without one. It will involve a lot of hand-mixing, but it is definitely possible. Use a metal fork or spoon, a sturdy one, not the kind that bends if you use it for anything other than Ramen noodles.

This what butter looks like when it's not quite soft enough. It breaks into cold little clumps when you try and mix it.
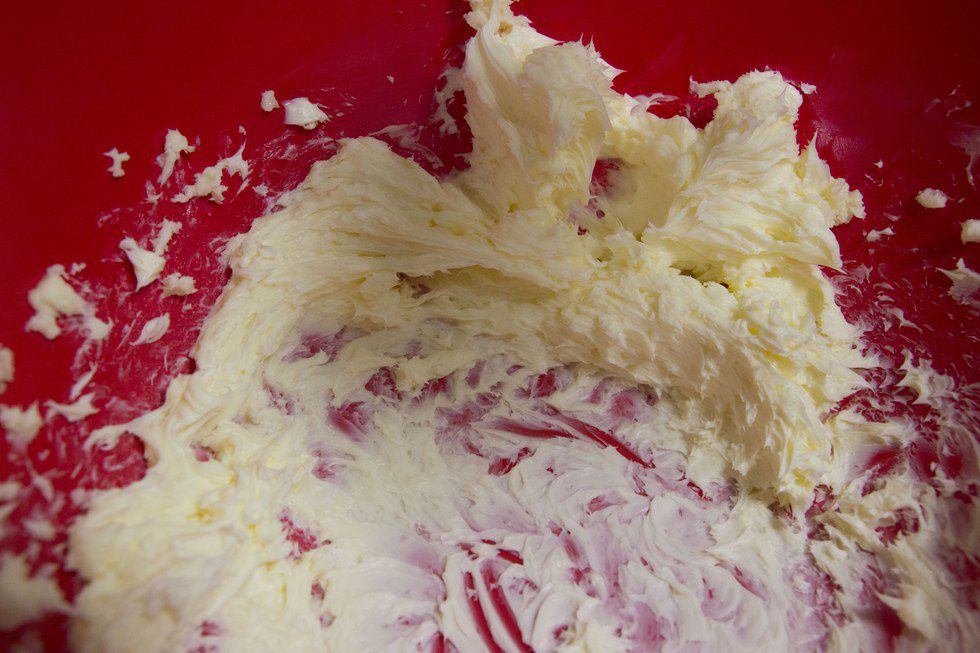
When it's good to go, it should get super creamy when you beat it with your electric mixer/ non-bendy utensil. Mix it for about a minute until it forms soft, pretty swirls and there's no resistance while you're stirring.
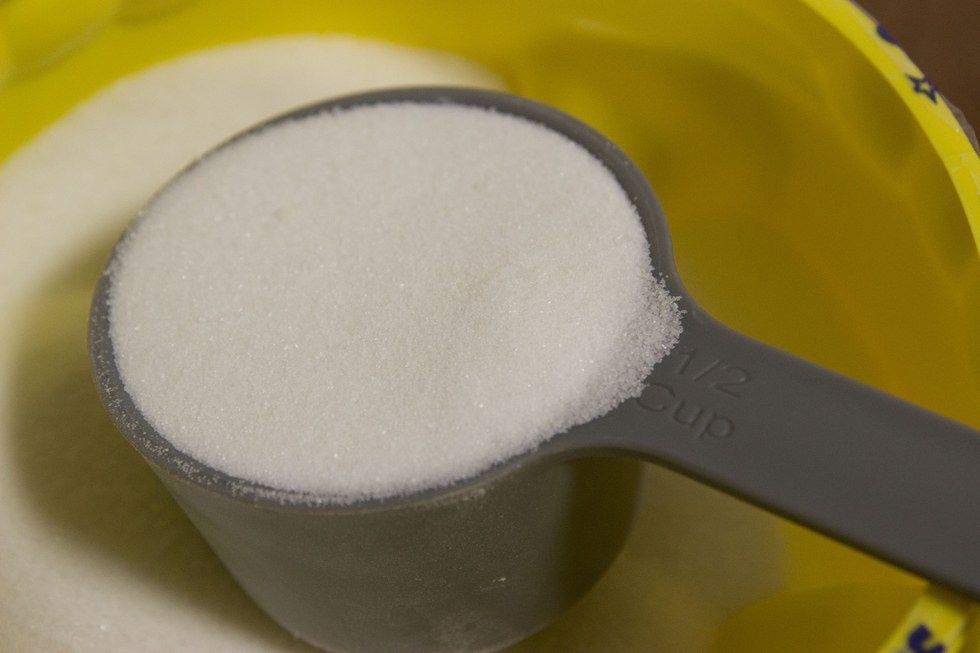
Now it's time to add in sugar: half a cup. Level off the surface. Hard-core bakers like to insist that every recipe will fail unless you weigh ingredients on a scale, but this one is pretty forgiving. As long as you make sure the cups are flat, it should work out for you.
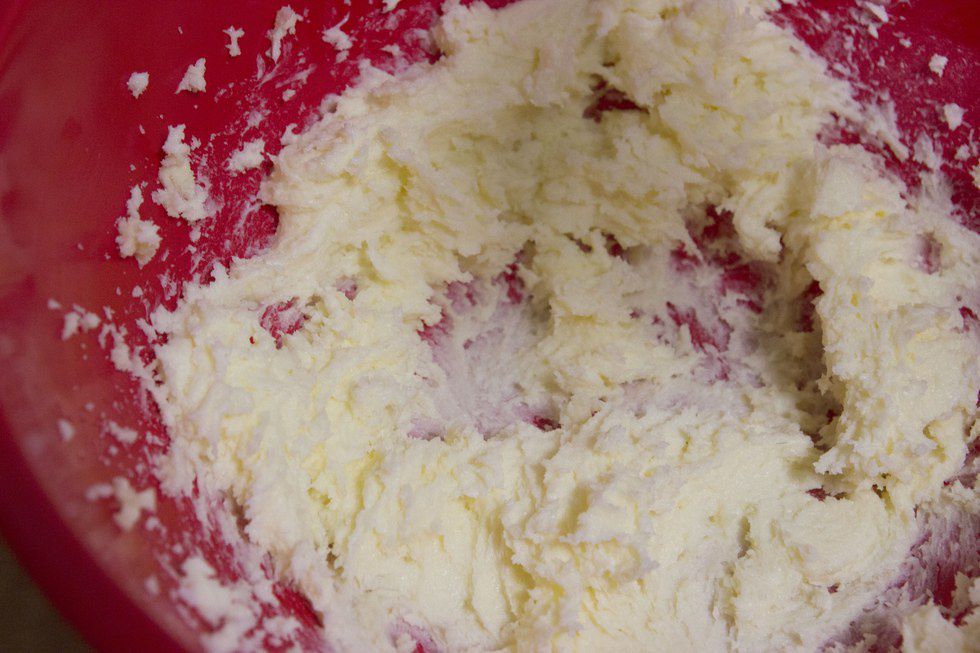
Dump in the sugar, and mix really well. The mixture should look practically the same as the all-butter situation that you had earlier, except maybe a little grainier. This is called "creaming," fyi, and happens in recipes where you don't want your final product to be dense. Note: at this point it has become socially acceptable to start tasting the batter.

Now it's time to measure the brown sugar, which is a little trickier. Scoop a bunch of brown sugar into your measuring cup...
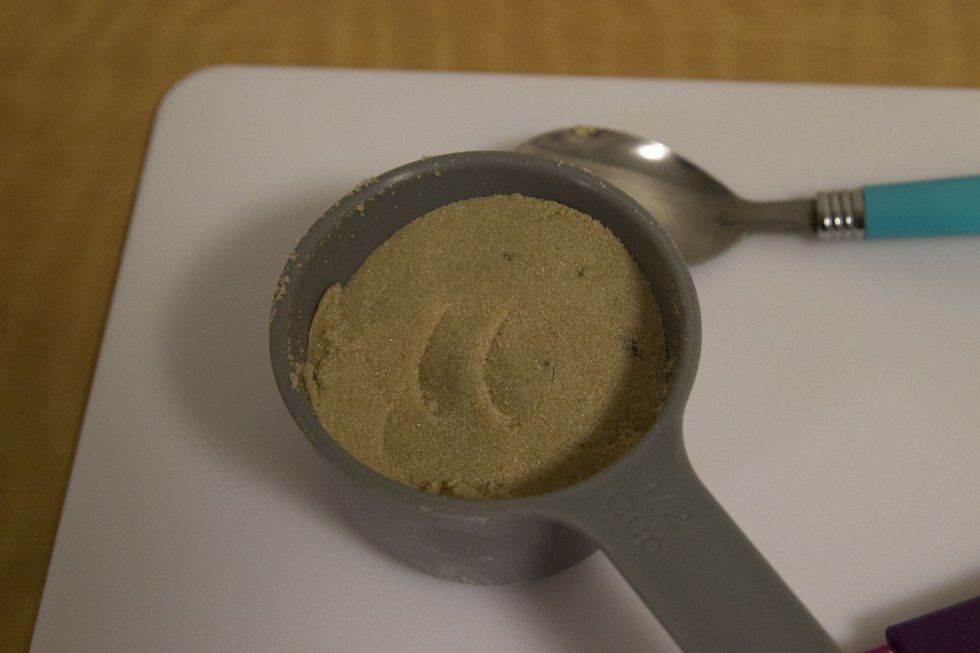
...and then press it all down with a spoon, packing it in super tight.
Keep doing that until the measuring cup is totally full. It should take about three tries.
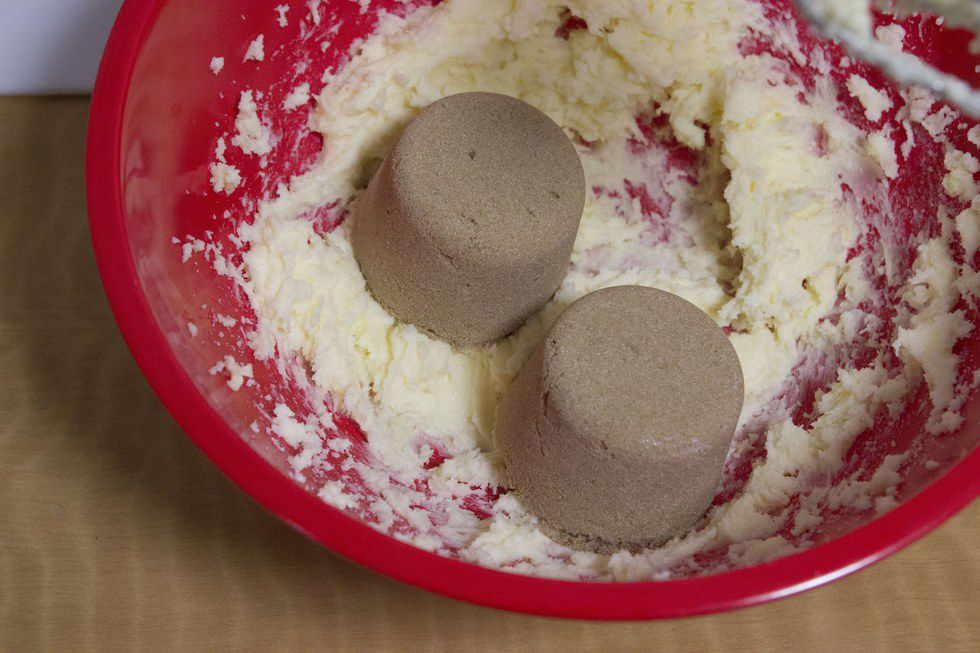
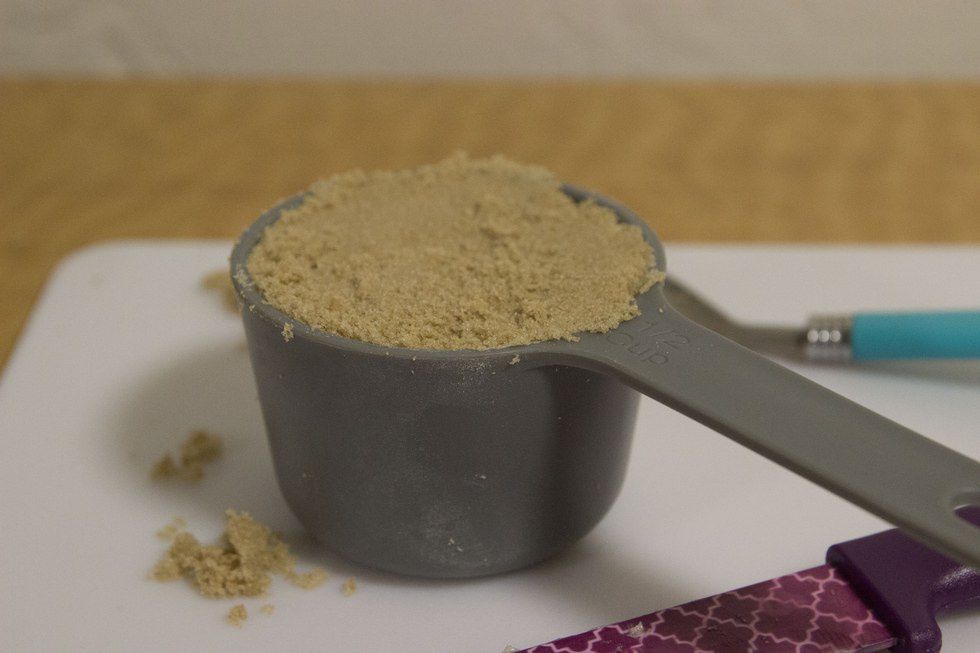
If you've measured the brown sugar right, it should hold it's shape when you dump it in the bowl. You'll need a total of one cup brown sugar, light or dark is fine. If you shop at a fancy store, it might be called muscovado sugar. Whatever you do though, stay away from hard and crunchy cane sugar-- it won't work in this recipe.

Beat the crap out of the sugar mixture. This develops air bubbles, which we are a fan of. (If you are not using an electric mixer, you are going to be hella ripped by the end of this. Or, one bicep will be.)
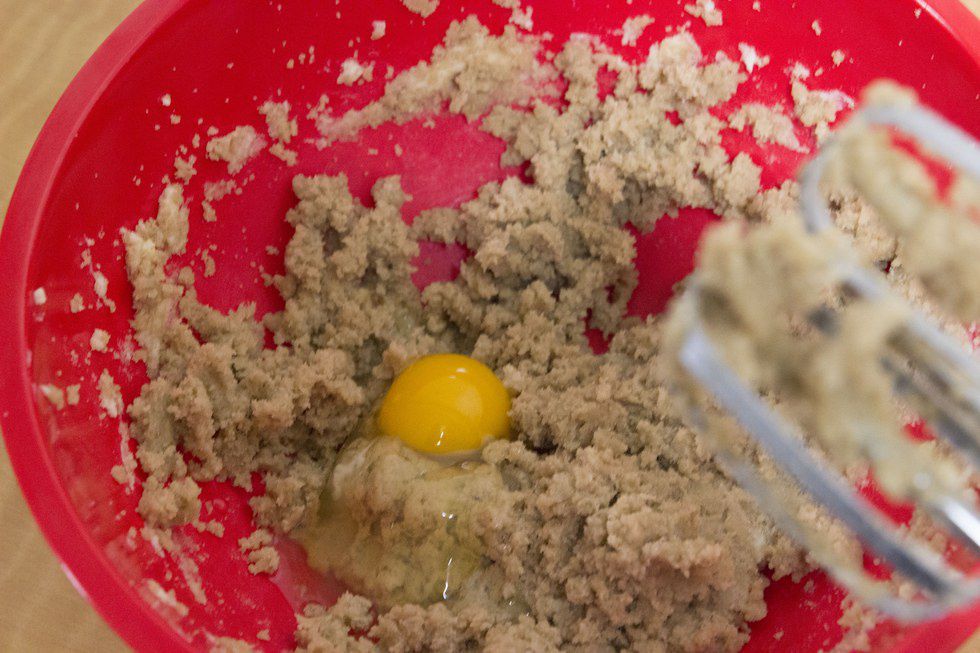
Now crack an egg into the bowl. This is a time to be honest with yourself: if you suck at cracking eggs, you might want to first crack it into a separate bowl so you have more space to fish out all the little bits of shell.
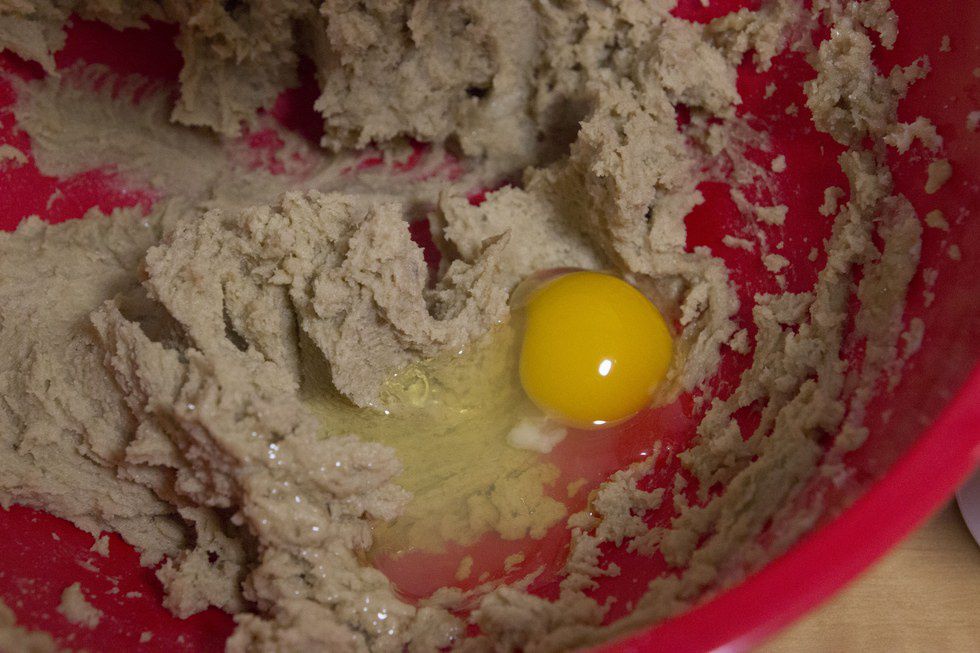
When the first egg is totally mixed in, add the second one. You can see that the batter is starting to get more creamy and less grainy.
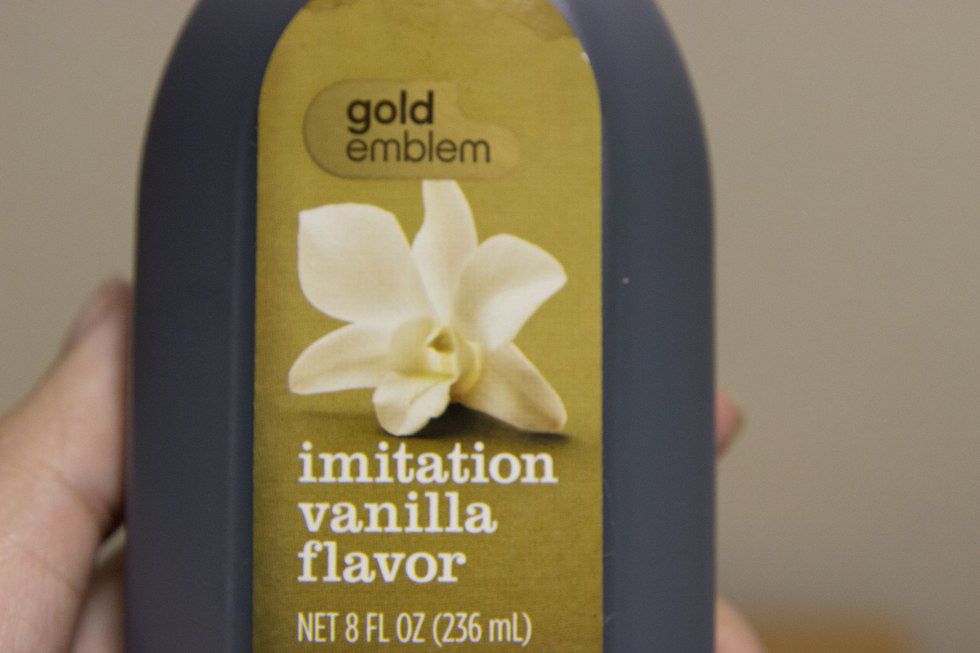
Now it's time for vanilla extract, and here is a secret-- the CVS brand "imitation vanilla flavor" tastes exactly the same as the teeny-tiny $12 bottle of Gen-you-ine Vanilla Elixir once it's been baked into these cookies. Splurge on something else.
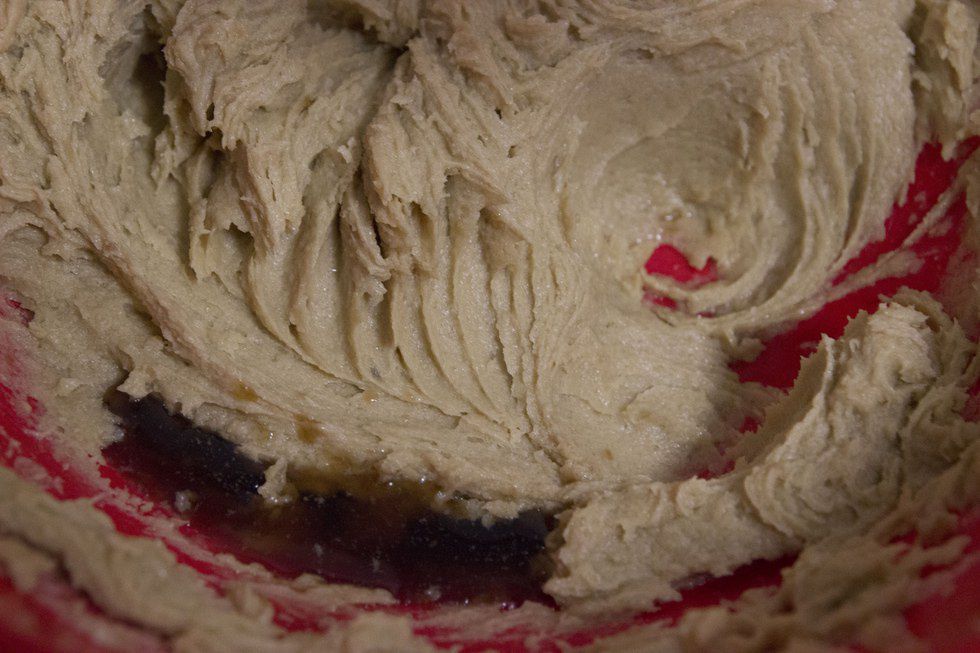
Mix in one perfume-y teaspoon of vanilla. Inhale deeply. Mmmmmm... (You can make it one and a half teaspoons if you're feeling floral-y and adventurous.)
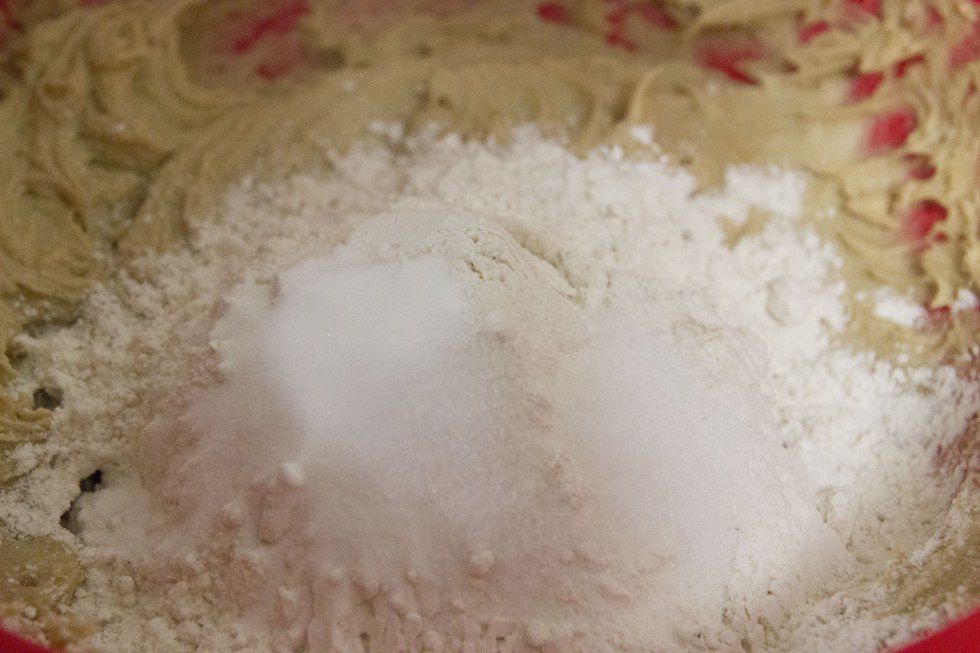
Time for the dry ingredients! Add two cups of flour, one teaspoon of baking soda, and one teaspoon of salt. Note: do not use baking powder! It is not the same thing.
If you're mixing by hand, it might be easier to add one cup of flour at a time, like you did with the eggs. But if you've got an electric mixer, you might as well go both at once. Just watch out for the huge cloud of flour that will inevitably puff up before everything gets properly incorporated.

Now add in some extra flour. (We know the recipe needs more than two cups, like it says now on the card, but we are too lazy to re-write the whole thing on another card.) If you like thicker, breadier cookies, you'll want to add about half a cup extra. If you like crispier cookies that spread out a lot, add more like a quarter of a cup. Listen to your heart.

Once that's all mixed together, ignore everything that you've heard about salmonella and lick the beaters. Treat yoself. Note: if it doesn't taste like magic at this point, you've probably messed up. Did you remember to add in both eggs? Did you forget the salt? Did you accidentally use cane sugar even though I said not to?

Dump in one normal sized bag of chocolate chips (about two cups). Semi-sweet are the best ones to use. Milk chocolate chips can be too sweet, and dark chocolate chips don't melt as well. You can eat a few, if you must.
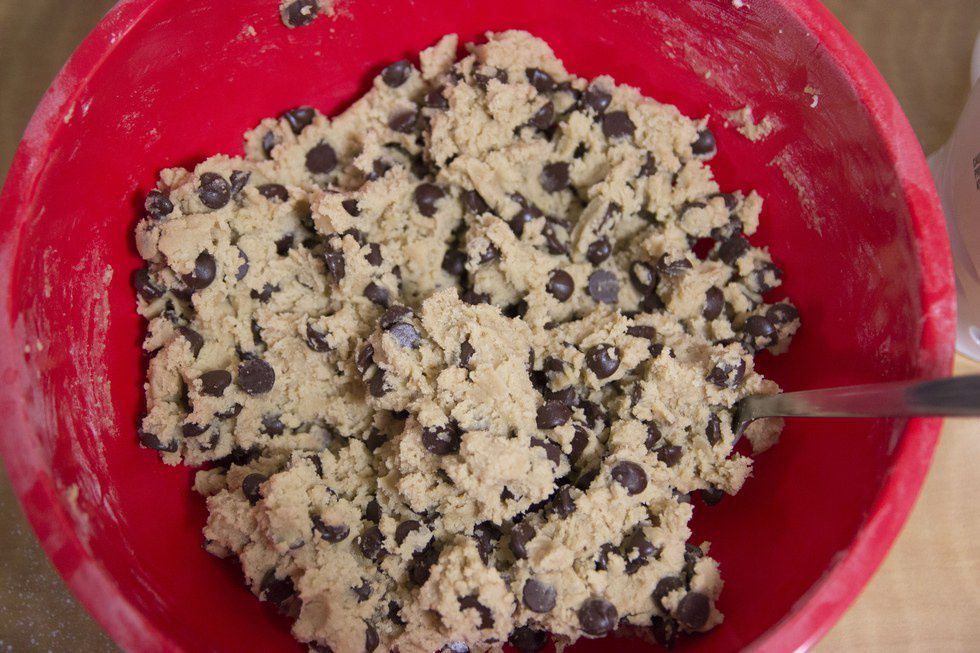
Use a spoon to mix it all together until the chocolate chips are as evenly dispersed as wealth would be in Bernie Sanders' dream world.

Use a spoon to make ping-pong-ball-sized portions of dough, and space them out on a cookie sheet. No need to grease the sheet, by the way-- those one and a half sticks of butter are going to come in clutch to prevent sticking. You can roll the chunks of dough in your hand to make them smooth and pretty (like I did in the picture) or you can just leave them as-is. #realcookieshavecurves
Now pop them into the oven for 9 minutes. I only cook one tray at a time, but if you do two at a time, you should flip the trays halfway through so that they bake evenly. When the cookies come out, they'll seem a little raw and gooey, but if you let them cool for about two minutes on the hot tray, they'll firm up.

*heavy breathing*
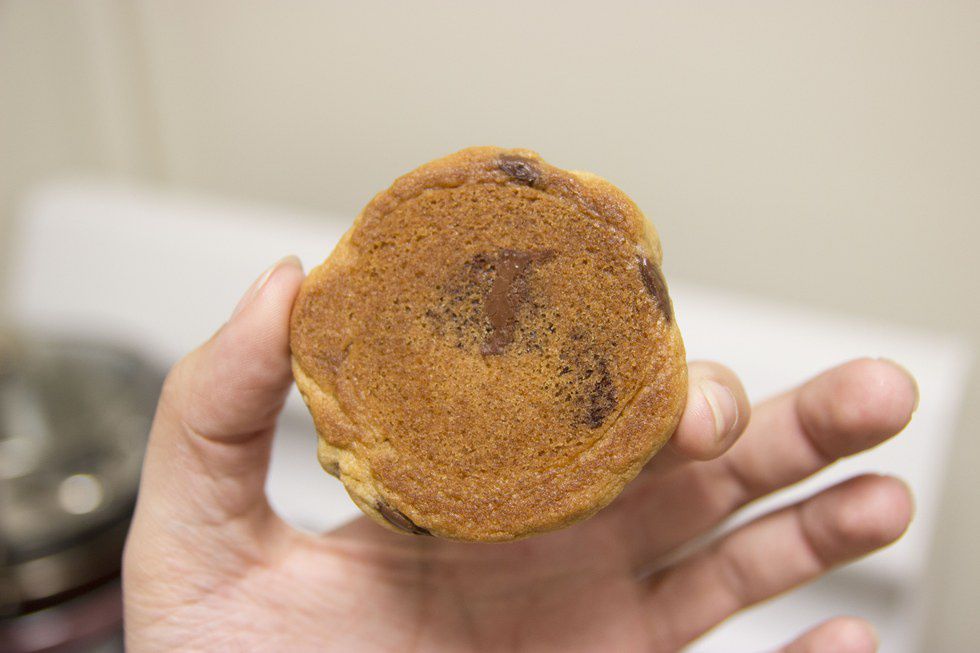
These should come off of the tray with a gentle twist once they've had a few minutes to set. (Think about the motion you make when you take the top cookie off of an Oreo.) Don't leave them on the tray until they're cold though! The bottoms will get really tough. What we want is a lightly crisp cookie.

If you're going to save these for later, wait until they're cold and then pack them away in a giant ziplock bag with all the air squeezed out, or a plastic container. If you know they're going to be gone in ten minutes, though, just setting them out on a plate will do the trick.
If you're a milk person, now is the time.
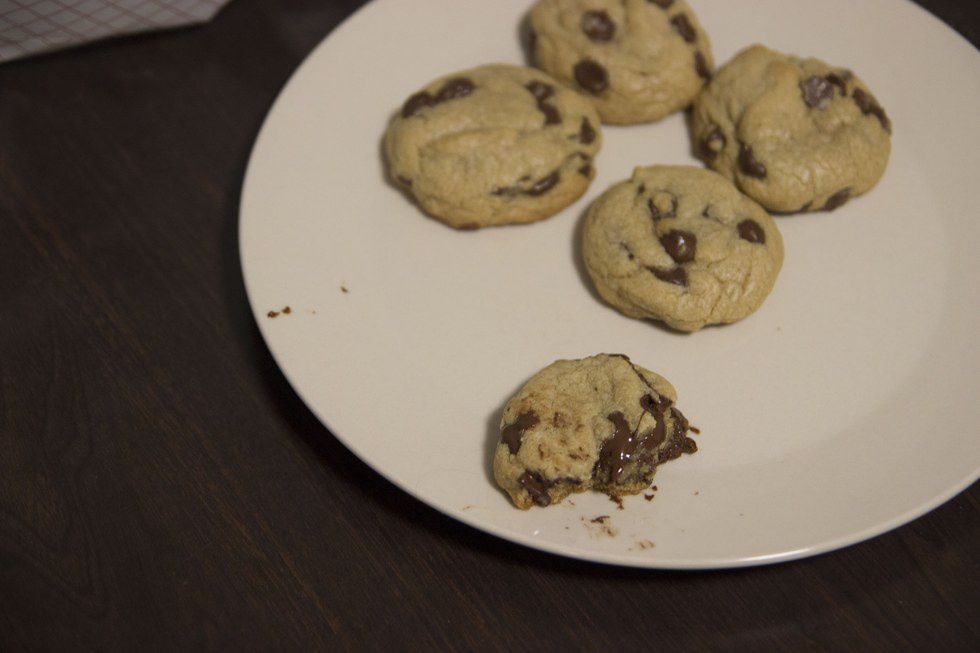
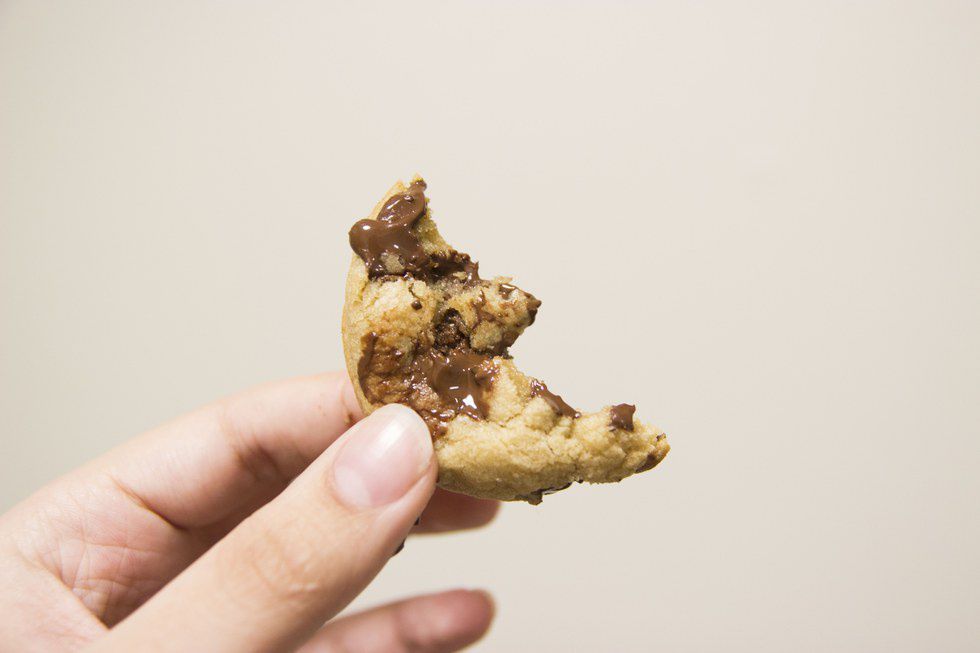
Look me in the eye and tell me these aren't the best damn chocolate chip cookies in the world.

(Don't forget to lick the chocolate off of your fingers.)
Read the story behind the best damn chocolate chip cookies in the world here.