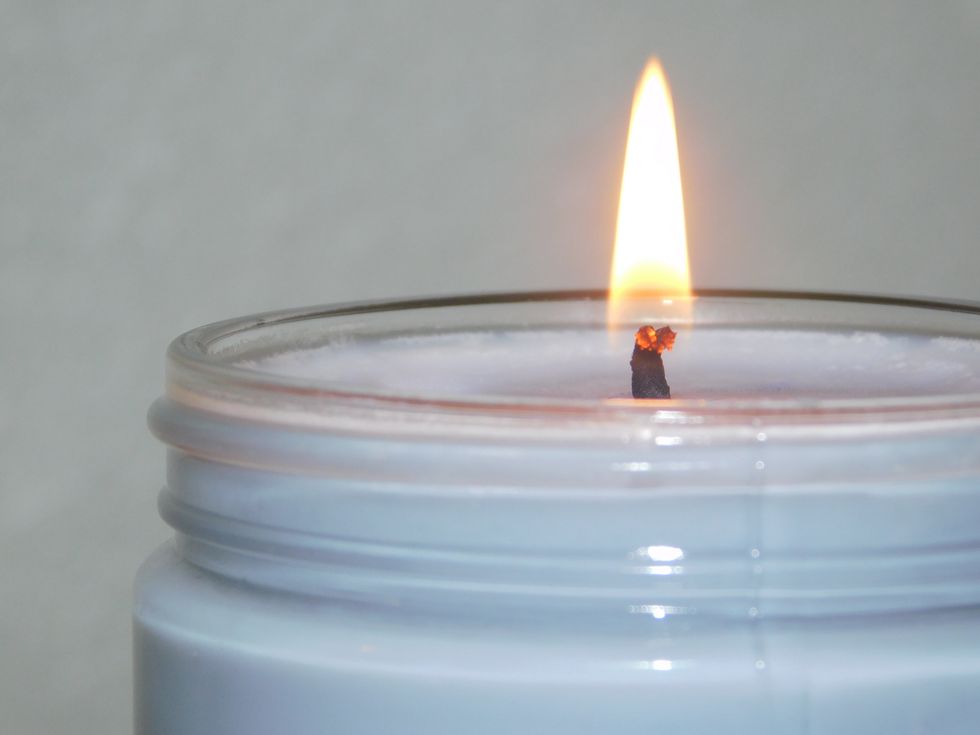
Everyone loves candles—and what's not to love? They look good in your living room, smell amazing, and make the perfect gift.
There's just one problem: candles are way too expensive. A 14 oz. candle from Bath and Body Works costs $24.50; a candle of the same size from Yankee Candle is $26.50.
Maybe you only buy candles once or twice a year, as a gift for someone or as a treat to yourself when the new fall scents come out. So maybe it seems like a worthwhile splurge.
But if you're like me, you like having candles in your home all year round. Multiple rooms, multiple candles, multiple purchases. That can add up quickly.
I started making candles after I moved out of my parents' house for college. It was my first time living on my own and having to buy groceries, cleaning supplies, and toilet paper. I worked a few hours a week on campus, but didn't make much disposable income. When Christmas rolled around, I realized I couldn't afford to buy everyone—family and friends—gifts.
I used Pinterest (my favorite app) to find homemade gift ideas, and one that kept popping up was candles. I'd never thought about making my own candles, but it looked so easy, I decided to try it.
I looked on Amazon (my second favorite app) for supplies. I found a pack of 100 wicks for $4.99 and a 5 lb. bag of soy wax for $15.65. I found a set of six winter-themed essential oils from P&J Trading. With a couple empty jars, a red crayon, and some super glue, I was ready.
I was hooked. Candle-making is easy, convenient, and fun. I've invited friends over to make candles, and they love it, too!
It might sound intimidating, especially if you aren't crafty, but it's worth it. Follow these seven, easy candle-making steps and you'll be a pro in no time!
Step 1: Prepare Jar

Photo by Katherine J. Zumpano
Using super glue, attach the wick to the bottom of the jar. Hold it steady and do your best to center it. Let the glue completely harden before you add wax.
Step 2: Pick Scent and Color

Photo by Katherine J. Zumpano
Next comes the fun part: choosing the scent and color of your candle. You can use just one essential oil, or combine a few to make a unique scent.
When the wax hardens, it will be white. If you'd like to add color, you can use part of a crayon to do so.
Step 3: Melt Wax

Photo by Katherine J. Zumpano
Using a microwave-safe bowl, melt the wax in intervals of one minute. After each minute, remove the bowl and stir before heating it again. This allows the wax to melt evenly. The wax will be transparent once melted.
When the wax is almost completely melted, add the crayon and heat for 30 seconds.
Step 4: Add Scent and Color

Photo by Katherine J. Zumpano
Once the wax is completely melted, remove it from the microwave and place it on a hard surface, over a towel or newspaper (candle-making can get messy). The wax will be transparent, but the crayon should still be in one piece. Once you begin to stir it, however, it should easily melt and color the wax.
Next, add the essential oil(s) you've chosen. Add a few drops at a time, especially if you're using more than once scent. When the candle cools, the smell will be muted, so add to suit your own taste. If you prefer a stronger-scented candle, you'll need to use more oil.
Step 5: Fill Jar and Let Cool

Photo by Katherine J. Zumpano
Once the scent and color are mixed into your candle, it's time to put the wax in your jar. If you have a measuring cup with a spout, use that to pour. If not, carefully add the wax using a spoon. It will take longer, but give you more control than trying to pour the wax out of a bowl.
After you've filled the jar, place a pen on the mouth of the jar to steady the wick. Make sure it's centered and don't move it until the wax is completely hardened.
Step 6: Trim the Wick and Clean the Jar

Photo by Katherine J. Zumpano
After your candle has cooled and hardened completely, remove the pen and trim the wick. If you spilled any wax on the outside of the jar, scrape it off gently and wipe down the jar with a warm, damp cloth.
Step 7: Enjoy!

Photo by Katherine J. Zumpano
Once the wax has cooled and you've trimmed the wick, it's time to enjoy your hard work! Dim the lights, grab a book, and light your candle—and don't forget to show it off to all your friends!
There you have it; candle-making really is that simple!
It'll take you a few tries to perfect your technique, and not every candle will be picture-perfect. These are homemade, so there could be cracks or craters at the top of the candle. It happens to everyone, so don't feel discouraged.
So try candle-making! Once you see how easy and fun it is, you'll never want to buy a candle again!


