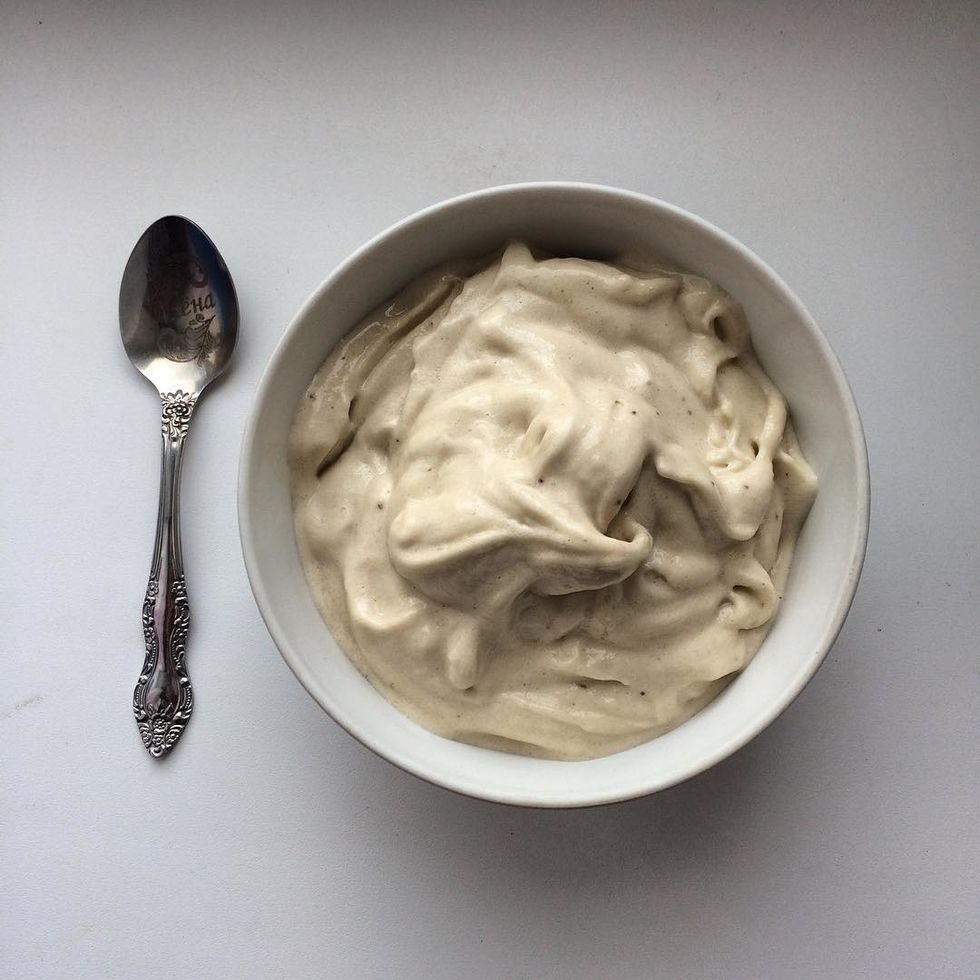
If you spend any time on the internet, you've probably noticed that banana ice cream also known as "nice" cream is all the rage right now.
And why shouldn't it be? What's not to love about being able to enjoy the flavor and texture of soft serve without the excess calories, processed sugar and dairy?
Unfortunately, many people mess up the first few times making the stuff because they don't know what they're doing or don't have the right equipment.
In this short guide, I'm going to show you the easiest and best way to make banana ice cream.
Step 1. Freeze Your Bananas When They've got Brown Spots

If you want the final product to be sweet, but not too sweet, you have to freeze the bananas at the right time. I've found that this is when they have an adequate amount of brown spots, but aren't looking black and rotted.
They should still be firm to the touch.
Step 2. Peel and Slice Into Coins Before Freezing

Slicing the bananas into coins (the thinner the better) will make the process far easier once they go into the food processor or blender. If you don't, there's a chance everything will clump up and spin around the blades in a big ball. You certainly don't want that.
Now, you have the option of breaking up a whole frozen banana after it's frozen solid, but I find that it's just easier to do it this way.
So slice them up and throw them in a plastic bag in the freezer.
Step 3. Get Vanilla Extract

While your bananas are freezing (can take up to 24 hours) make sure you have some pure vanilla extract on hand. It's a small step, but one drop of vanilla extract (or pure vanilla beans if you can find them) goes a long way to bring out the flavors.
Step 4: Use a Tamper Without Any Liquid (or proceed to step 5)
Wild Wood Vermont on Instagram: “This is in fact a #woodtamper for a @vitamix blender. A friend stopped by a couple of years ago and he wanted to replace his plastic tamer…”
You don't need a wood one like in this photo, but it's certainly nice!
If you have a blender with a tamper, it's going to make the process way easier. I've tried making banana ice cream with so many different blender models, even the all-powerful Blendtec (which doesn't have a tamper included) and it simply doesn't work as well.
So what's a tamper? A tamper is a device that goes into the top of the blender while the blades are spinning. You can use it to push the bananas into the blades so that they don't ball up or get caught on the sides.
Start blending (on low and then adjust up) and keep pushing the bananas into the blades with the tamper. After a minute or two, you'll end up with thick soft serve.
Don't forget to add the vanilla extract during the process.
Step 5: Blend and Adjust / Add Liquid or Defrost (no tamper step)
If you don't have a blender with a tamper, your best bet is to blend, readjust and blend again.
Be sure to fully stop the blender and push the parts that aren't blended into the blades. Then, rinse and repeat.
If you're using a bullet blender like one of the Magic / Nutribullets, you can don't necessarily have to take off the blades.
Simply take the cup off the base and shake it around to move the contents.
If you're still having trouble, you may want to consider slowly adding liquid to the blender. By doing this, you'll give your machine a bit more leverage to form a vortex.
A vortex occurs when all the ingredients are falling on top of each other creating a spiral-like effect. When his happens, all the ingredients are falling on top of each other and getting completely pulverized in the blades.
Step 6: Enjoy with a Spoon!
Congrats! Now you can enjoy your banana ice cream. Consider serving with black bean brownies for a healthy a la mode! Or add some cacao nibs or vegan chocolate chips.


