Creating on Odyssey is now easier than ever! Check out the video tutorial and steps it takes to create a listcle on Odyssey.
1. Add a cover photo

You can search fair use images on Google.
Don't forget to attribute your article by posting the URL in the "photo credit"
2. Grab your audience's attention with a pithy headline.

The subheadline should introduce your article and let everyone know what they're about to read.
3. Click "listicle" if you're looking to create a list

Your listed items will automatically generate in header 2! You will need to number all items.
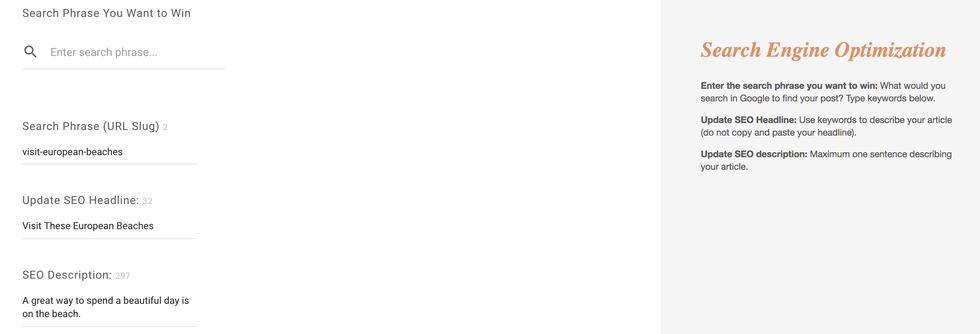
4. Optimize the heck out of your article for search

Enter a slug with keywords from your article. This should be similar to your headline without articles ("a," "the," "and," etc.).
Your SEO headline will show up in Google search. This is not your article headline. It should include keywords you would use if you were actually searching for your article.
For example, if you're writing an article about beaches in Europe, think about what you would search: "beaches in Europe," "beach resorts in Europe," "vacation spots in Europe," "fun beaches for college students in Europe." Mold any variation of those searches into a concise headline.
SEO description should be the most basic form of the headline.
5. Add tags to further optimize your content

Tagging is your new best friend. Interact with the 'tag' section in Core. Make sure you have at least 10 tags, but you'll make your editor happy if they see many more.
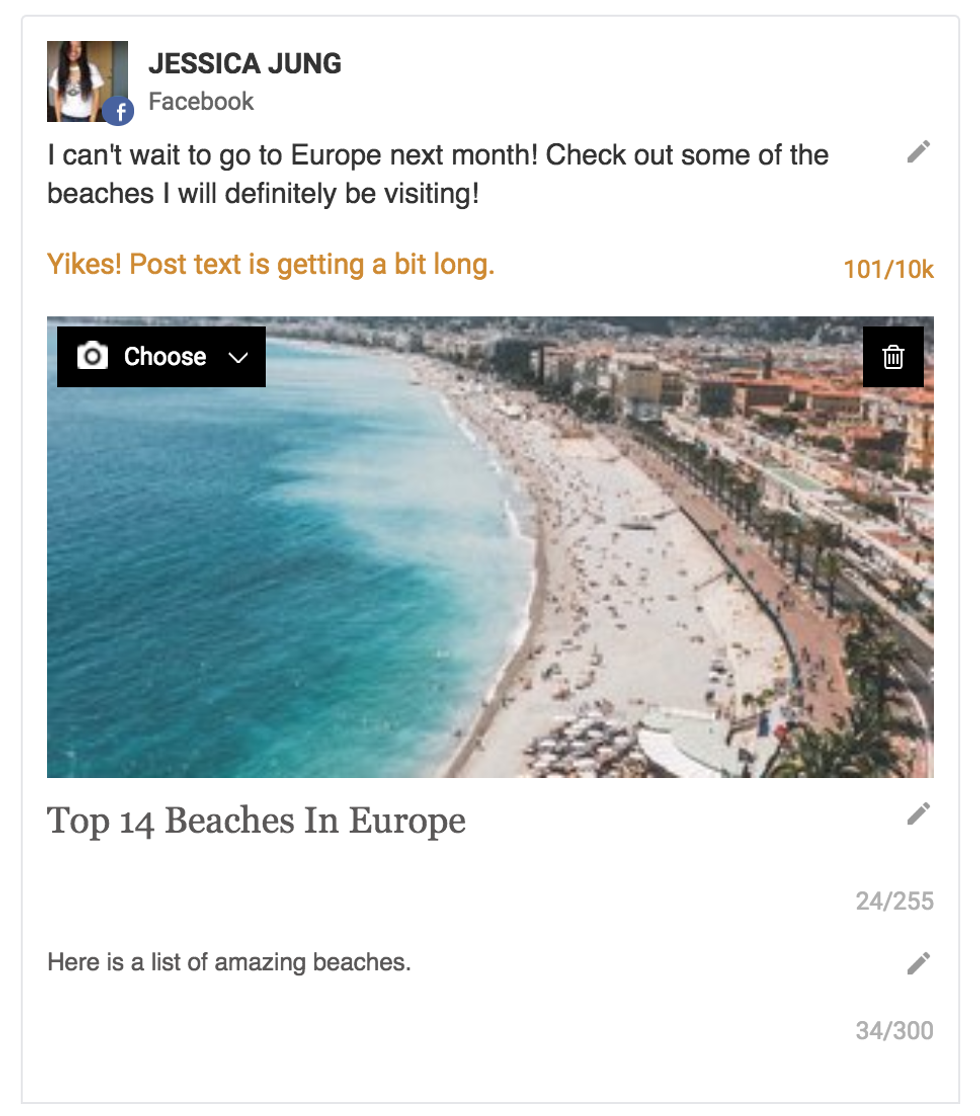
6. Set your social post.

You can edit your status update, headline and subheadline right there on the share card! Make sure you engage with with your network by pulling a quote from the article, posing a question or tag someone directly.
7. Click "Send To Review" in the top right corner

When you click "send to review," your article will go to your EIC. The article will be edit and go live or it will be sent back to you, the creator, with notes on what to edit.


