
Now that summer break has begun, fans and enthusiasts of all kinds are flocking from city to city for what is affectionately known as "con season." Have you ever seen these folks (hint: me) somehow concocting their own wild costumes from scratch every year to show off and wear around at fan conventions? How on earth do they learn to do that?
Hey, buddy, wonder no longer. Sewing is a totally attainable skill, and if you want to learn how to make costumes, crafts, or clothes for yourself, for any reason, you can definitely do it. Throw a few bucks towards a lesson or three, or buy a sewing guidebook, and you can be on your way for your first sewing project. “What if I mess it up, though?” I hear you wonder. “I’ve never sewn something like this before!” Well don’t you worry—that’s why I’m here. This article will guide you through the most common rookie mistakes that people make on their first sewing projects, and how to avoid them.
Note: the following assumes that, at the point of starting a project, you have already familiarized yourself with sewing terms, tools, and techniques and are ready to actualize what you’ve learned.
Stage 1: Purchase
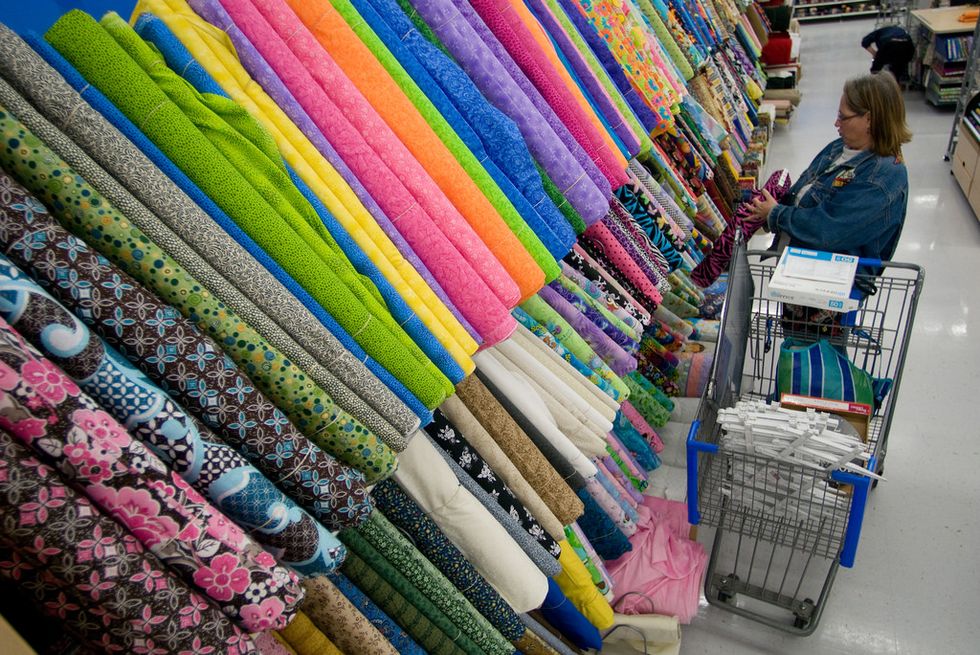
Before you can make anything, you need to know how to make it. That means that the first step of any sewing project is buying the pattern and materials you will need to complete your creation. This may seem like a no-brainer, but it’s easy to go wrong even at the most basic step. Here are some common pitfalls…
Forgetting to read your pattern. If the image on the cover of a pattern looks good, you might be already at the fabric counter in your head. But hold back a second and take a good look at what you’re holding. First of all, does the pattern you grabbed from the drawer include your size? Is it rated "Easy," "Medium," or "Hard?" Is the price out of your league? (I’m looking at you, Vogue.) Don’t end up wasting money on a pattern that you won’t be able to finish or wear.
Fabric selection and sizing goofs. There are a couple of things you need to consider before delivering your number to the fabric cutter. For instance, if you need to be able to machine-wash your final piece, you’ll want to make sure the fabric you select can do so. Most patterns also recommend fabric of a certain kind; for instance, stretch knits, cotton, fleece, and so on. The best way to make the pattern work is to work within that fabric type. Also, it is very easy to underestimate the amount of fabric you need. That little number on the back of your pattern may need to go a little bit larger if you are
- altering your pattern,
- cutting fabric of a lesser width than the one listed, or
- using a fabric with stripes / a pattern.
The same care should go into picking your interfacing, assuming you need interfacing. If you are need fusible, get fusible; if your fabric is heavy, get a heavy weight.
Leaving behind the extras. There has been many a time when I’ve arrived home from Joann Fabrics with an abundant amount of cloth, all the patterns I need, thread in appropriate colors, and… goddamn it, I forgot the notions. I haven’t the faintest notion whose notion it was to call miscellaneous sewing needs "notions," but that’s the word you need to look for on your pattern or supplies list before you leave the store. This may include zippers, bias tape, elastic, pull cord, buttons, buckles, and more. You don’t want to end up on Step 14 of sewing yourself new trousers only to realize that you have no means of closing them because you didn’t get a zipper.
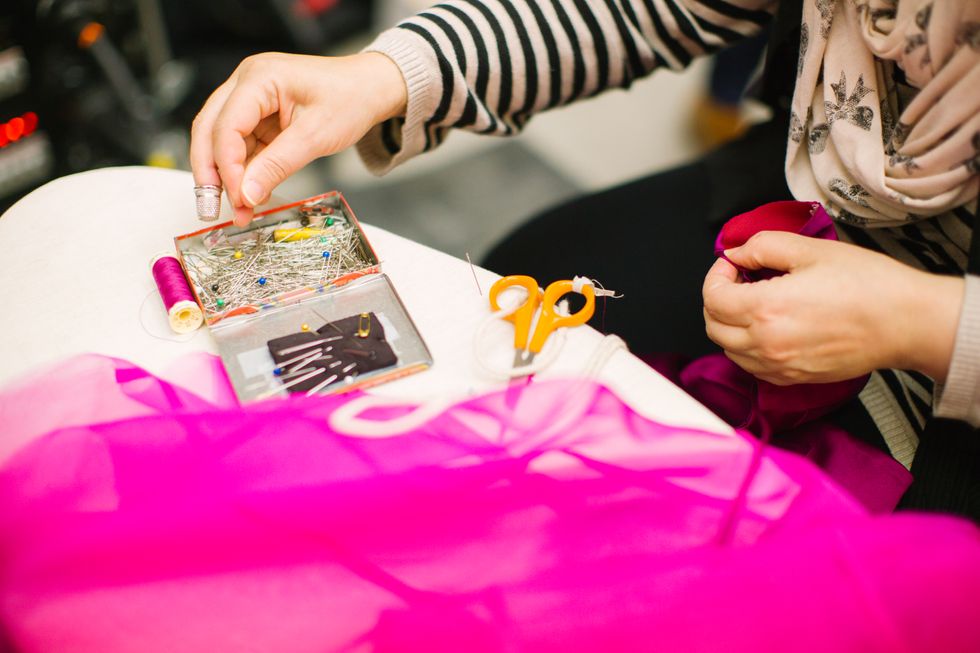
Stage 2: Preparation
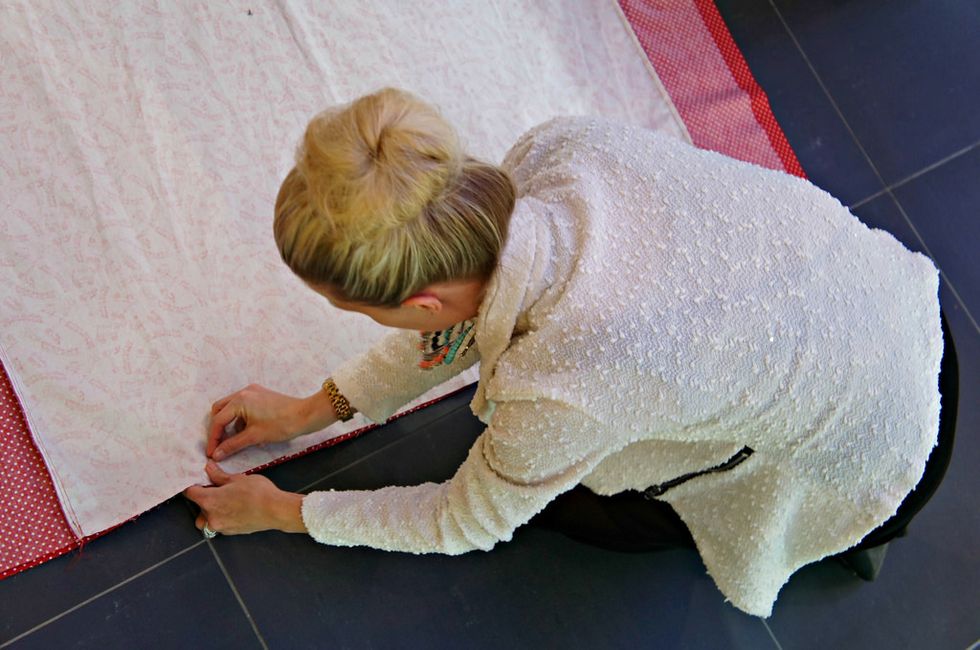
Now that you’ve got all your supplies and are ready to go, it’s time to set up your fabric for sewing. That means cutting out the right shapes in the suitable sizes, marking them up according to your patterns, and pinning everything where it needs to go. Since you’ve got a handy-dandy guide in your pattern or tutorial, this should be a cinch, right? But there are ways it can go wrong…
(... literally.) "Wrong" and "right" side switcheroos. In sewing jargon, the "wrong" side of a fabric is the part that will be unseen in the finished product, and the "right" side is whatever you see from the outside, like the printed side on your superhero fleece pajama bottoms. Usually, though, most marking, pinning, and sewing, will happen with right sides together and wrong sides out; so much so that diagrams on your pattern will shade in the ‘right side’ pieces but the ‘wrong side’ are default blank. Make sure you triple-check that everything is facing the correct way before pinning, cutting, or sewing anything—you don’t want to end up with those superhero PJs inside out.
Playing with pins. Here are some dangerous things to do with pins:
- Poke them through fabric that’s not knit or woven, leaving a visible hole.
Try to keep your pinning on pleathers or suedes within the 5/8ths seam allowance; this way the holes won’t be seen. - Leave them anywhere near a pet.
At the tender age of 23 I have had far too many heart attacks when turning around to see my cat attempting to gnaw on all the poky shinies sticking out of my tomato pincushion. Yikes! - Hold them between your teeth while simultaneously munching on popcorn.
‘Nuff said.
Please use common sense when messing around with sharp objects. It’s inevitable that you will stick yourself, so you might as well cap the damage there and not do anything else that you’ll regret.
Careless cutting. It’s very satisfying to feel the crunch of nice sewing scissors seamlessly snipping through fabric, so it’s easy to forget to be careful. You’ll want to make sure that you are cutting the lines that match your size specifically, for example. Or sometimes you might forget to cut out a certain piece on the fold of the fabric—you don’t want to have to resew two bits of fabric together to get one "piece," especially when it will shrink your size down by an inch. Other common mistakes include facing your patterns the wrong way when cutting them out, not going with the grain (the natural direction of the fabric), or measuring out a pattern piece yourself and forgetting to include the seam allowance.
Stage 3: Product
Last but not least, you’re finally ready to start putting your pieces together and create a finished product! Congrats! Now that you’ve come so far, make extra sure not to scrap all that hard work by falling into any of the following traps…
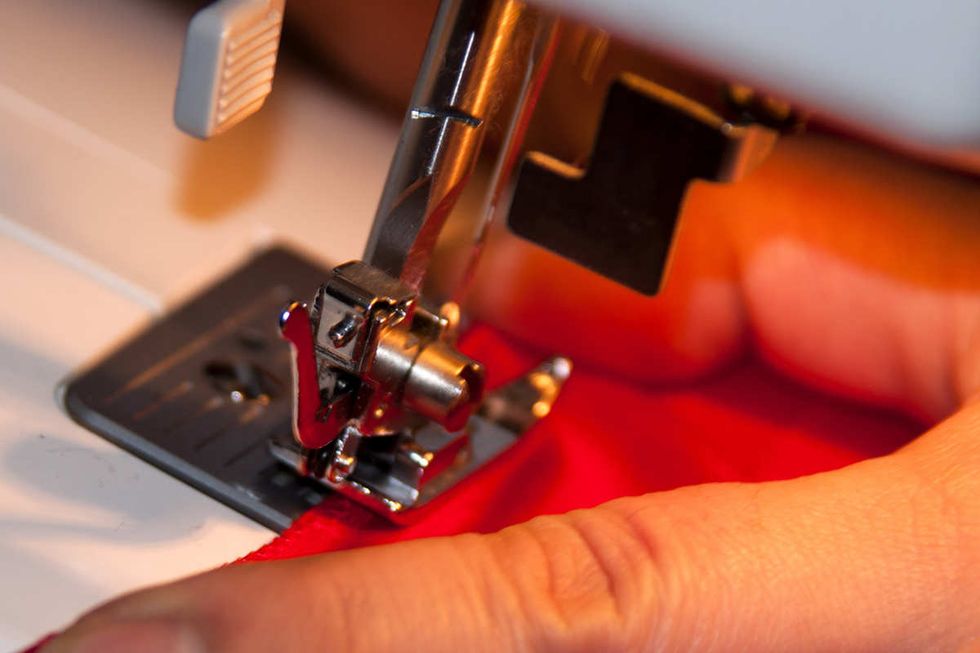
Machine mishaps. Having a sewing machine is a blessing from the heavens above, or wherever it is that sewing machines come from. They make everything super easy and decrease your chances of getting carpal tunnel by what I assume is a lot. That said, I’ve had to scrap or redo pieces a hundred times thanks to making these mistakes with my machine:
- Using the wrong needle.
A needle that’s not strong or sharp enough to pierce your fabric, too big, or not big enough for your thread will leave you with messy stitches, knotted threads, or a broken needle. - Forgetting to change the tension, dials, or stitch type.
Unless you have a serger, you’re probably finishing seams by zig-zag stitch. This works great until you forget to switch back when you return to regular stitching… Same goes for basting stitches, changing thread tension when you’re switching fabrics, and any other adjustments on your machine. - Neglecting to actually sew.
Have you ever neatly run down an entire leg seam with your machine, only to realize the pieces hadn’t actually been put together at all? I have. This can happen when the bobbin runs out or the top thread has gotten loose from the needle, or if you fail to loop the bobbin thread through before starting to sew.
Not fitting to your actual person. This is mostly relevant for clothing, but don’t forget to make sure your sewing project will actually fit where you intend to put it. Try it on in a mirror between main steps, like closing a collar or hemming a sleeve—or, better, use a correctly-sized dressform so you can turn it and pin any necessary adjustments. Think of this as tailoring as-you-go. It’s better to have a final product that fits you right as opposed to finishing it and then realizing it’s too short, narrow, long, big, or awkward.
Skipping any steps – any of them! If you’re just starting out sewing and you want to make something simple, you may be surprised by all the little steps your pattern has you go through. Do you really have to pin, baste, finish, trim, and press every little thing? Is interfacing that important? How necessary is elastic, in the end? Answer: yes, yes, and very. It’s possible that you could get through sewing an entire pattern by skipping all of the little things, but you would have no guarantee that the final result would hold up to snuff. What’s more, though, is that all those little things – pressing open a pleats, or reinforcing a collar, or finishing a seam – make your life so much easier. Everything else works better when you follow along. So suck it up and:

And... that's all!
So, how’d you do?
Have you ever made any of these mistakes, or, if you’re new to sewing, does this help you figure out what pitfalls to avoid? Sewing is an incredibly valuable skill, and every bit worth mastering. Hopefully, this guide can make it that much easier to get through your first project(s) and create something you can be proud of.
Carry on and stitch away, my friends!


