October is here and Halloween is quickly approaching! Have fun while decorating your house or apartment with a carved pumpkin. It can be as easy or difficult as you want, but in the end it will still be fun. Here are the steps needed to carve your pumpkin.
1. Pick your pumpkin
You can go to a pumpkin patch or your local Walmart. I personally love pumpkin patches just because you can get the full, fall pumpkin experience. Either way, it's your preference in the pumpkin you choose.
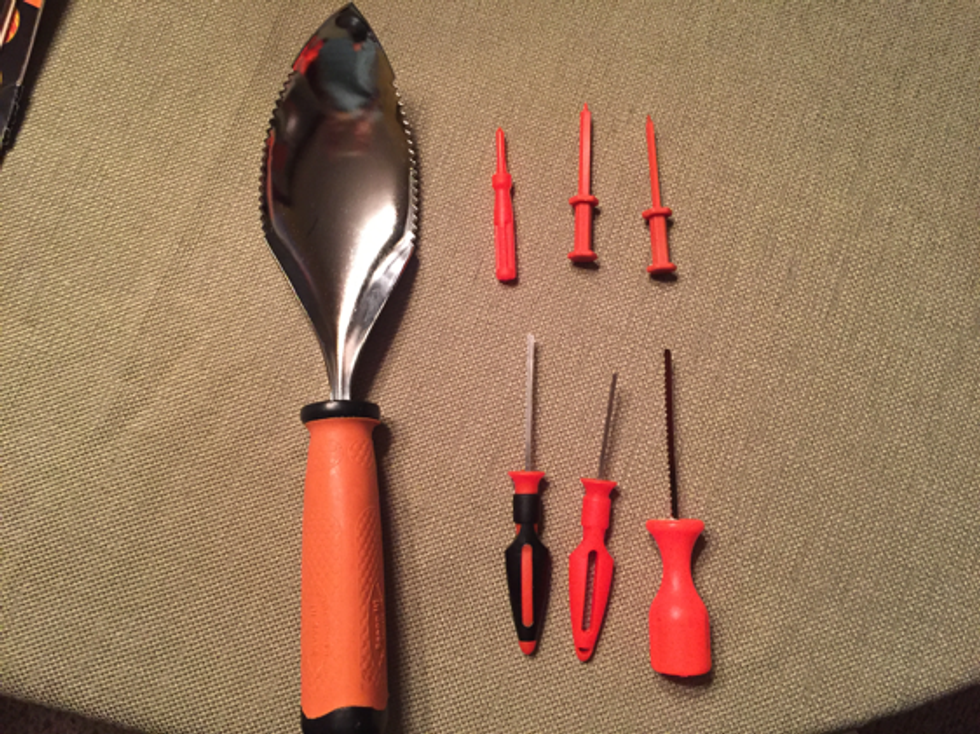
2. Get your pumpkin carving materials
They normally come in kits that are super easy to buy. A knife, spoon, and toothpick should work too.
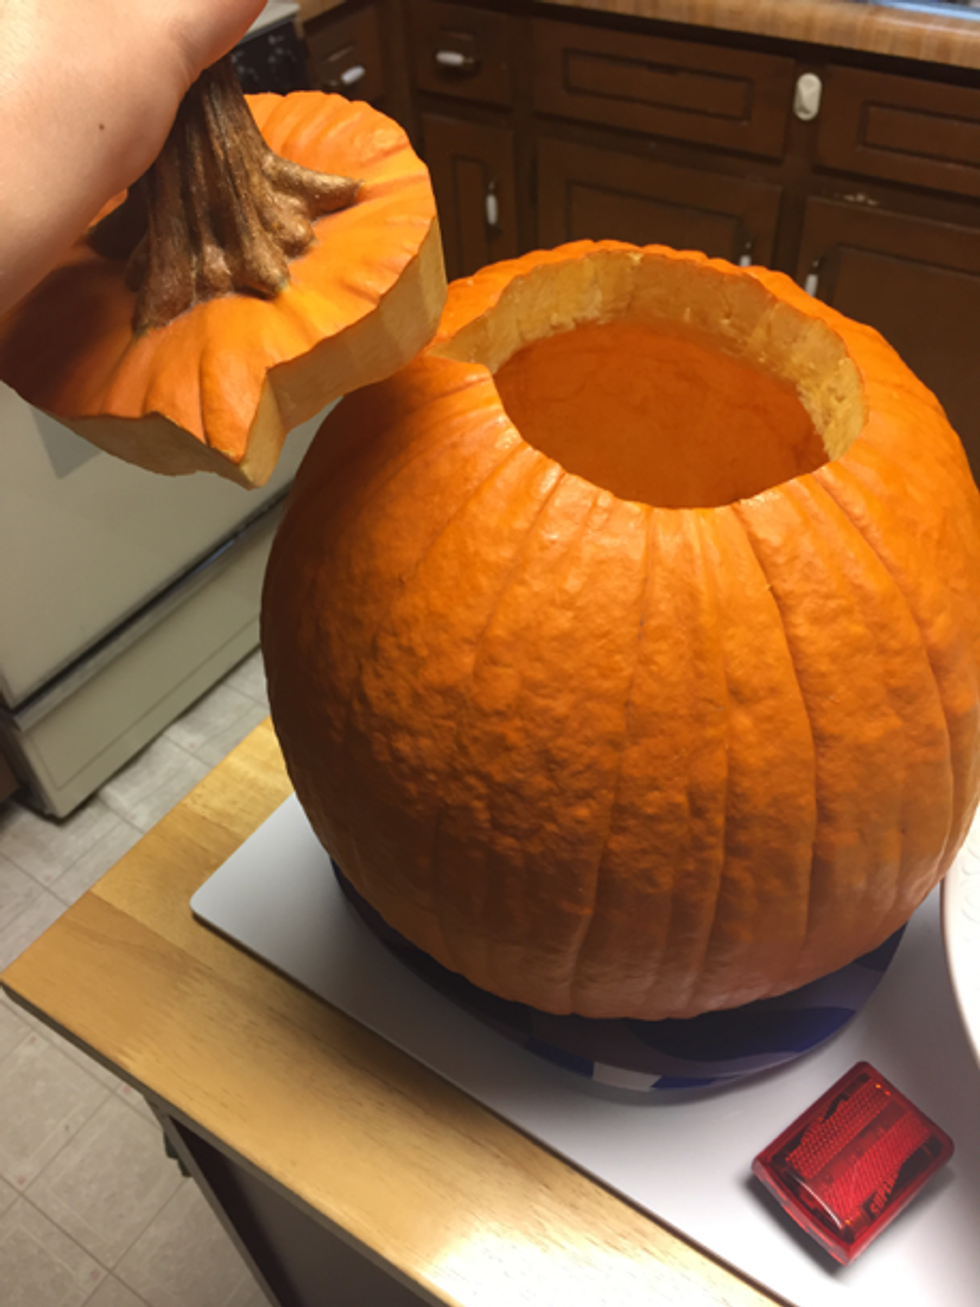
3. Cut the top
Start by cutting a circle around the stem. Make one triangle so that it is easy to know what way the top fits.
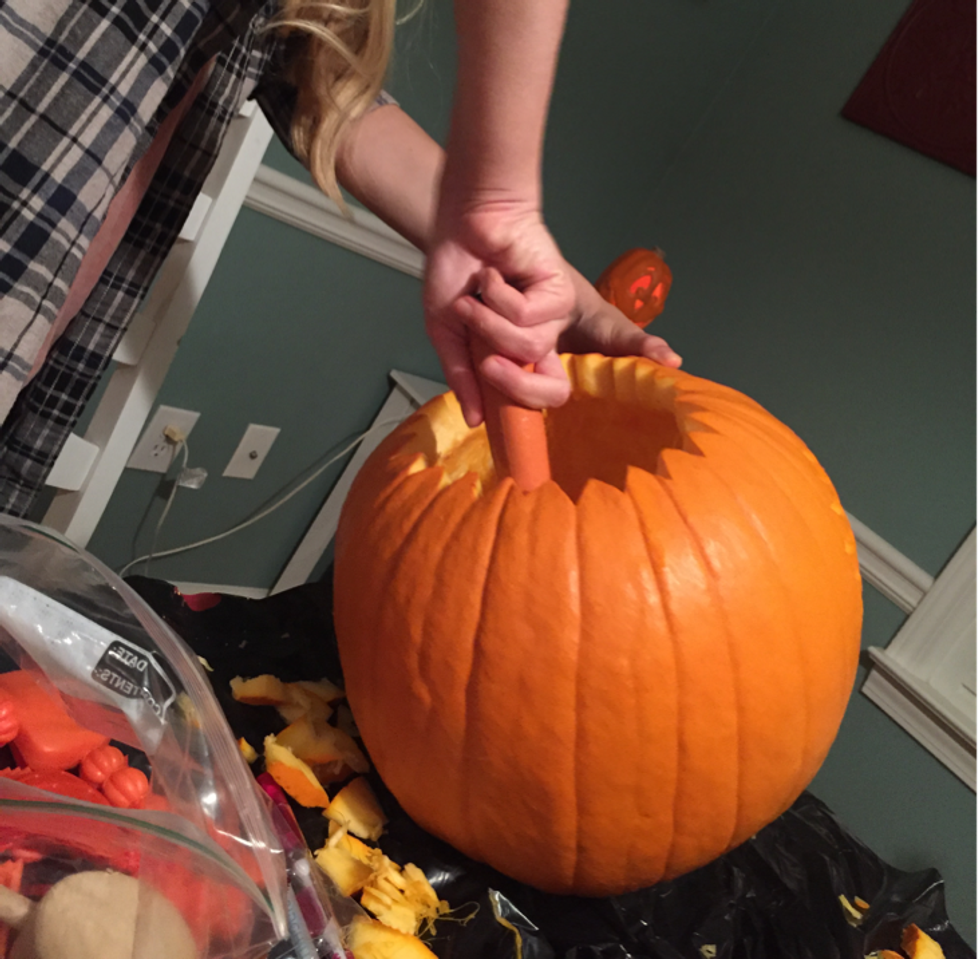
4. Clean it out!
Grab a spoon and scrape out as many pumpkin seeds and guts as you can. Keep in mind that it won't be perfect and it will take a while.
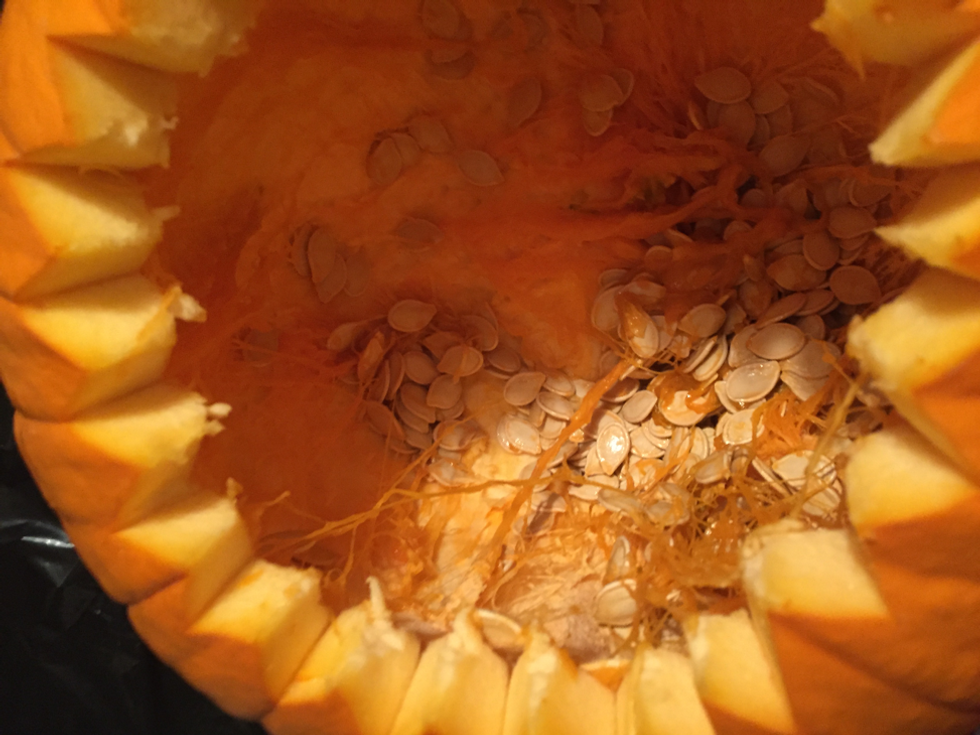
BONUS: Save the seeds and bake them to eat later!!
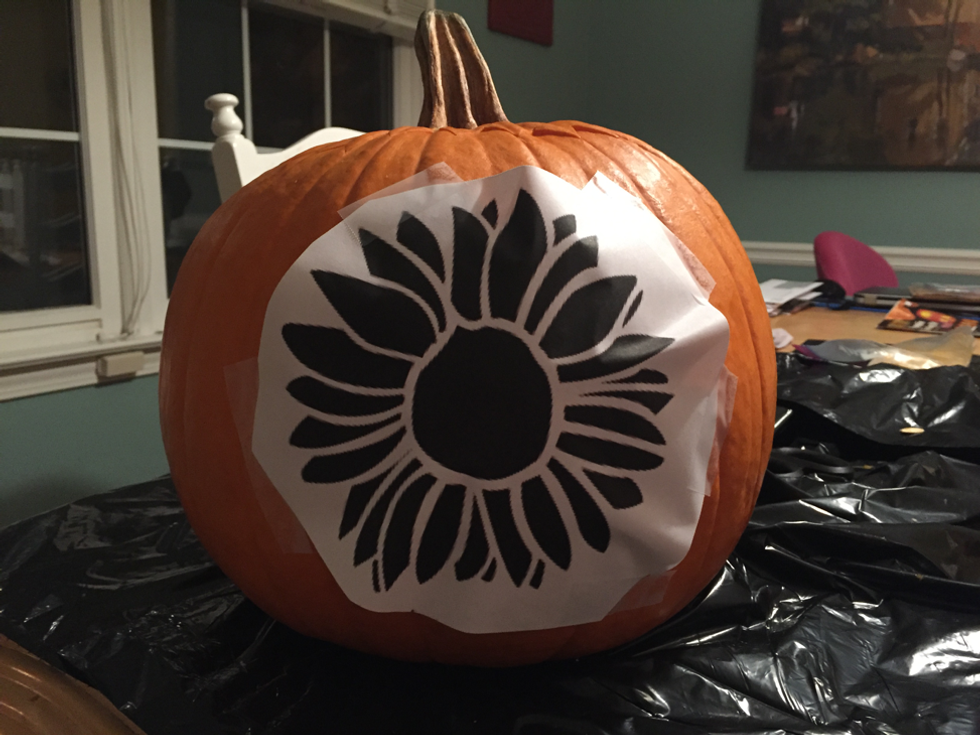
5. Pick your design
You can buy some in stores, but I recommend looking online for stencils to print out. I would avoid anything too complicated or something with thin lines that could break. I chose to do a sunflower.
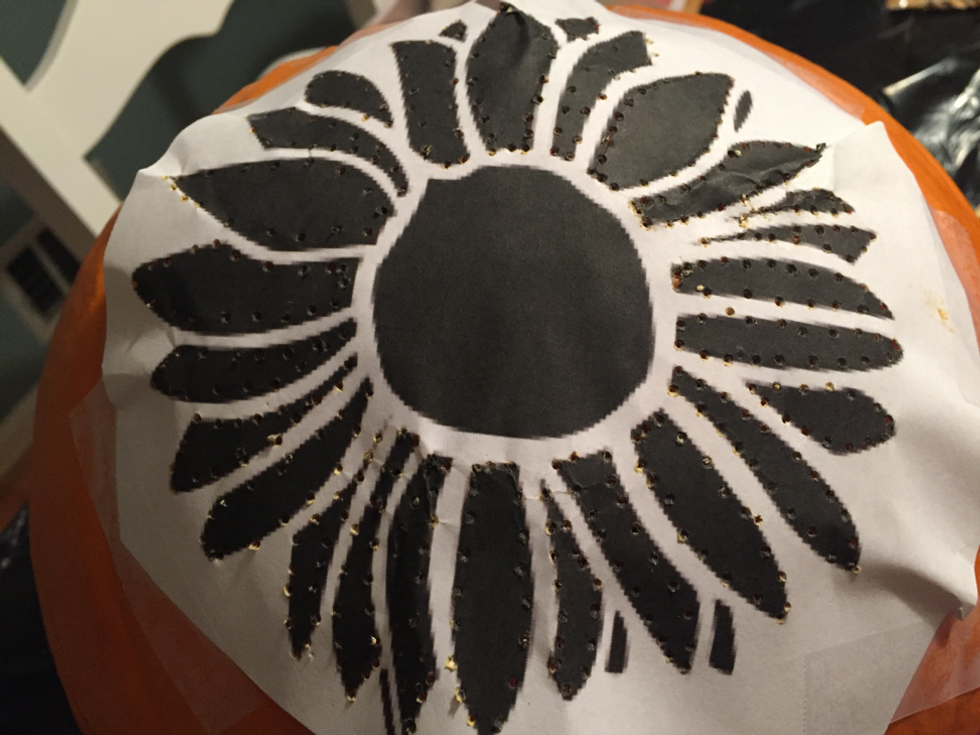
6. Poke holes
Poke holes into the paper and pumpkin with the tool the carving kit provides or a toothpick. Make sure it leaves some kind of a mark on the pumpkin.
7. Connect the dots
Cut along the dots. This is where I recommend the cutter the carving kit gives you because it is easier to use and control. Take your time; it'll turn out better if you do.


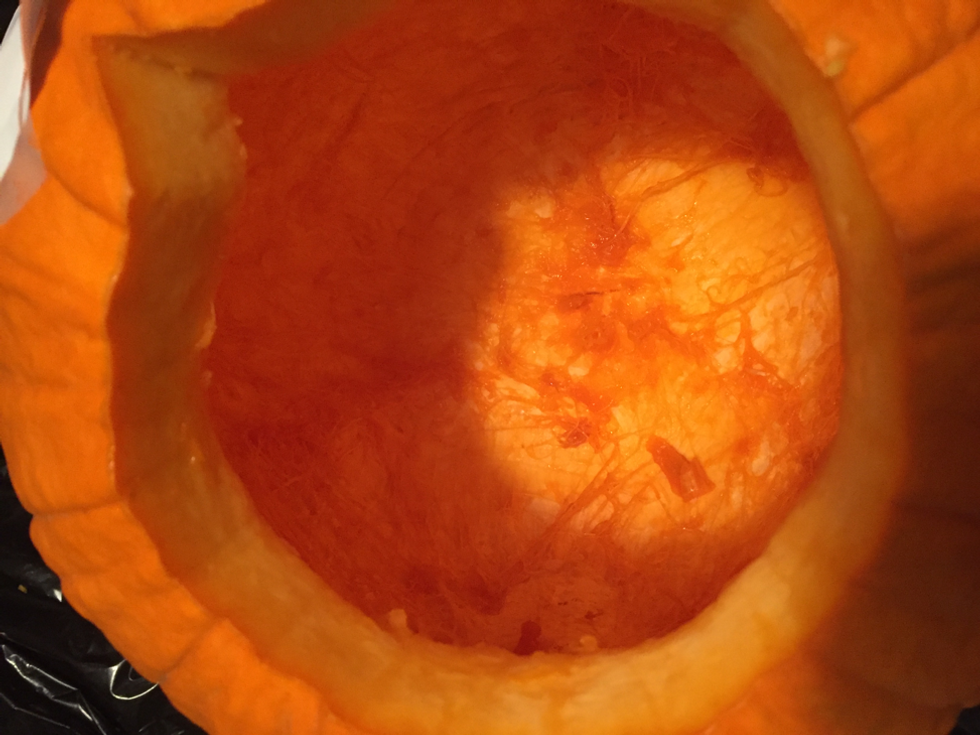
8. Clean up round two
After cutting the pumpkin, you'll need to clean it out one more time. I used a spoon again. You can also use scissors to cut stubborn strands that could block the openings from the inside.
9. It's lit
Place a candle or light inside, and make your pumpkin glow!