Because of the spontaneous nature of college, birthdays and holidays away from home can be uniquely exciting and cause for grand celebration. When celebrating with friends that have become like your family, it's tempting to spend what little money you probably have to shower them with gifts. Because of my limited funds and love for giving heartfelt, unique presents, I've come up with an arsenal of inexpensive, customizable, and easy DIY projects that I can fall back on whenever a gift-giving occasion presents itself. Lucky for you, I'm divulging all of my crafting secrets in a series of posts about my go-to handmade gifts. In the first installment, I show you how to make a felt banner which makes for a perfect go-to gift because you can make them in any colors or patterns and make them say anything you'd like, so you can ensure your friend gets a gift perfectly suited for them. Because a piece of felt is less than 50 cents, this is an incredibly inexpensive project. Felt banners have the added benefit of being great photo backdrops!
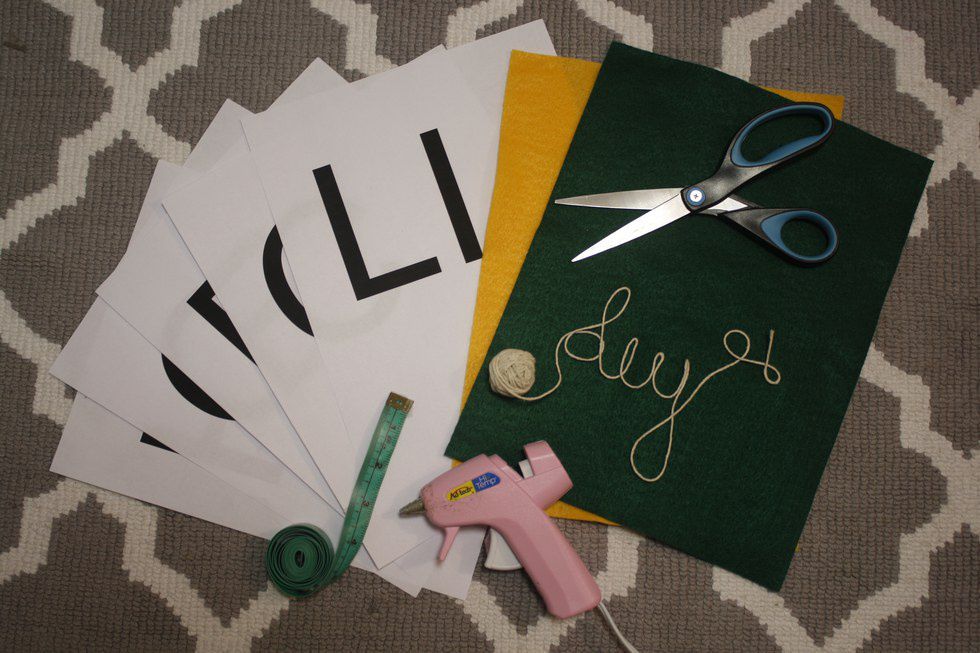
1. Gather your materials
Start by printing off the words you want your felt banner to spell out to create the stencil. I type the words in a document using 350 point Arial font in all caps, but feel free to use whatever font you please! Theres no need to type repeated letters since you're just using the document to make stencils. Since my banner is going to read "Hollie Collie", I typed out "HOLIEC". You'll also need a few pieces of felt in whatever colors you wish, a hot glue gun (or just regular liquid glue), any kind of string, a measuring tape or ruler, scissors, and tape.
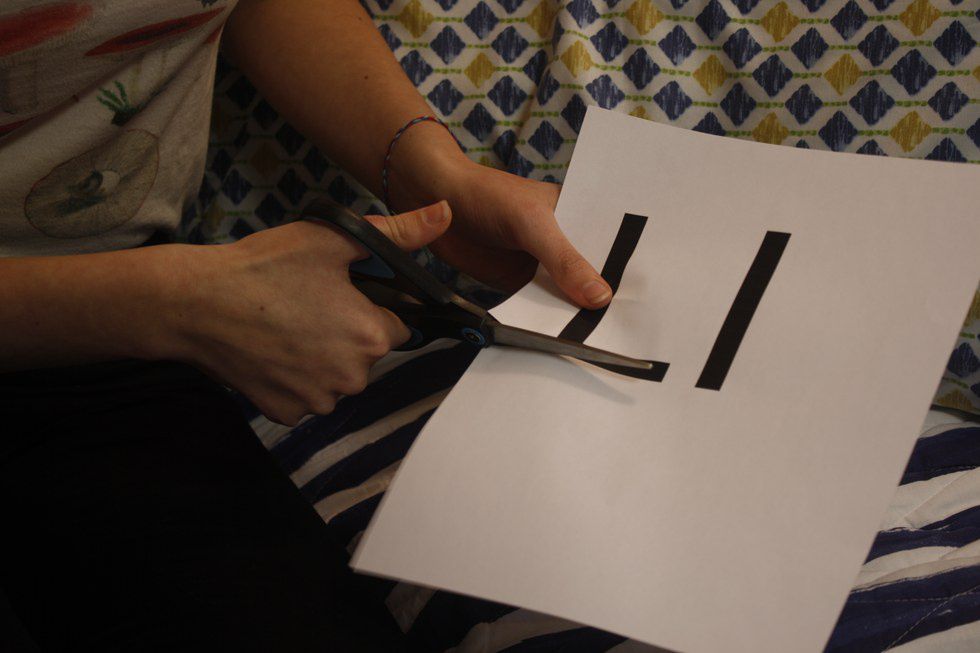
2. Cut out stencils
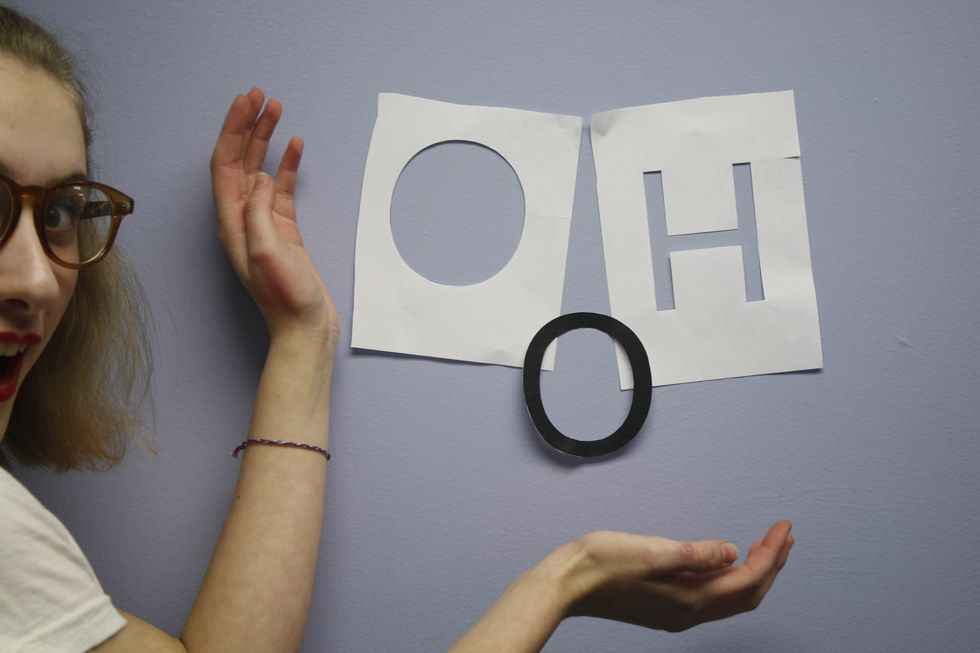
When cutting out your letter stencils, do your best to preserve the outline of the letter because you'll be taping it back together to make the stencil. If you're cutting out a letter like "A" or "O", make sure to preserve the letter itself as well, since you'll need to trace it to draw the inside part!
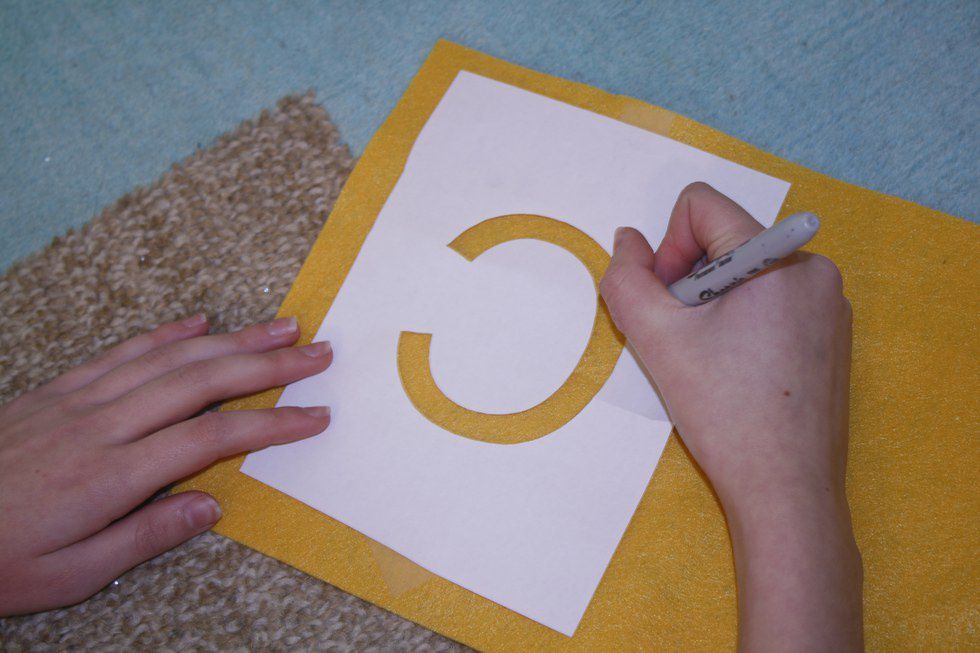
3. Trace the letters onto the felt
Tape down the edges of the stencil so it doesn't move around while you're tracing. Since you'll be getting marker or pen on the felt where you're tracing, trace the letter backwards so you can display the unmarked side of the felt.
4. Cut out the letters
Try to avoid using really dull scissors so you're not sawing through the felt, which can create jagged and uneven edges.
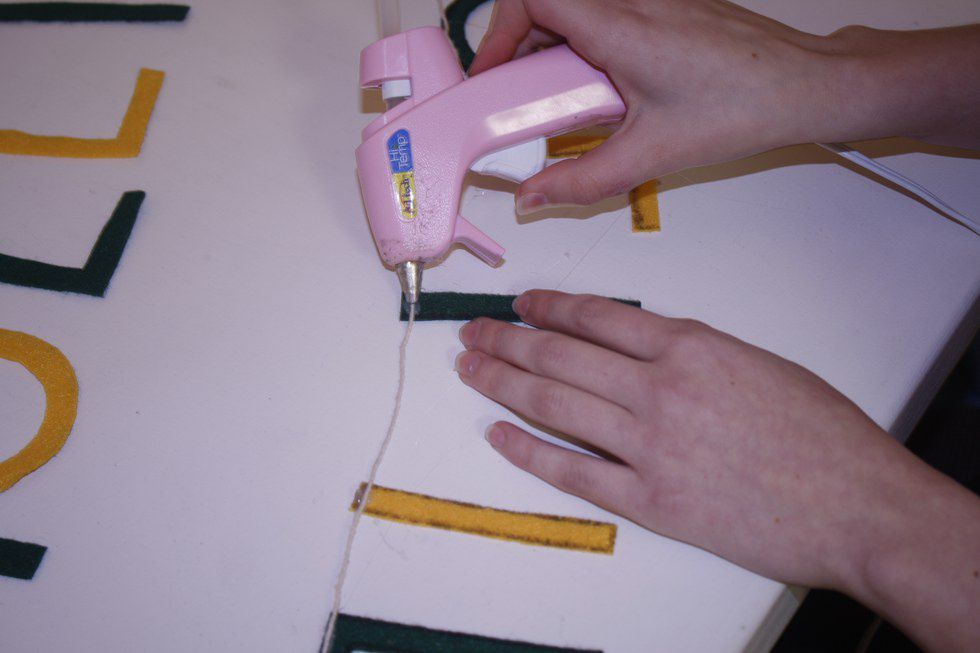
5. Glue your letters to the string
Spell out your words backwards with the marked side up, measure an even space between each letter, and glue the string to the tops of the letters.
6. Hang up your banner!
Note: you may have to flatten out the letters against the wall as felt can be a little flimsy, which is why my letters look a bit crooked in the picture above.
I like to use cute pieces of wash tape to hang up my banners and they make a great addition to any gallery wall! You can make a banner for your school like I did, or a name, a favorite word or saying, or any variation of a Beyoncé or Nicki Minaj lyric. (e.g. "Flawless", "Feelin' myself", "I woke up like this")
I'd love to see what you make, share your banners with me on twitter! Happy crafting!


