One of the
First, you'll need a program to work with, and Microsoft Paint isn't really going to cut it, unless you're some sort of masochist. Adobe Photoshop is considered a staple in photo editing, I personally use Adobe Elements, but there are also tons of free programs online if you don't want to spend anything. I'll be using Elements in this demonstration, but the tools and concepts should translate between programs.
Editing a single photo
If you're working with a single image, it's good to start with an idea of what you want to do with the picture, whether it's changing the colors, layout or the overall style and look of the image. It's also good to work with a well-lit, well-defined photo to give you the most to work with. It's alright if the picture you're using is too bright or too dark etc., though, as I will show with the example image.
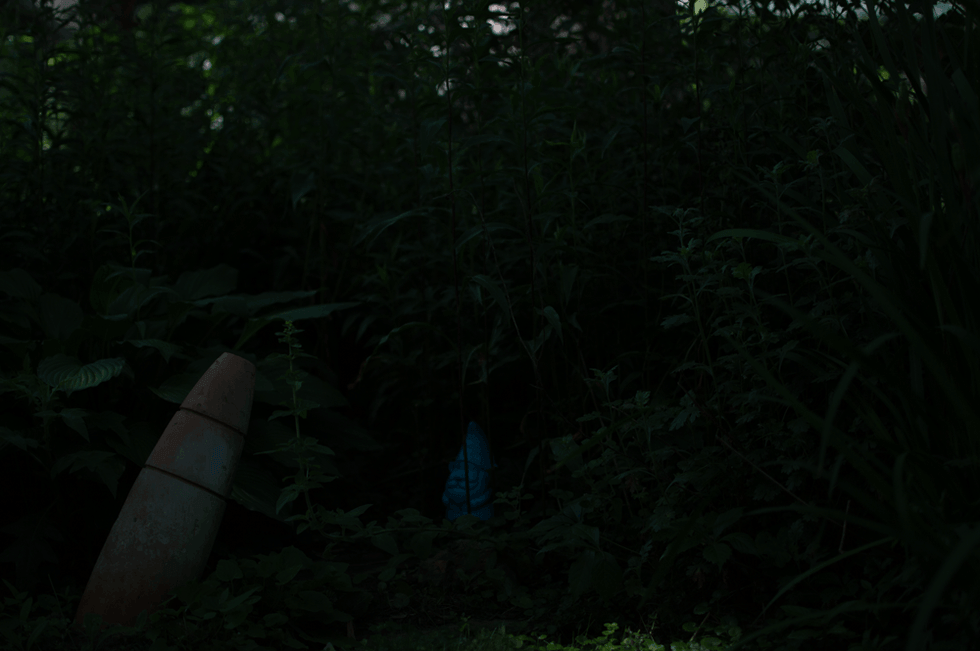
Now, like I said earlier, this image is darker than preferred but luckily most editing software will allow you to fix this with the "Exposure" setting.
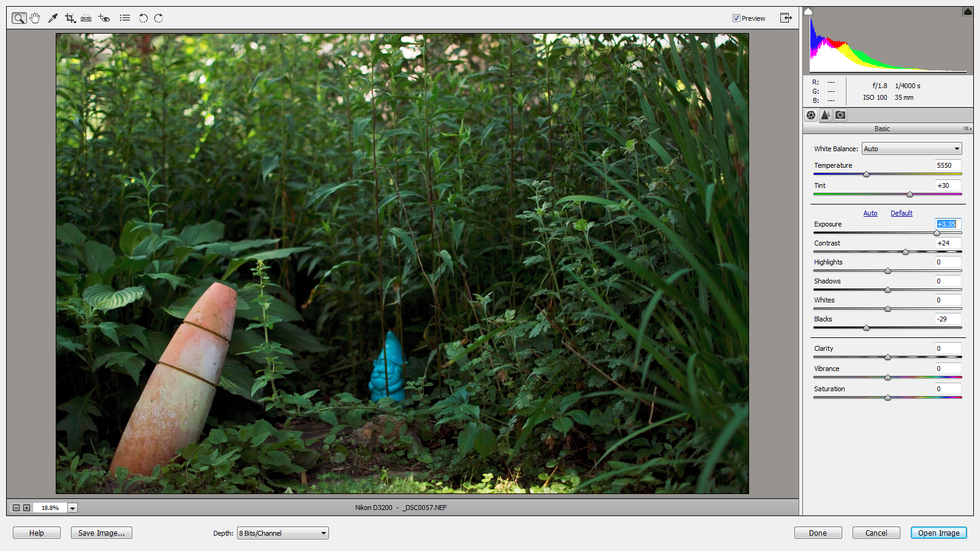
This is the view I get when opening an image in raw format, so you might not see this exact screen, but just look for the exposure setting in whatever program you have. There are also other sliders for contrast, highlights, shadows etc. these all affect different aspects of the lighting; I would recommend playing around with these until the image looks good to you.
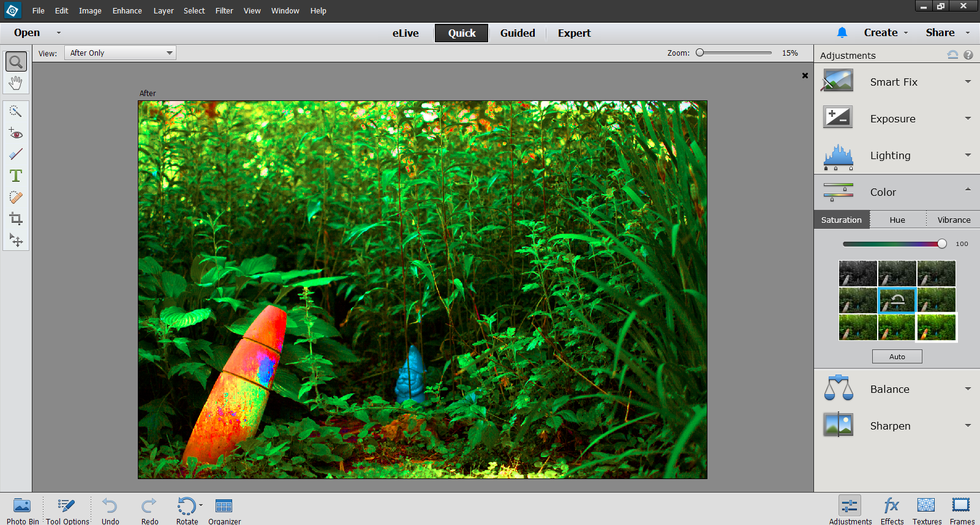
One of the first settings you'll probably want to look at are the saturation and vibrance sliders. These can give you black and white photos or can allow you to bump up the amount of color in a picture.

At this point, you might consider your photo "done," but if you want to perform further edits, there are more options in the layer settings. I'll be showing how to create a glitched effect by layering and merging layers.
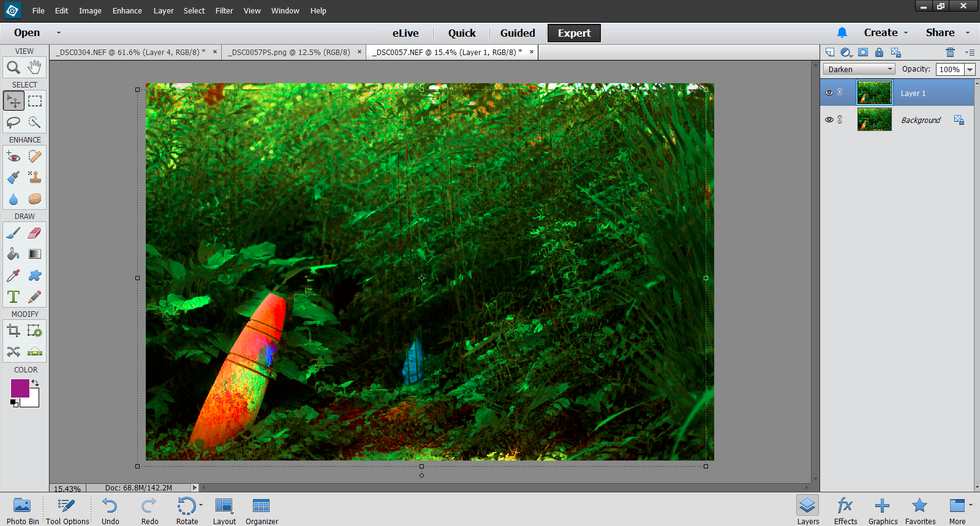
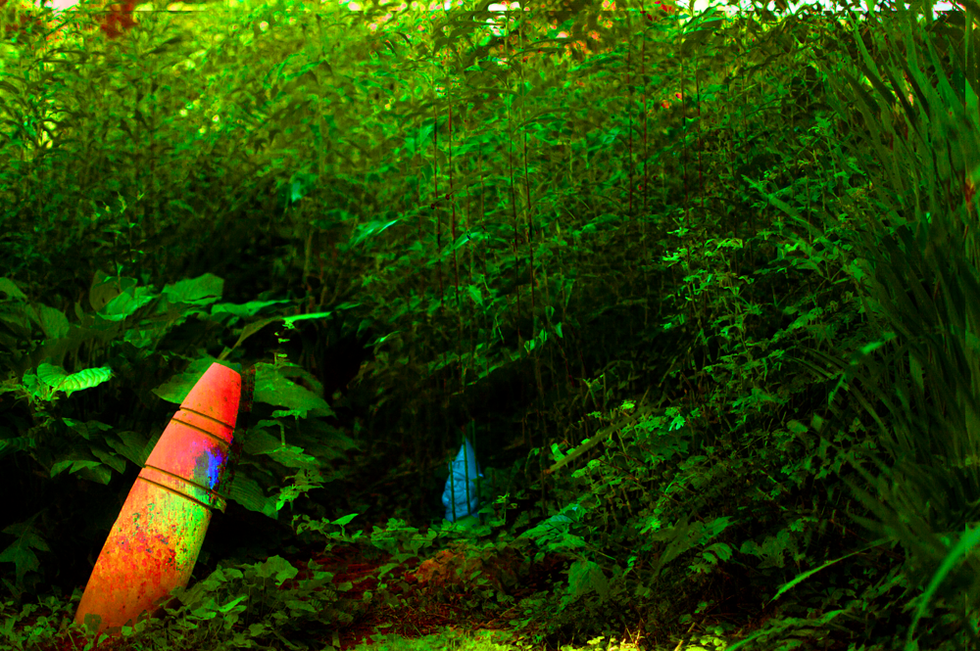
To create this look, I copied the original image to a new layer, then chose the "Darken" layer option to make it appear as though the layers are both visible. Finally, I moved the top layer down and to the left to create the double vision effect. In some programs, you may not have this option and instead need to adjust the "Opacity" slider in order to obtain a similar effect.
When you're done, merge all the layers and save your image. I recommend .png format if you're looking to retain the most quality in your image, or if the image contains transparent parts. Otherwise .jpg works for the majority of images you will create.
Editing multiple photos
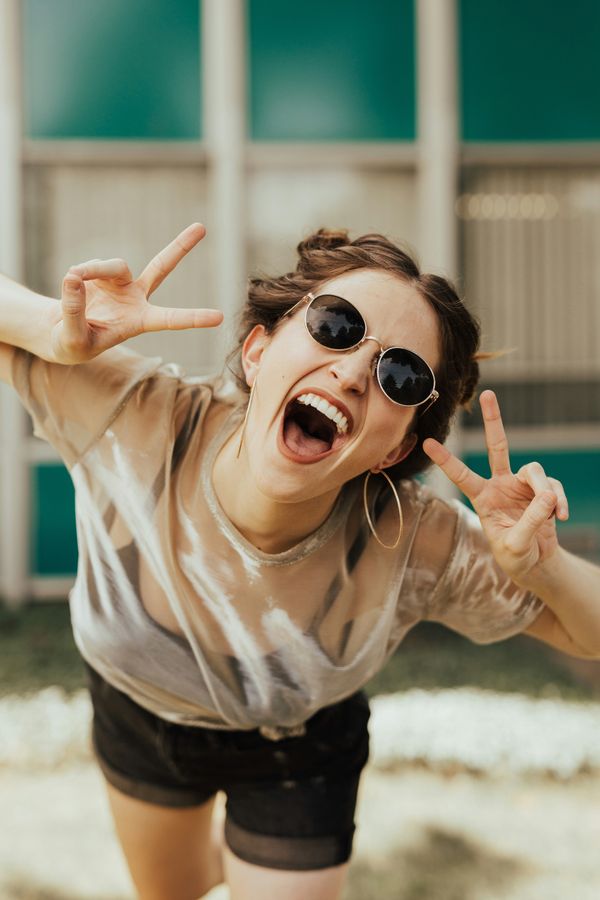
If you are planning on merging multiple photos together, be sure to keep in mind what you want your final product to look like, and what images you will need to create it. In my example, I will be merging two portrait shots to create a unique photo.
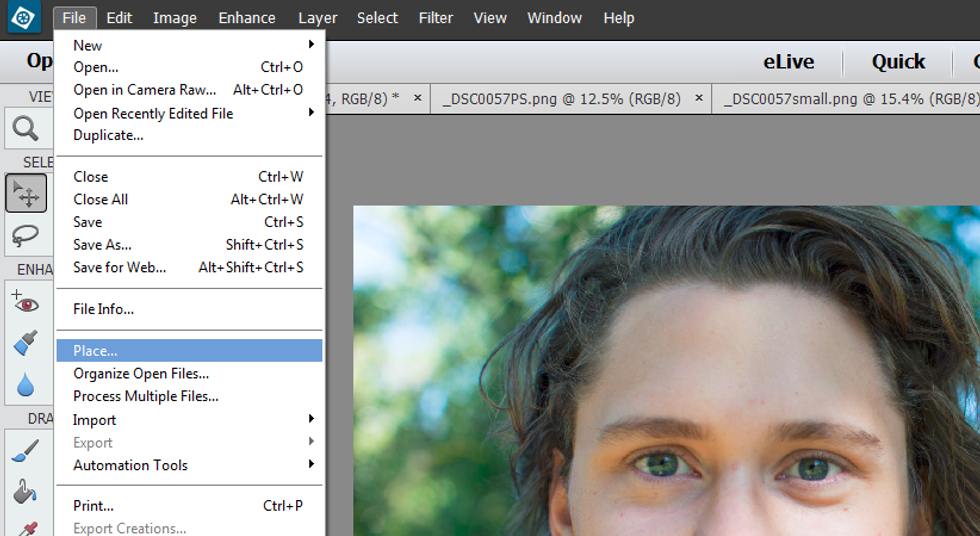
Once you have your base image set correctly, go into the File Tab and select "Place..." This will prompt you to choose the second image you will be using.

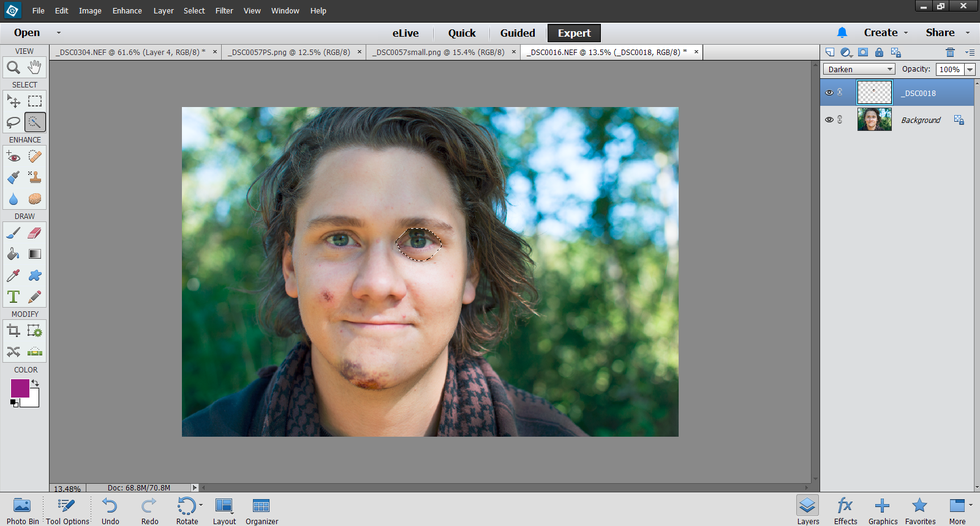
Just selecting "Darken" in the overlay settings doesn't quite give me the effect I want. I'm looking to have one eye looking forward and the other looking up, so to do that I'll need to use the selection tool.
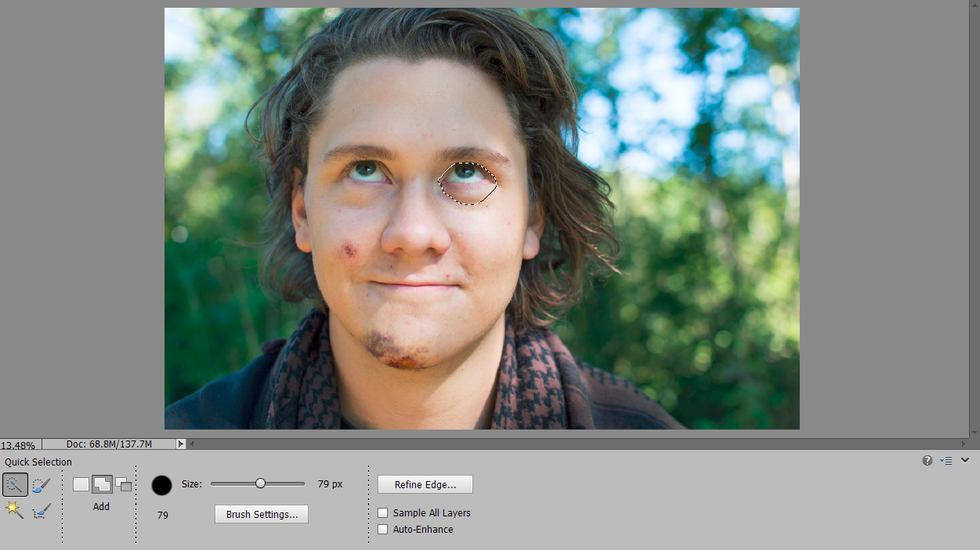
Now that I've selected the area I want to keep, I have two options. I can either copy and paste just the eye to a new layer and then delete the old layer or; I can right click with the tool and choose "Select inverse" where I then delete everything on the layer except the eye. Either way will net you the same result, it just depends on how much clicking you want to do.
We're almost done, but the eye from the bottom panel is still appearing through the top layer. At this point, you have yet more options, either delete the space below the eye with an eraser or selection tool or set the layer filter to "Normal."
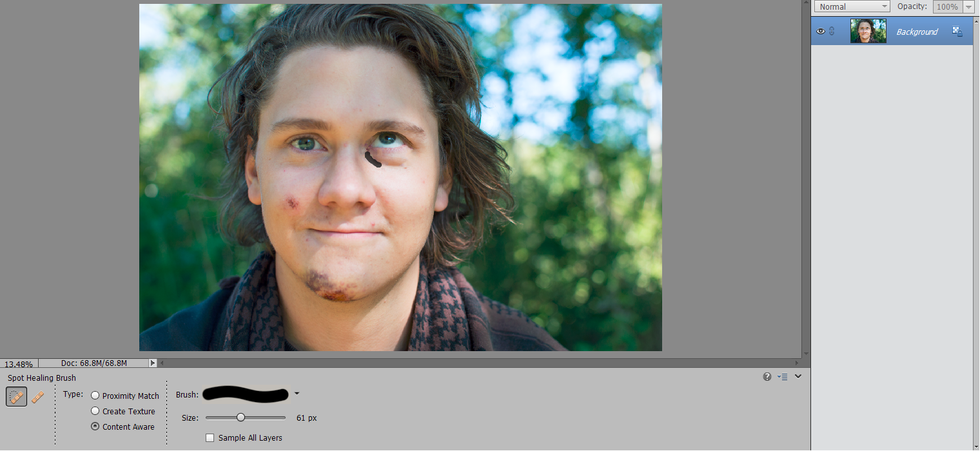
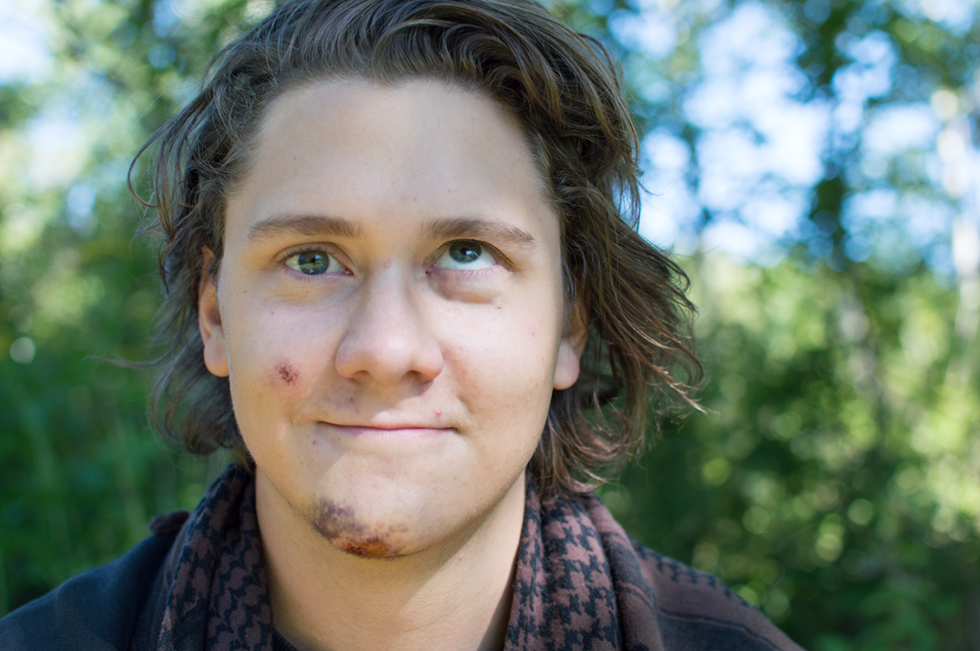
Now just merge your layers, and do some touch up with a spot healer or blur tool and your image is finished! It's ready to be saved and uploaded to social media to scare your relatives and bemuse your friends.
This was just a short introduction to some tools and techniques that can come in hand when editing photos. If you want to learn more, I would highly encourage you to look for more guides, or even just mess around with the programs yourself. Don't be afraid to set high goals for yourself and poke around in unfamiliar menus. You can probably make something better than I did in this mini-example, and with enough practice, you can be a master at photo editing and manipulation. Happy shooting.