Whether you just started an Odyssey account, or are looking to start one, chances are you are approaching the fun part of this whole thing:
Creating content.
To create content for Odyssey, you need to access CORE, Odyssey's proprietary content management system (CMS). You can find you way to CORE a couple different ways.
If you're signed in, you can use the drop-down menu in the right-hand corner and click "create." If you're not signed in, you can click the plus sign on the bottom right corner:
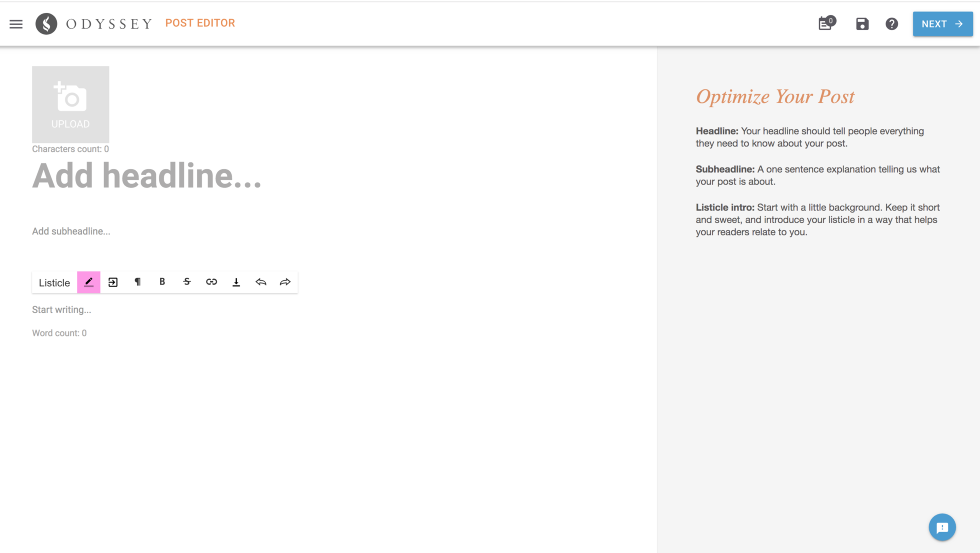
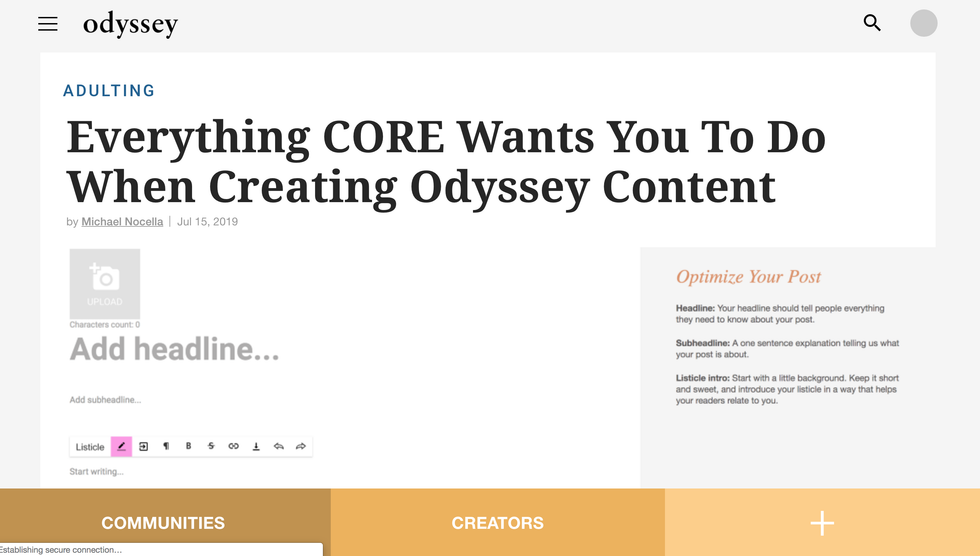
Both options will bring you to a new article slate in CORE:
Once you're at this point, follow the next steps to maximize your content creation process.
1. Add your headline and subheadline.
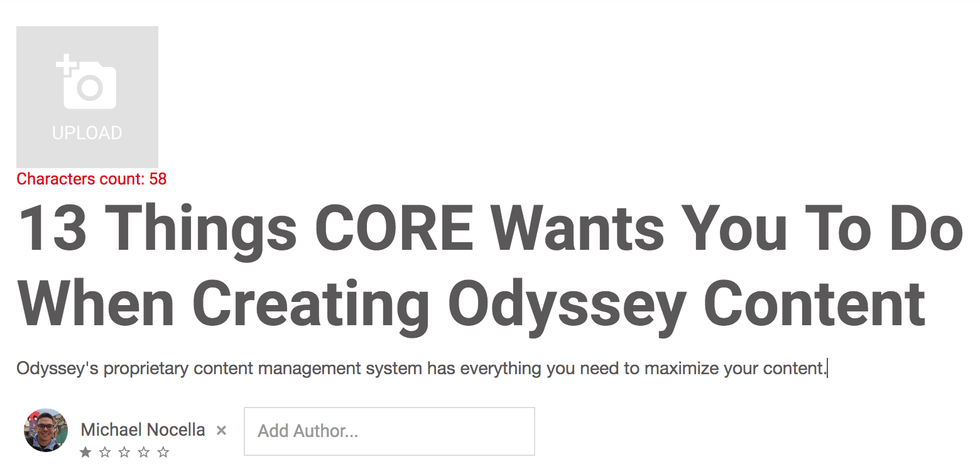
The first thing you should do when creating your article is to give it a working headline. Click into the "Add Headline..." and "Add subheadline..." boxes to add your own. It's as simple as that. To read more on what makes a good Odyssey headline, click here.
2. Add a cover photo.
To add your cover photo, click on the UPLOAD camera icon (as seen above in the intro and in number 1). Once you've uploaded your cover photo, make sure to include attribution. If it's your photo, just put your name. If it's from a free stock photo site, etc. include the url of where you found it. You do not need to include a photo caption.
To read more on how to find the best cover photo for your article, click here.
3. Write your article!
Now that you have a great headline and cover photo, you are ready to write your article. If your article is a listicle, you can click on "Assembler" and then "Listicle" on your toolbar:
Doing so will bring you to bring up our listicle assembler, which streamlines creating a listicle formatted article:
If you choose to manually format a listicle, you can simply write your list and put your numbered items in Header 2 font, another option you will find on your toolbar:
If you are not writing a listicle, writing your article is as simple as it sounds.
If you want to make sure your article is free of grammatical errors, we recommend downloading Grammarly, which is free and compatible with CORE.
4. Add your tags and sections.
Once your done writing your article, it's time to put some final touches on it. On the right-hand side of your CORE window, you will see several icons. You can start up at the top and work your way down. The second icon down is the "Channels" icon (pictured above). This is where you can add your tags and select the sections of our site you wish your article to be segmented in.
You do not add anything for your primary tag.
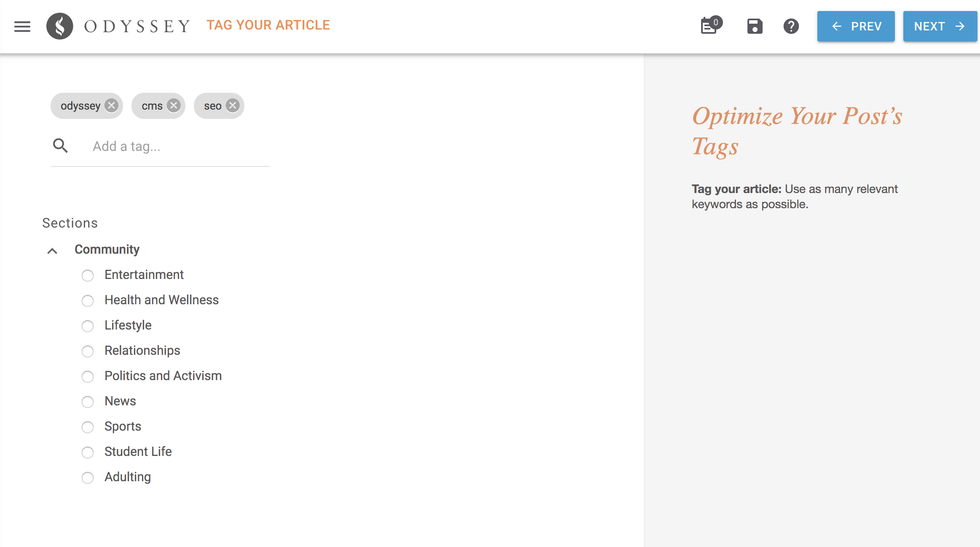
For "Tags" however, you can add 5-10 relevant tags for your articles. Tags should be keywords that are prevalent to the subject you're writing about. If you were writing about what it's like to own a golden retriever, some good tags would be "dog," "crate training," "large dog breeds," "golden retriever puppies," etc.
Once you have your tags you can select your section.
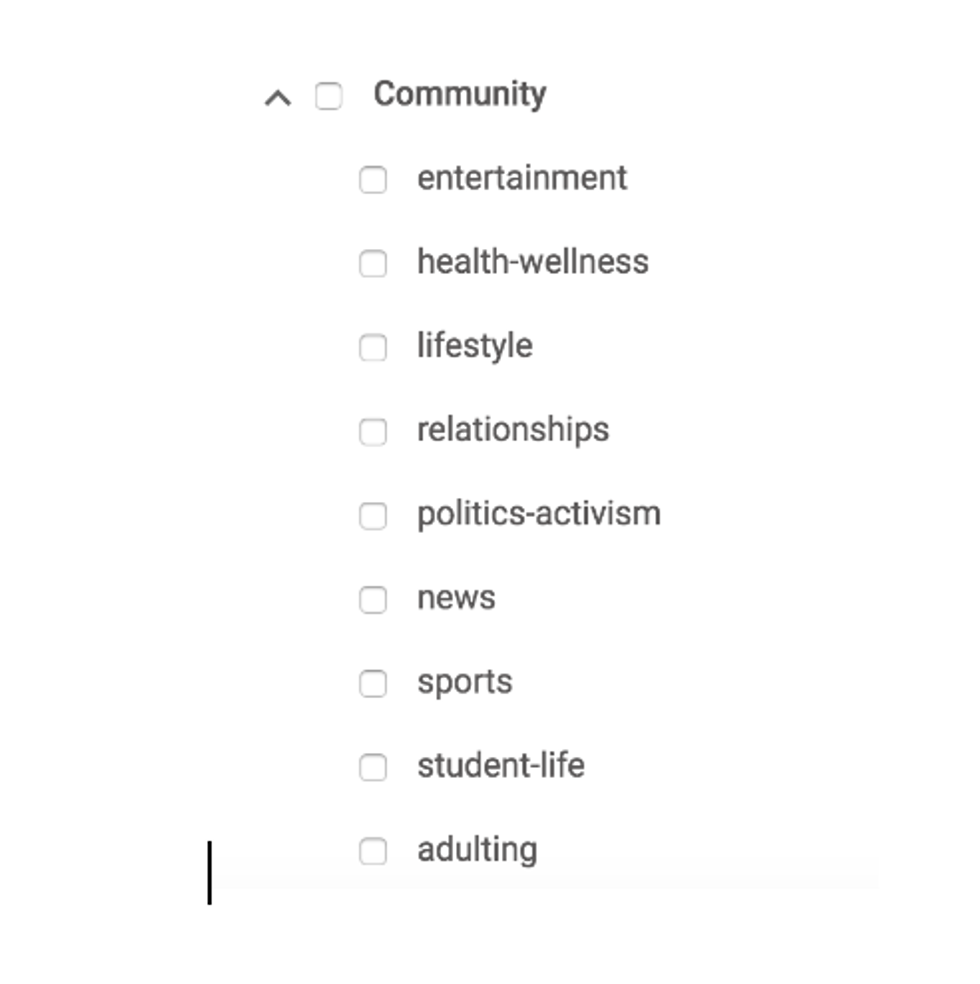
You'll want to select the section beneath that that most accurately aligns with your article. If you were writing about "Ways To Cope With Anxiety" you would select "Community" and "Health And Wellness".
5. Add your Search Engine Optimization (SEO).
CORE's "Search Discovery: Improve Your Rank" is our Search Engine Optimization (SEO) portion of our CMS. This is where you get to build the guts of your article to align itself with search discovery so that people looking for content like your article can find it on Google.
Your "Search Phrase (URL slug)" is the most important part of this section.
Here is where you want to build a URL slug that is ideally constructed of 3-to-5 keywords that are related to your article. It's important here to avoid using words like "of" "the" "and" "is", etc. Try to stick to nouns that are aligned with the content matter you're writing about.
Your "SEO Headline" and "SEO Description" is how your headline and quick blurb about what your article is about will look when you find it on Google.
6. Connect your FB and Twitter
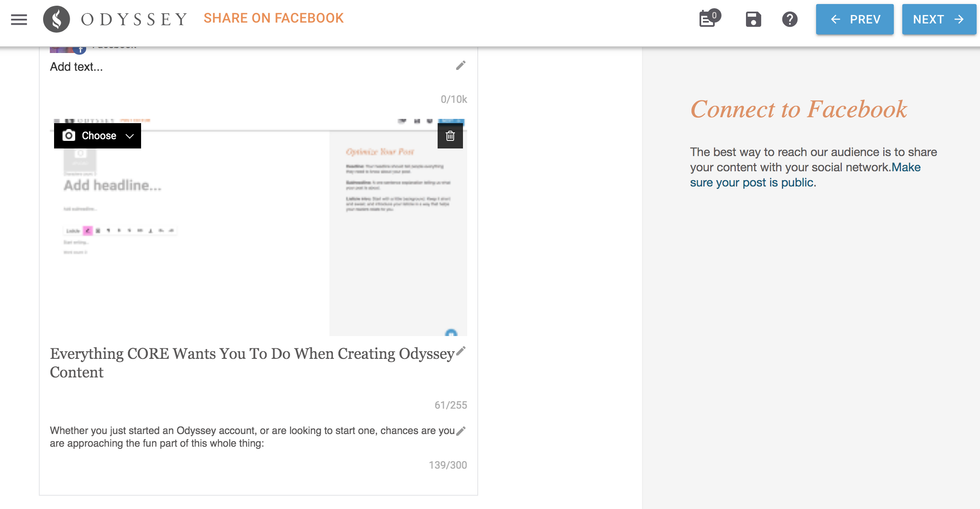
You'll be able to connect both your Facebook and Twitter before your article goes live. This helps you see how your article will look once it goes live. Make sure your cover photo, headline, subheadline look exactly how you want them to be.
7. Send Your Article Live!
Now that you've given your article a great headline, subheadline, cover photo, body, tags, sections, social copy, and SEO copy, you are ready to send your article live by clicking "PUBLISH" in the right-hand corner.
Once your article is live, the best thing you can do is help it get organic traffic using other social media platforms like Twitter, Facebook and Pinterest.

