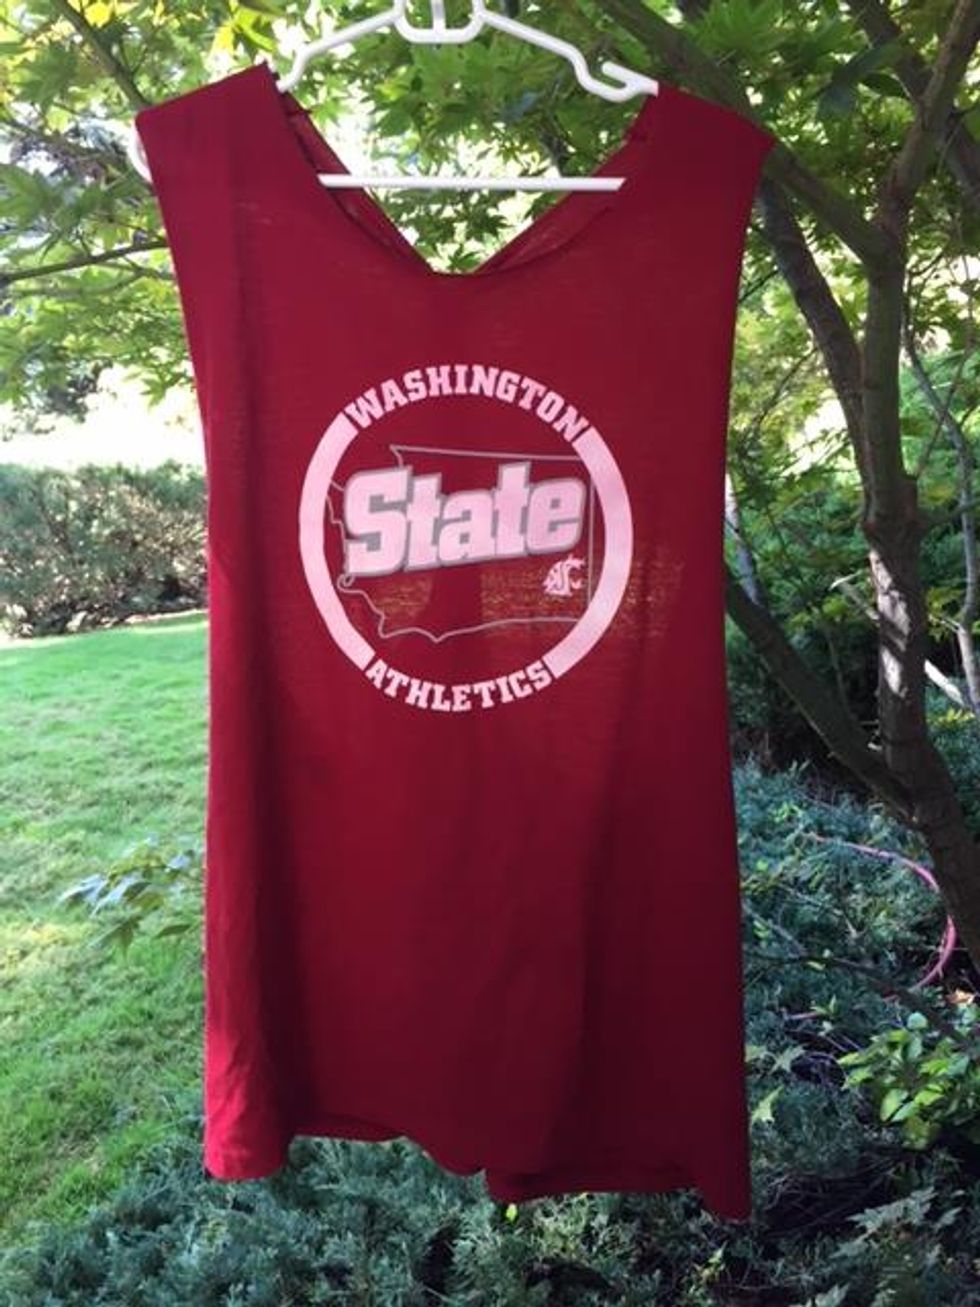
Every Saturday, tons of college students and alumni flock to their stadium to watch their team face off in football. There’s nothing like being in a sea of your team’s colors, chanting your songs and cheering at the top of your lungs. For me, my team is the Washington State Cougars. I may be biased when I say that we are the best team and the best school, but I really do believe that’s true. Not only do we Cougs make a riot when we chant for our team, but we also turn heads in our Coug clothing. I love going to game days for the football, of course, but I also really enjoy seeing everyone in their game day gear! No matter what university or community college you go to, you should always have pride in your school. You can easily show this by making some of your own cute game day gear, and here is how:
Take the Plunge
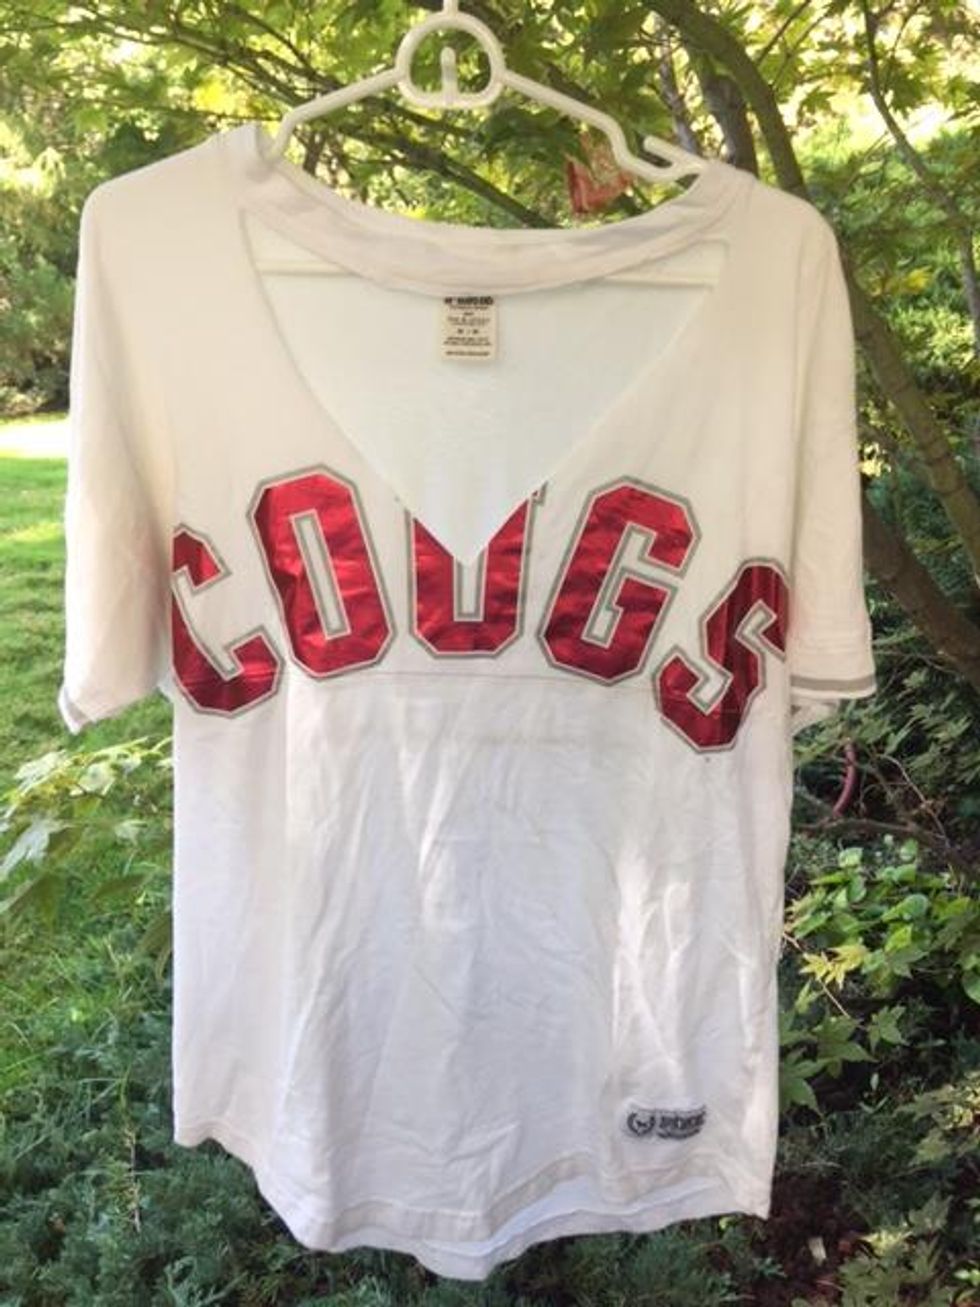
The first type of spirit clothing is probably the most basic. I’m sure you’ve seen it everywhere at your school, and if you haven’t, you’ve probably seen it online before. This is the shirt where a triangle is cut out of the front. It’s a great way to make an old college tee into something new without spending any money. For all of these looks, I also recommend fabric scissors for a clean, precise cut.
- Get an old tee, something that you wouldn’t mind messing up on
- Lay it flat and mark about an inch from the top of the shirt, just below the collar on each side
- Cut just below the collar of the shirt from one side to the other. The collar should still be connected on either side as well as in the back of the shirt
- Mark how low you want your plunged V-neck to go, and cut a triangle shape from either side of the collar, coming to the point that you marked
- Voilà! You have your basic cut-out tee. You can spice this lookup by adding cloth with eyelets on it to the edges of the cutout and putting a shoelace in it for a lace-up look.
Laced Up and Ready To Go:
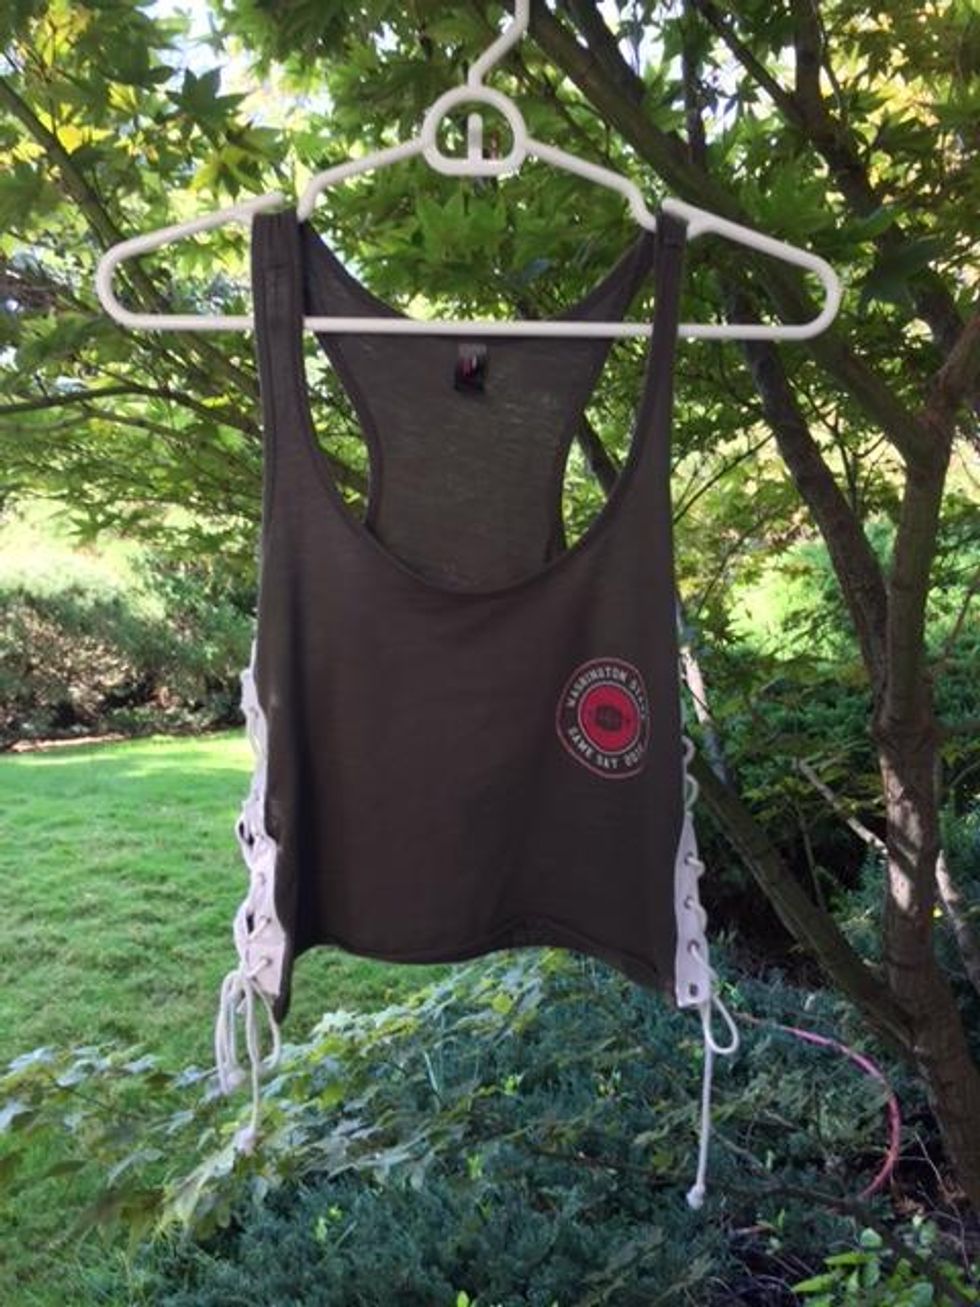
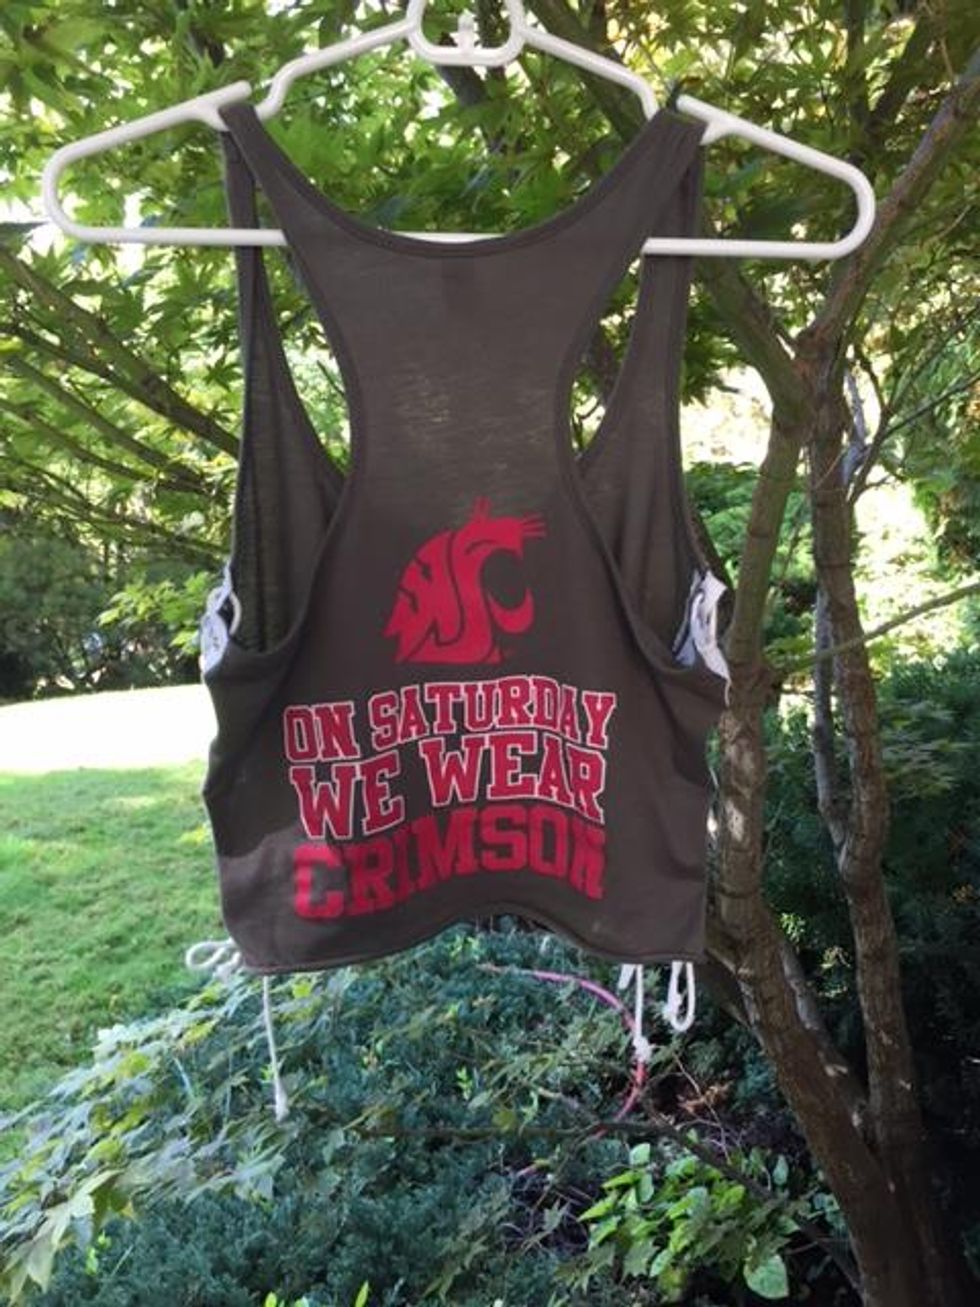
Another basic and easy look to achieve is the side-laced look. For this look, you will need the roll of cloth with eyelets on them and fabric glue. You can also sew the cloth on too if you know how.
- Cut your dress/shirt into the length you want. I usually crop mine but to each their own!
- Cut from the armpit hole down to the end of your shirt, about an inch or so thick off the sides. This will be cutting the side seam out, but that’s okay we will be connecting it with the eyelets/lace! Again, how much you cut out depends on your preference of how tight or exposing you want it to be.
- Once you have done this, you should have a bib shape to it. (only the collar should be connected, both sides are not connected)
- Now it’s time to glue on the eyelet cloth! I got mine from Amazon, and it came with string to lace it up with as well.
- Using your fabric glue (also from Amazon, but they have it at stores like Joann’s too), put small amounts right on the edges of your fabric, and put the eyelet cloth on. I recommend doing one side at a time, and putting something heavy like a book on top so the glue sets. Repeat on the other side.
- I recommend letting the glue set for at least 24 hours. Once you have done this, remove the books and lace up your sides!
Braided-back Baby
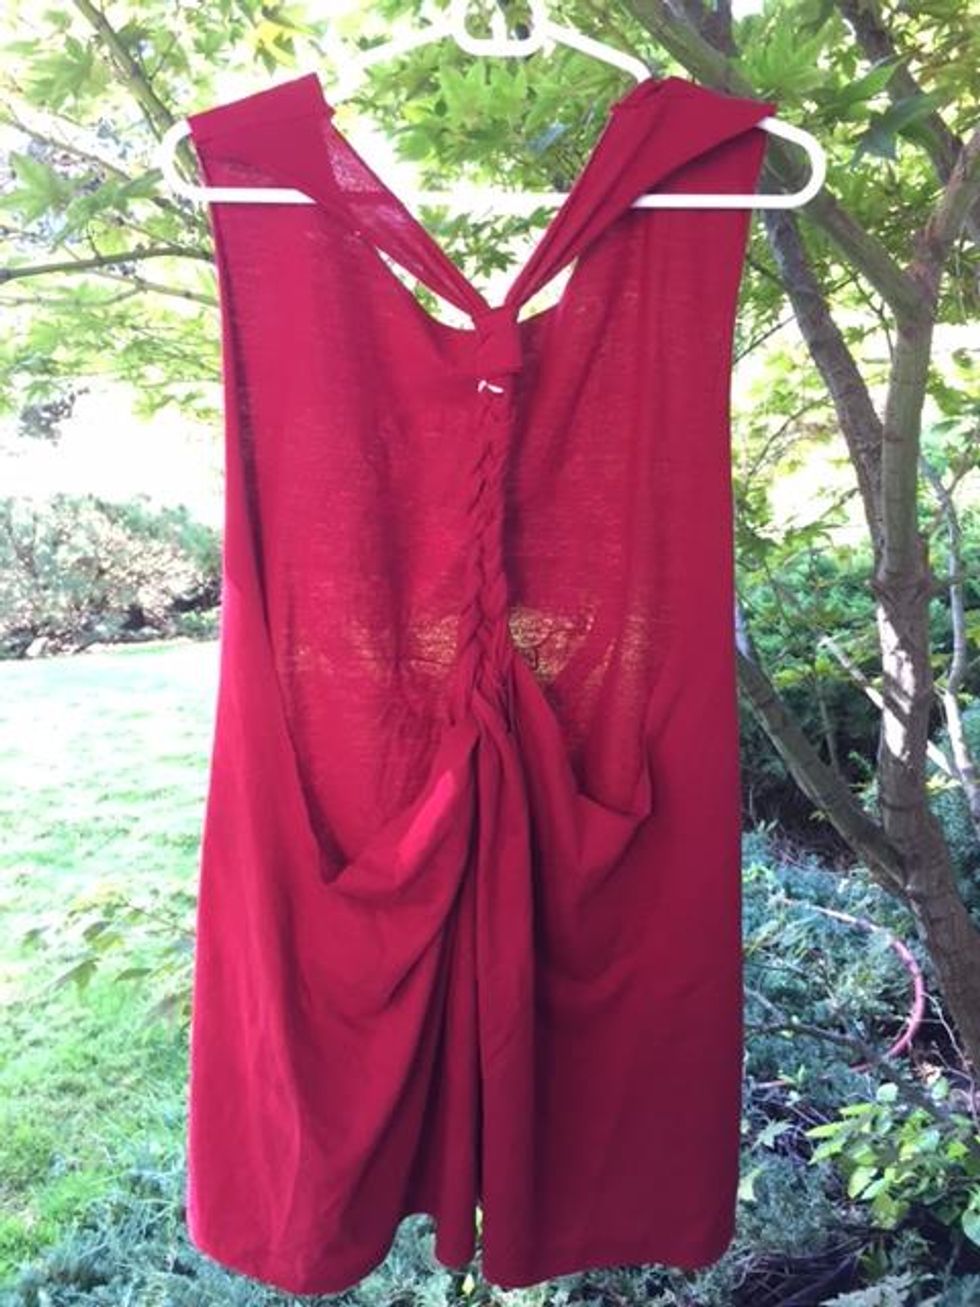
This one is more of a high-caliber look. I recommend trying this if you have a basic knowledge of sewing. You can try this look with fabric glue, but it may not hold as well.
- Take your T-shirt and cut the sleeves off. The best way to do this is to do one side, then take the scrap sleeve and put it over the other, that way they are symmetrical.
- At the seam between the collar and what’s left of the sleeve (which should be a thick tank), start to cut a razor-back curve ONLY on the back side. Again, once you cut this out, put it over the other side for a symmetrical look.
- From the top of your sleeve cut-outs, cut ONLY the back again, going straight across from one side to the other. This should give you a flap in the back.
- Cut the flap into three parts, or for a more sophisticated look, four parts (this requires knowledge of doing a four-strand braid).
- From there, braid the three parts like a normal braid.
- Once you get to the end of the braid, you will connect it back to the collar of the T-shirt. I recommend sewing it because the end of the braid can be pretty thick, and fabric glue may not hold up.
- To make your braided-back shirt look cleaner, you can take a scrap piece of cloth (I used mine from the sleeves I cut off), about an inch thick, and wrap it around where the collar and the braid meets, sewing (or gluing if you prefer) on the inside of the braid/shirt so the seams don’t show.
Halt!
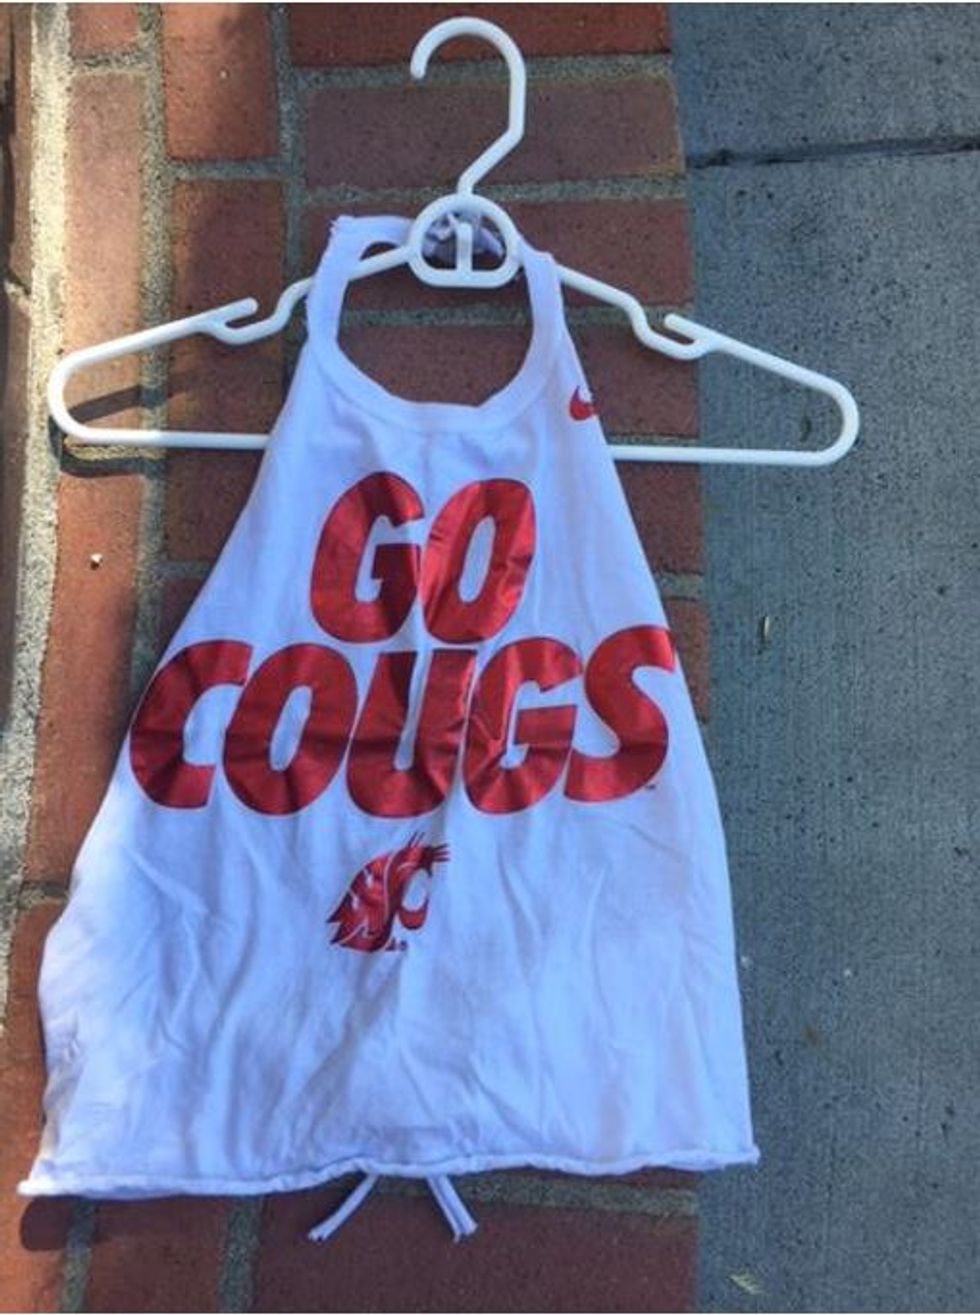
This halter top look is another easy one to do and is great for hot days at the stadium.
- Cut the sleeves off your T-shirt, cutting as low as you want your halter back to go. Be careful to not cut too into the sides, otherwise, you might end up getting a lot of side-boob action.
- From the bottom of your sleeve cut-outs, ONLY on the back, cut across to the other side. This should give you a flap that is only connected at the collar. Cut this connection off too. I recommend right below the collar.
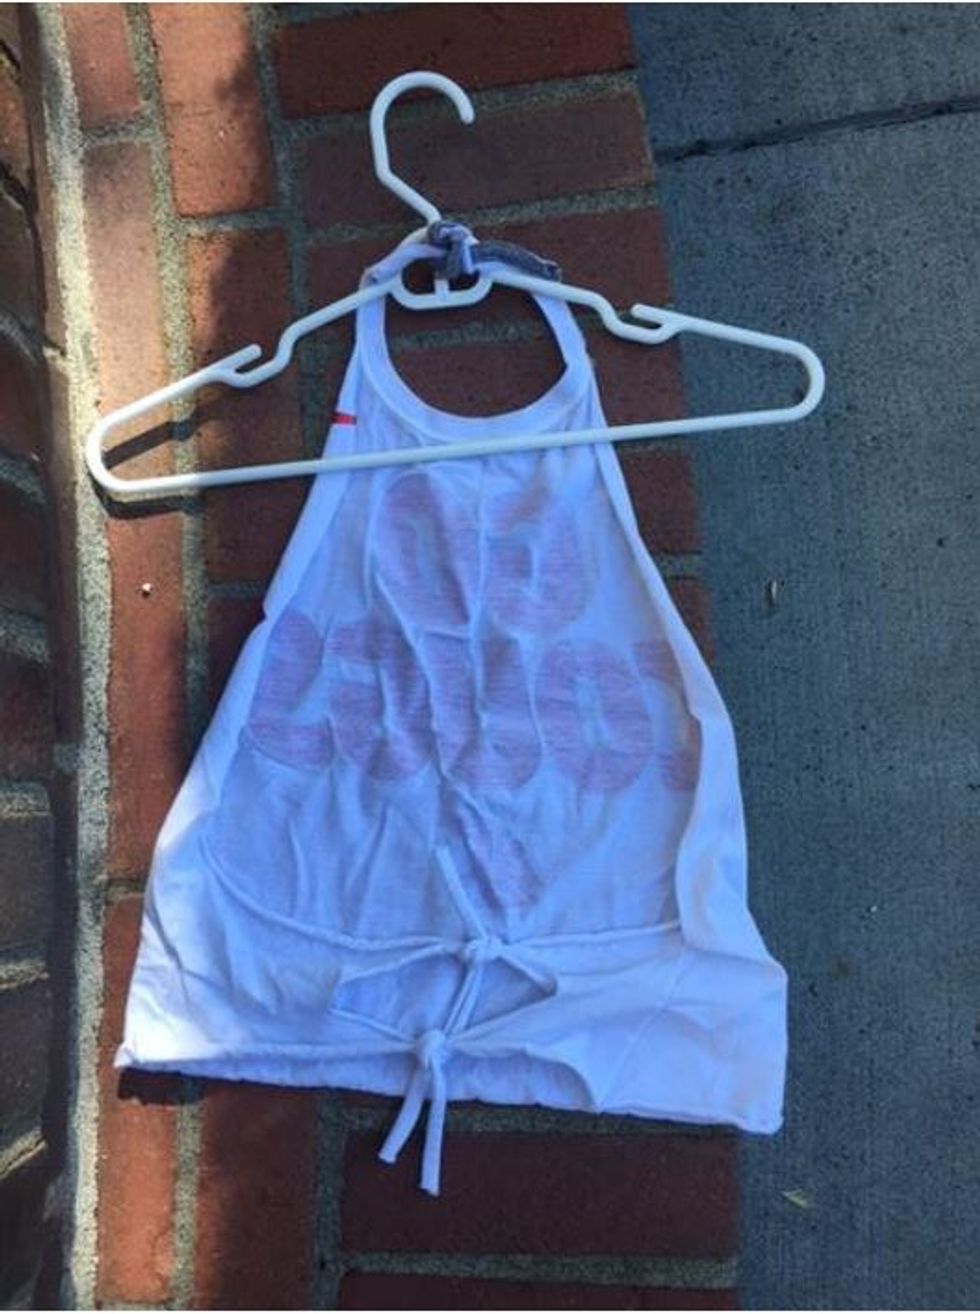
- Depending on how the original T-shirt fit you, you can be done, or go a little further. Personally, I’m small and need to make things tighter.
- To make it fit properly/tighter, cut the remaining connected fabric (should be the bottom of the back) directing down the middle. This will give you flaps on the right and left sides.
- To make tying easier, cut horizontal triangles out of each flap. The thick side of the triangle should be towards the middle, while the tip of the triangle should be pointing to the outer sides. This should give you two pieces of cloth on each side that you can tie together with the other side.
- To make the collar tighter, you can cut it right down the middle as well. This way, you can tie it tighter by just knotting the two sides together.
I hope some of these tips and tricks help you get decked out for the next game. Whether it be football, baseball, or any other sport, you’ll look good cheering on your team in handcrafted gear.


