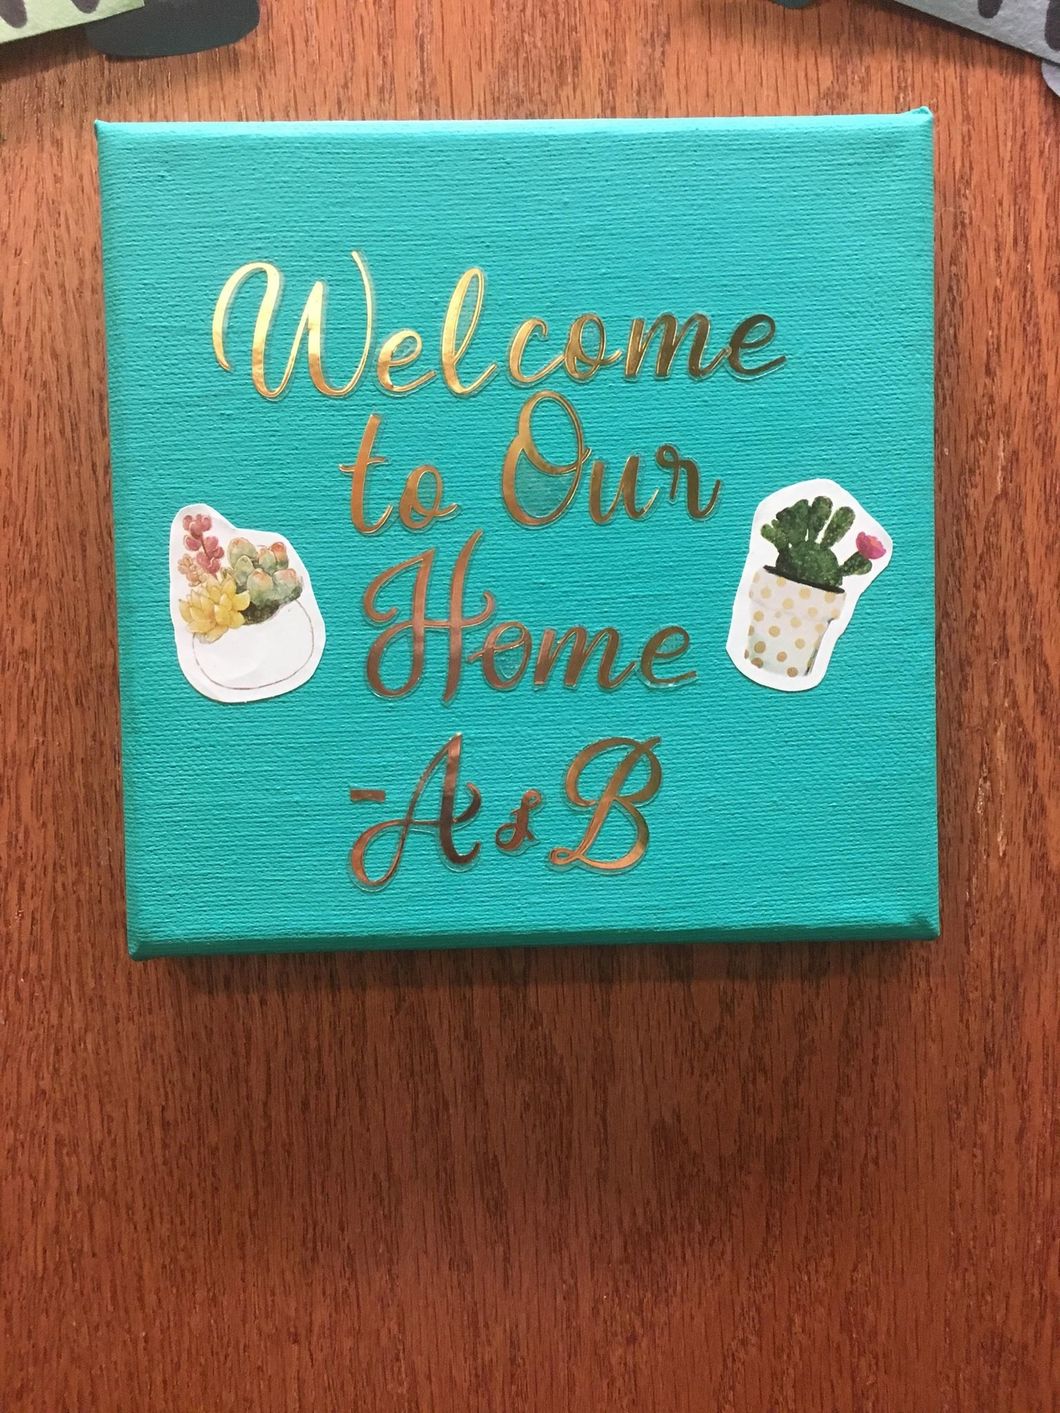
Try this one, and impress all of your friends with your amazing DIY skills. Cheap and easy I highly recommend it to you.
1. Step 1: Find your Inspiration
Choose your design and quote or picture. Go into this with at least a vague idea to make it easier for yourself. I chose to use a quote from one of my favorite TV shows, New Girl. Jess is always saying "Welcome to our home!" and I thought it was quite fitting for my dorm room. She is also my spirit animal so I had to work her in somewhere to make my room really feel like home.
2. Step 2: Gather your Supplies
Anna Dean
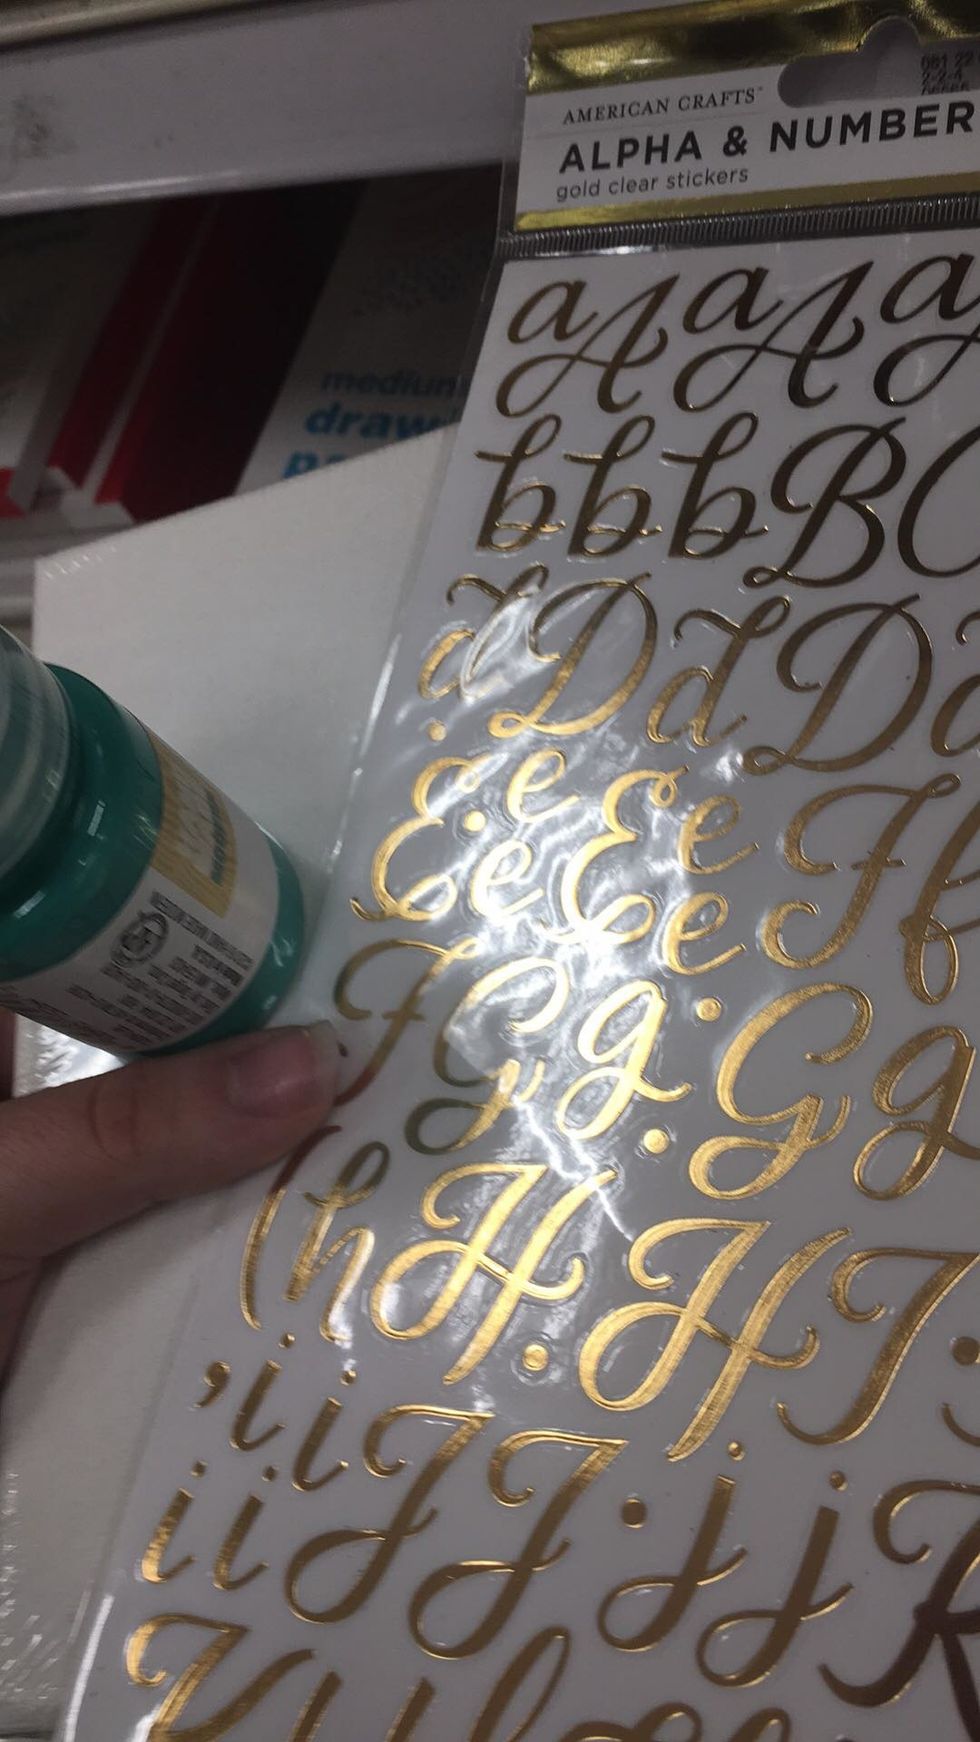
I went to Target, but you could honestly get your supplies from anywhere. Use things you already have to recycle or just buy cheap items to spruce up.
Items needed:
1. Choose a base- I used a small blank canvas
2. Paint color/s or your choice- I used my favorite color, aqua, but you can use as many color as you want.
3. Choose a design- I went with a quote, but you can use anything you want. Words, a picture, a stencil, even glitter...Just get creative!
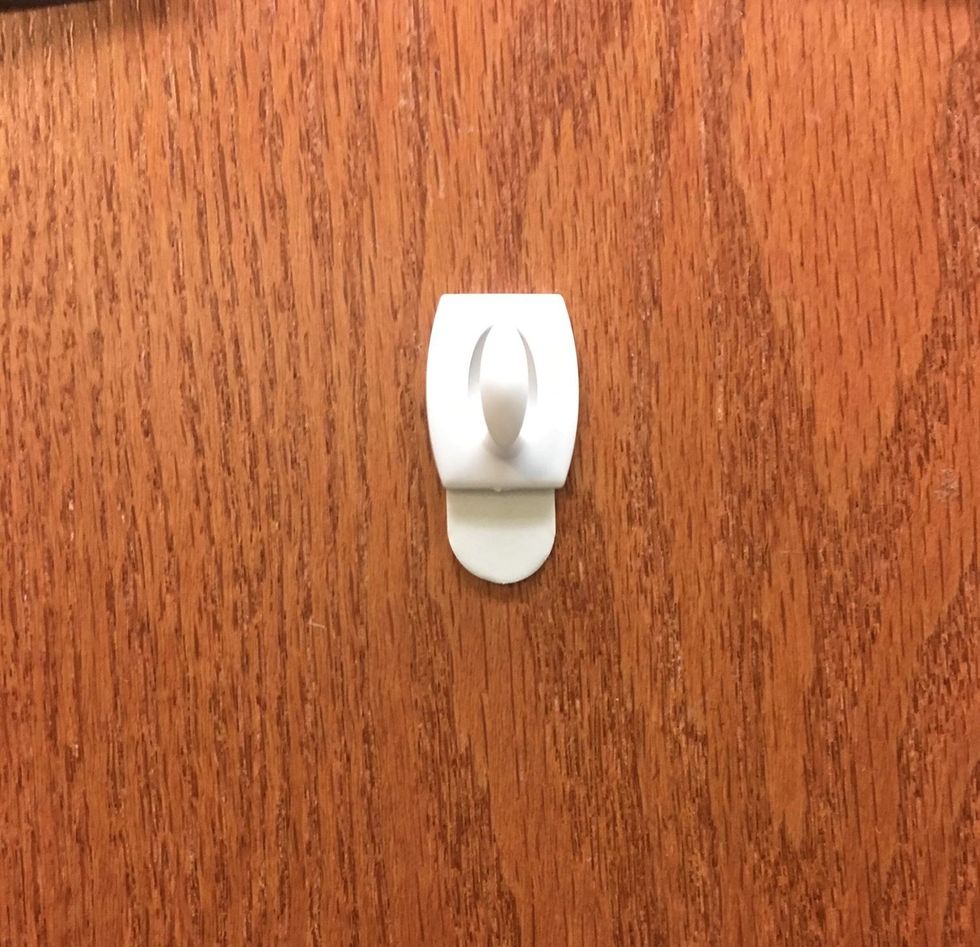
4. A way to secure your piece- I hung mine on my door so I used a command hook.
3. Step 3: Paint your Base
Anna Dean
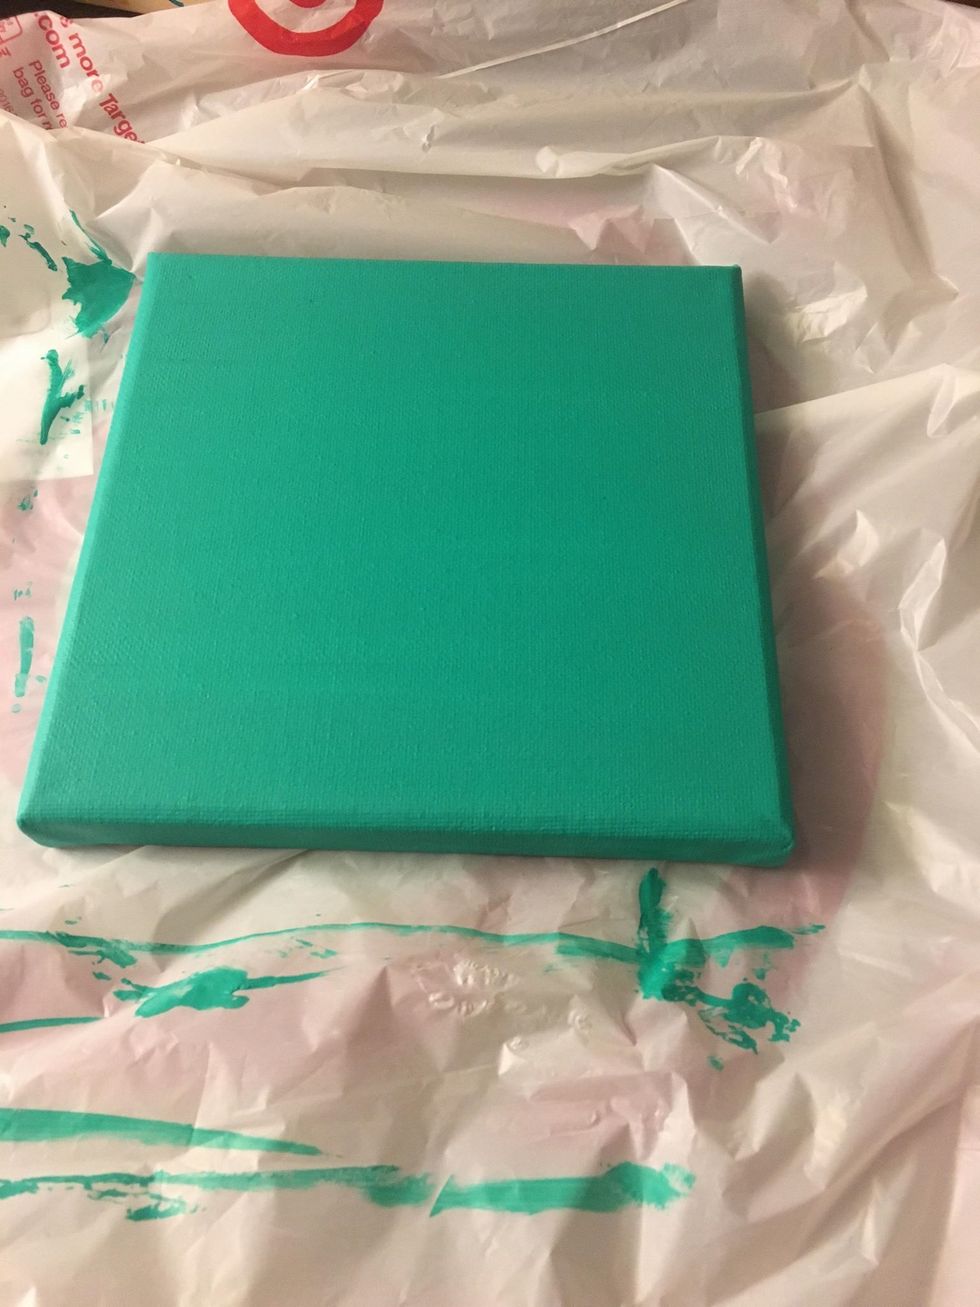
Again, I love the color aqua/teal/seafoam green/sea green/whatever else you can call it, so that's what I used. I used an acrylic paint, but I'm sure depending on your base other paints will work. Make sure you put something down like a newspaper or a plastic bag so you don't ruin your workspace.
4. Step 4: Plan out your design
Before you start sticking things on, let your base dry and plan out what you want to create. I had to rip a few stickers off because my spacing was off, so I'm warning you. Learn from my mistakes.
5. Step 5: Execute!
Anna Dean
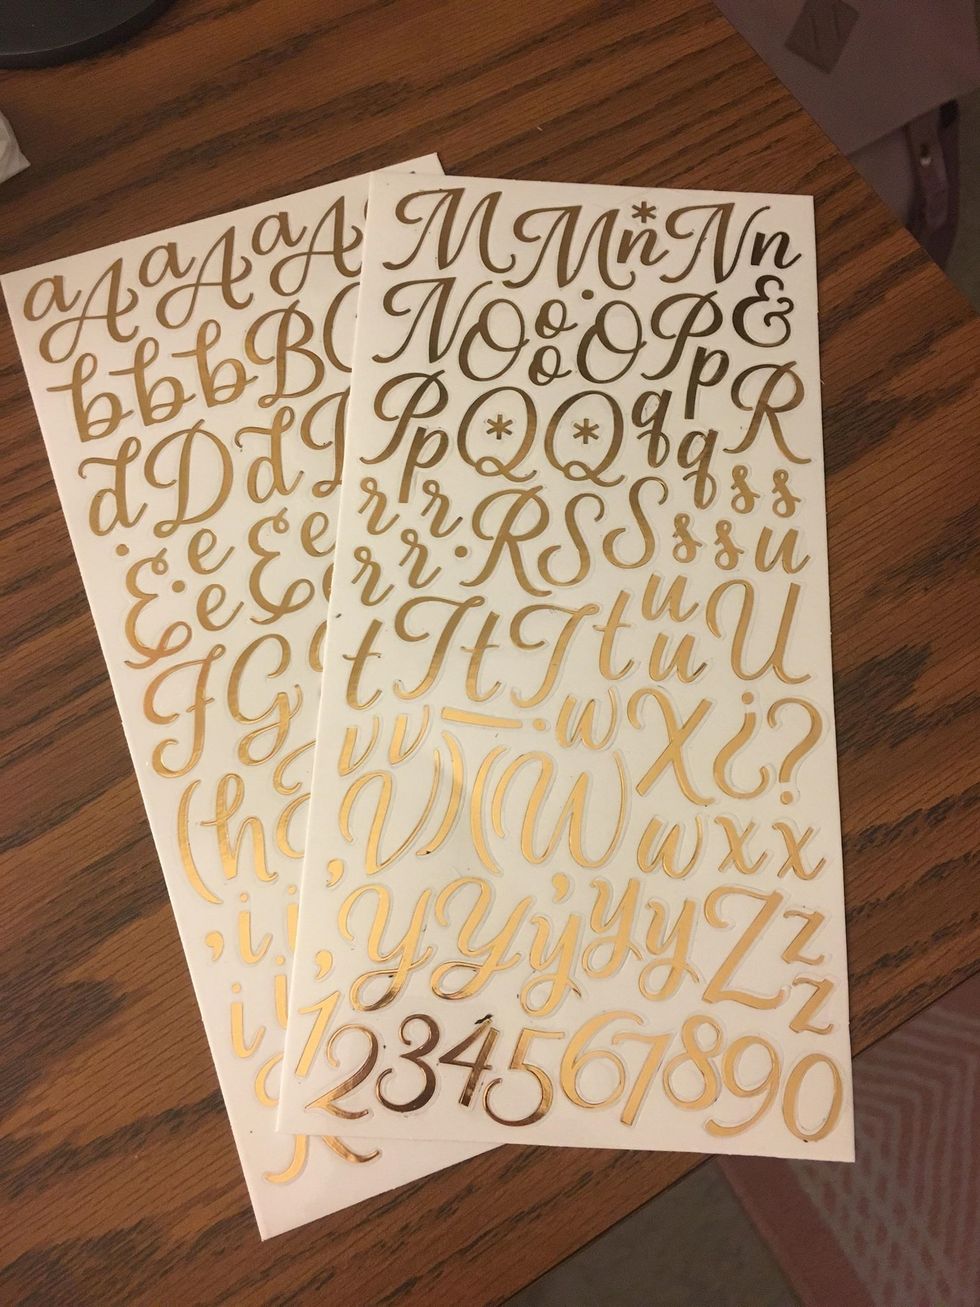
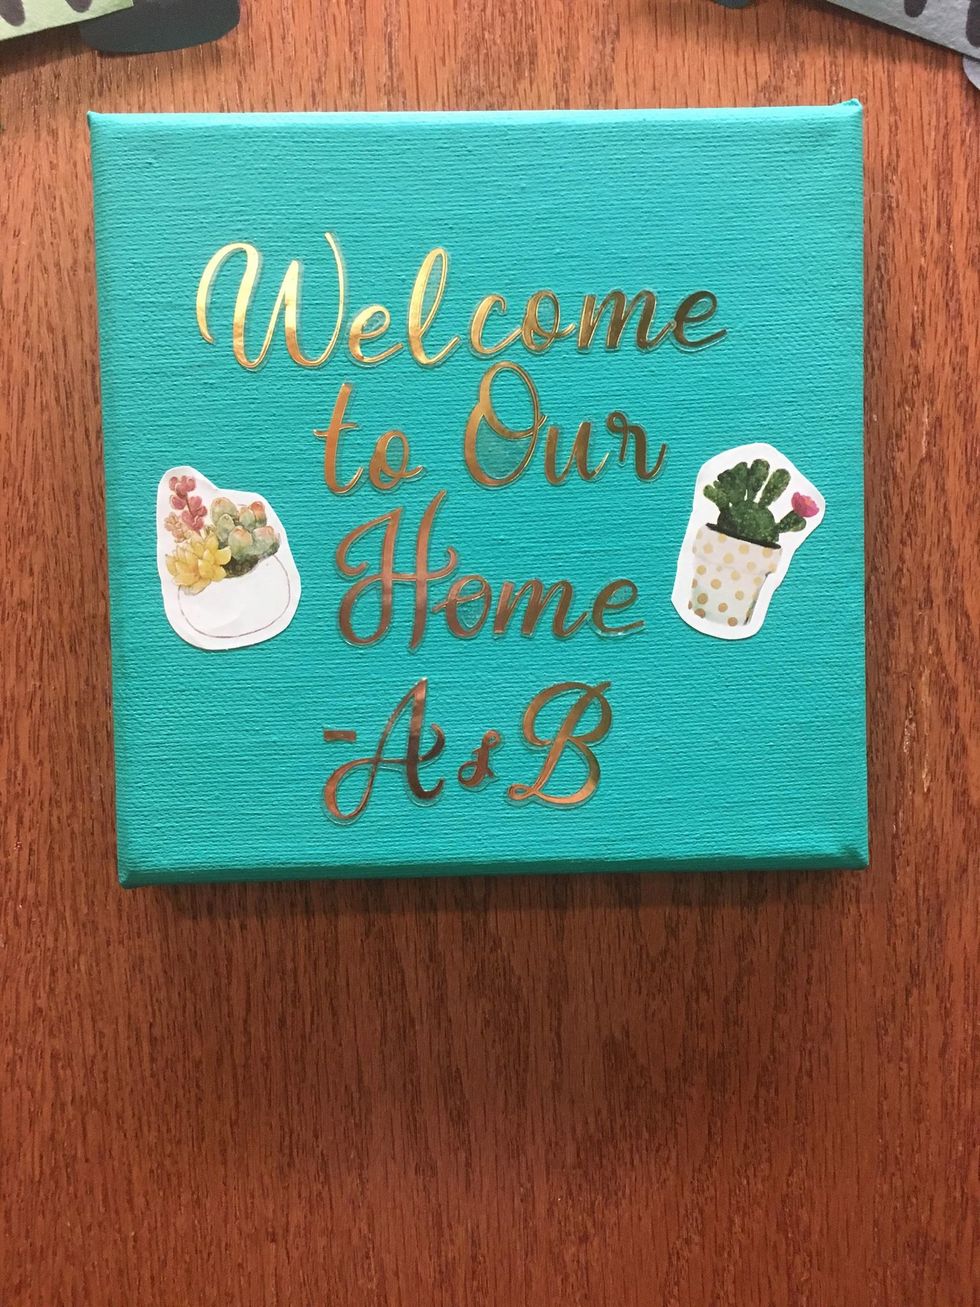
Go ham! Stick on your stickers, paint your design, do anything you want. Make it unique! I used gold sticker lettering, and some cactus stickers I bought a couple years ago from Etsy. Cover it in glitter for all that matters, it's your art work.
6. Step 6: Hang it Up
Anna Dean
If you do this for a dorm or apartment, make sure you use an approved way of hanging up your end result. I used command hooks because they are the real MVPs. All of my decorations are hanging on command hooks as I write this.
7. Step 7: Step Back & Admire your Work
Anna Dean
You did it!! I'm so proud of you. No matter how simple or elaborate you make it it'll turn out great.
8. Optional Step 8: Brag About it to Everyone
Anna Dean
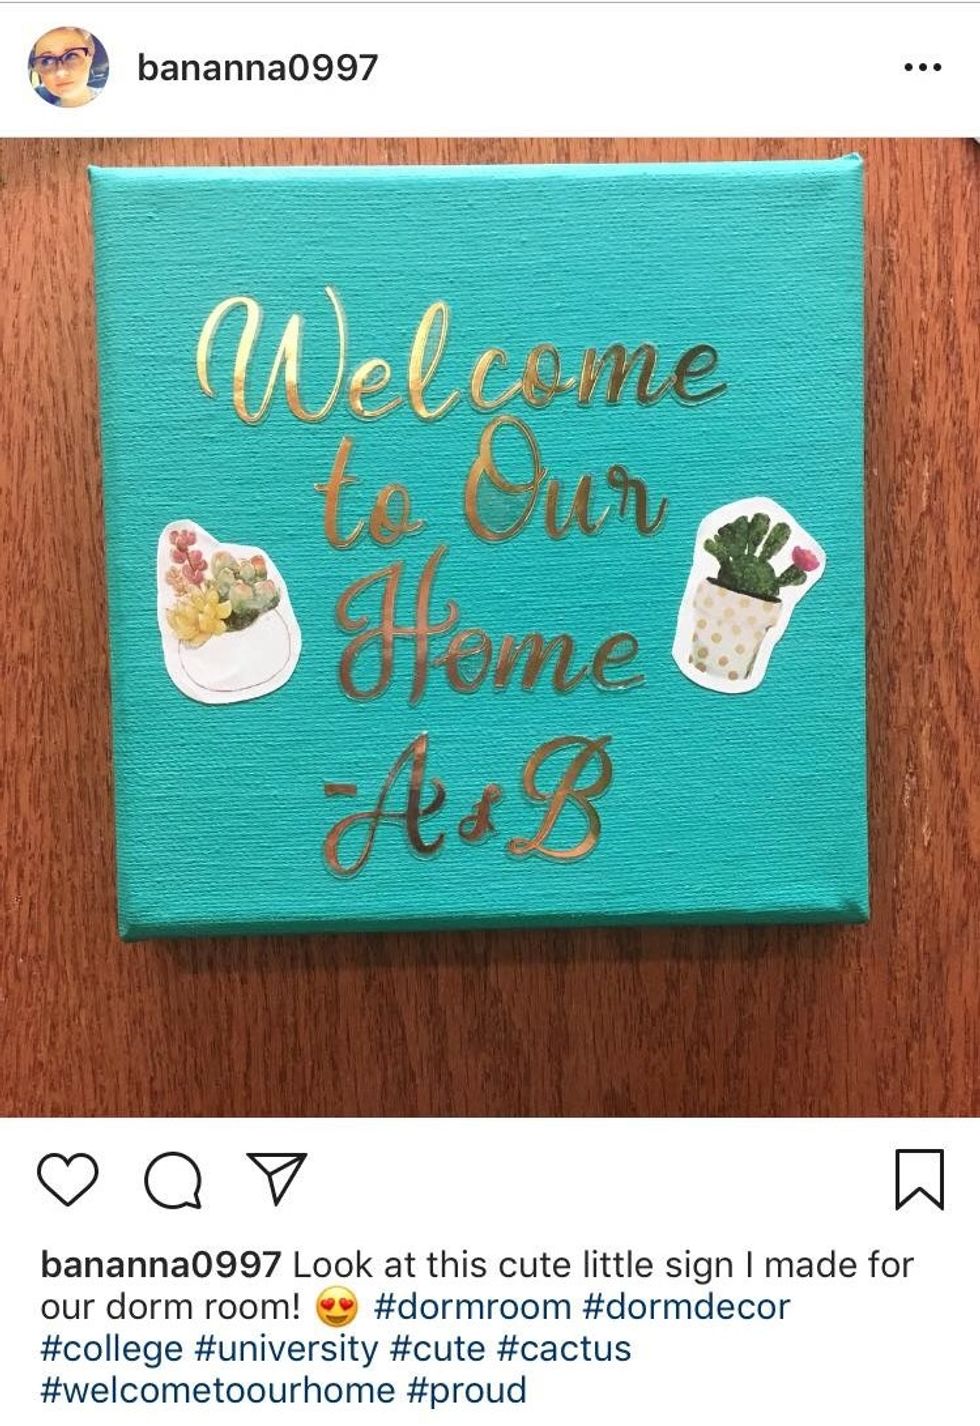
If you're extra proud of your work go show your friends or post it on social media! You have the right to brag, you made that! Show it off!

