Have you ever felt so bored in class or just in general that you want to fall asleep, but you can't because you don't want to look like silly? Do you feel like you can't draw at all? Well, don't fret because I have the solution to your problems: Drawing a basic portrait or head.
At first, I thought drawing a portrait or a head was difficult, even for an art major. During the years of high school, I would draw them really awkward and get frustrated at trying to make them perfect. It made me hate drawing in general. Now, in college, I took a basic introduction to drawing class to refresh my skills (and because it's a requirement for my BFA major), and the professor did a quick guide on drawing portraits.
I was amazed on how simple and quick it is. It is a universal technique, but I was never formally introduced to it. With this easy technique, I drew heads all over my notebooks and sketchbooks randomly. It has become a habit of mine, and it is also good to keep practicing. This technique branched onto other drawings, and I am able to draw quickly and almost accurately thanks to the guides. I now believe that I was not able to draw/paint well during high school despite being an art major because I was not taught the proper guidelines. Some artists are natural; others have to learn. To me, I was a somewhat natural artist, but I wanted to learn in order to build up.
Now, you may not be able to get it the first time, or second, or even the 16th time, but as long as you keep on trying and own up to it, you will at least be proud. I mean, I am not great at it still, but I'm proud that I can at least draw something people can recognize. Maybe after a couple of tries, you can make portraits in three minutes. Maybe, your notebook will be filled with faces. With that being said, here is a step-by-step on how to draw a male portrait when you are bored.
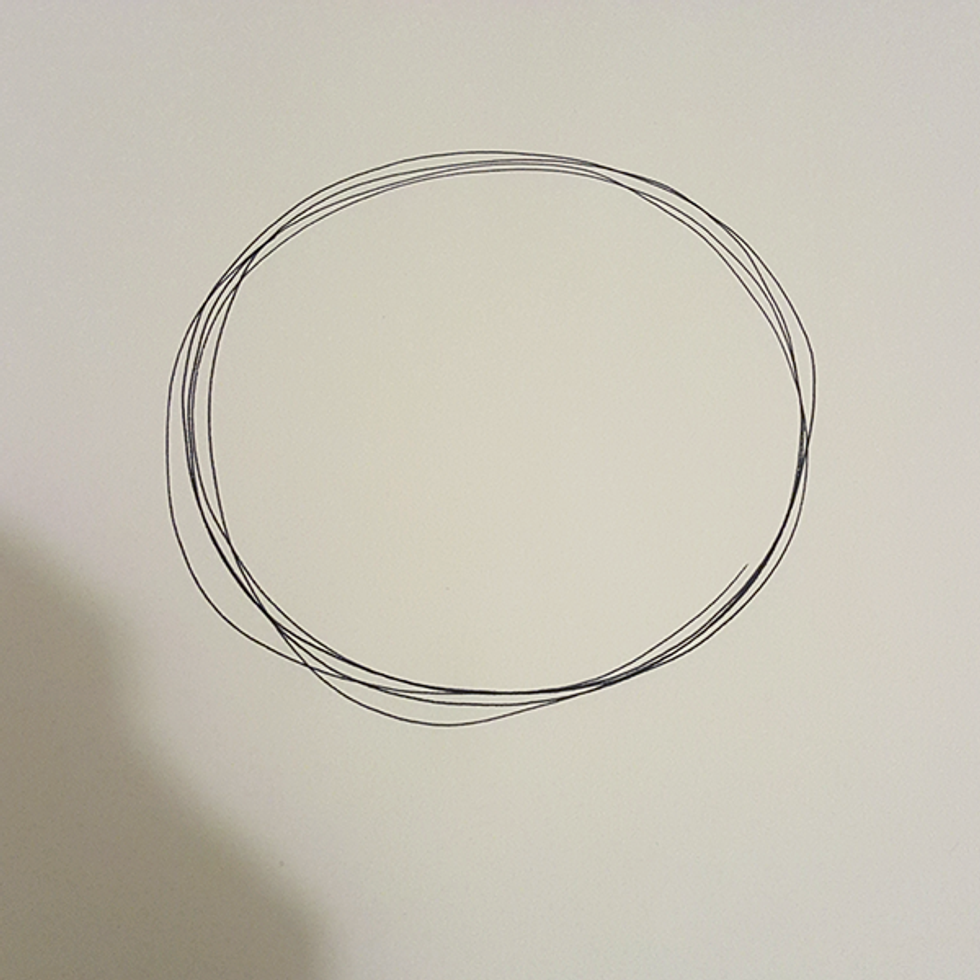
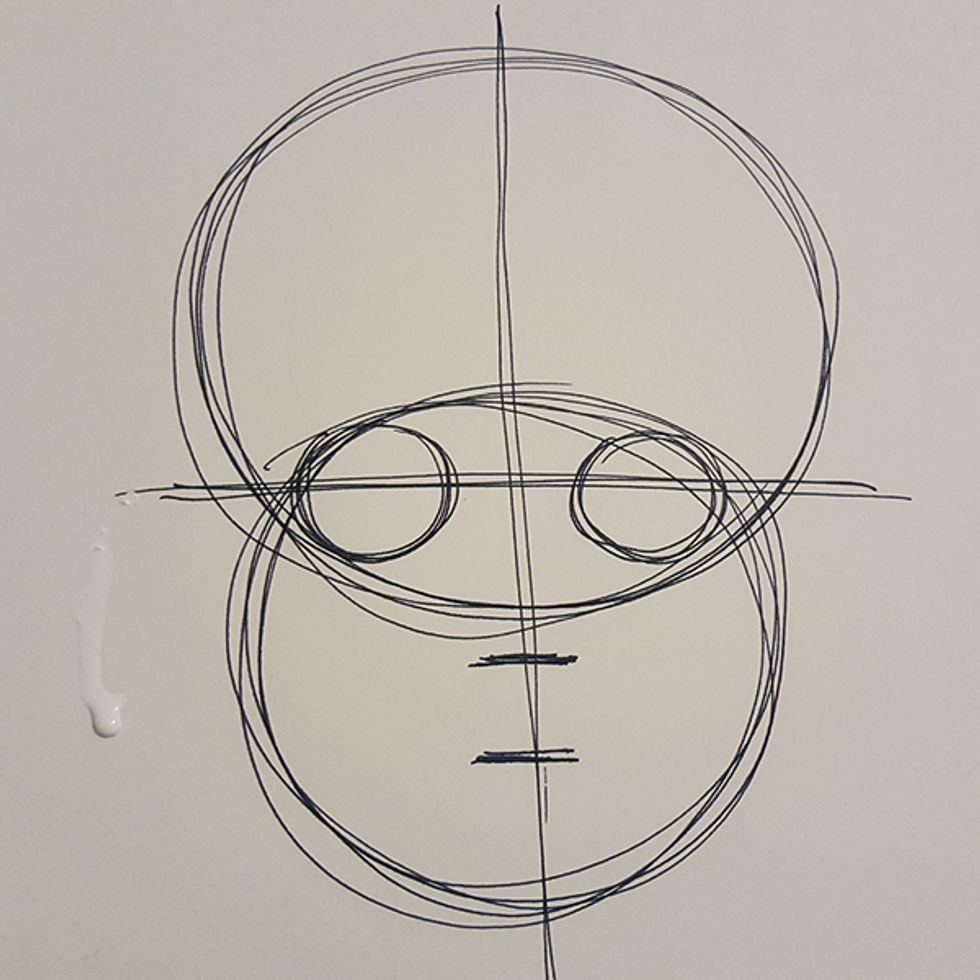
1. Make a circle.
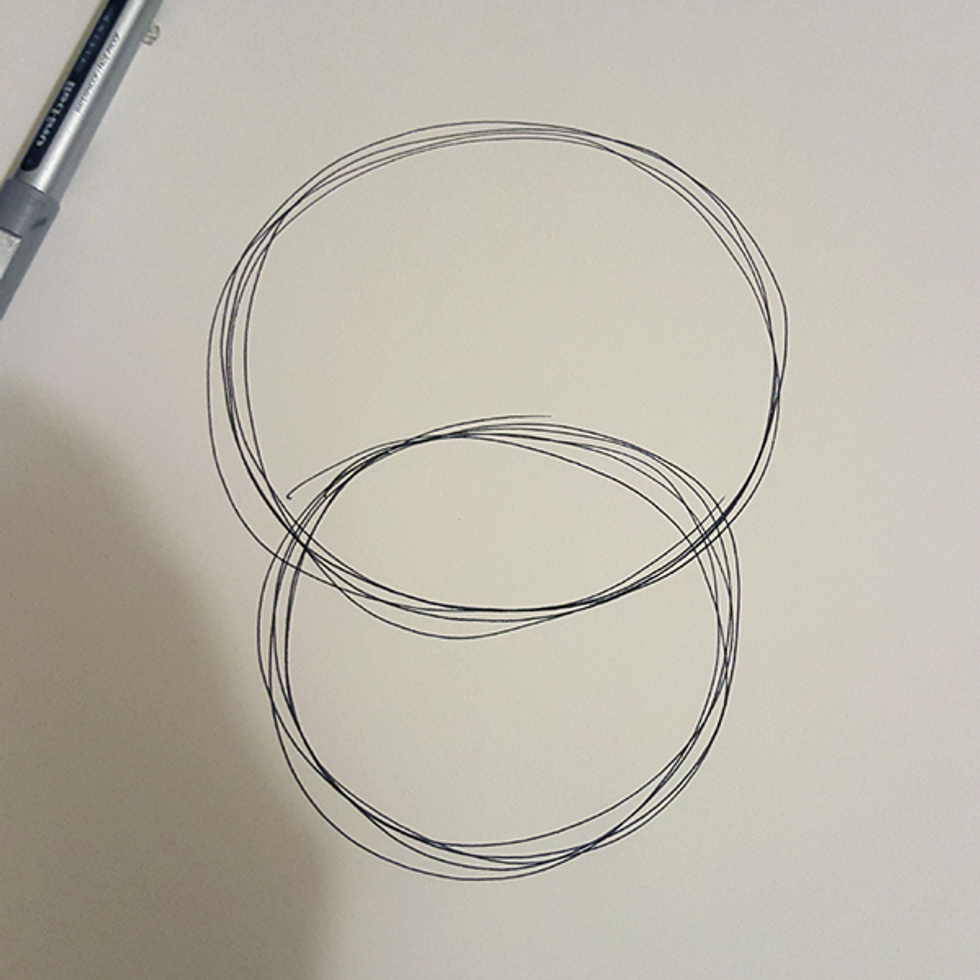
2. Draw a smaller circle overlapping the big circle halfway.
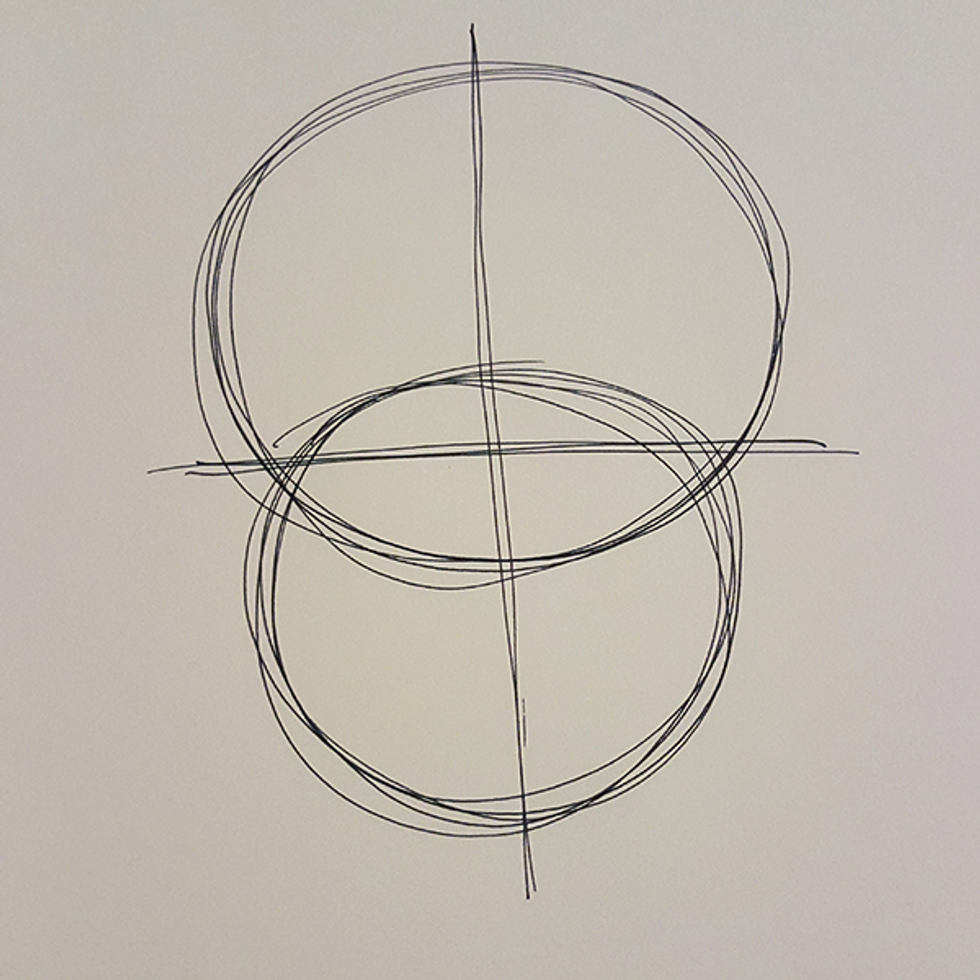
3. Draw a line in the middle on both sides.
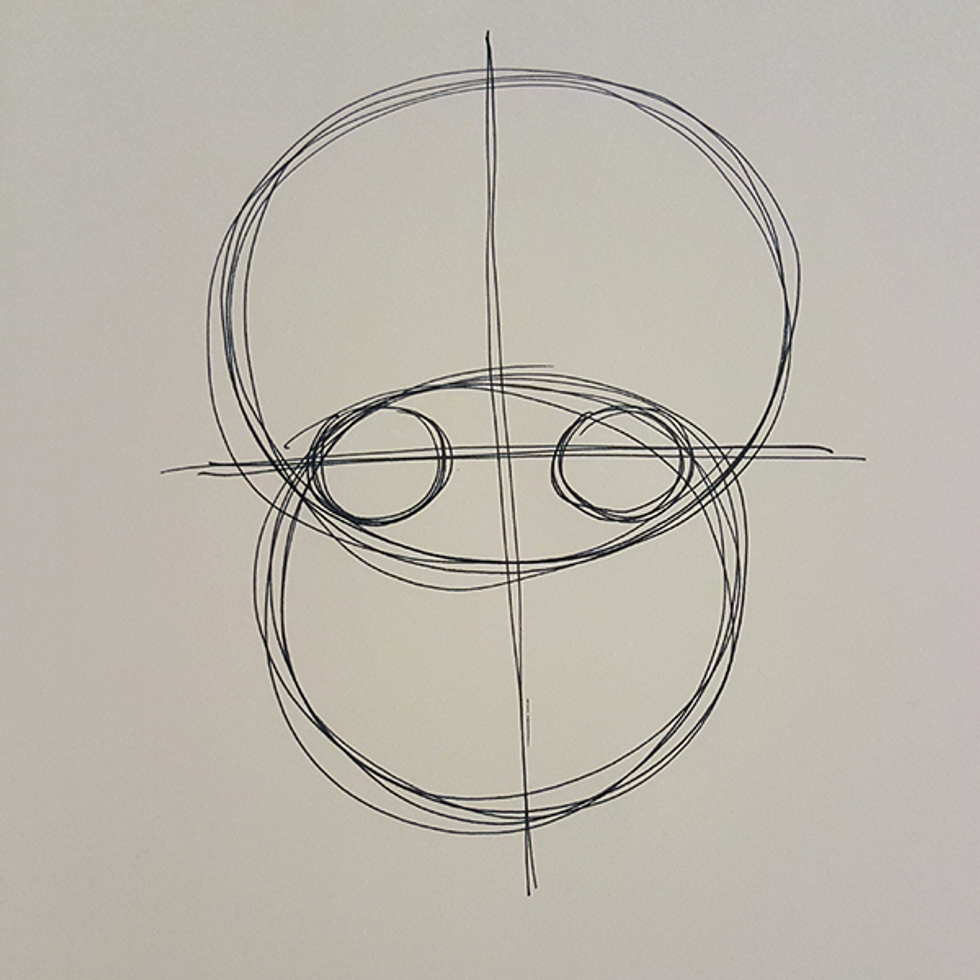
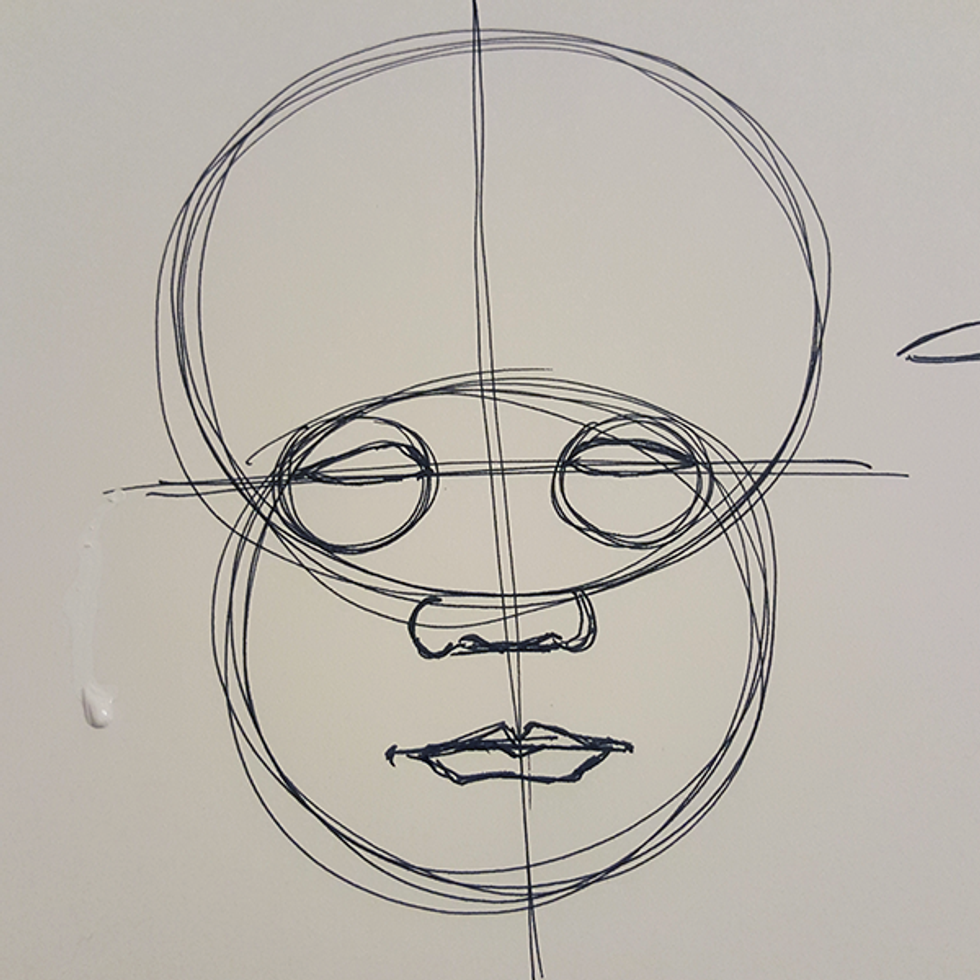
4. Draw two somewhat large circles in the middle of the horizontal line.
These are the area of the eyes.
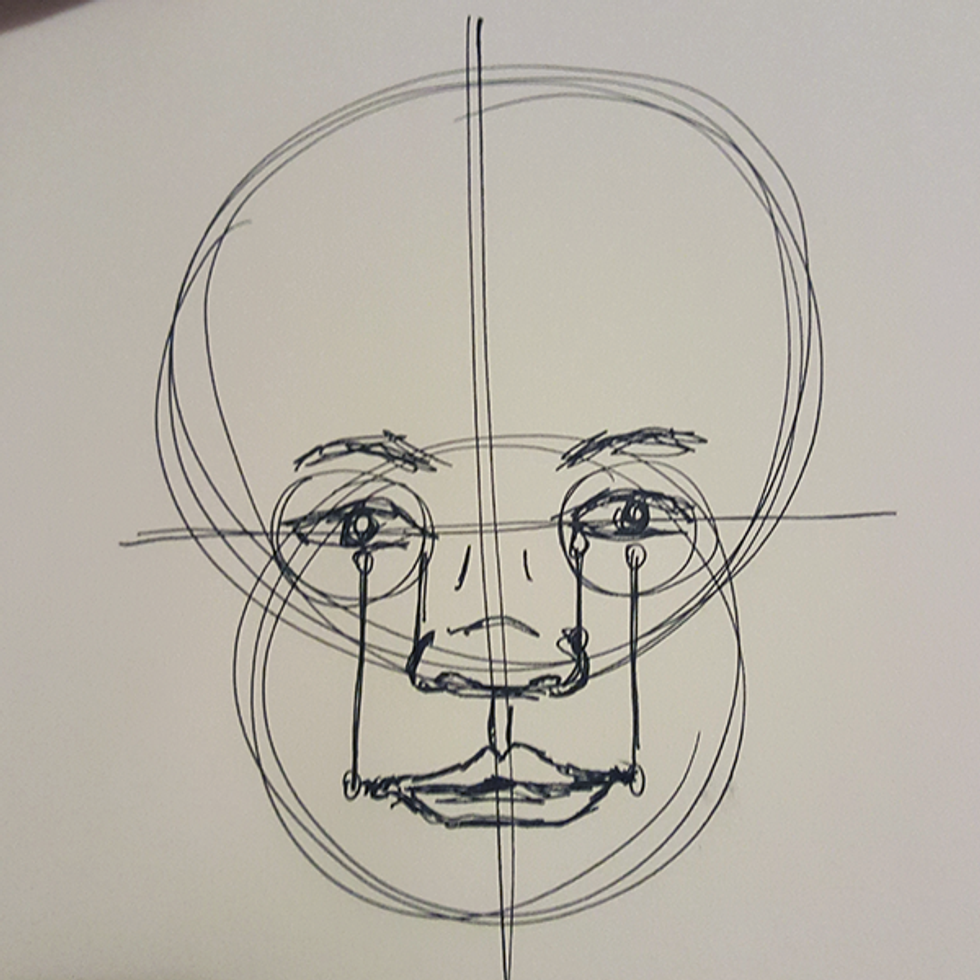
5. Halfway from the horizontal line, draw a short line (nose). Do something similar (lips) slightly halfway from the short line.
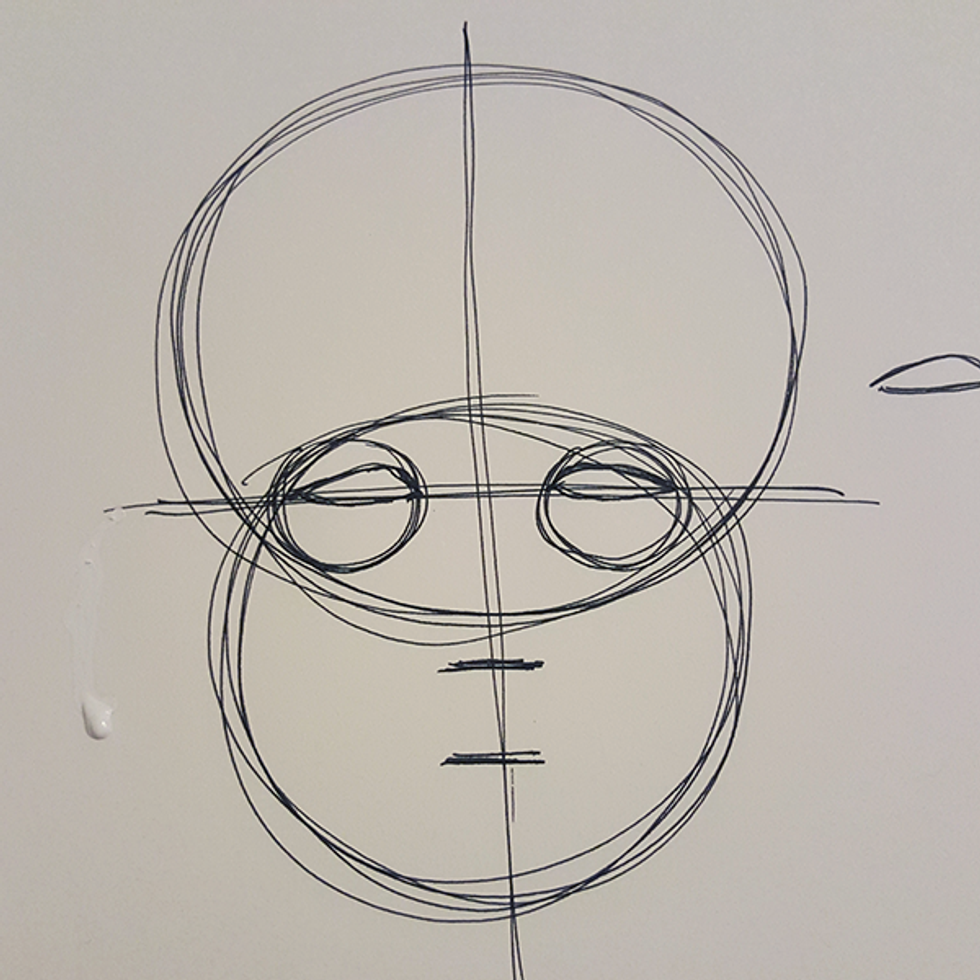
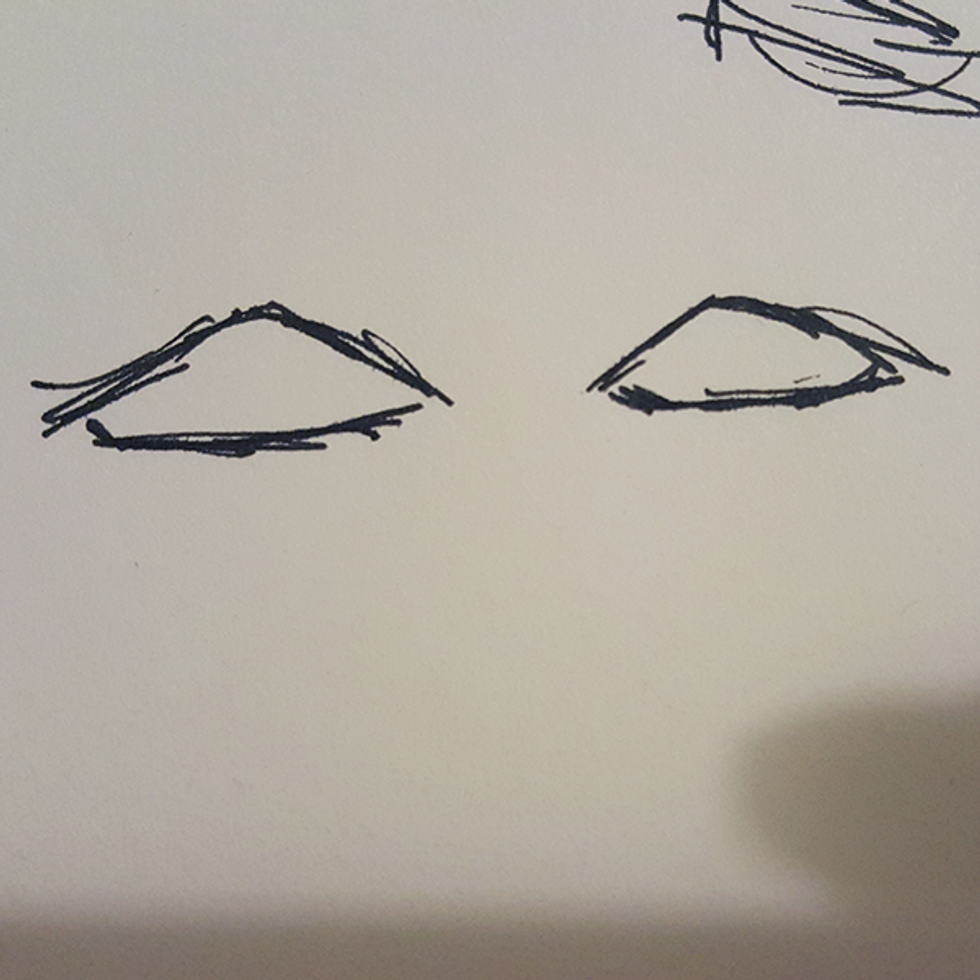
6. Draw the shape of the eyes slightly within the two circles.
The eyes should be almost like a skinny oval egg shape.
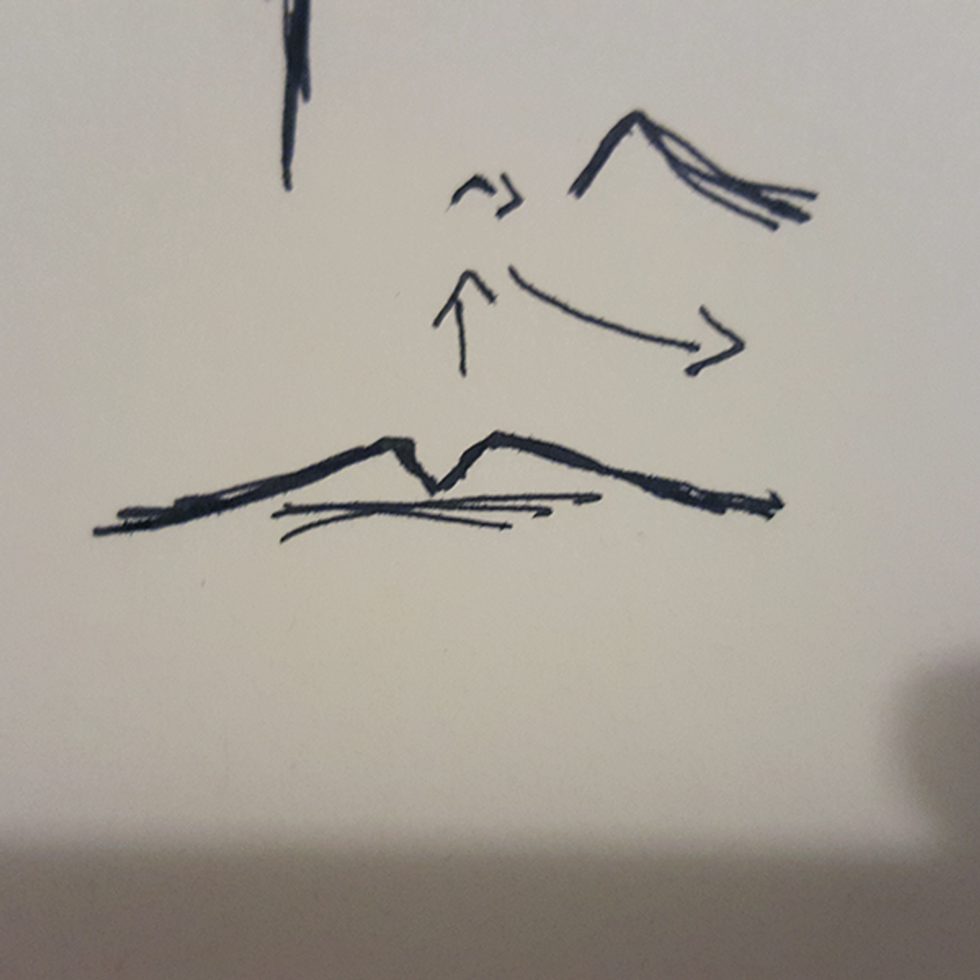
7. Draw the shape of the nose on the short line (nose).
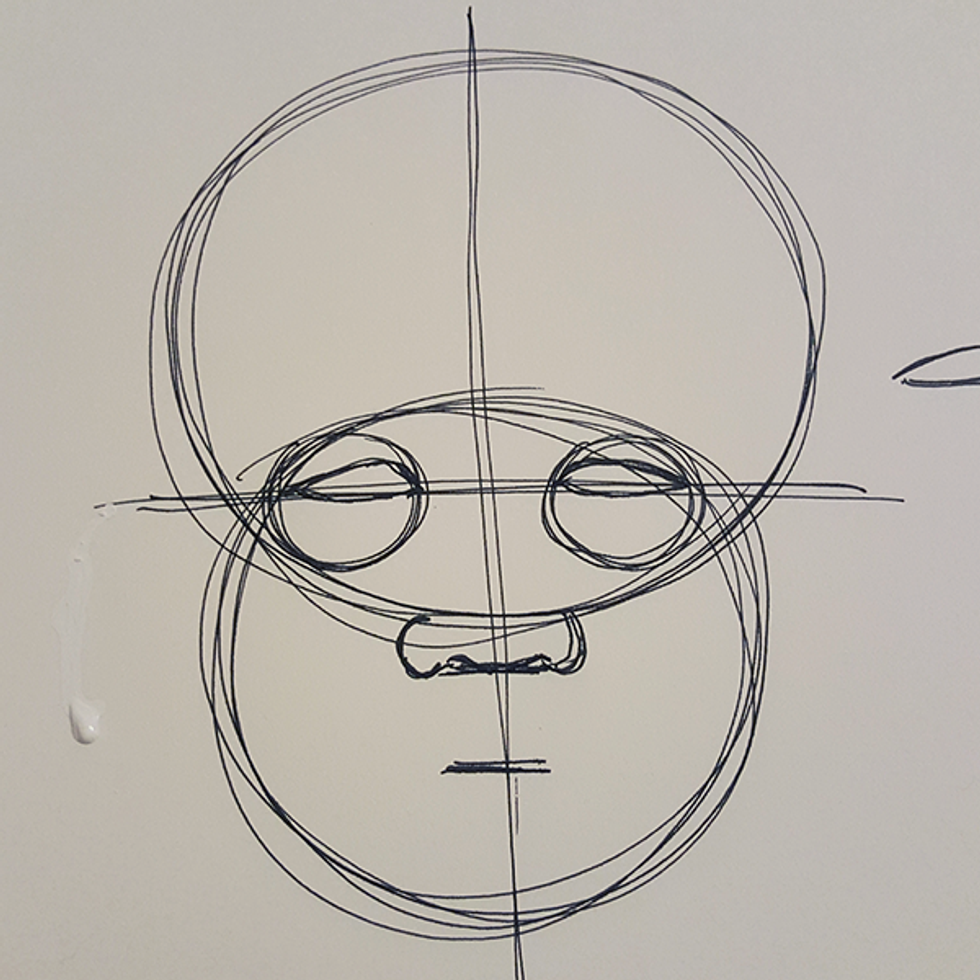
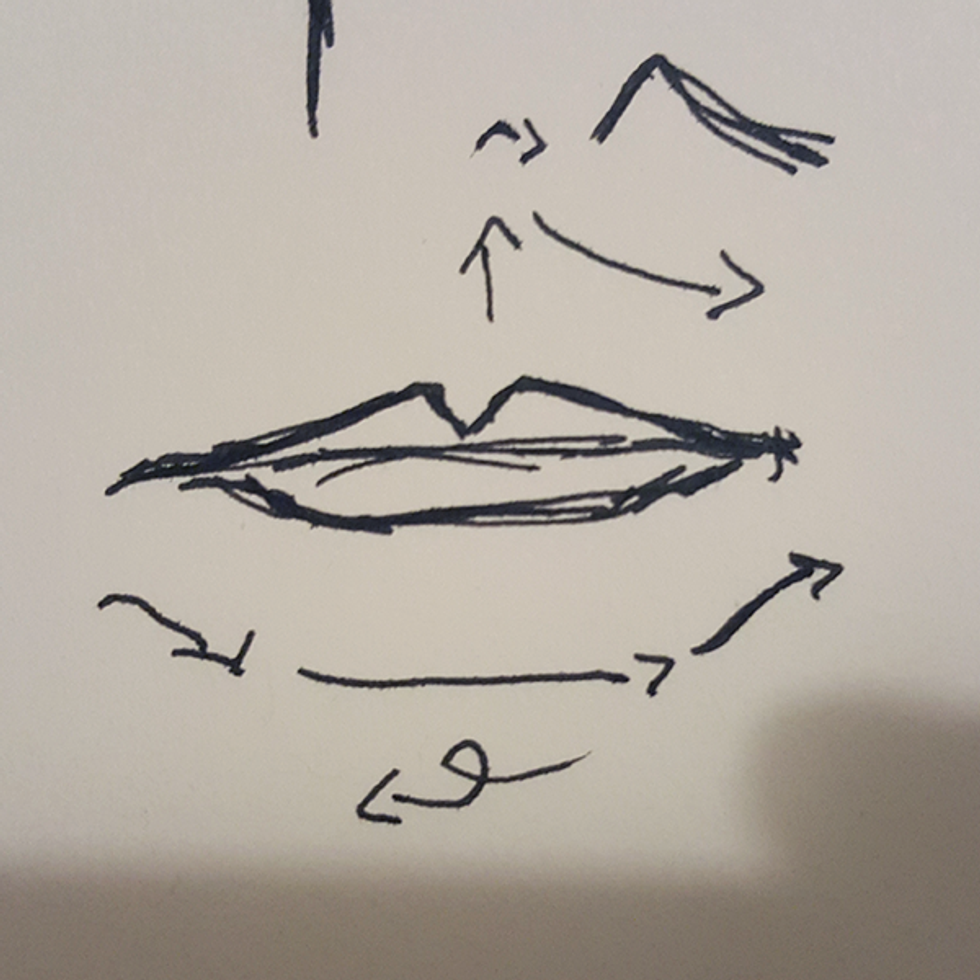
8. Draw the shape of the lips on the short line (lips).
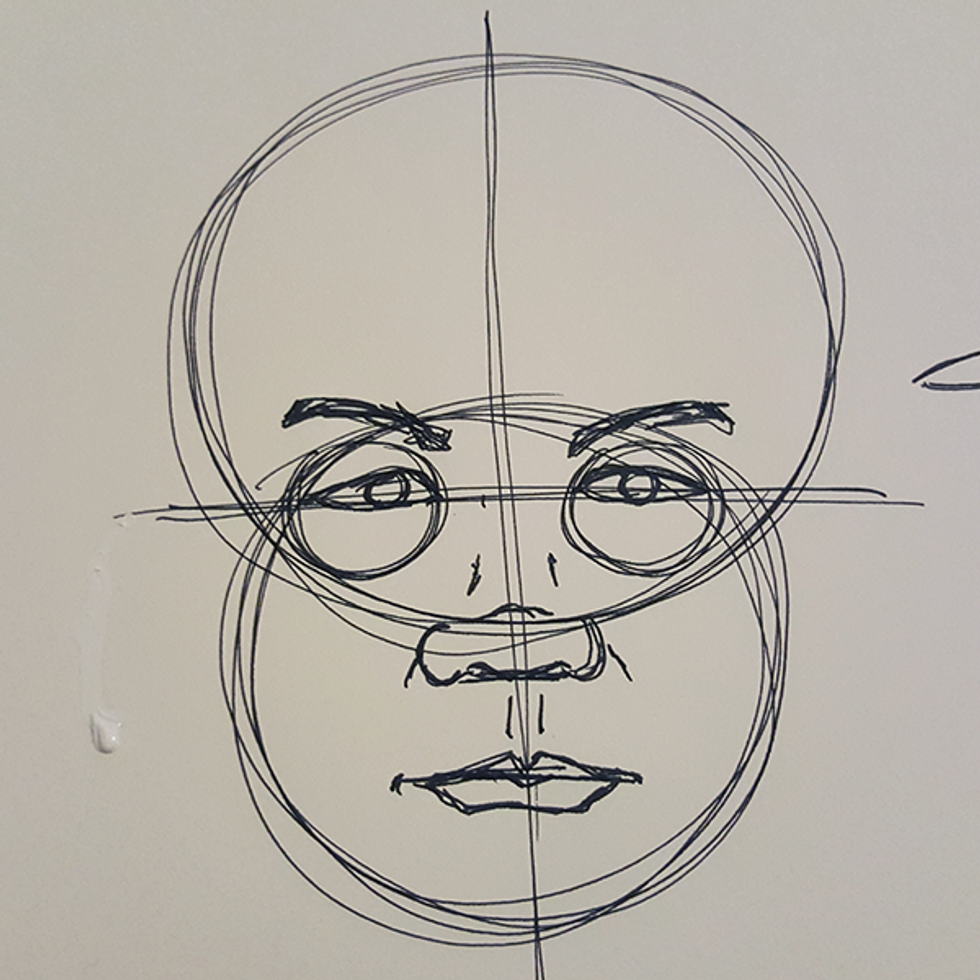
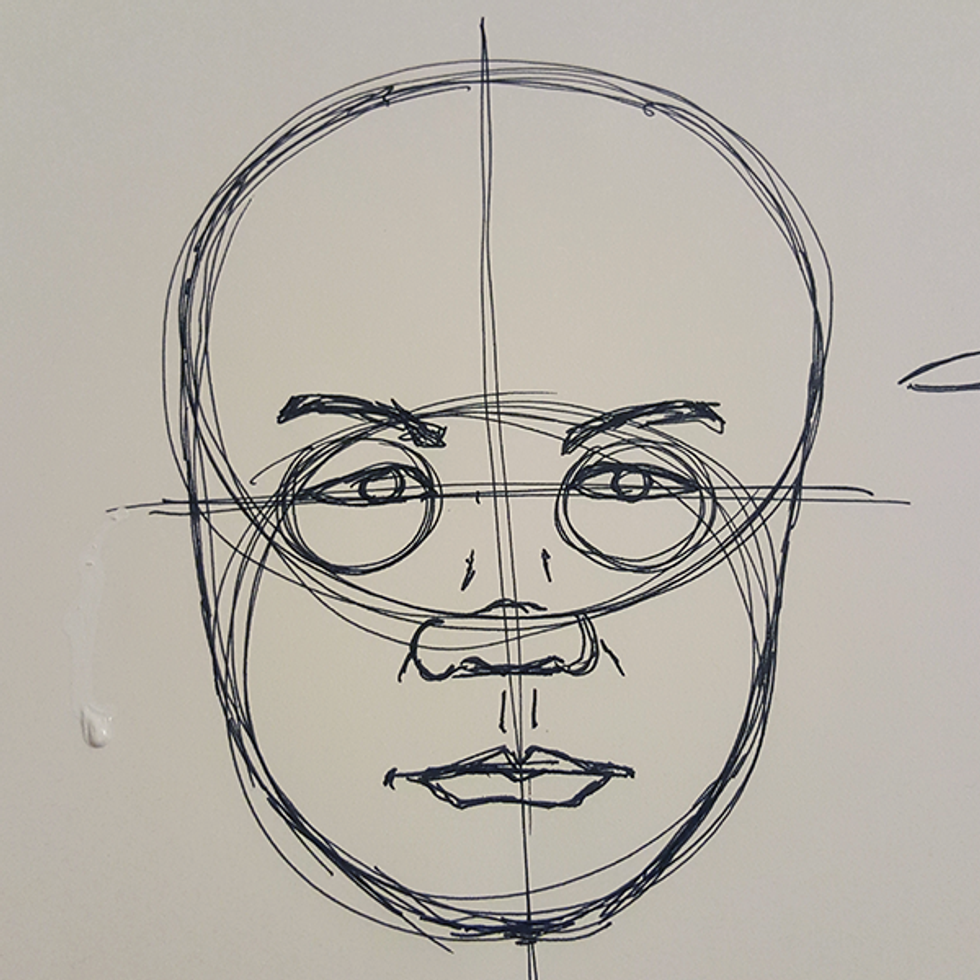
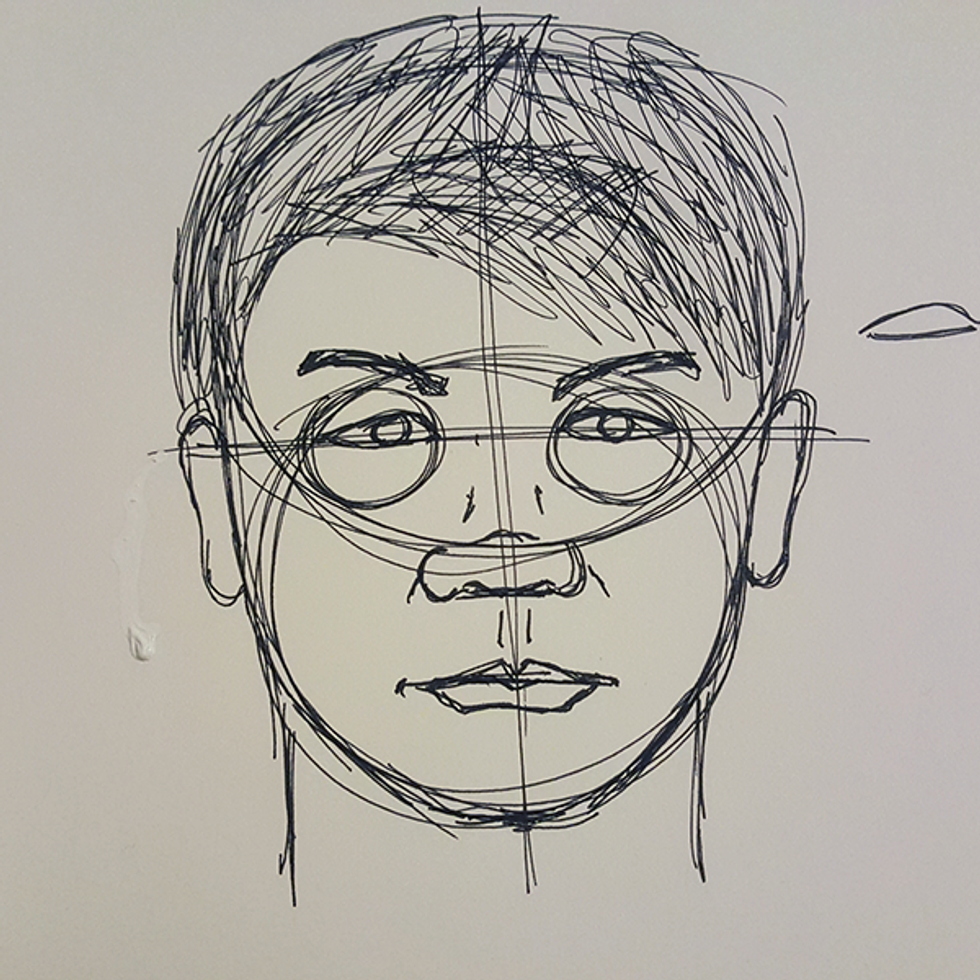
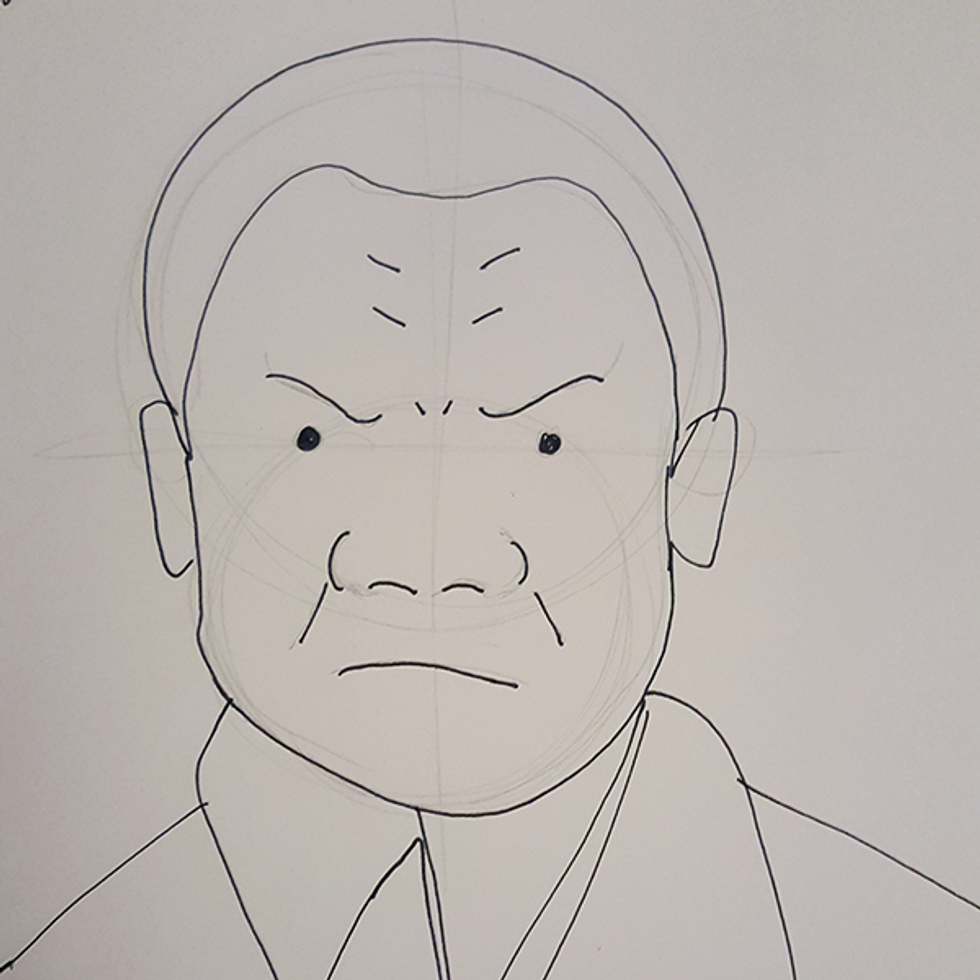
9. Draw the details of the eyes and eyebrows (refine other things if you like).
Make sure the pupils line with the ends of the mouth, and the inner ends of the eyes line with shape of the nose.
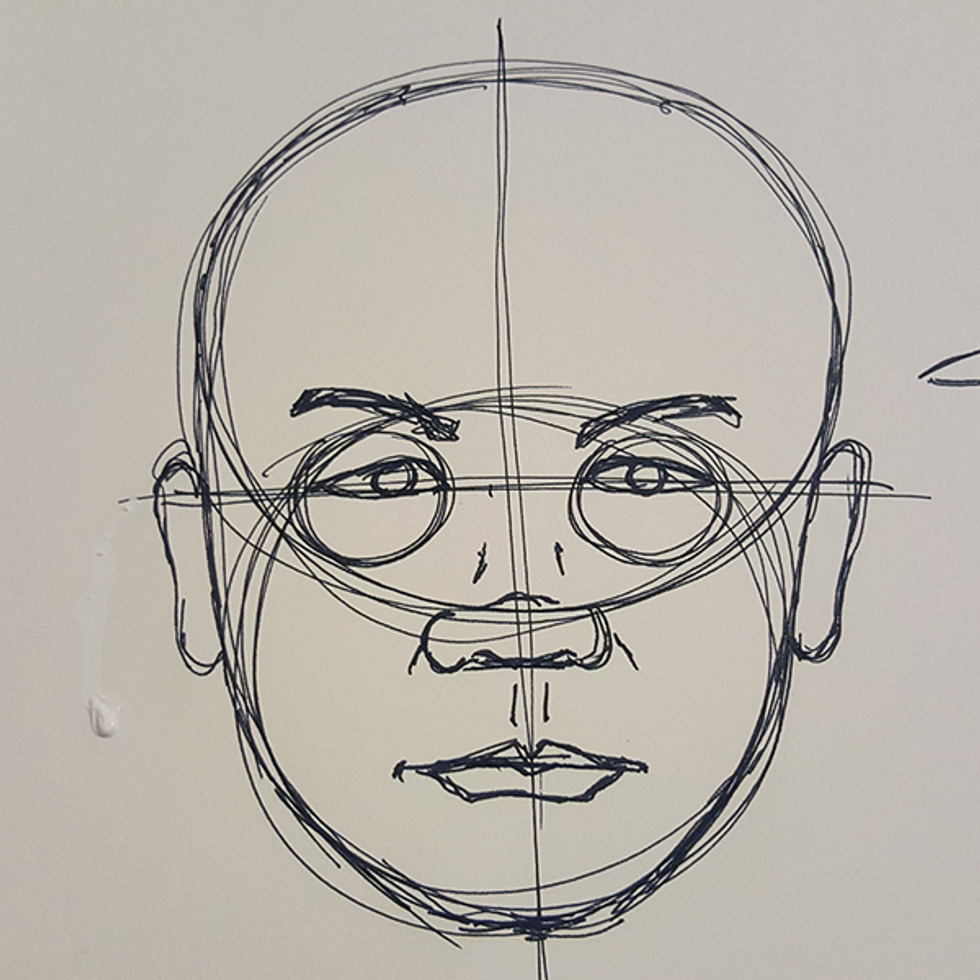
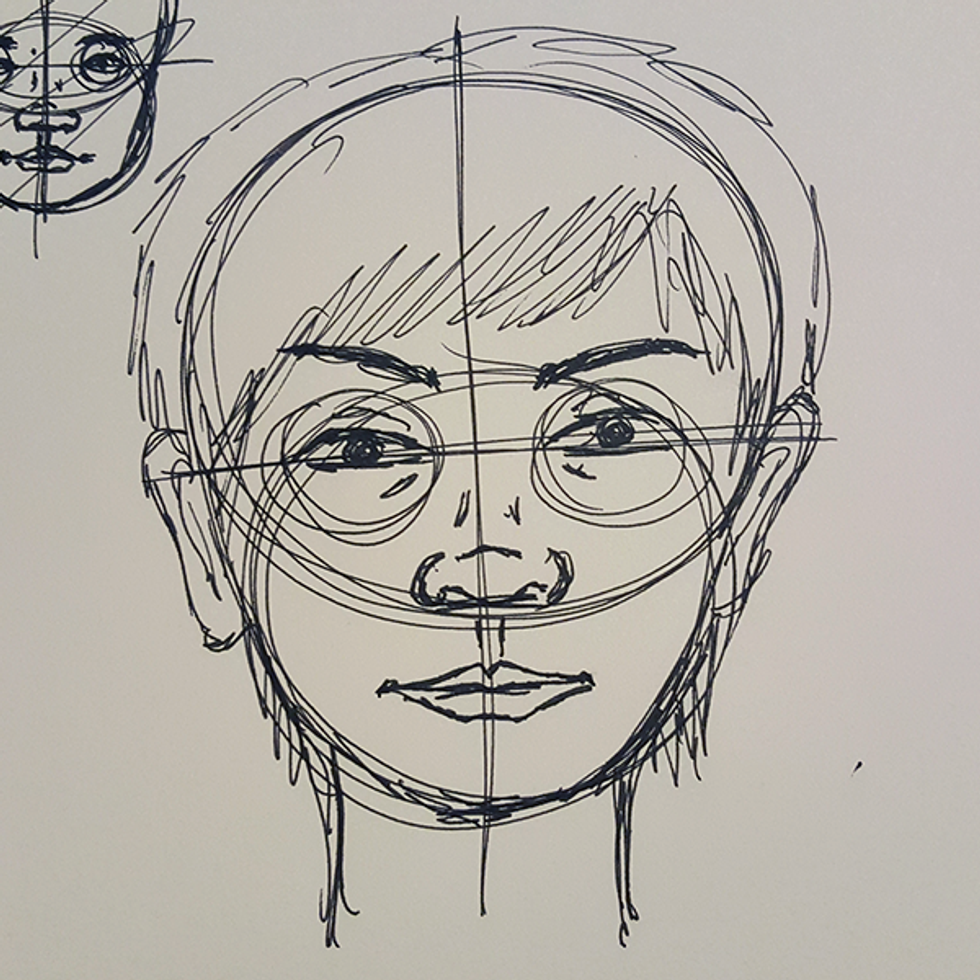
10. Outline the shape of the head.
Follow the circle for the forehead. Then as you slowly get to the cheek, make a curve towards the chin (both sides).
11. Draw the ears.
The ears should be located generally around the eye level and extend it to the location of the bottom of the nose (or slightly after). I drew them small here, oops.
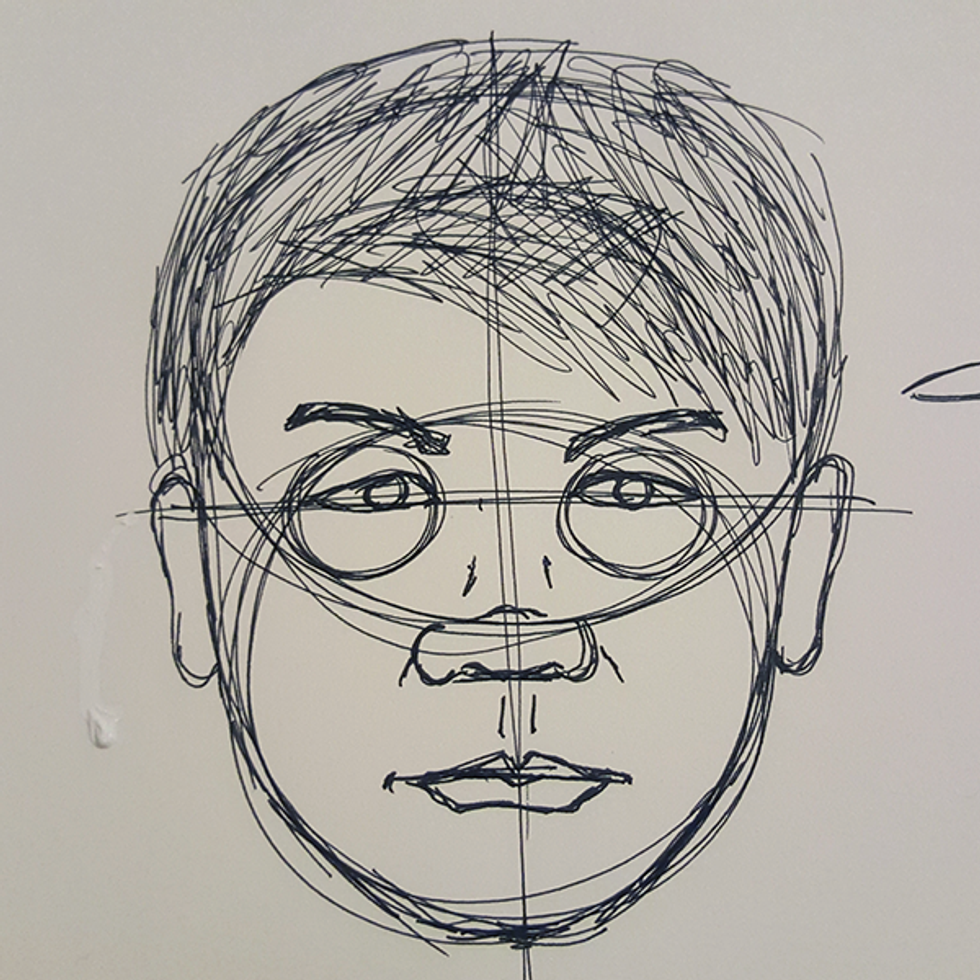
12. Draw the hair.
That's why the eyes had to be in the middle. Nearly half of the head is taken up by the hair.
13. Draw the neck.
They are slightly connected to the earlobes in real life, but when looking from the front, you don't see it connected. Therefore, draw it a bit away from the ears and slightly towards the middle.
a. Female neck (and head shape).
The female neck is thinner than a male neck while the face curves in a bit more. However, it is up to you to represent the genders however you like. That's the beauty of drawing. It does not discriminate. I drew her this way just as an example.
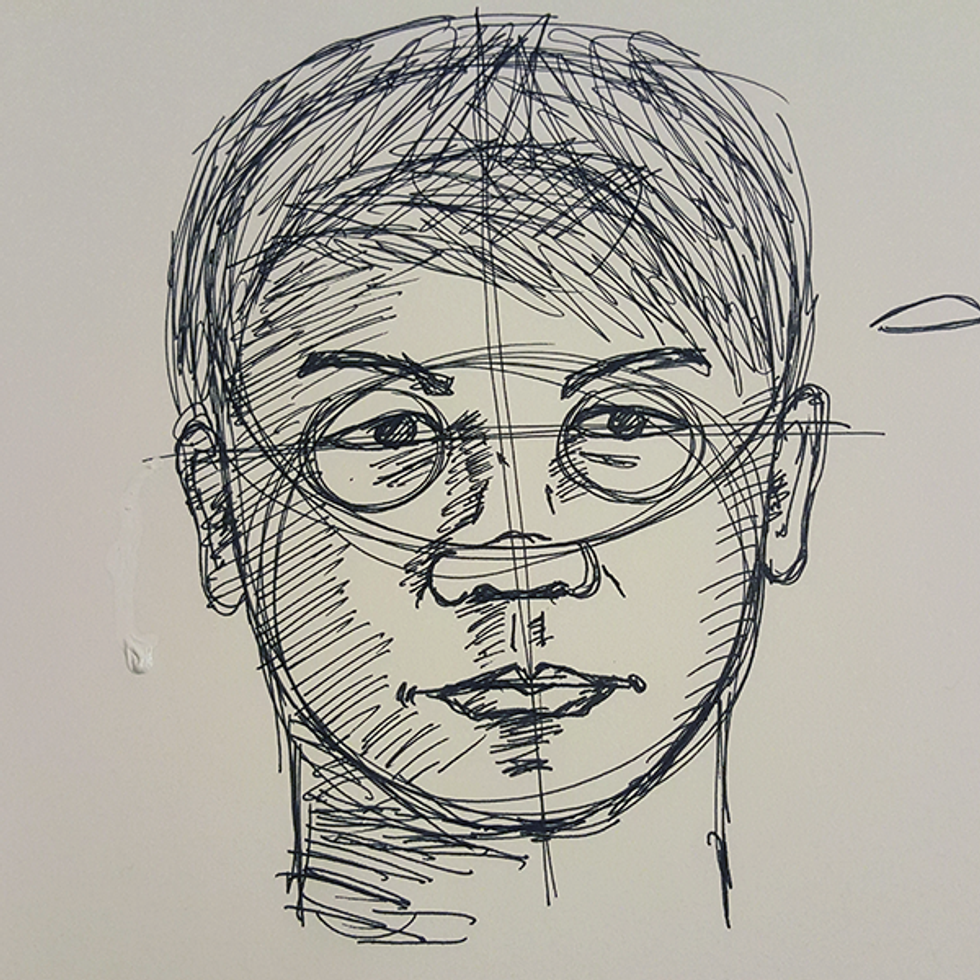
14. Shade them if you like, for depth.
It's better shaded in order to make it pop. Here I used cross-hatching.
Seems long, right? Don't worry too much about it. They're steps that take little time. Like I said, you might not be able to master it around the first try, but as long as you're doing it, you can build your skills. These simple guides can be applied to other objects. Drawing based on guides can help you find your direction a bit easier.
Now that you learn and practice these guides, you can pretty much whip out your pen or pencil in class, and draw a portrait all over your notebook. I do this when lectures do not interest me; however, at the same time, I am able to stay a bit awake because I am focused. It may not be the same for others, but I'm giving you an option.
Drawing is a great skill to have in general. It makes you productive and influences you to have a keen eye for design and such. However, it's not about being the best drawer. It's about what you can do with your drawing skills to help and influence others.
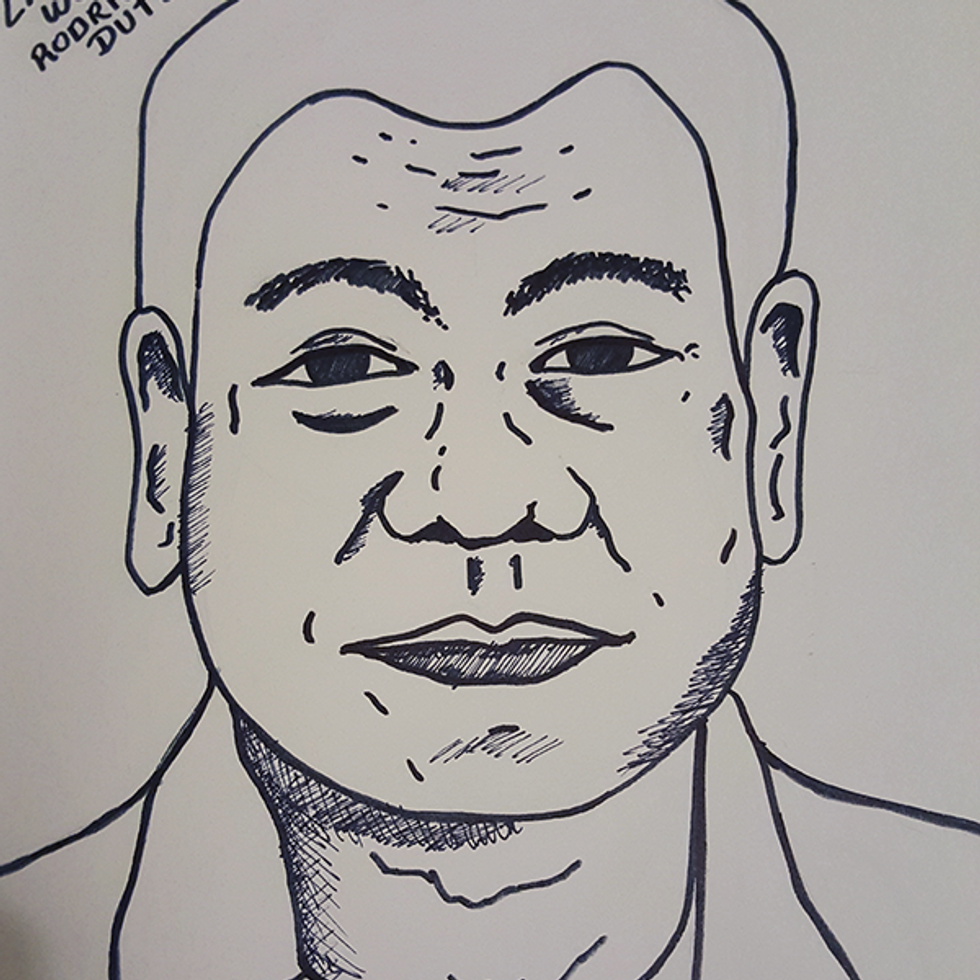
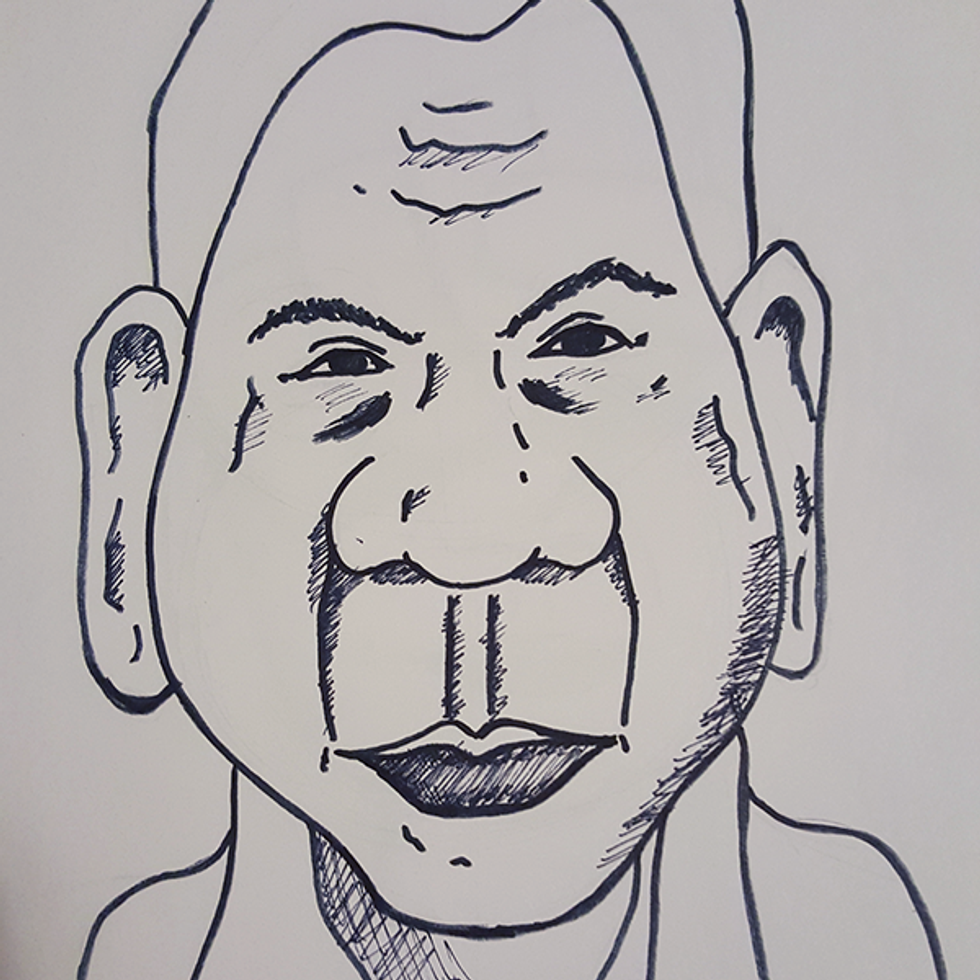
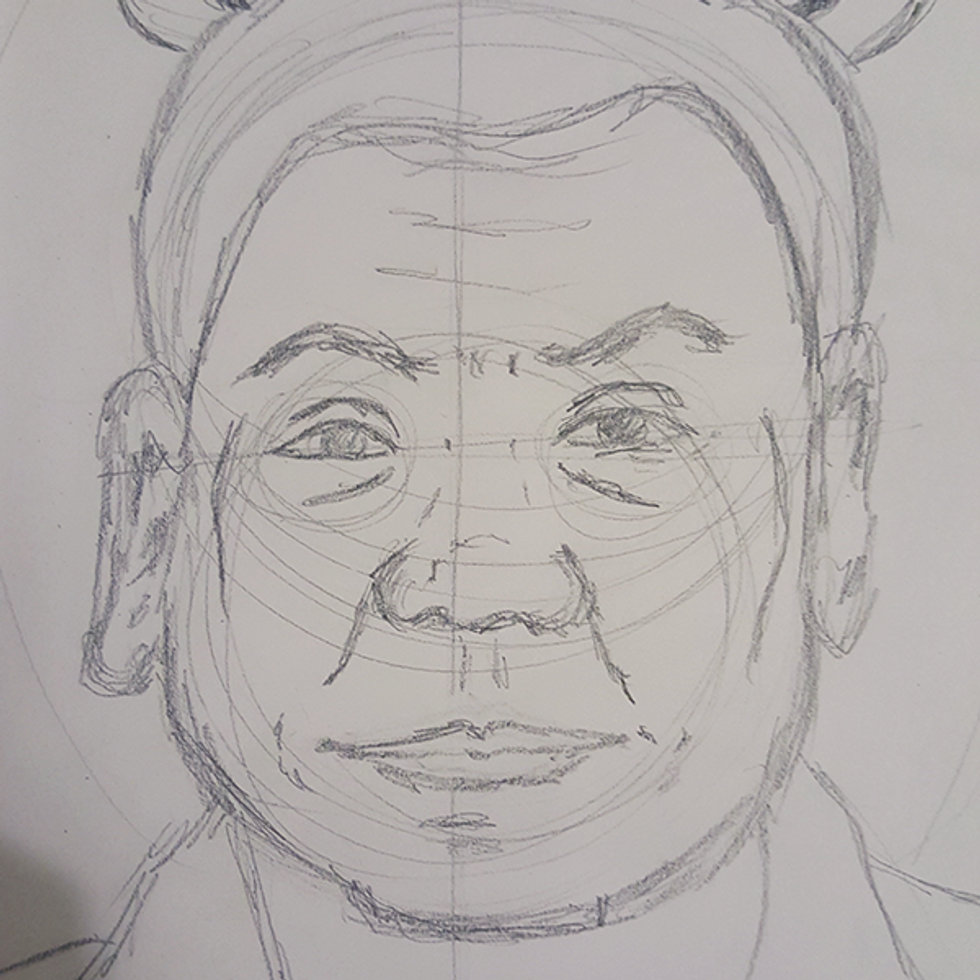
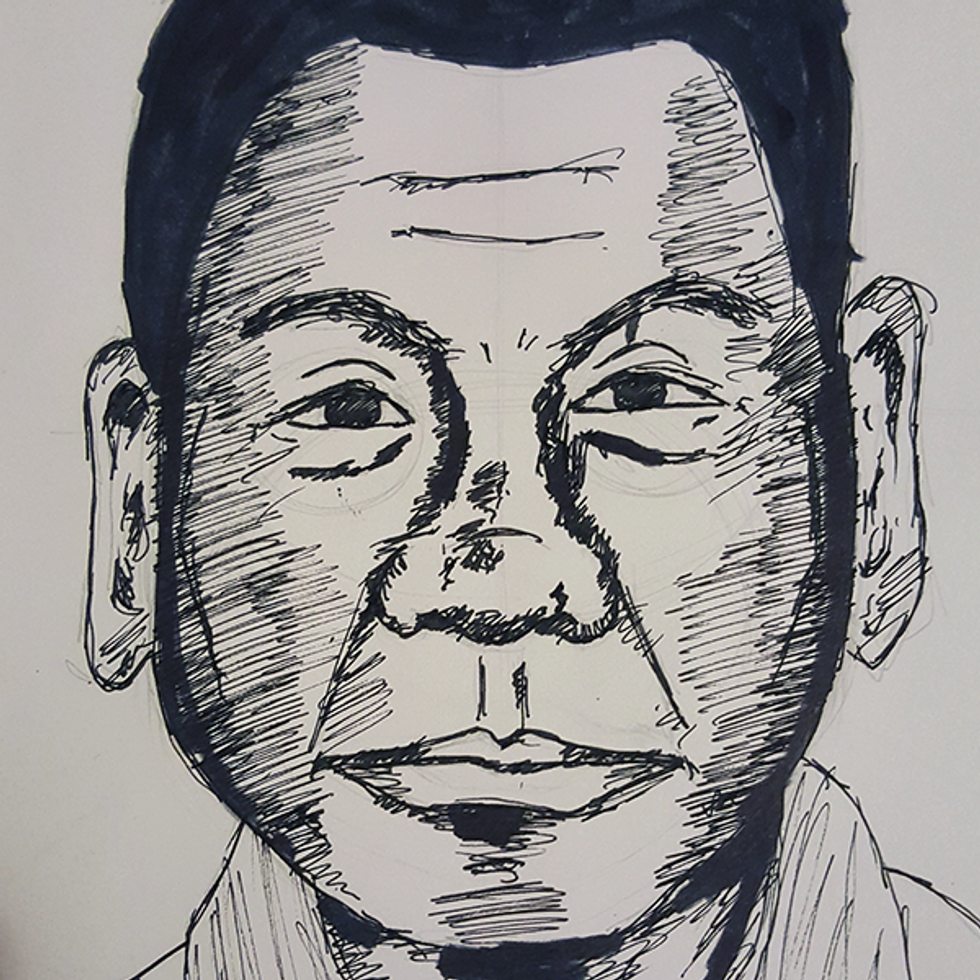
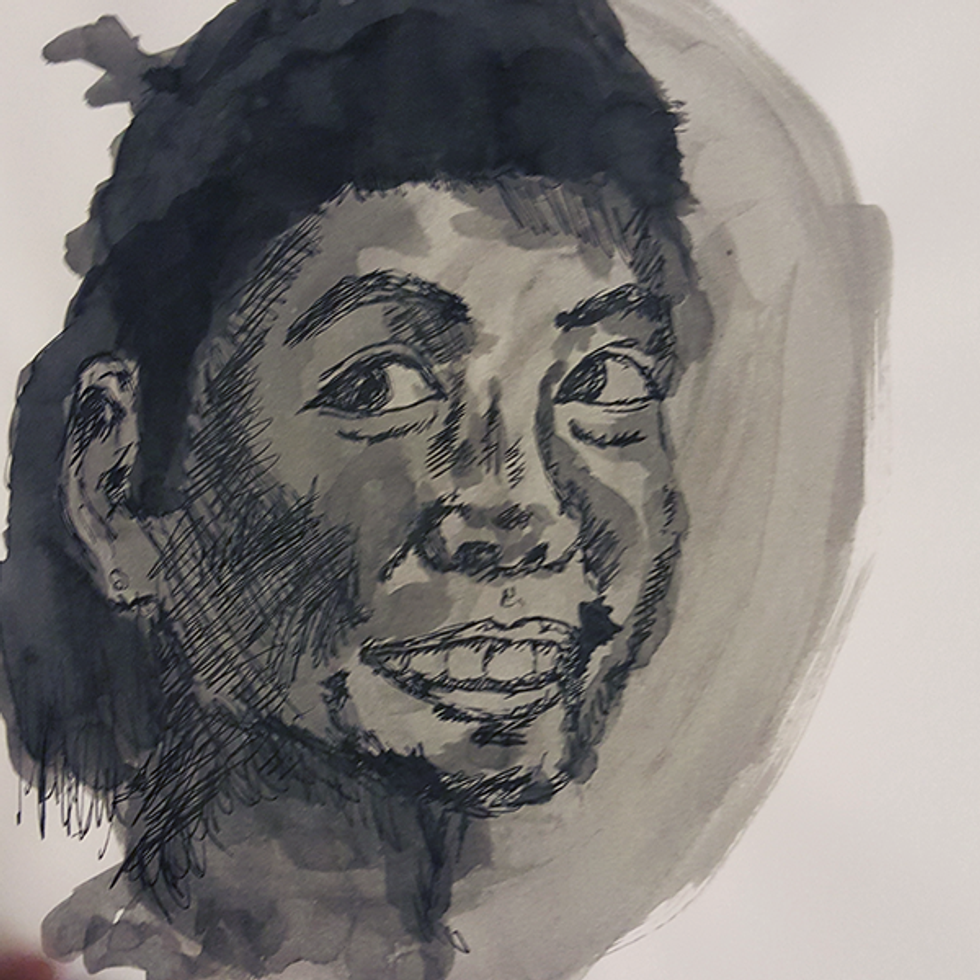
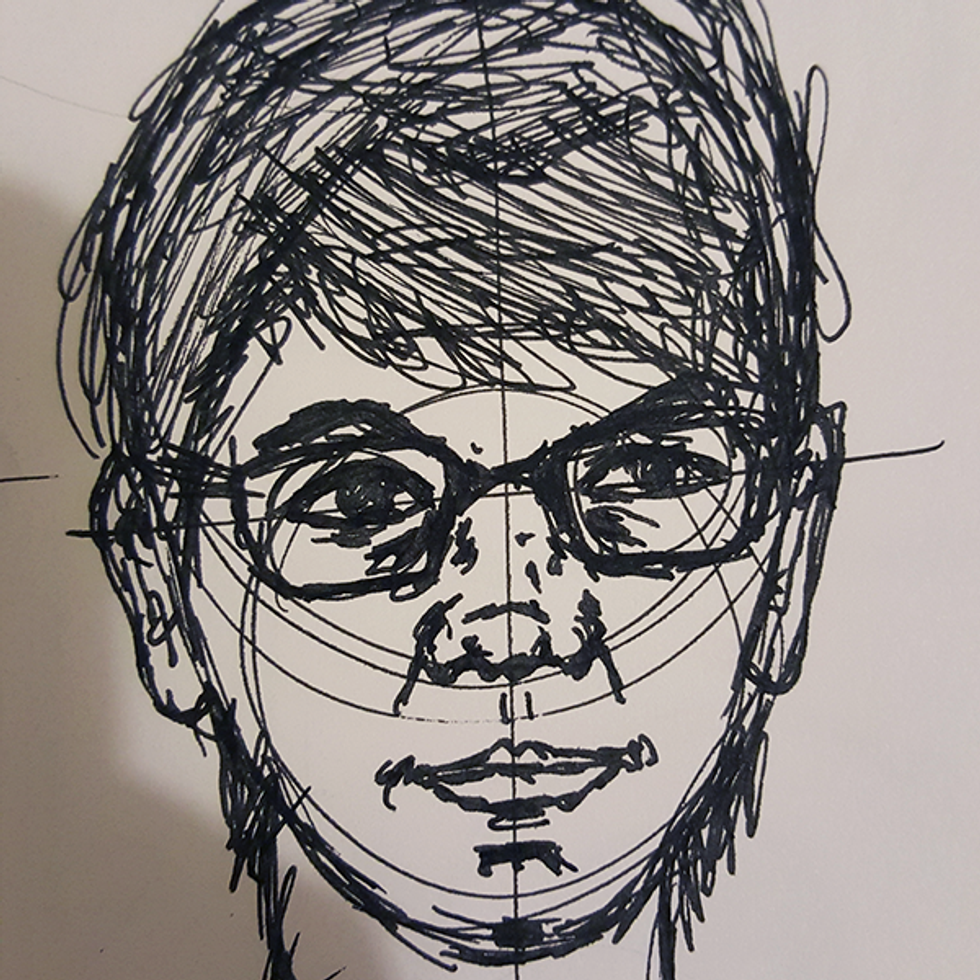
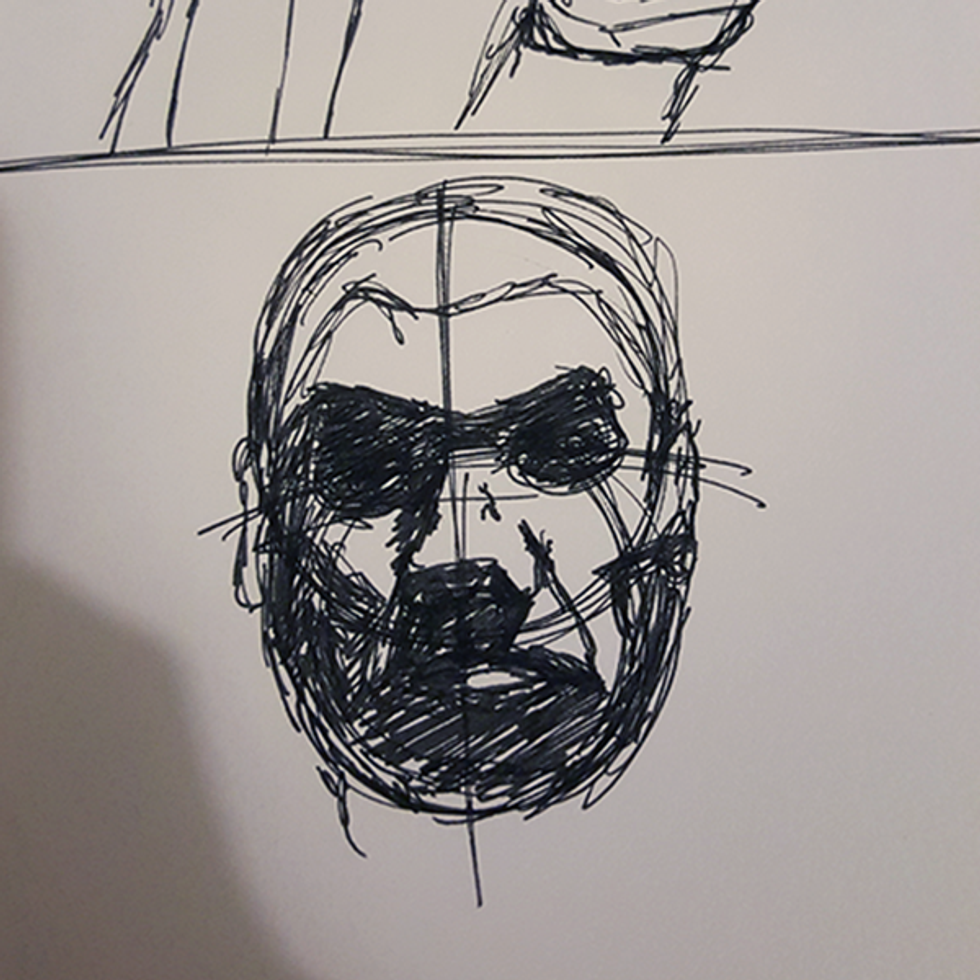
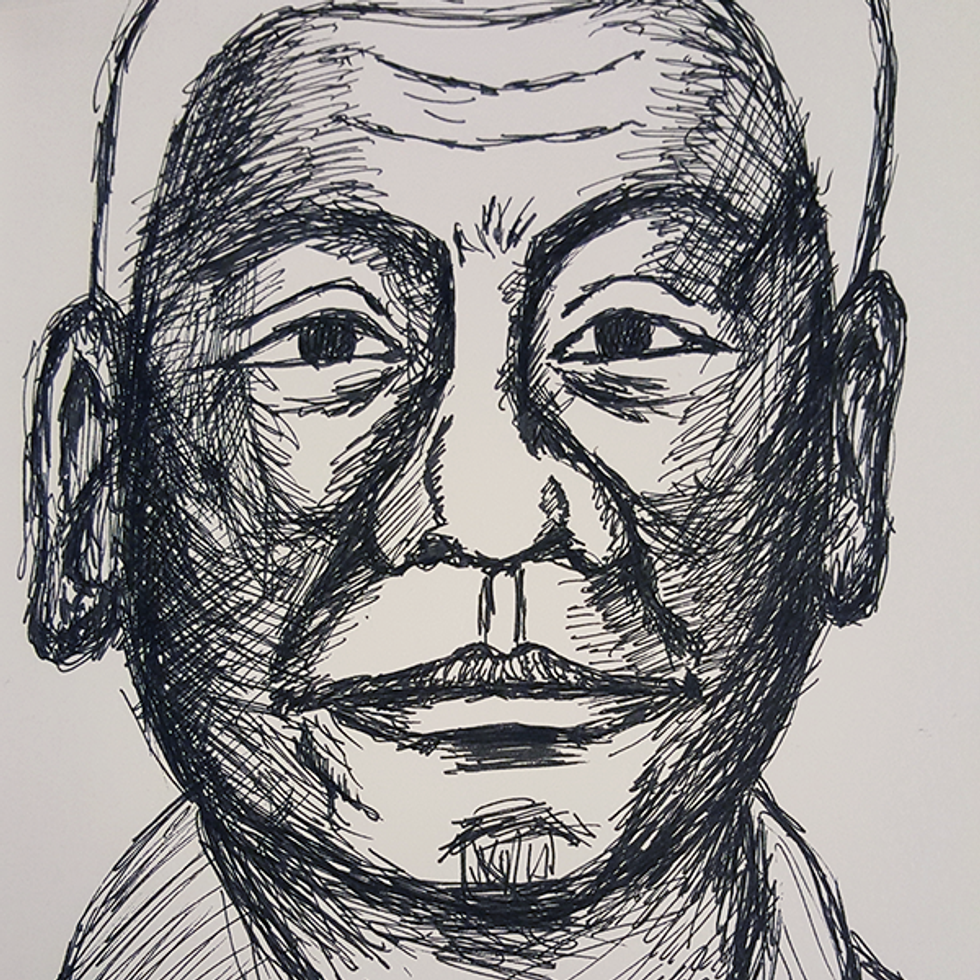
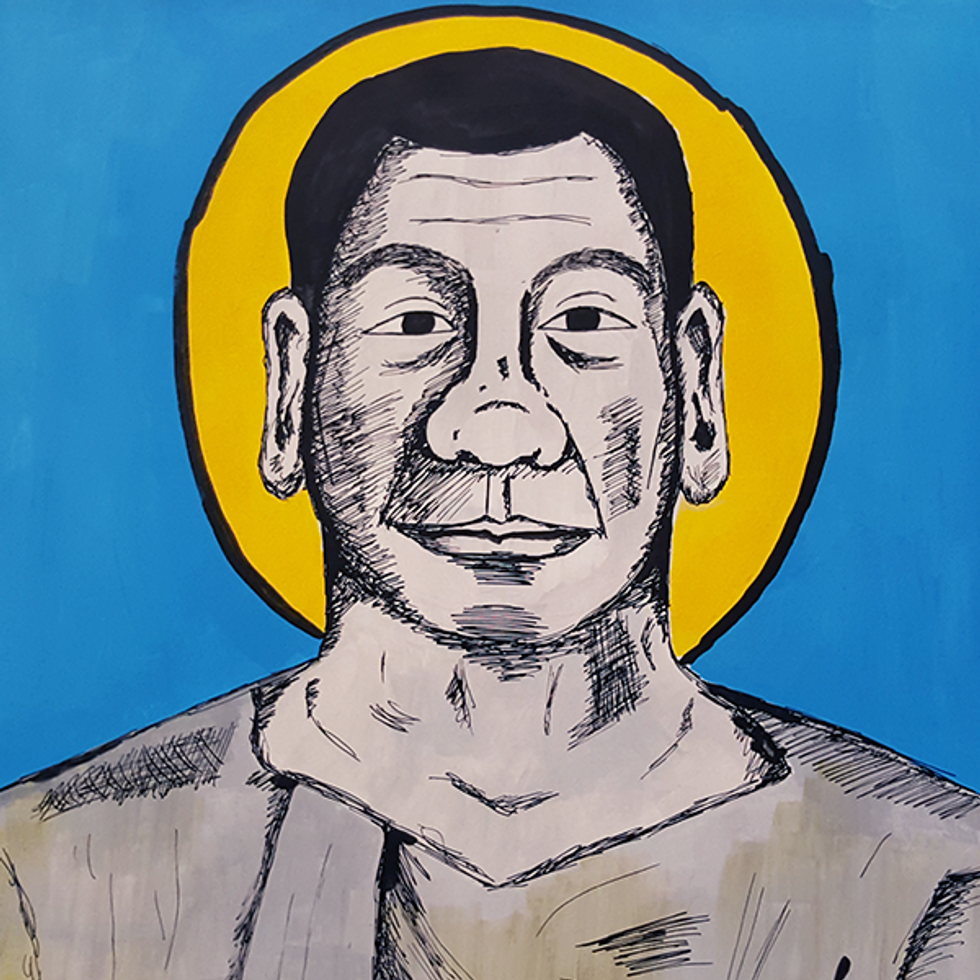
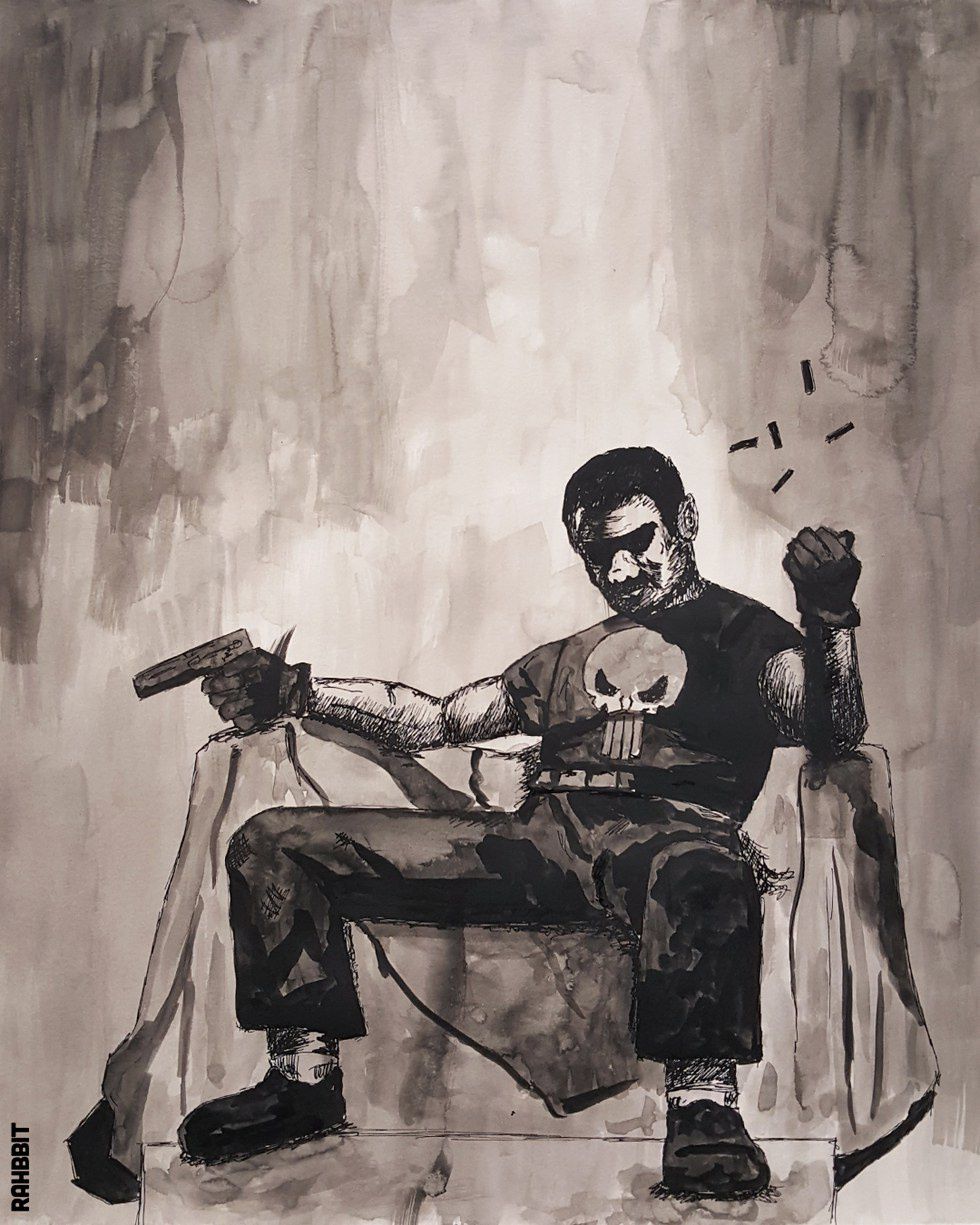
Here are a bunch of portraits I did recently for Illustration class following this technique.
Yes, I did President Duterte on many because the objective for this project was to choose a person that has made an impact, and use techniques (such as juxtaposition, exaggeration, etc) to incorporate a concept/meaning. In other words, how do I tell a story by drawing a portrait?
If you look closely, you will see some leftover pencil works in which I used the guides. The time ranges for the first nine pieces are between three minutes and 20 minutes. The last two were projects with the halo portrait being 3 hours and the dark one being an hour and 30 minutes.
Happy Drawing!