Have you ever wanted to decorate for Christmas but you are only a poor college student and don't have enough money? Well here is an article that will help you be able to make your own Christmas decorations for a lot less.
DIY Christmas Ornaments
All you need:
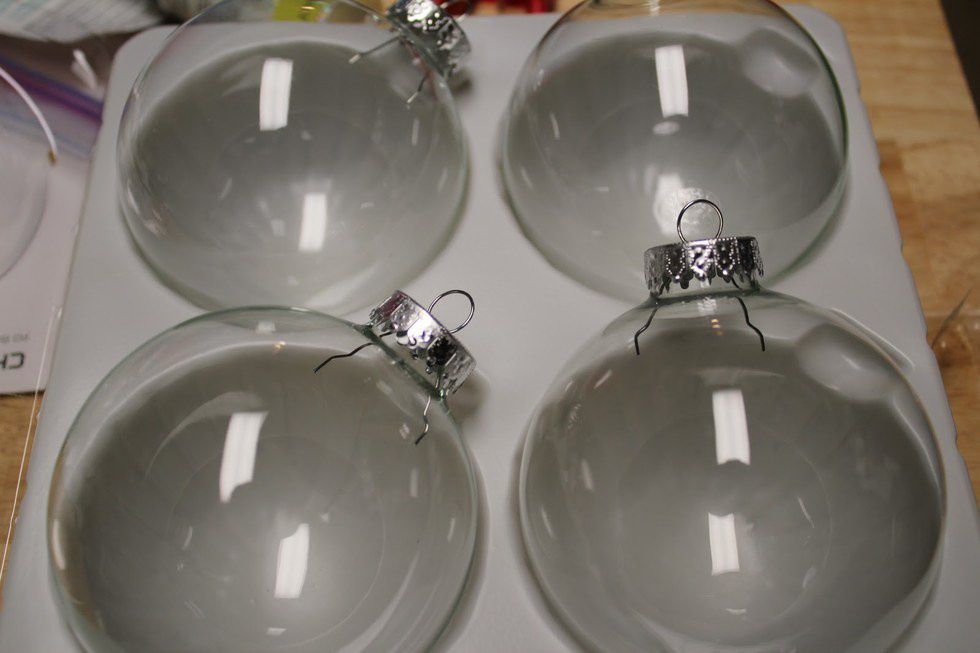
- Clear Plastic Christmas Balls (you can buy these at the Dollar Store)
- Any type of paint you have lying around
Optional
- Glitter
- Feathers
- Assorted Sharpies
- Hot Glue Gun
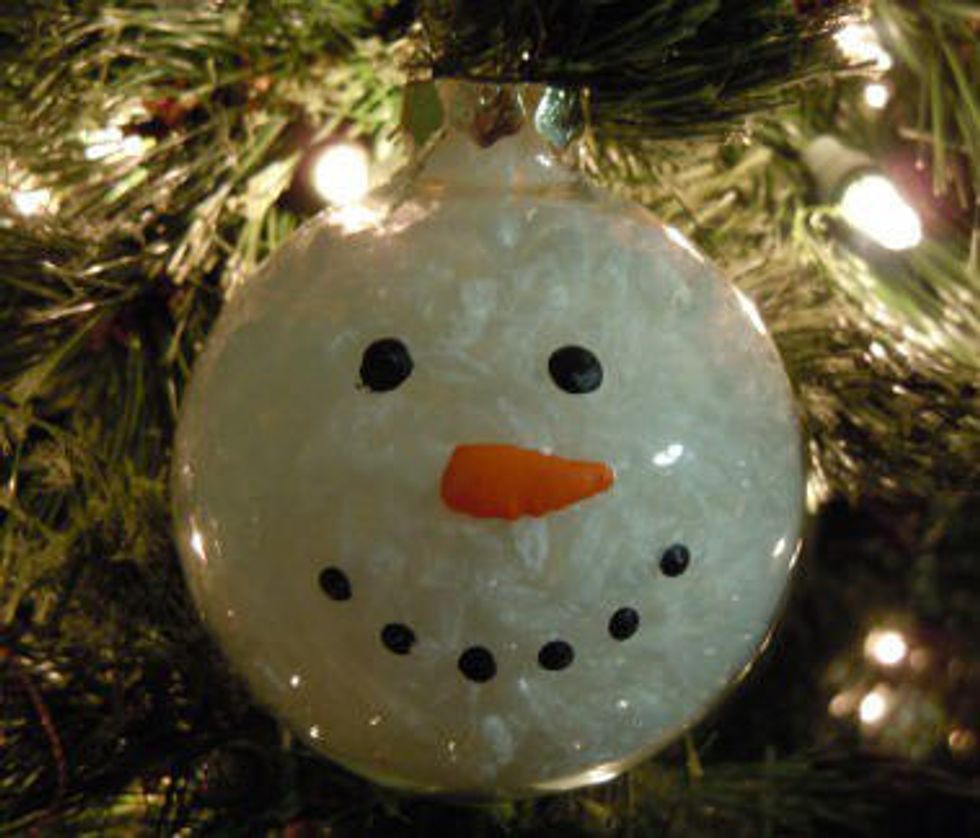
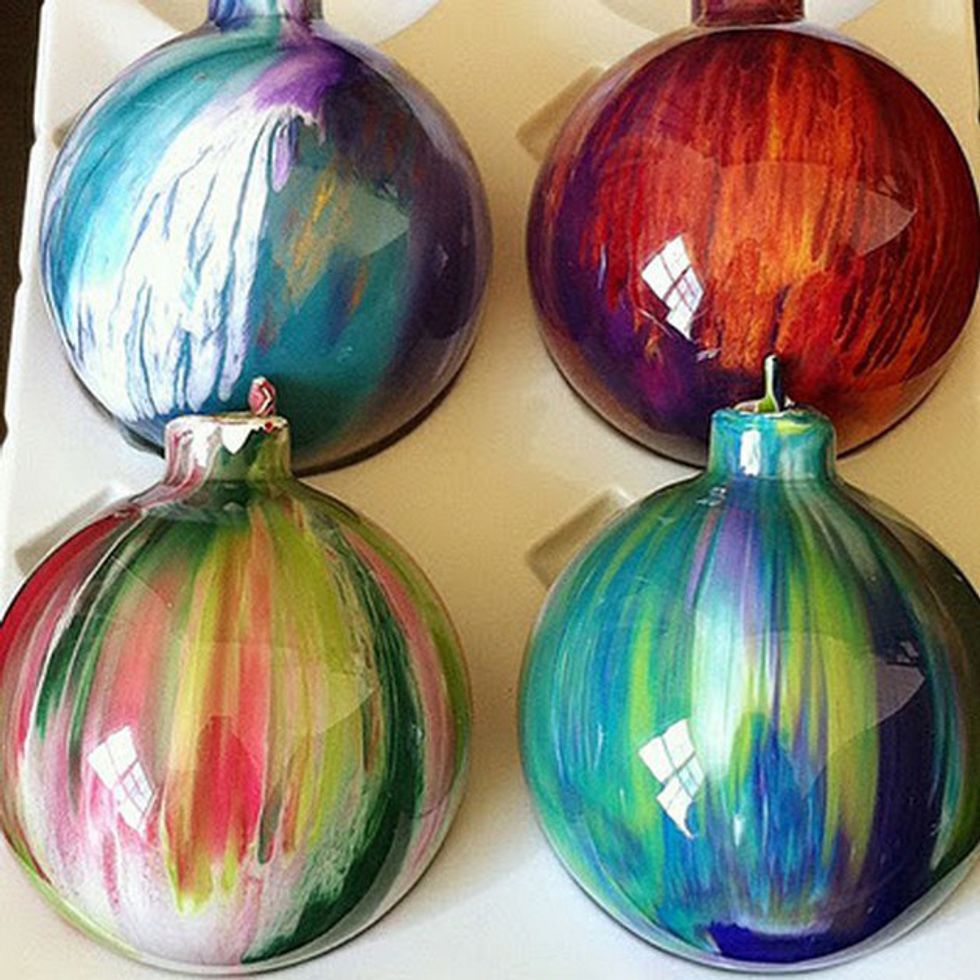
Take the clear ornaments and make them your own. You can paint the outside or pour it into the ornament and swirl it around. Once the paint has dried, you can add anything to make your ornament unique. You can draw on it or glue things into the ornament. Just make sure you don't melt the ornament.
DIY Christmas Tree Cards
All you need:
- Green paint
- Construction paper
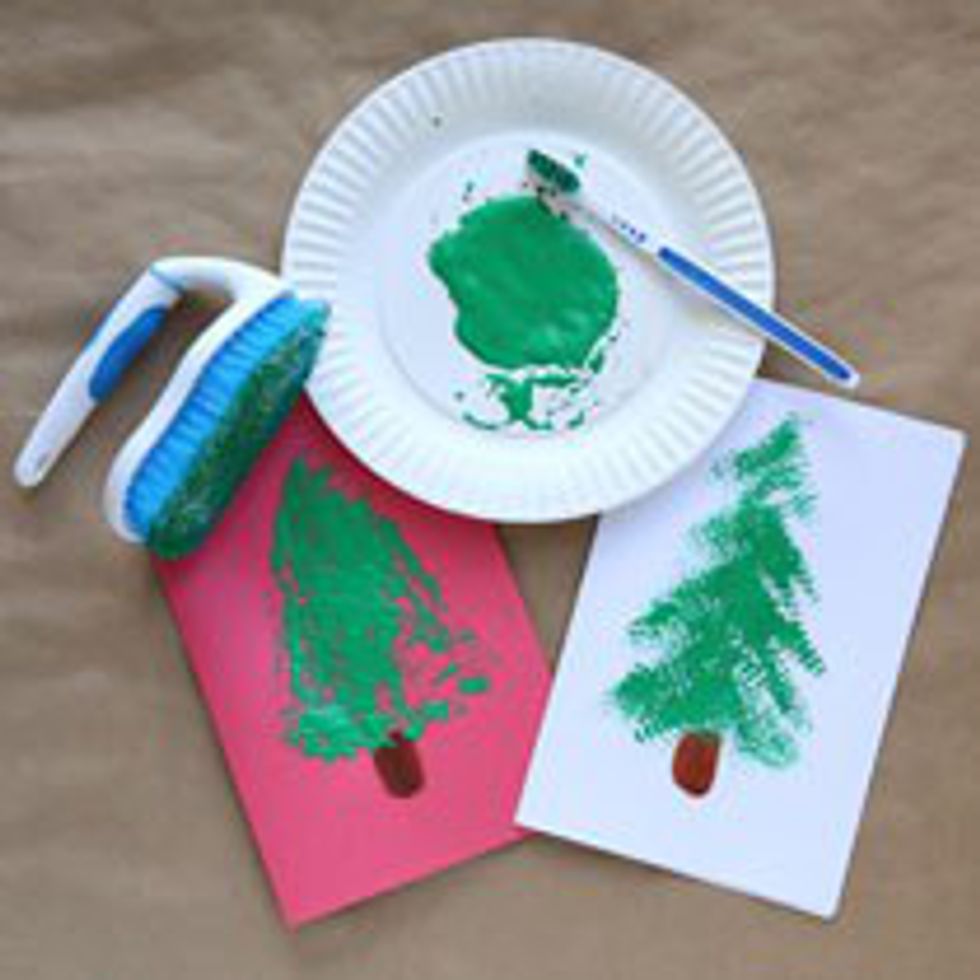
- Scrub brush or sponge cut into the shape of a Christmas tree (if you have neither of these a toothbrush will work)
Just dip the sponge or scrub brush into the green paint and make a print onto the paper. Then you can add your own personal message and send it out to your friends. You can also use these as wall decorations or banners.
DIY Paper Snowflakes
There are multiple ways to make paper snowflakes, so here are a few...
Traditional
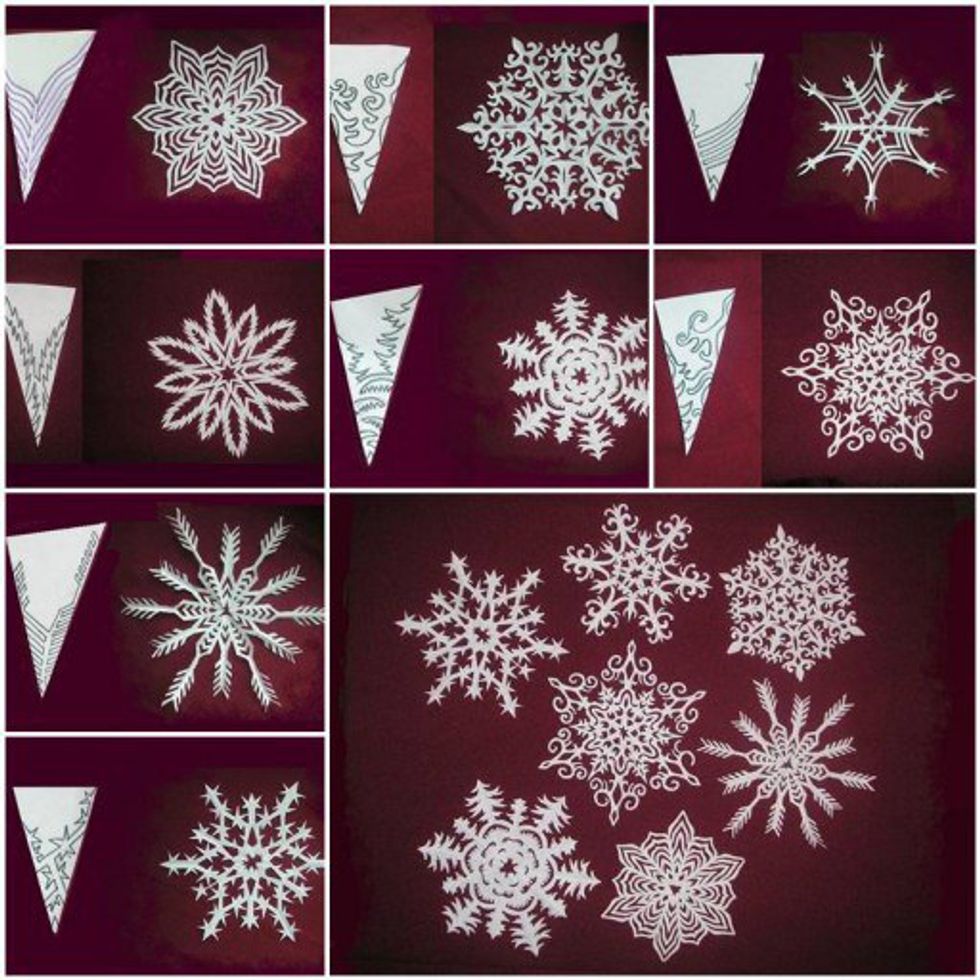
Just take scissors to paper and cut out a design and you have your own unique snowflakes. Here are a few patterns that make some pretty cool looking snowflakes.
3-D Snowflake
All you need:
- 6 sheets of paper, cut into identical size squares
- Stapler
- Clear Tape
- Scissors
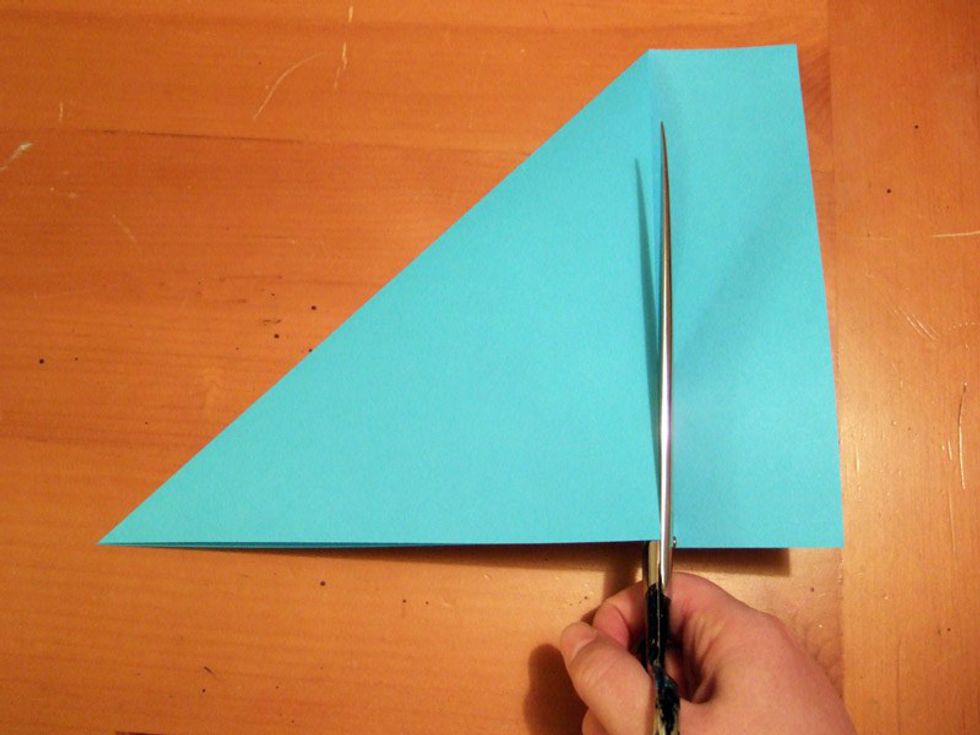
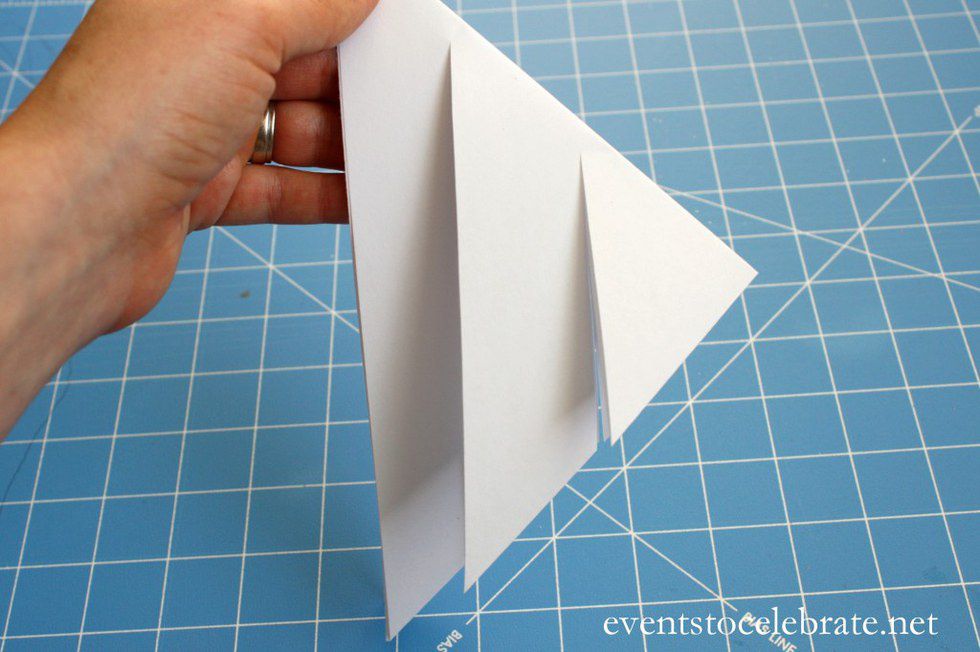
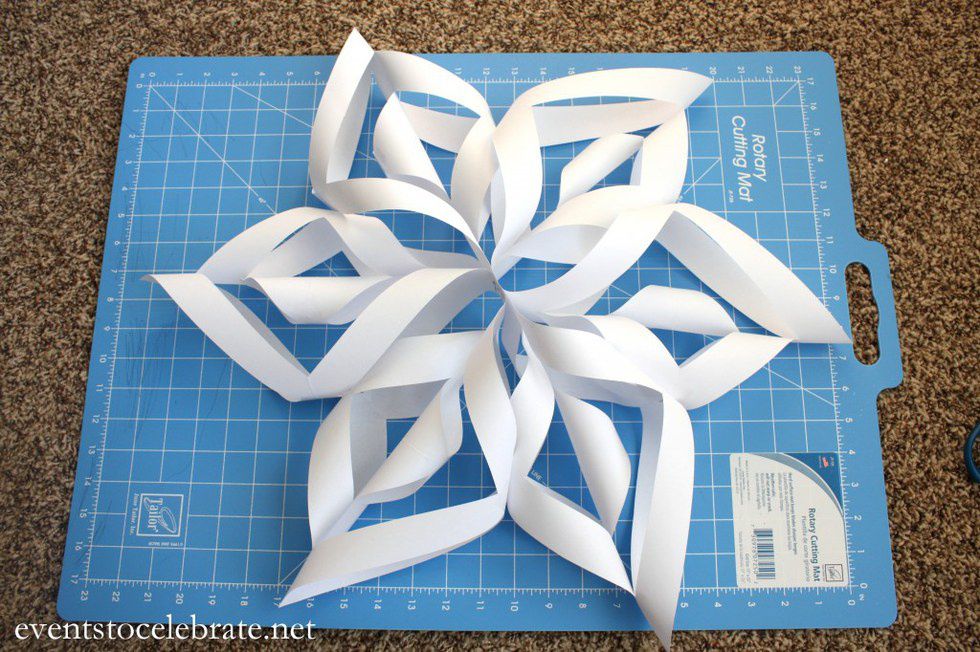
Here is a series of step-by-step pictures
Step 1: Cut the paper into squares
Step 2: Fold each square
Fold each square diagonally from bottom right corner to top left corner to create a triangle. Fold corners again to make a smaller triangle. Repeat with each of the 5 remaining pieces.
Step 3: Cut the squares
Use scissors to cut from the side with the double folds toward the single fold of the triangle. Be sure to end your cut about 1/4″ from the edge. Repeat with each of the 5 remaining pieces.
Step 4: Unfold and tape in alternating directions
Unfold the triangle and rotate so the uncut center line is vertical. Take the innermost cuts and bring them to the center – making a roll. Secure with a small piece of tape. Turn the paper over and roll the next paper cuts to the center in the opposite direction from the first ones and secure with a piece of tape. Last, turn the paper over again and take the remaining pieces and bring them to the center and secure with a small piece of tape. Repeat with each of the 5 remaining pieces.
Step 5: Arrange and staple together
Lay your six pieces out into a snowflake pattern. Pinch three of the centers together and secure with a staple. Pinch the remaining three centers together and secure with a staple. Then take the two halves and staple them together. Last, add a staple to the connection point in between each section.
I hope you have fun making these decorations and decorate your house with them.


