As a self-proclaimed spring party fashion professional, I would love to spread my knowledge to the spring party-goers of the college world. Last year, I cut three tie-dye shirts, made a pair of high waisted shorts, created four flower crowns, and painted nine girls faces in three hours. It was a miracle. So it only makes sense to share my tips and DIYs for creating the best and most fun spring party outfits.
Easy face painting
Face paint is totally necessary for a hippie themed party. Rather than going with the traditional "sorority spots" look (diagonal swooping dots from one eye brow over the nose to the underneath of the other eye) here are some more unique styles sure to set you apart from the pack.
Make sure to use real acrylic paint because actual face paint comes off easily with sweat and is so translucent it's hard to see in the first place.
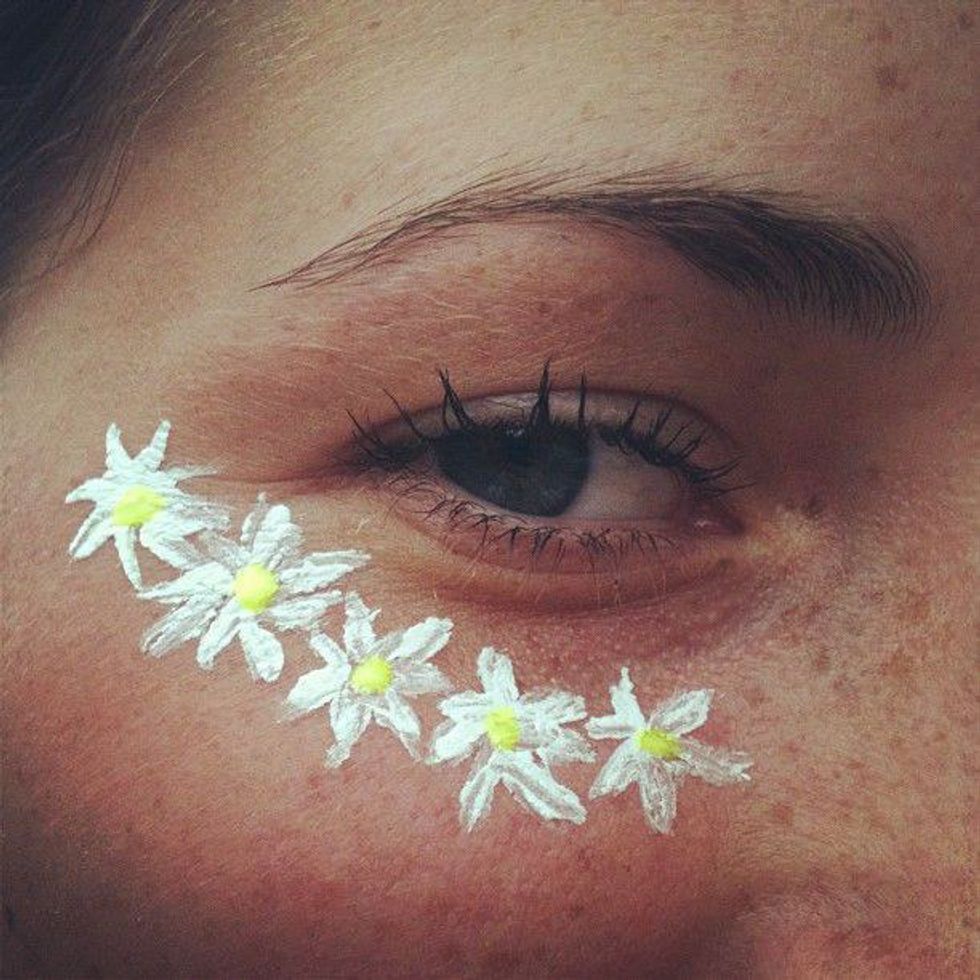
Baby daisies. With white paint, paint a small (half inch) X then a plus sign on top of the X. Repeat this four to five times, then finish it with a yellow spot in the center of each one. These are so easy to paint; in white, paint a plus sign and then another at an angle on top. Repeat 4 or 5 times then top them with a yellow dot in the middle.
The Indie Arrows. If you want to really hipsterize your look, try this easy arrow face paint. Just paint (in any color) two parallel arrows pointing down from you eye.
New take on srat spots
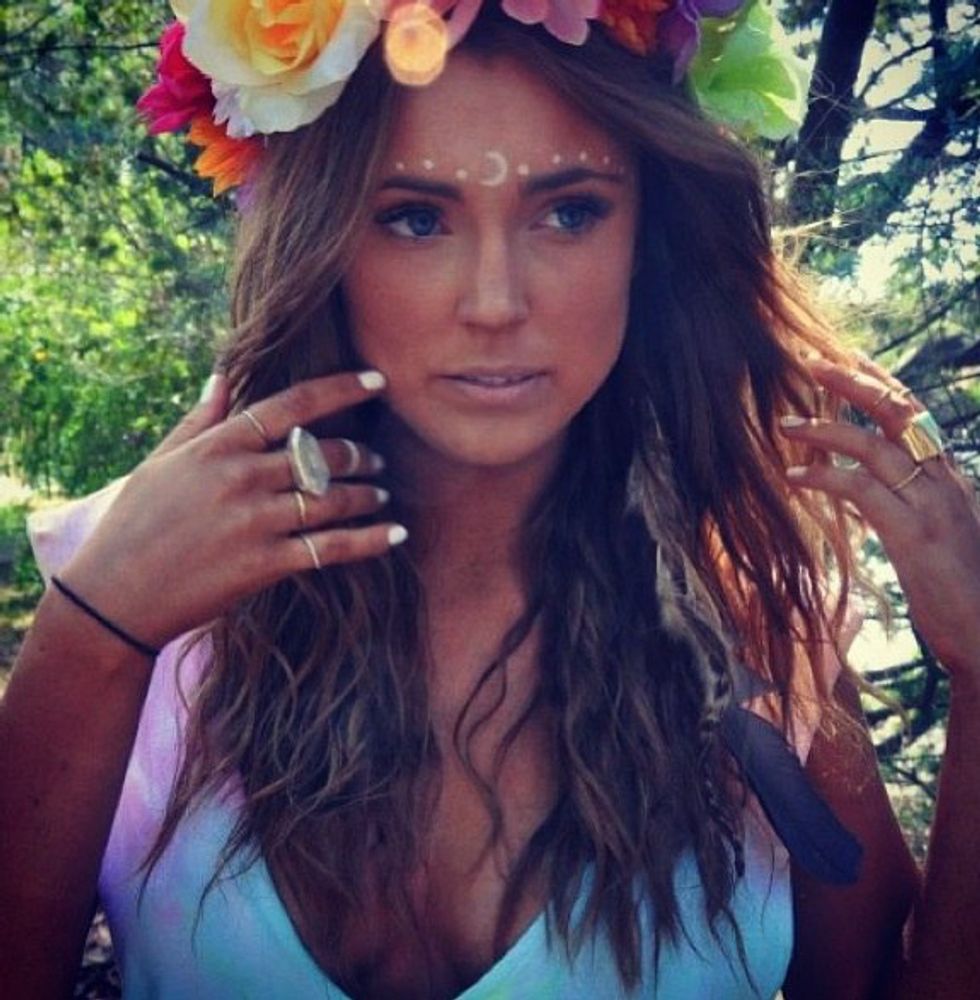
Instead of swooping the spots, set your self apart by keeping them on top of your eyebrows. Start on the outside with small spots and move in every inch and slowly make the spots bigger and parallel to each side. In the middle make a mark like a moon (see picture), star, or cross.
DIY Flower Crowns
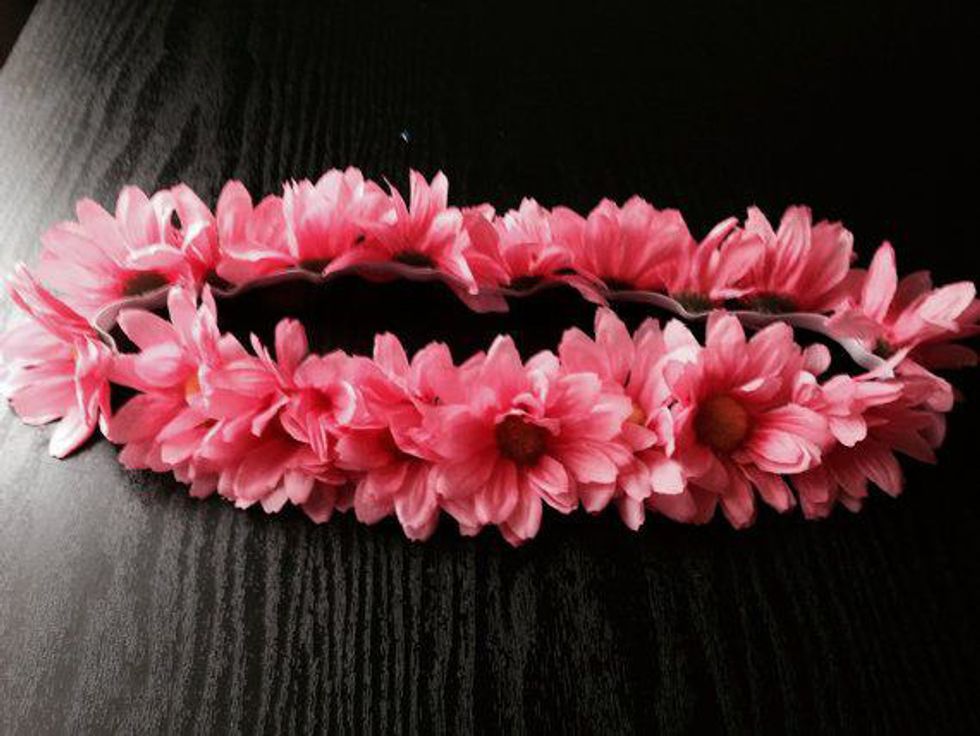
Flower crowns can complete any hippie outfit, and let's be honest, it is the most important part for Instagram pictures. Though they seem taunting to make, they actually are easier than one would think. But I would definitely suggest making these a few days in advance of the party.
Easy flower crown (15 to 30 minutes)
Buy a stretchy headband in a neutral color and buy assorted flowers in different colors and sizes. Use whatever colors, flower types, and sizes you prefer, make it your own. Sunflowers are a traditional go to.
Hot glue the flowers every inch to two inches (depending on the size of the flowers) around half of the headband. After half is glued on, try it on after each additional flower to make sure it still fits as the headband will get smaller as you glue more on. Keep gluing until it fits comfortable.
Hard flower crown (approximately one hour)
Buy one pack or bushel (3 branches) of fake babies breath flowers (little white flowers) and one to three colored large flowers. Cut all the babies breath twigs off of the branch. Then take the bare branch and bend it into a circle that will fit nicely around the widest part of your head, or use wire for this part (I just like the green color and texture the bare branch already has).
Hot glue it to the size you measured, then tape around the part you glued with duct tape. With remaining small babies breath twigs (no more than two inches in stem length), glue and then tape the stems around the outside of the entire circle.
Take the three flowers and glue them where you would like. Place and glue a piece of felt on the back of each flower to ensure that they are secure.
DIY fringe and cut up shirts
Fringe and cut up t-shirts are perfect for every spring party. They only take a second to cut and can instantly make you into a hippie or a redneck with just a few snips of the scissors.
Put the shirt on first, then mark with chalk or washable pen where your belly button is. Take the shirt off and lay it flat on the ground and mark where your belly button mark was all the way across the shirt.
For fringe: first, cut up the sides vertically to the line, then cut every inch or half inch through both layers (front and back) in a straight line vertically up the shirt to the mark you made. You can cut shorter for more of a crop top look, or longer if you don't want to show your stomach.
Pull each of the strands and then knot the ends. Optional: criss-cross each strand and knot to create a braided look.
For knotted crop top: cut sleeves and neck line off by simply cutting inside the sleeve and neckline hem. You can create a v-neck by just cutting a two-inch line down from the neckline.
To create the cropped knotted bottom, just cut a third of the way in on the belly button line from both sides (front and back layers); then only on the back layer, cut across. On the front layer, cut two flaps down from the line to create the knot (see picture).
DIY high waisted shorts
High waisted shorts are an absolute must for almost all of the spring parties. They simultaneously make your waist look smaller and legs look longer, not to mention, they totally make you into a hipster (almost). They are easier to make then you would think.
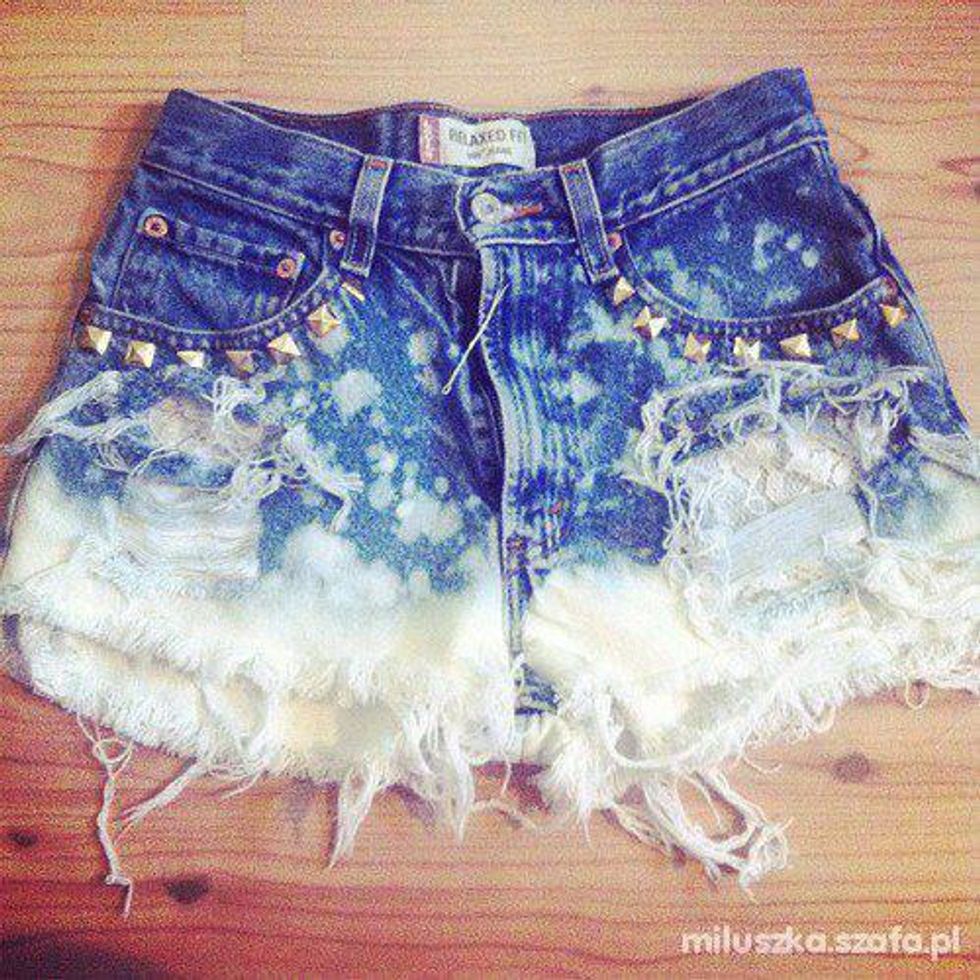
Go to a thrift store and find a pair of old, worn out high waisted jeans (the older the better). Take a pair of shorts you currently like the length of and lay them on top of the jeans (match the inseams a.k.a crotch seams together). Add an inch (two inches if you plan on rolling them up); then mark the length on the jeans and cut across.
Optional: sew the edge or iron hem tape to the back to keep them from unraveling too much.
Make them your own: dip-die the edges in bleach or just sprinkle bleach onto them to create a tie-dye effect. Glue studs to the pockets to add an edgy look. Fray the edges by pulling on stray strands to give them a extra worn out look.
I hope these tips make spring partying easier, cuter, and the most fun ever!
Peace, love, srat.


