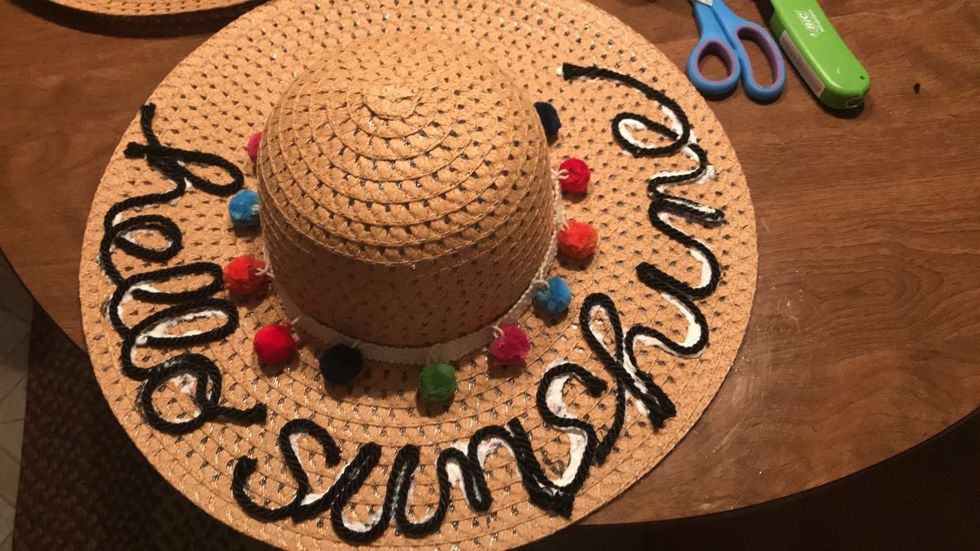
In the past few years a new trend that has come about are floppy beach hats with a cutesy saying embroidered on them. Some of them are cute but also some of them are super tacky and it becomes hard to find one that has exactly what you want it to say.
DIY (do it yourself) is a phrase I'm very acquainted with. If I find something I'm sure I could make and do it the way I want then I go for it. This is exactly what I did with my plain floppy beach hat.
To start off with, some things you'll need to complete this project.
- A plain floppy hat
- Rope or sequin like ribbon : 1 spool
- Pom pom trim : 2 feet 3 inches ( I made 2 hats so I bought a yard and a half total)
- Fabric glue (make sure it dries clear)
- Vinyl, plastic, and fabric flexible adhesive (make sure it dries clear)
- Sharpie or pen
- A lighter
- Scissors
- A small paint brush
One of the first things you'll need to do is write out what you want your hat to say on it with a sharpie or pen on the hat brim. This allows for you to have something to follow while gluing your rope or sequin ribbon into place.
After you've gotten that completed the way you want you'll begin by burning the end of the rope you have to prevent fraying (side note: if you opt for rope like ribbon you will have to burn the ends of it every time you cut it very quickly because it unravels fast). Once you have the rope end burned you'll start by tracing the first few letters on your hat with the fabric glue like so.
You'll continue this until you have the entirety of your letters covered with the rope or sequin. There will be moments when you might have to cut parts and glue them differently and it won't flow all together but just making sure the ribbon gets burned to prevent fraying is the most important part to remember here.
Once you've filled in the whole phrase or word on your hat then you'll take the fabric glue and glue on your pom pom trim above the phrase or word.
When you're finished and the hat is completely dry you should have a finished product that looks similar to this!
Now with your new stylish, floppy beach hat you're ready to have fun in the sun anywhere!


