I am not a crafter, let me tell ya.
I'm the kind of person that will pin all the cool things on Pinterest, and then never look at them again. But last year, my sister made some nifty wine-bottle snowmen decorations for my mom, so I figured I better add a personal craft to the house-decor this year, too. I went into the Walmart craft aisle completely blind, no craft in mind, and came out with...a whole bunch popsicle sticks.
With that, I bought white paint and some other wood things I found and decided I'd make a giant snowflake.
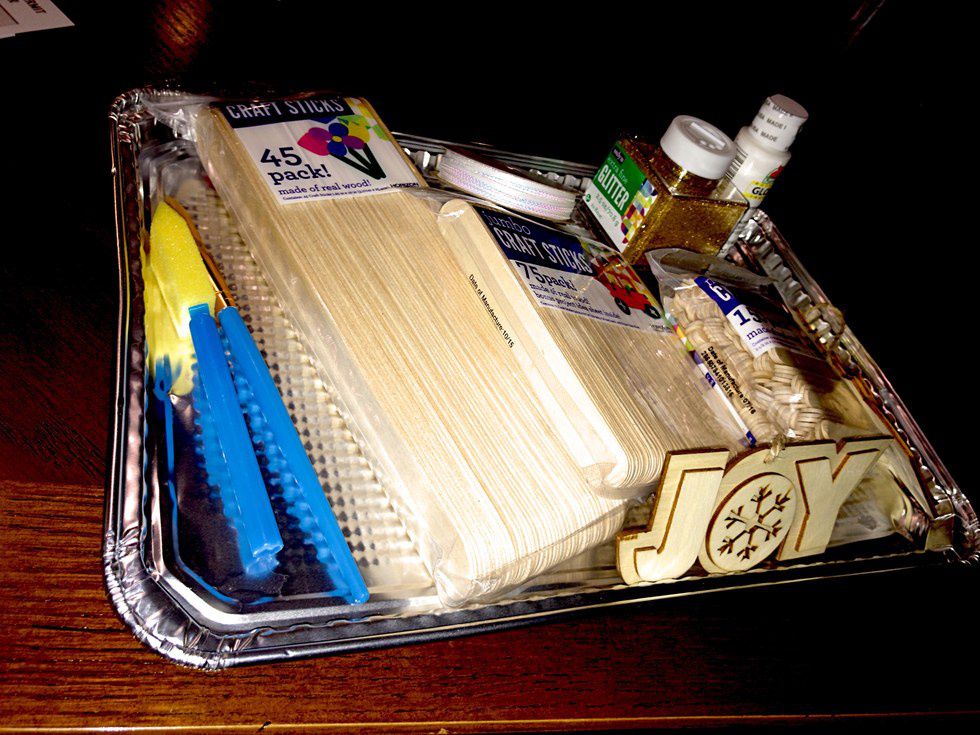
Step 1: Gather the materials.
Here I have giant, regular, and mini "craft sticks," white acrylic paint, gold glitter, ribbon (if you want to hang it), a wooden "JOY" decoration, paintbrushes, and a paint to contain the mess. Not pictured is the hot glue gun that I already own. Overall, this was around $15, which isn't too bad considering wood decor can sell for much higher.
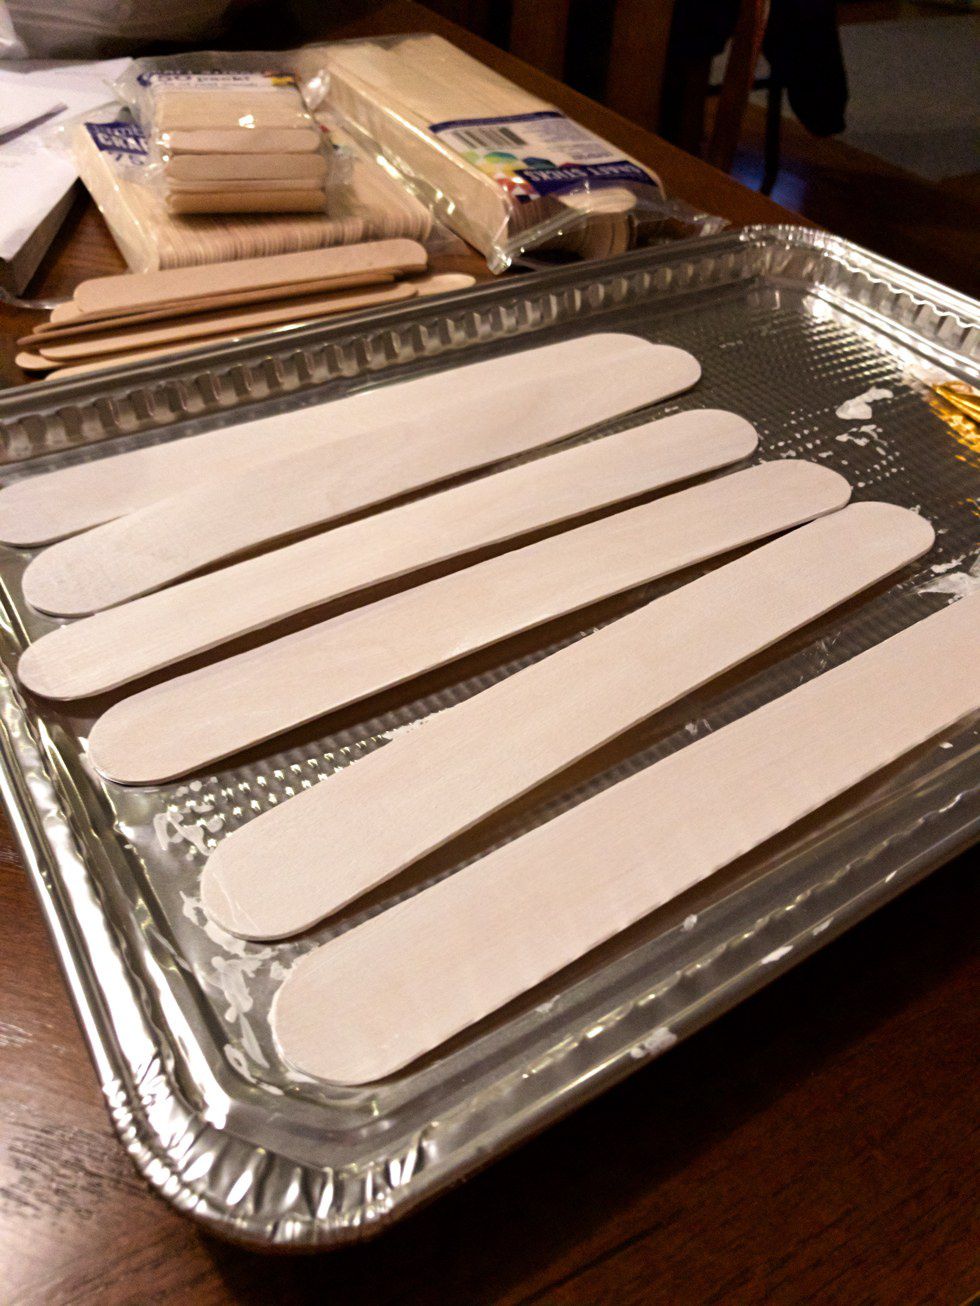
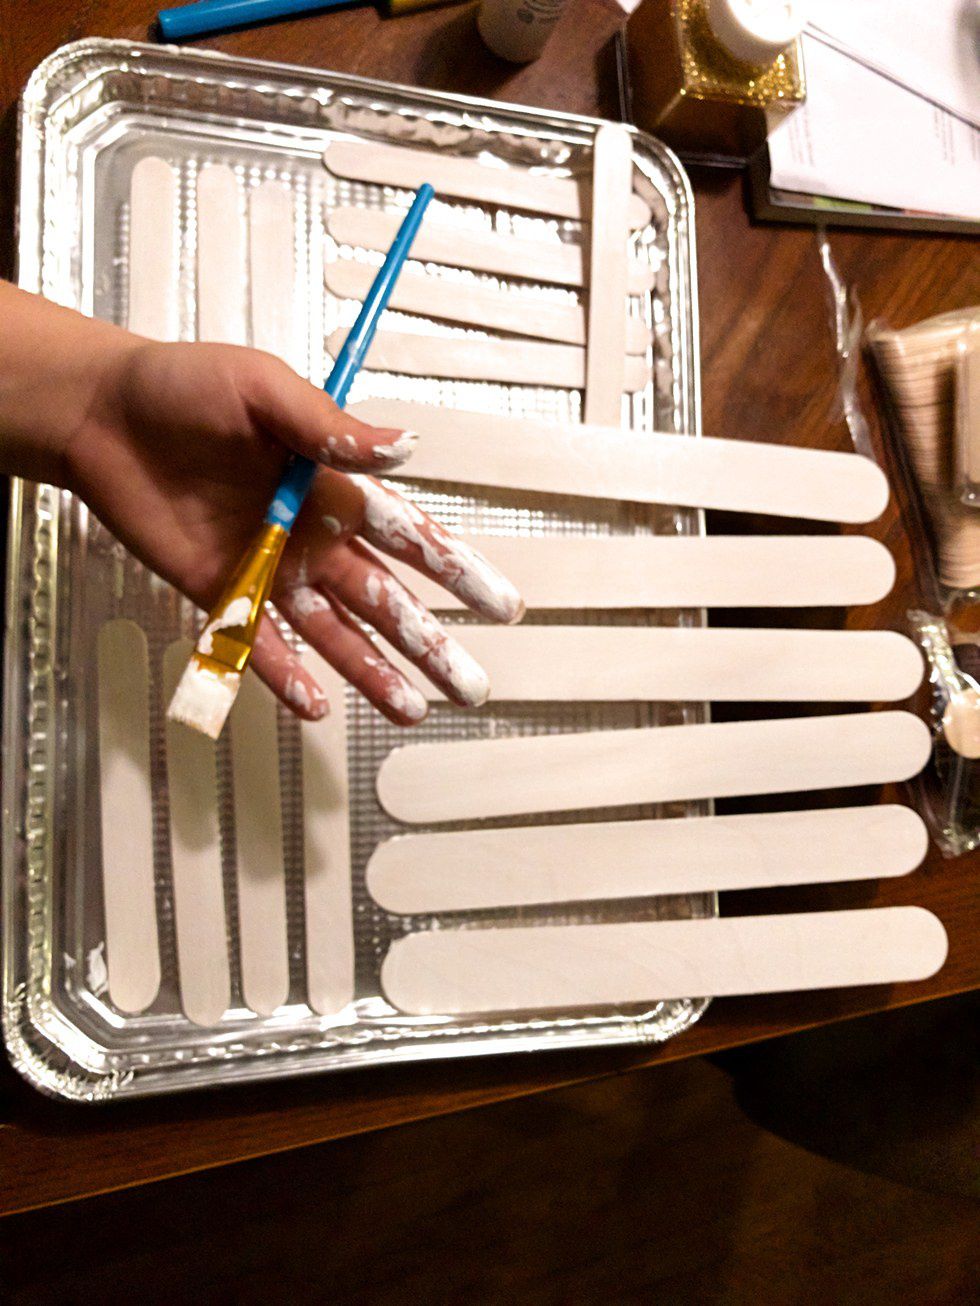
Step 2: Get to painting.
I decided to just paint one side and the edges of the sticks because I'm am super impatient and didn't feel like waiting for it to dry twice before gluing. I liked the effect of one coat as well. It doesn't show up as much in the pictures, but in person you could still see some of the wood lines underneath.
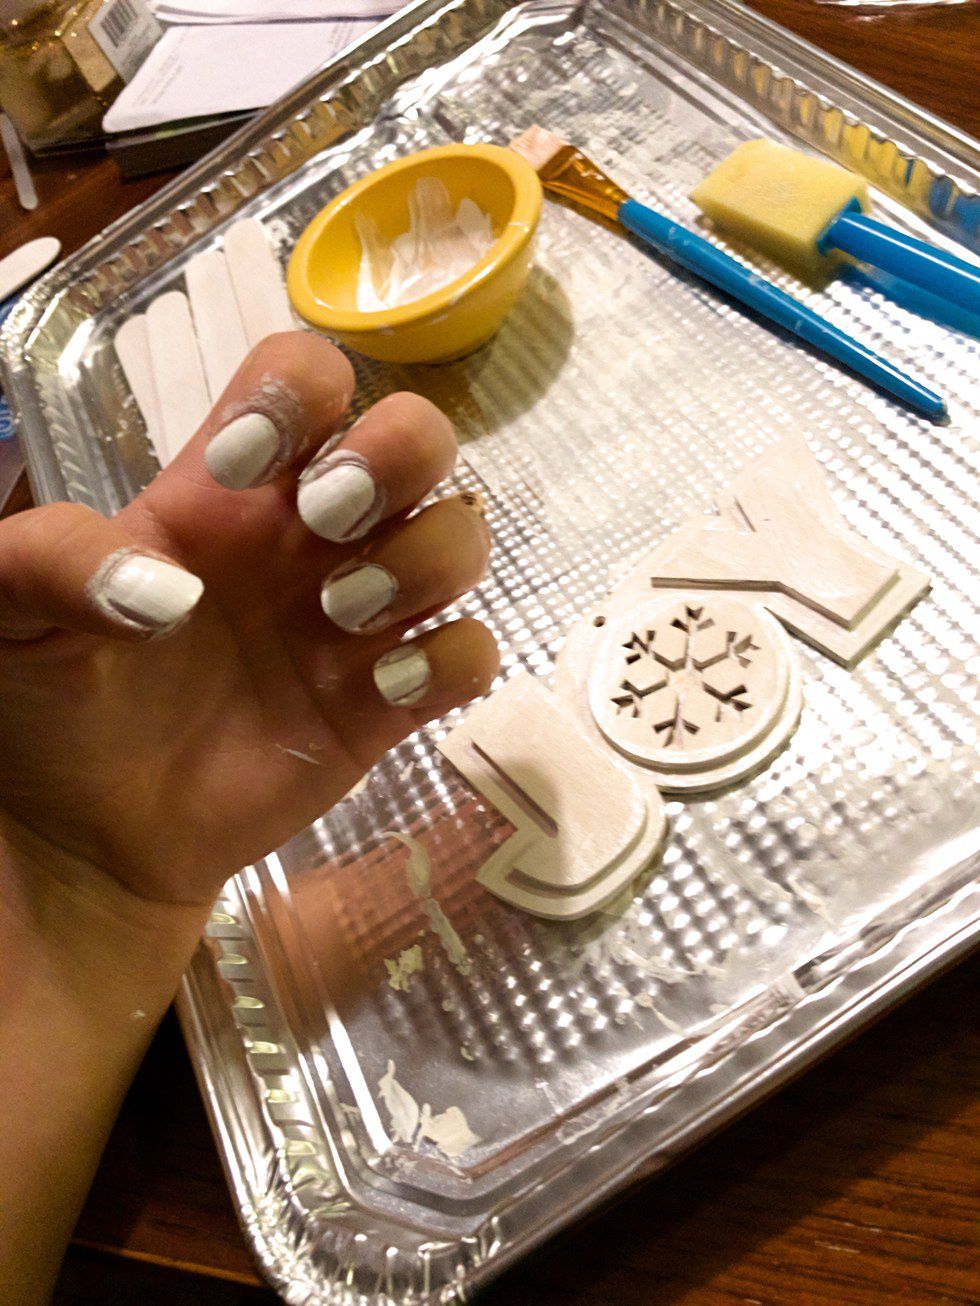
Step 3: Wash your hands if you're like me.
I'm not gonna lie, I had already washed my hands once or twice by the time I took this picture. Whoops! You're going to get your hands a little dirty, just embrace it.
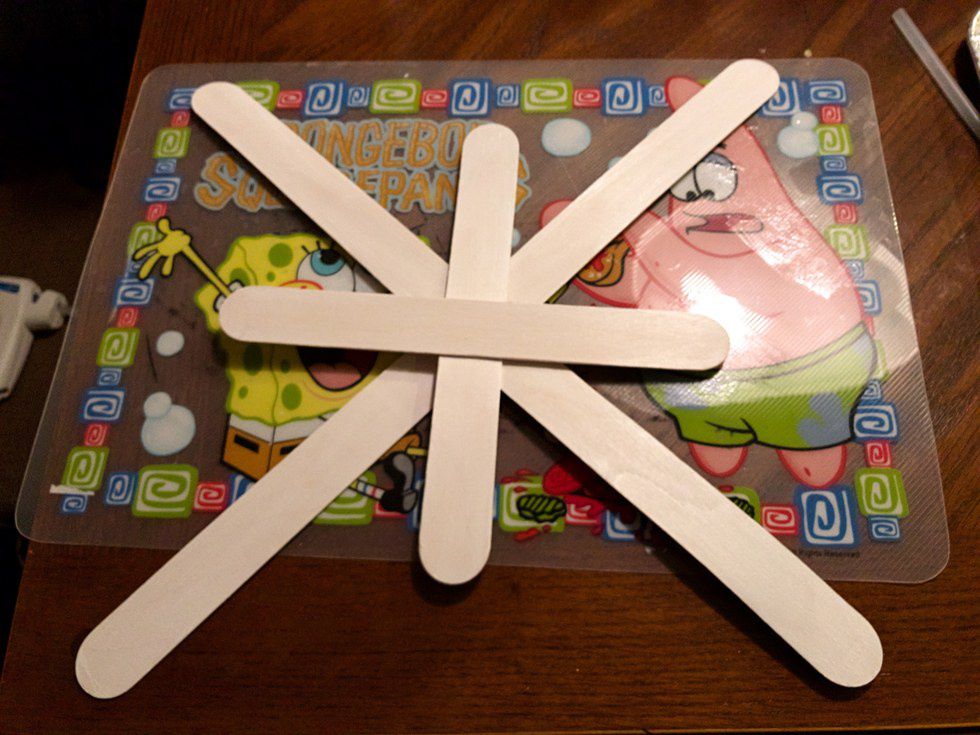
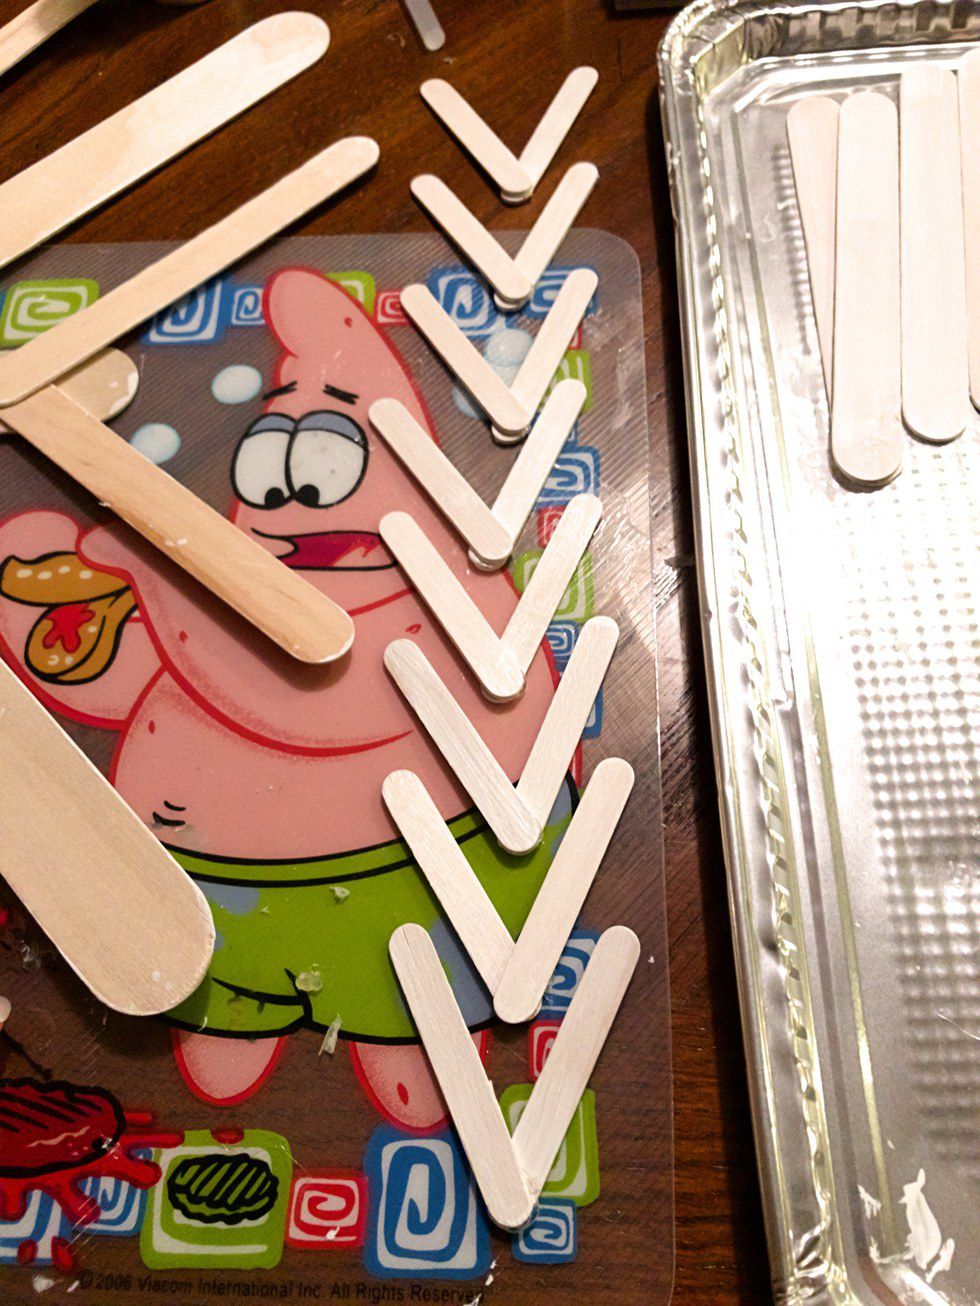
Step 4: Know the rough layout of your design.
Here's my dirty old Spongebob placemat's DIY debut! I ended up adding way more to the design in the end, but I wanted to get a general feel for the base before I started gluing. These are all the large sticks right now.
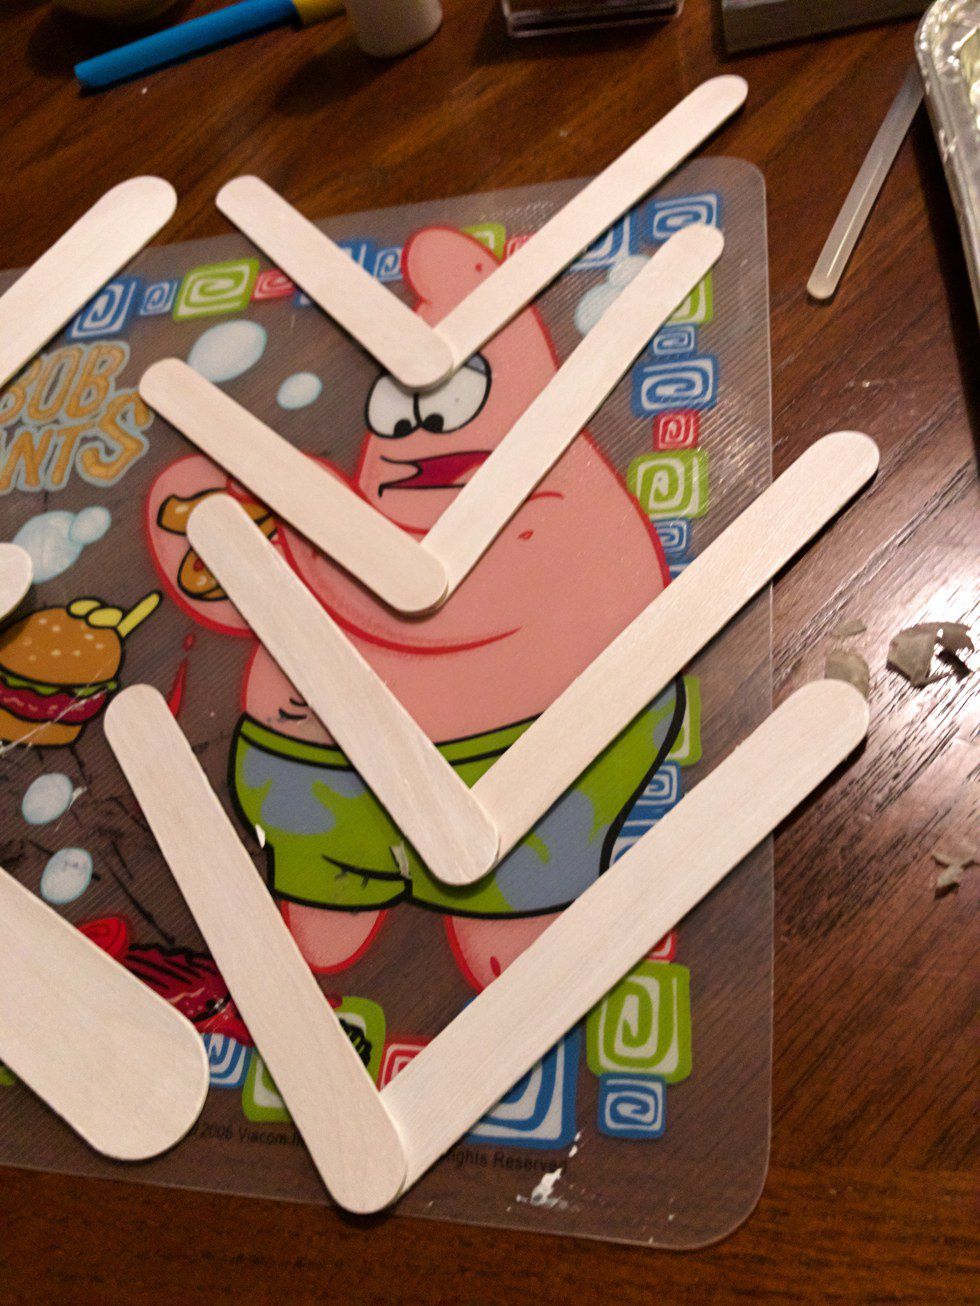
Step 5: Start gluing.
Once I got the base from step 4 glued down, I started with the smaller details. I eye-balled about how big I wanted the angle to be and then glued all of the mediums together, using the first one as a guide for the rest. I then glued those on where I wanted them, making sure to glue it to the back of the base, so that not all of the "seams" are showing. Once I did that it looked like this:
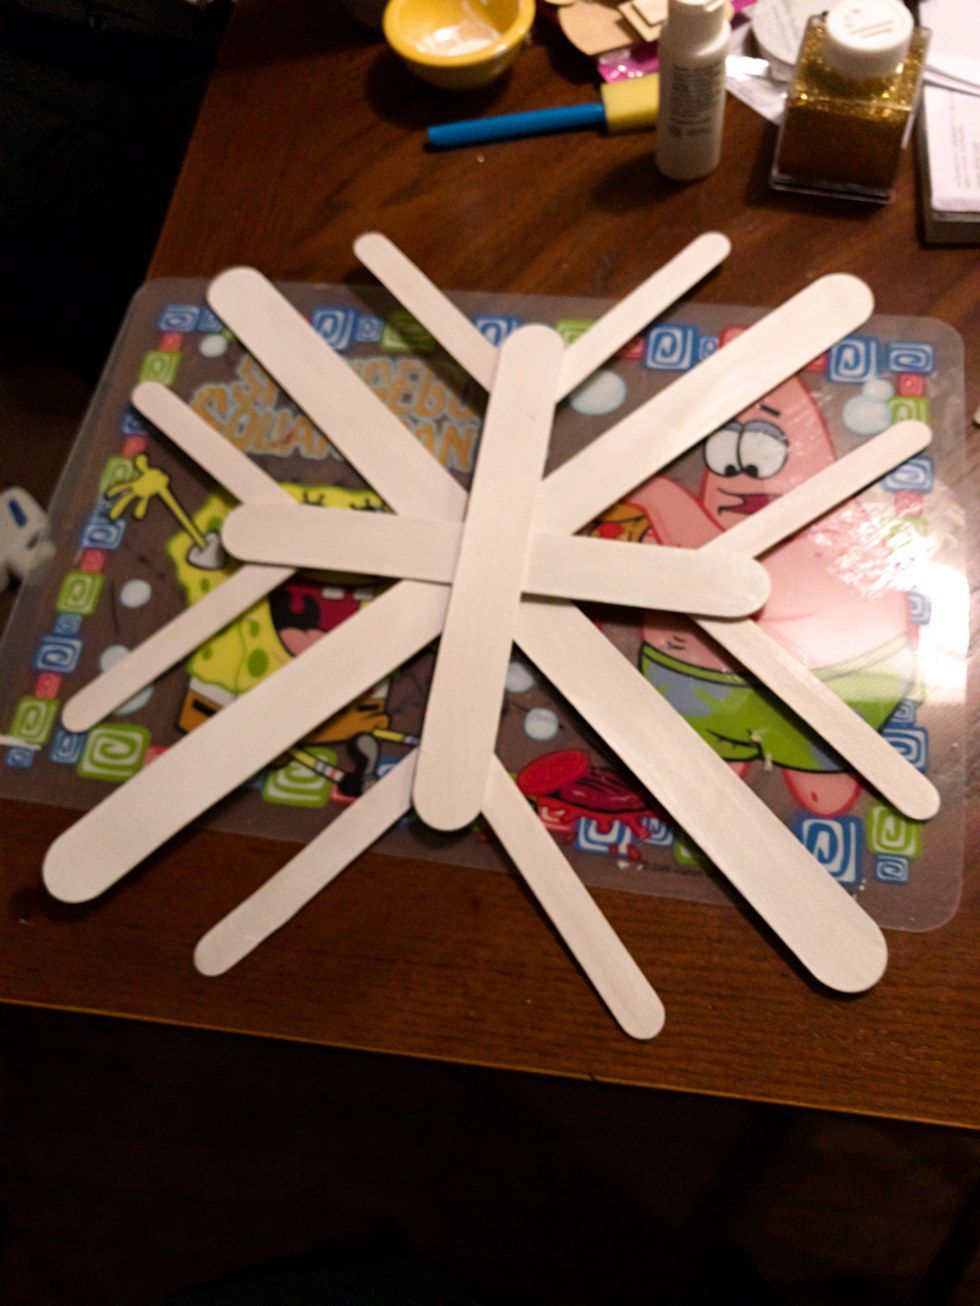
Step 6: Keep gluing.
Now you could totally stop at step 5 if you're happy with it, but I still had a whole pack of tiny popsicle sticks, so I repeated step 5 with the smaller ones.
Step 7: Paint any add-ons.
So..."JOY" took a lot longer to dry. I got bored. Refer to the picture above to find out how I cured said-boredom. (It took some time to clean off, but it made me forget about the slow-drying paint.
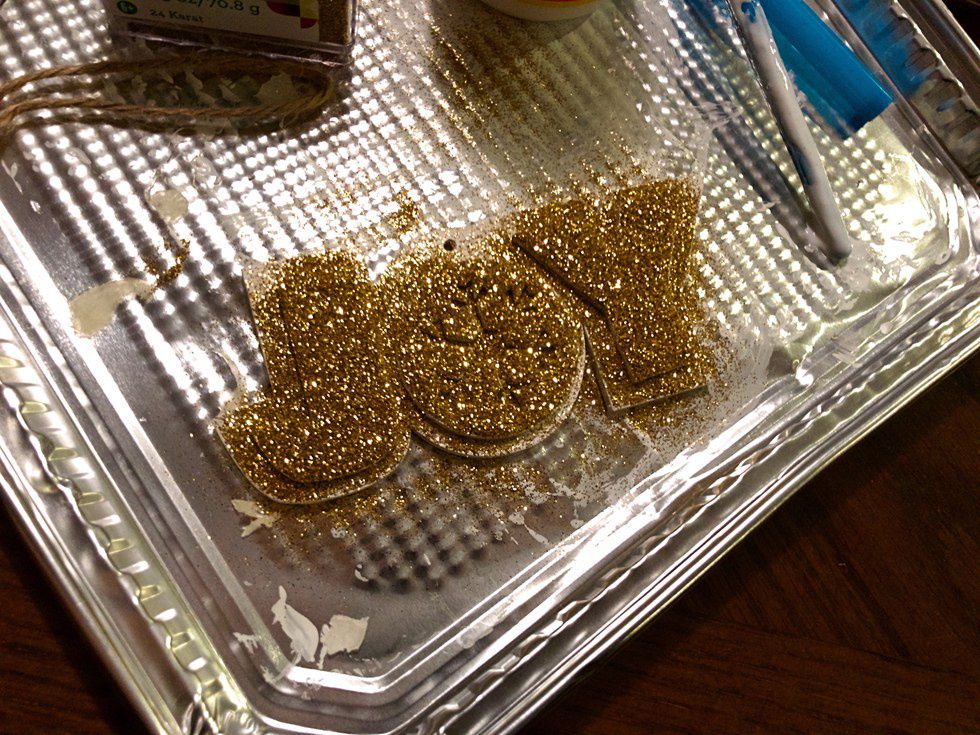
Step 8: Add glitter and the finishing touches.
I spread Mod Podge on only the 3D areas of joy, and sprinkled it all over until I was happy with it. Then I tried to dump the excess back in the bottle, but it mostly just fell back onto the tray. Once it dried, I glued it down to the center of the snowflake.
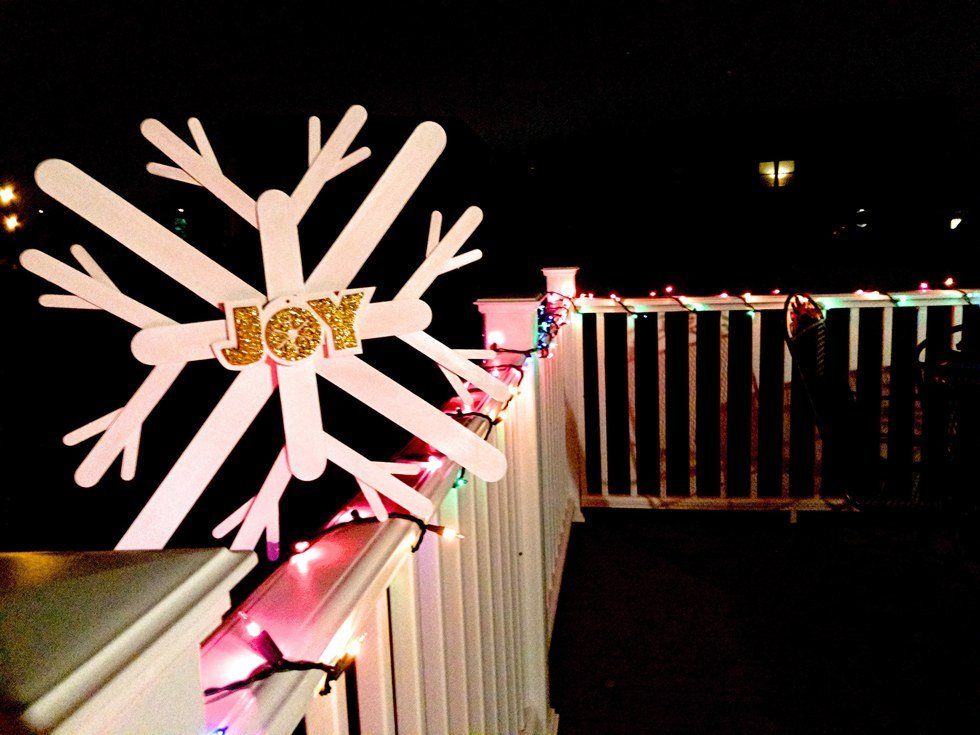
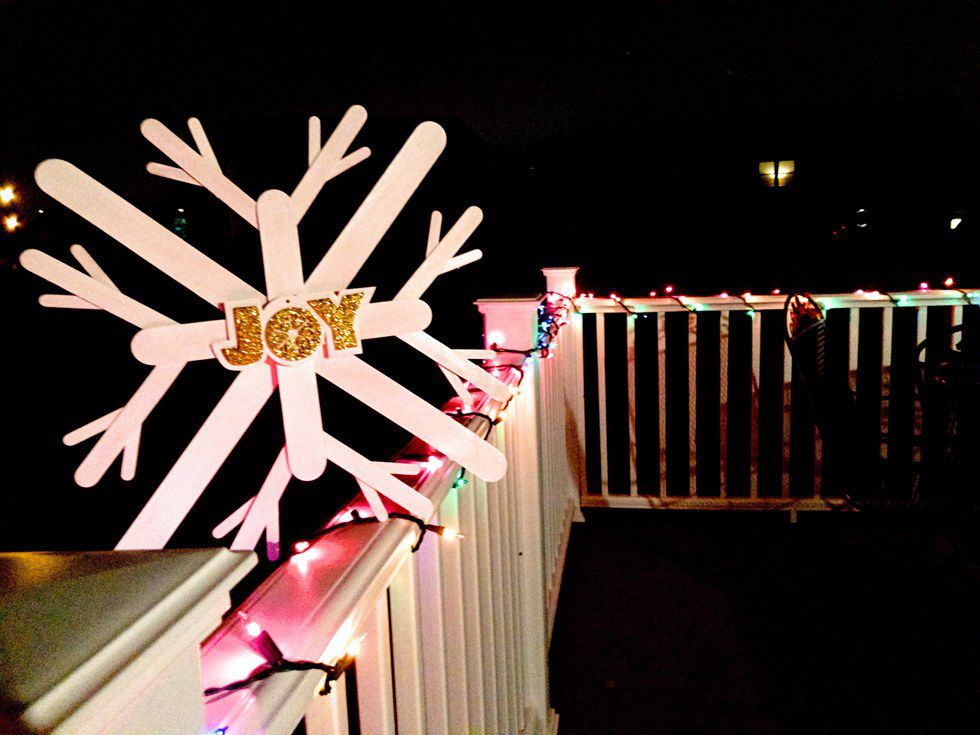
Step 9. Show it off.
I don't know where this will end up exactly, but I thought that it needed to be near some snazzy lights for a picture. I love how it turned out, I actually surprised myself. This took me around two hours, I finished at nearly 1 a.m. in the morning and was freezing cold while taking this picture. But it's all in the name of Christmas. Now I just need to find a craft for the remaining 315 popsicle sticks...

