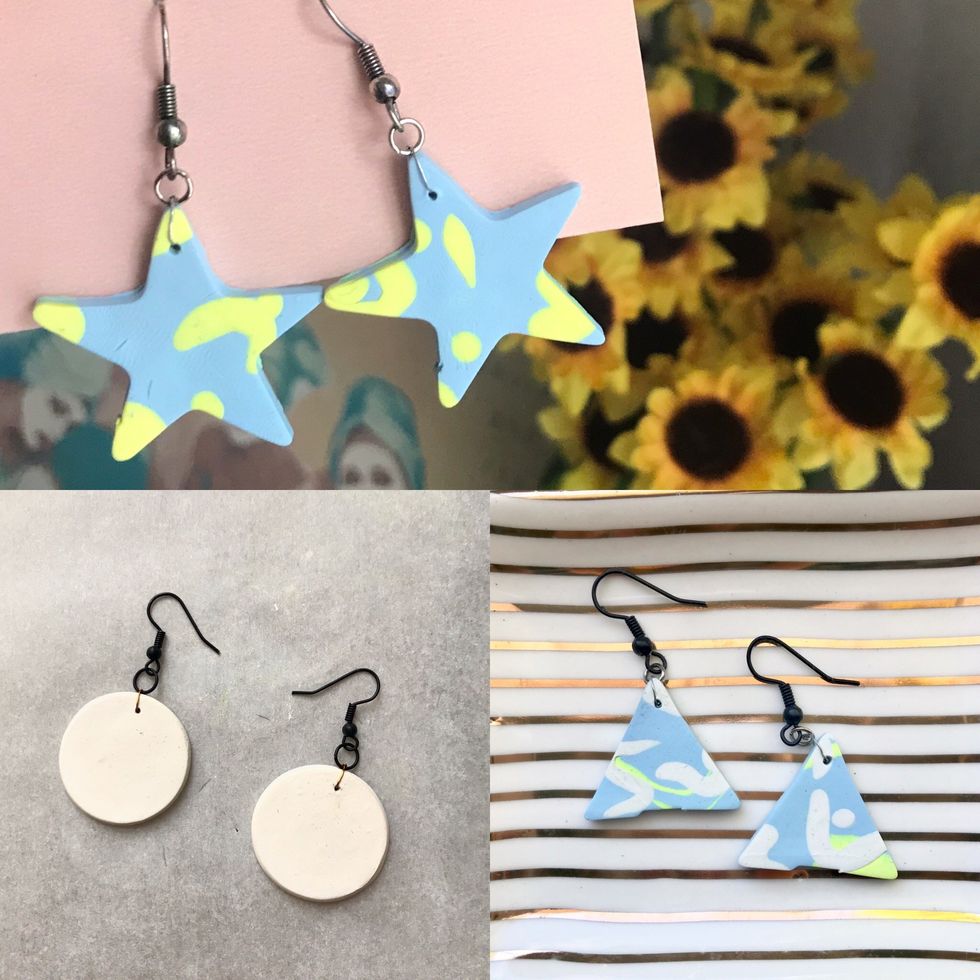
These super easy ear-bobs are a great opportunity for you to design your own accessories! Whether funky or classy, these earrings make a great statement piece for whatever your style is, and the process of creating them can be a fun activity for a birthday party or just a chill evening with friends.
Materials:
Sara Thompson
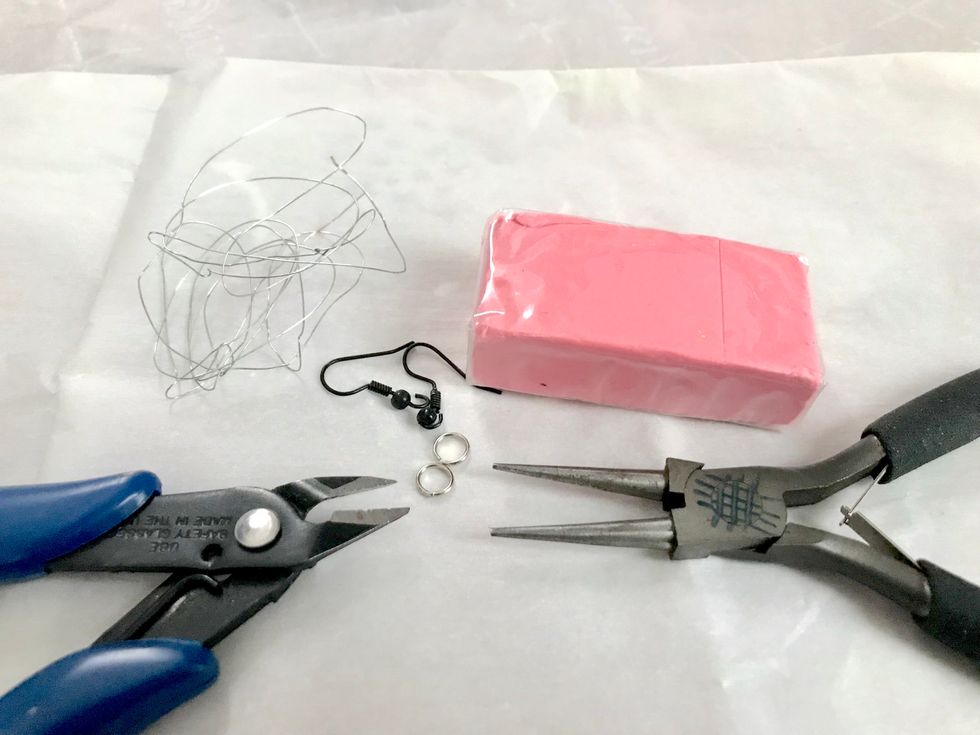
For each pair of earrings you will need:
2 Jump Rings
2 Earring Hooks
4 In. Jewelry-Making Wire
Oven Baking Clay (Comes in a multitude of colors)
Wire Clippers/ Sharp Scissors
Round Nose Pliers
Mechanical Pencil
A Mold (for the earring's shape). I use mini cookie cutters but many other items can work as molds as well.
Parchment Paper
Baking Sheet
Oven
Let's Begin!
Sara Thompson
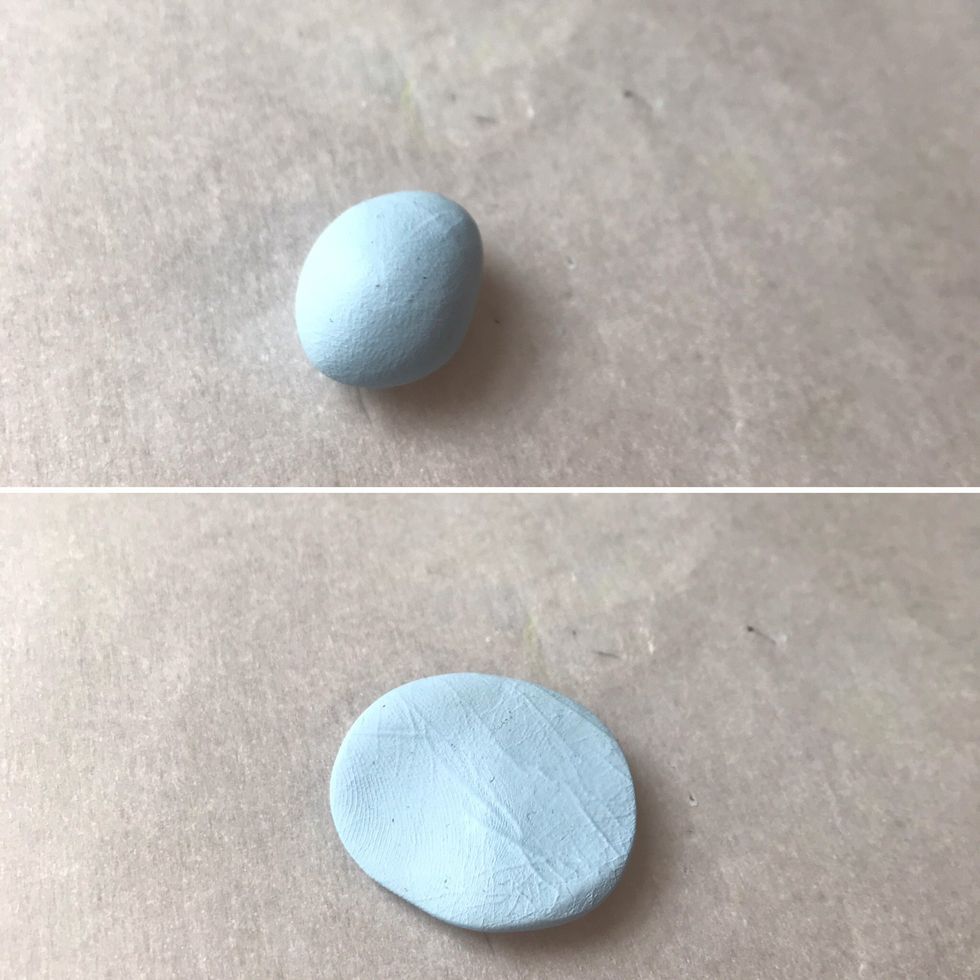
First, break off a suitably sized piece of clay for the main part of the earring. Then, squish it between your palms, using the heat to soften the clay and make it malleable. Once the clay is soft, mold it into a ball and then flatten it onto the parchment paper and into a roughly oblong shape large enough to fit both earring pendants.
Adding Designs.
Sara Thompson
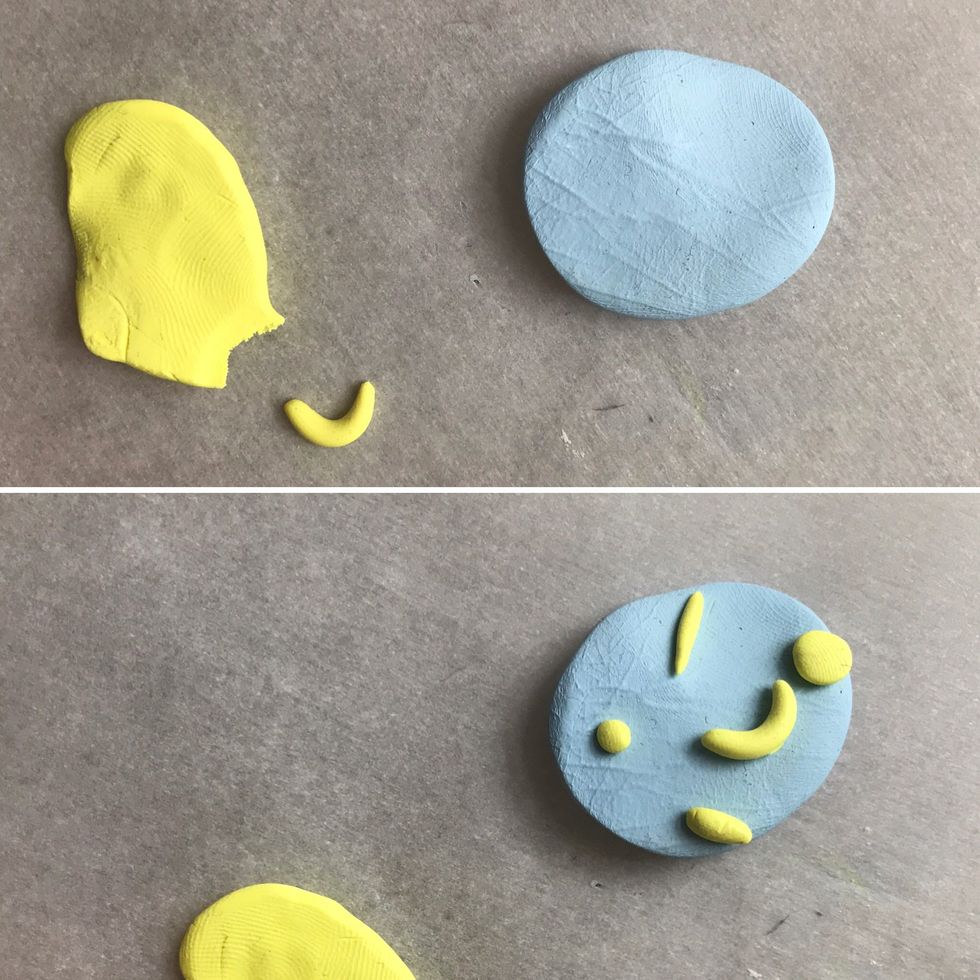
Patterns are a lovely way to spice up a piece, and can easily be accomplished by taking bits of a differently colored clay, manipulating them into shapes, and placing them onto the original clay slab.
Adding Designs Continued...
Sara Thompson
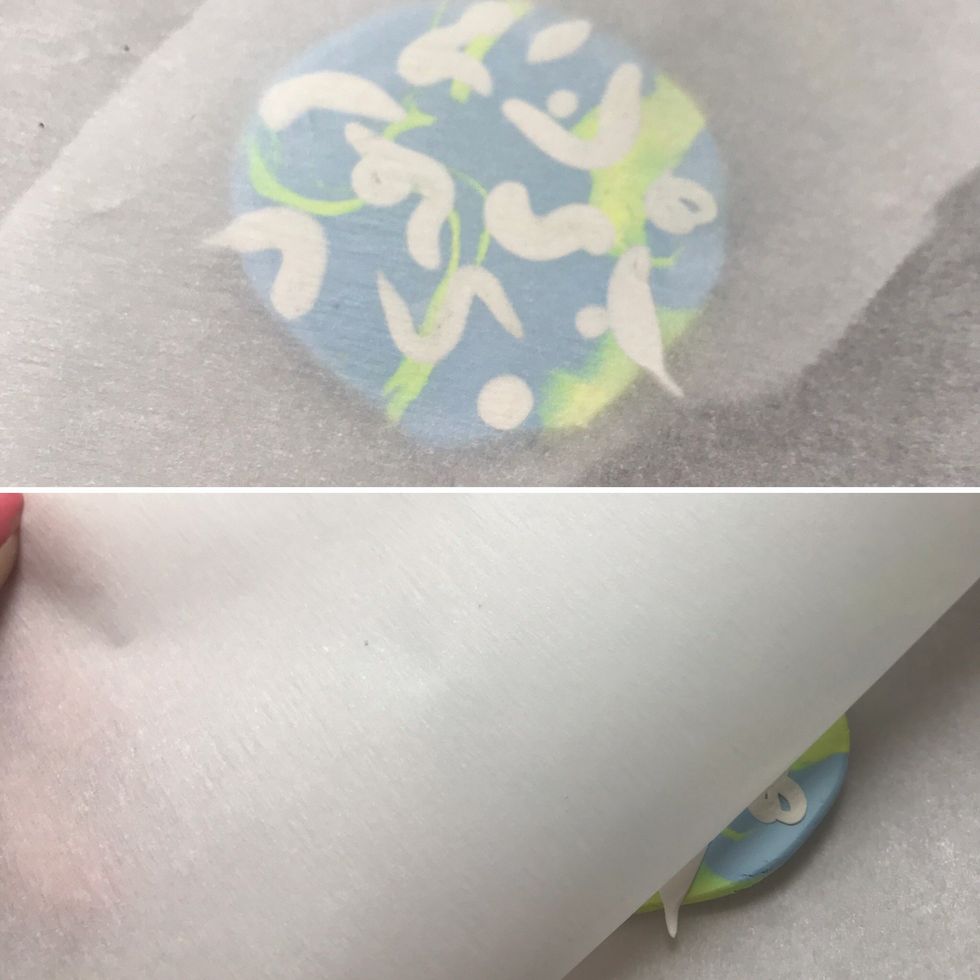
Once the bits of clay have been added, integrate them into the original slab by covering the whole piece with another layer of parchment paper. Then, use a completely flat object to flatten the pattern together into a solid segment of clay. Gently peel off the top layer of parchment paper, revealing the final pattern of clay.
Shaping The Earring.
Sara Thompson
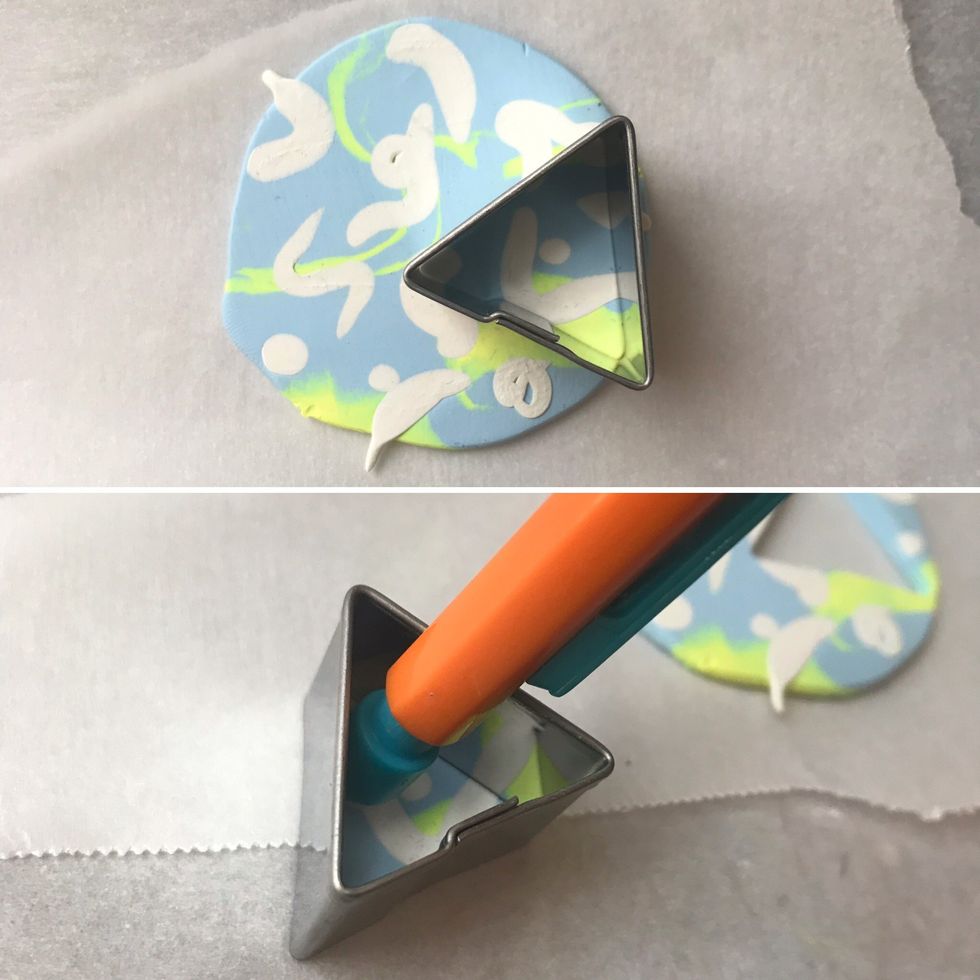
You are now entering the final stages of your earring design process. Select a mold in the shape of which you want your earring to be. Make sure you choose a placement on your flattened clay which will allow you to make both the pendants from the same piece of clay. Gently press the mold into the clay and wiggle it very slightly from side to side, ensuring that the clay within is no longer attached to the larger piece from whence it came. Then, remove the mold and use the eraser side of a pencil to delicately push the pendant free from the mold.
Finalizing The Pendant.
Sara Thompson
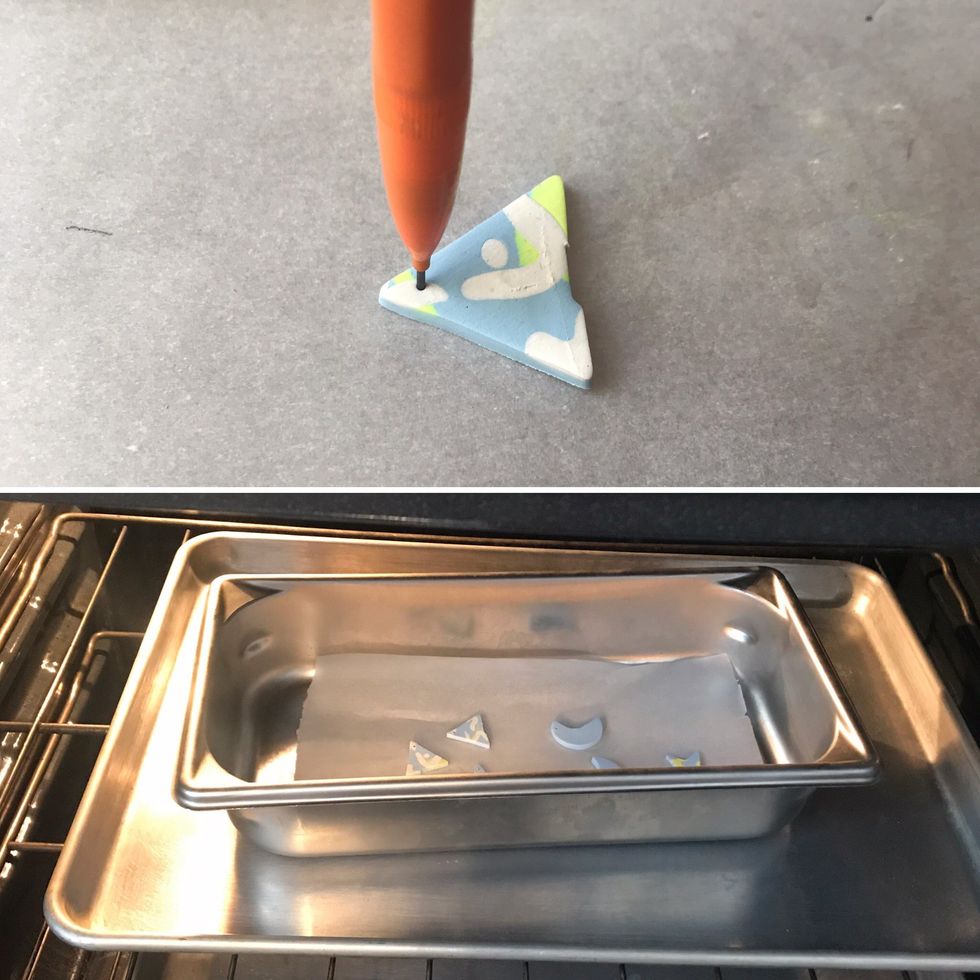
To finish the pendant, use a mechanical pencil to puncture a hole near the top of the shape, going from front to back. Carefully place the completed pieces on the parchment paper inside the baking sheet, bake them at the temperature and duration written on the packaging for that specific clay, and then wait for them to cool before moving on to the next step.
Making The Pendants Into Earrings.
Sara Thompson
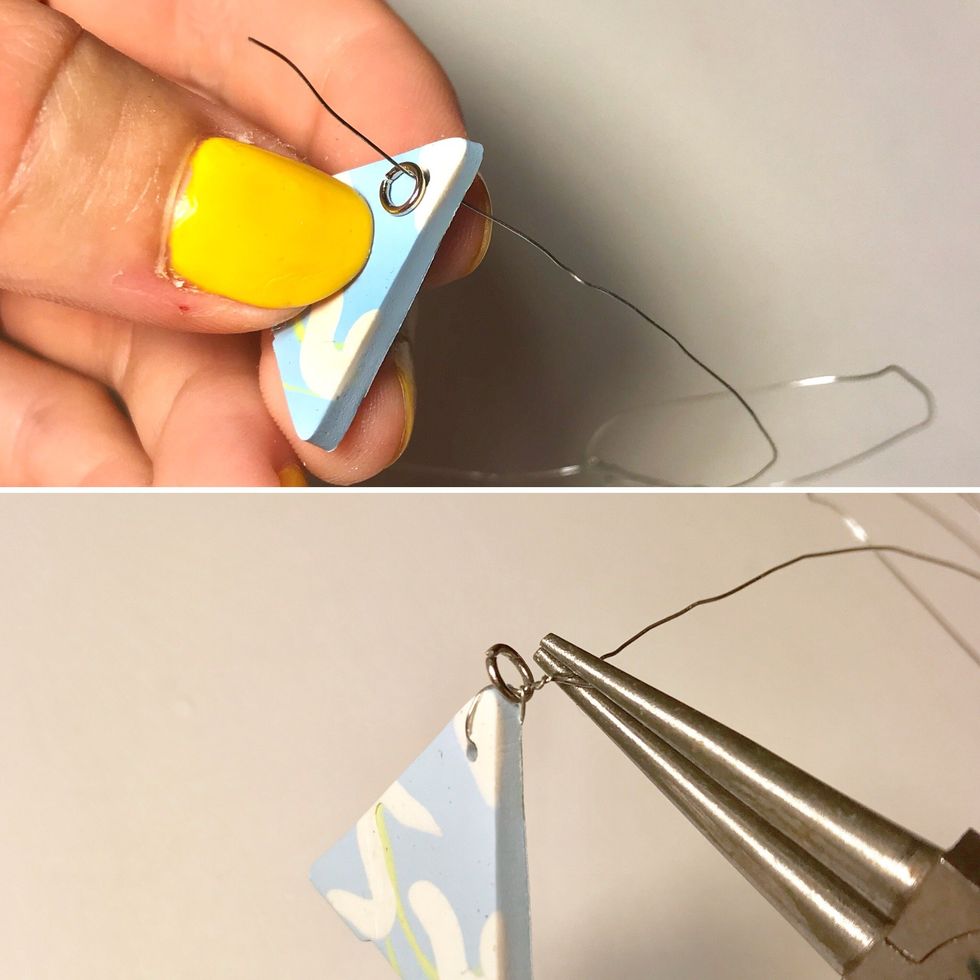
Thread the wire through the pendant from back to front and then thread the jump ring onto the wire. Using the round nose pliers, twist the wires together and towards the back of the pendant until they are tight, but not so tight that they crack the clay. At this point, use the wire cutters or scissors to trim the excess wire, leaving about a millimeter of untwisted wire at the end.
Finishing Up!
Sara Thompson
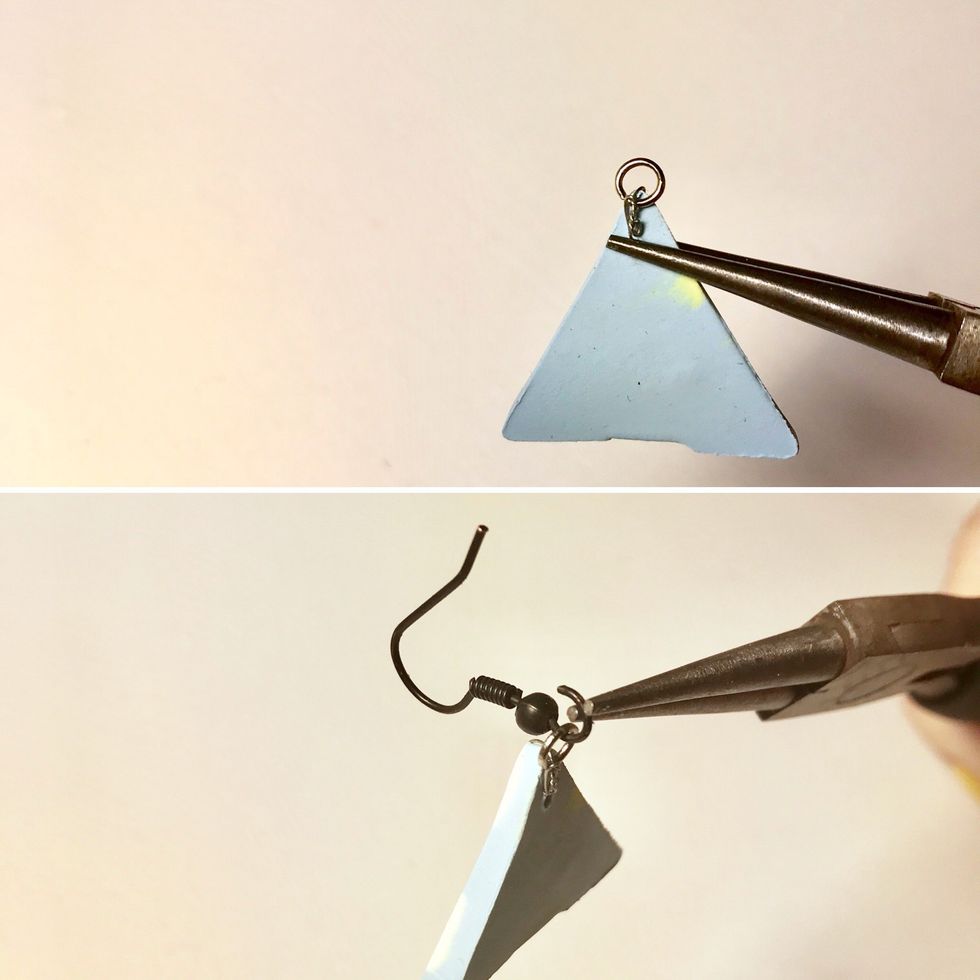
Use the round tip pliers to fold the raw edges of the wire underneath the twisted part so that it doesn't snag, and then fold the wire down and press it against the back of the earring. To finish, use the pliers to open the bottom loop of the earring hook and thread it through the jump ring, making sure that the pendant is facing is the right direction, and then close the loop with the pliers.
You're Done!
Sara Thompson
Now that you've finished your awesome new accessories, use them to style your next cute outfit or as neat and thoughtful gift!


