Most people associate art with abstract decorative pieces that hang in museums somewhere for everyone to gawk at. There’s more to art than just observing and interpreting what’s in front of you. It can also become a fun way to bond with family and friends by making masterpieces together. A melted crayon canvas is an inexpensive and easy do-it-yourself project. Creating the canvas doesn’t require much skill or supplies, but it does take a decent amount of time. The process is easy to follow; just apply the crayons to the canvas, outline a word or picture with masking tape, and finally melt the crayons onto the canvas.
There are a few precautions to take before beginning the project. First and foremost, make sure to acquire all the necessary tools and supplies. For this project you’ll need a hot glue gun, crayons, a canvas, masking tape, and a blow dryer. Also keep in mind that art projects are meant to be messy, so be sure to place the canvas in an open area. You won’t want random melted crayon splatter all over your walls and furniture. I recommend using a big garbage bag and cutting it up so you can protect the floor and walls. Don’t forget to wear old clothes since this is a messy project and your clothes may get dirty in the process.
The first step is positioning the canvas. It should be placed vertically with each crayon sprawled across the top edge of the canvas with the points facing downward. The next step is determining what colors to use on the canvas. Some people like to have an array of colors lining the top of the canvas. Others choose an alternating color scheme with only two colors. For this particular example I’ve chosen to use the different shades in a rainbow starting with the reds, and working my way to the violets. Each crayon should be gently placed on the canvas to have an estimate of how many crayons will fit across the top.
Once the crayons are spaced out and placed down according to color, they are ready to be glued down. Pick up the hot glue gun and squeeze a bit of glue onto the first crayon. With steady and quick hands, press the crayon back into its original spot on the canvas and firmly press it to ensure the crayon will stay in place. You have to repeat this step for every crayon lining the top of the canvas. The crayons should be cramped together so not even a hair could fall between them. After every crayon is positioned where they should be and glued down, it is time for step two.
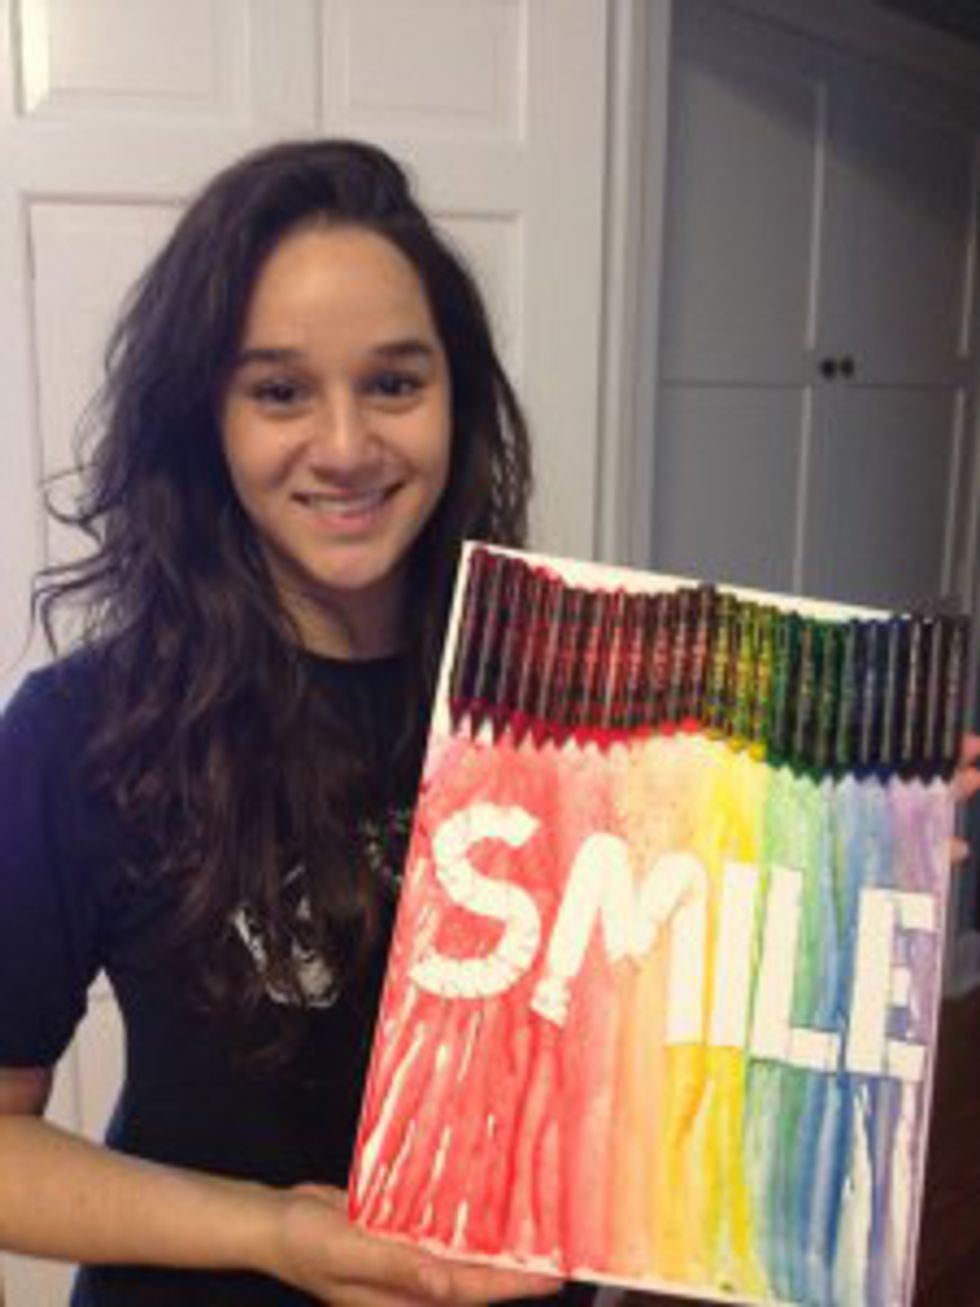
If you wanted to include an image on your canvas, kind of like a silhouette, now is the time to get it down. After deciding what image or word you want to stand out in white, while surrounded by streaks of melted crayon wax, grab the masking tape. The masking tape is used for this step so the crayon wax glides right over it and a white mark takes the place of the tape. I chose to spell out the word "smile” on the canvas as a friendly reminder to stay positive. The tape is ripped in several little pieces and carefully placed together to form the curves for the “S.” The other letters are fairly easy to create considering there aren’t any other curves. The tape is flattened onto the canvas, forcing out any air bubbles. There cannot be any nooks or cracks in the tape otherwise the melted crayon wax can slip in between the tape and get into the white area.
The last part of the process is melting the crayons. With the blow dryer set on high, start running the hot air over the center of the crayons. Continue this step until the crayons begin to perspire. Eventually the crayons’ wax will begin to melt and slowly bleed onto the canvas. The colors will blend and come together smoothly after a while. You can also direct the stream of colors in different directions with the blow dryer and leave little drops and waves of color on the canvas. The wax will ooze over the masking tape letters previously pressed onto the canvas. Melted wax will cover the entire canvas, encompassing the letters in color; some may even splatter off the sides and bottom of the canvas while blow-drying.
The wax will harden after a few minutes and the letters will almost be ready to peel off. When the canvas is dry, slowly peel away the masking tape plastered on the canvas. Exposing the naked letters, take a step back and admire the pop of color surrounding the newly formed words. The melted crayon canvas is complete. This simple art project can become something that brightens a person’s day. Little artistic skill is needed, but the outcome is rewarding.


