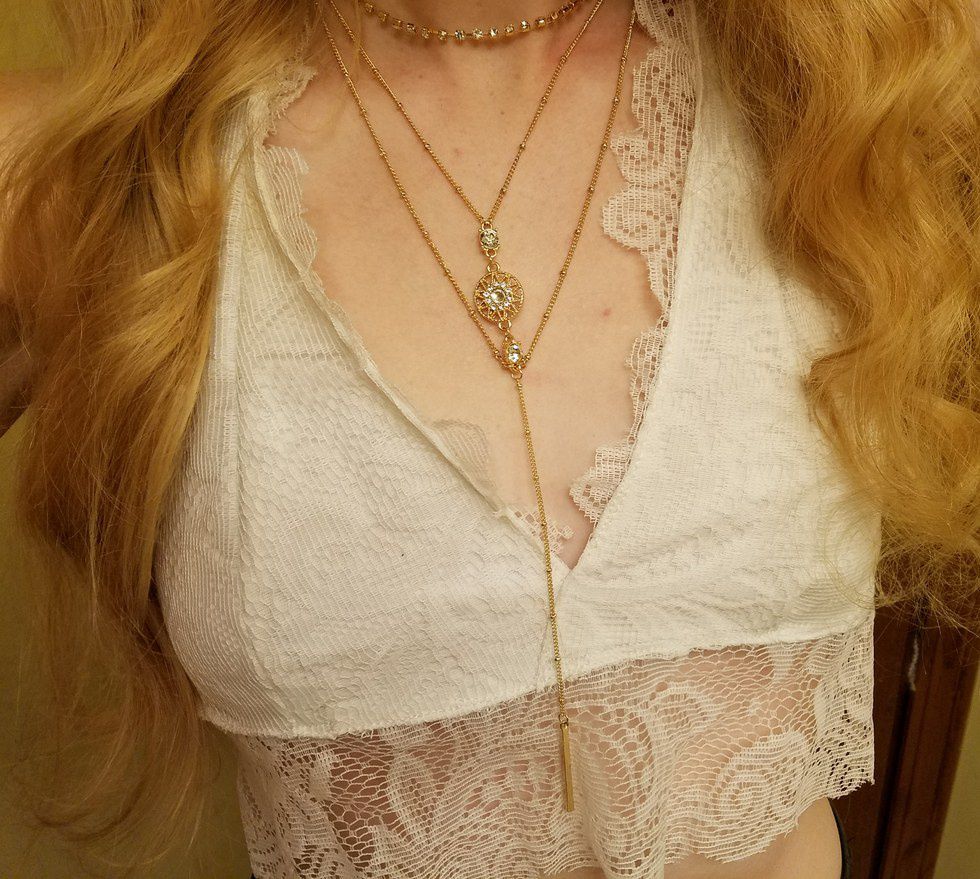
"Bralette is truth, truth bralette,— that is all
Ye know on earth, and all ye need to know."
-Keats, My Coachella Game Is So Strong Bitch
Materials
1. Lace, around 1 yard (note: the finer and less space between the threads, the better. My lace had some giant holes in it and sewing it was an ordeal, ah me!)
2. Backing fabric that will feel comfortable against your skin. I used a cotton T-shirt. Unless you want your nipples slightly visible behind the lace, you smut muffin! YOU FLOOZY!
3. Measuring tape
4. Thread, unless you're Simon and Garfunkel
5. Buttons for a clasp
6. Needle, pins
7. Sewing machine or good fuqin luck m8
Step 1: Measurements
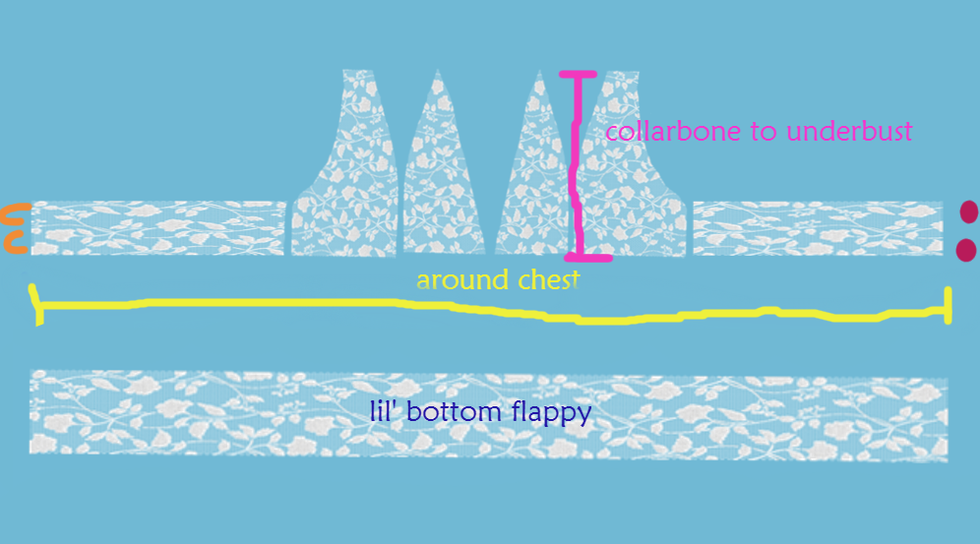
You'll need about two quantitative measurements:
1. The width of the chest below the pectorals, where the bralette will perch. If you normally wear bras and know the number on your bra size, that's the one. (For example, I am a wonderful 34A, meaning the width of my bra strap is 34 inches)
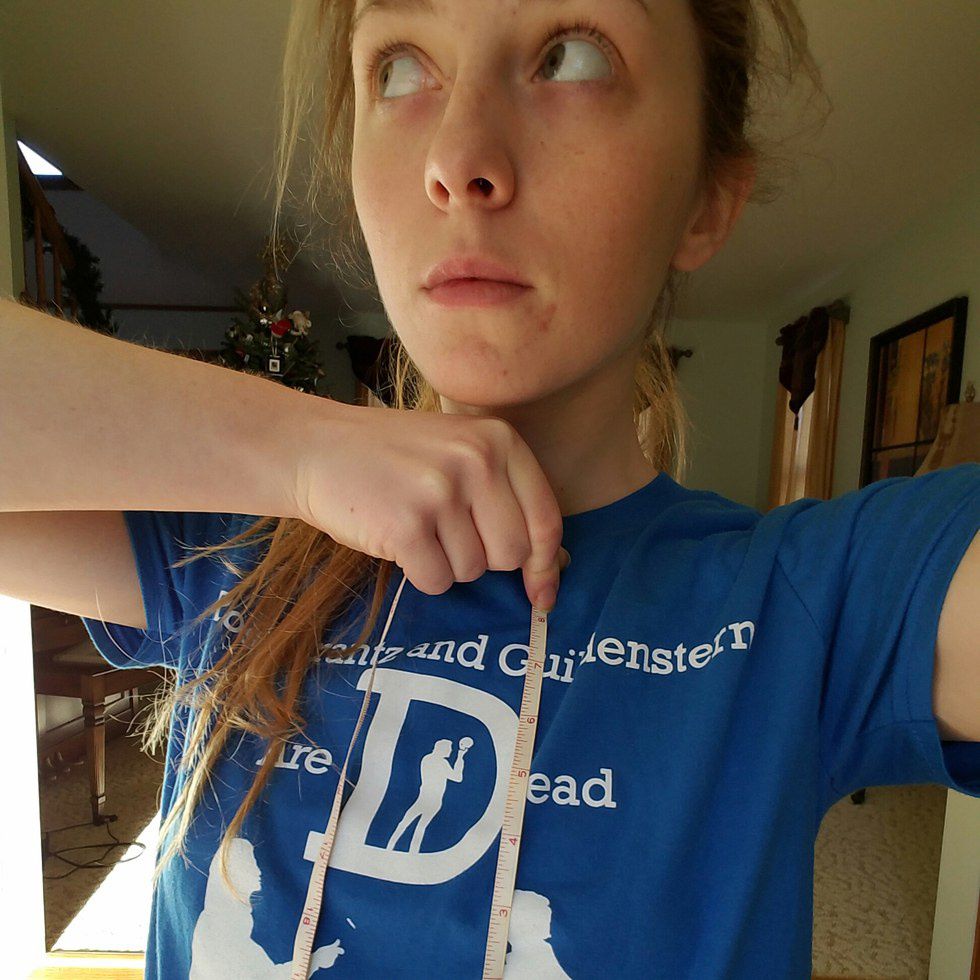
2. The length from your collarbone to underbust (pictured below)
I am looking askance because I am a modest virgin, and you are the Internet
Step 2: Cut Out Fabric
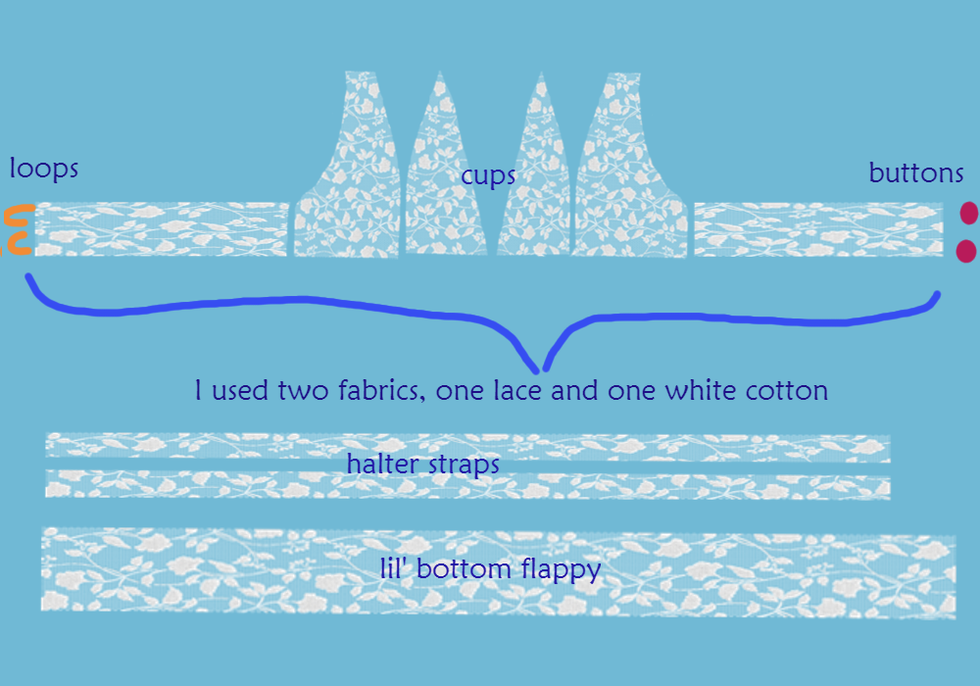
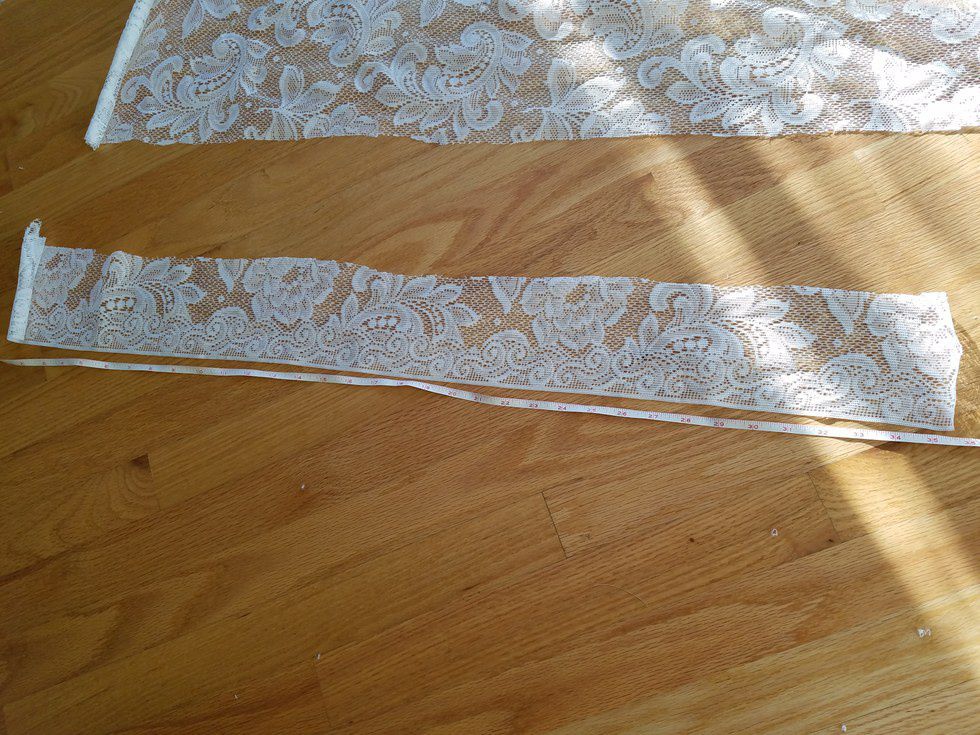
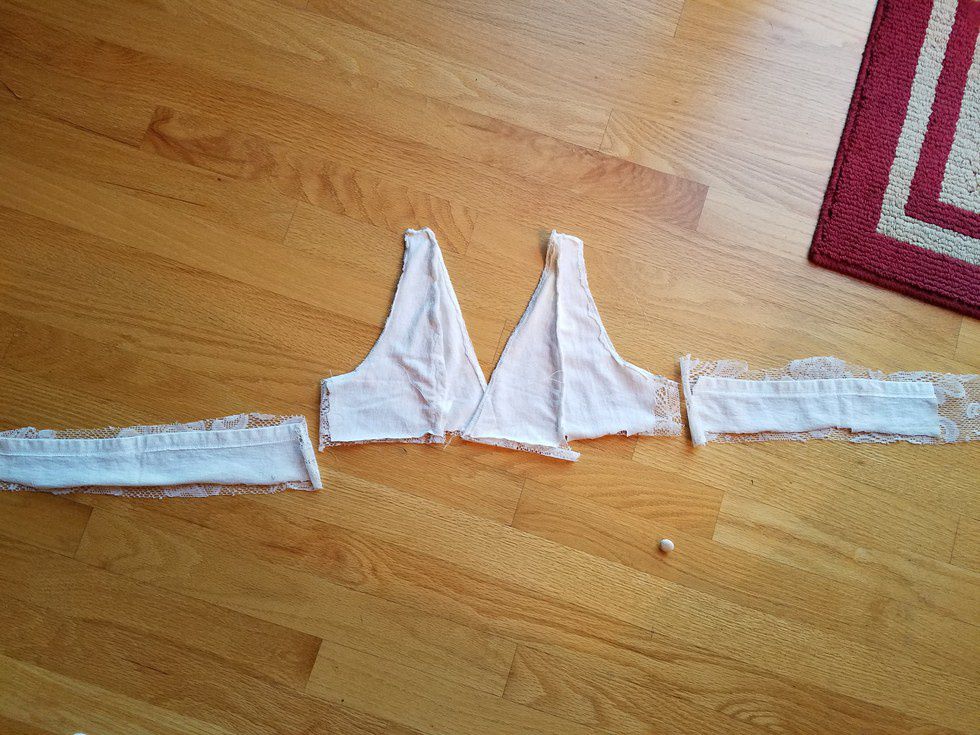
Here are all the pieces you shall need:
With measurements:
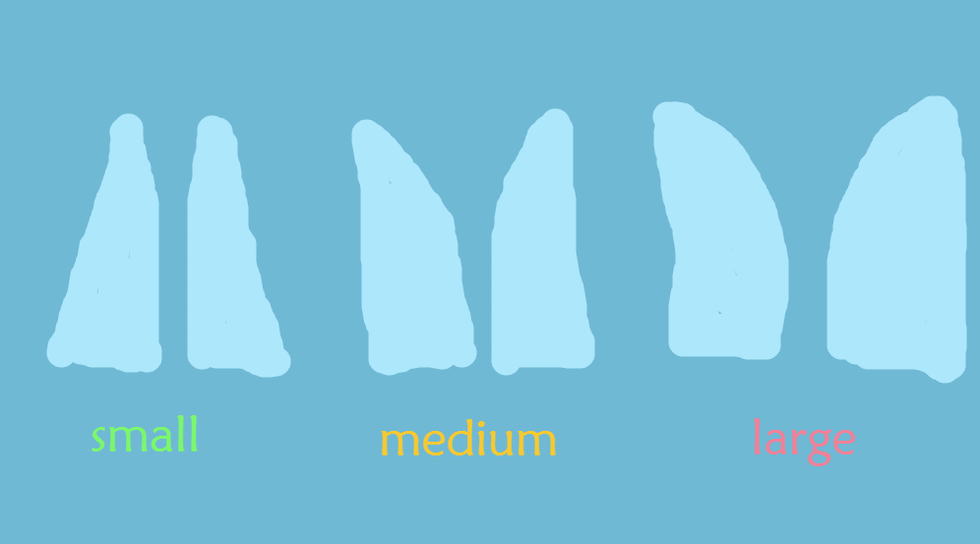
A note on cup size: being the aforementioned 34A, I merely need to cut two triangle slices when I make breast cups. However, to accommodate your own unique bosom, you may need to adjust the design, especially the "slope" between the halves of each cup.
(This was made at 3am so don't judge me.)
As you can see, the larger the cup size, the curvier the slope between them becomes. You may need to pin the fabric a few times to make sure it fits. Maybe pierce your nipple while you're at it, IDK.
Measuring the flappy, and leaving about 3" to spare (37" when I needed 34").
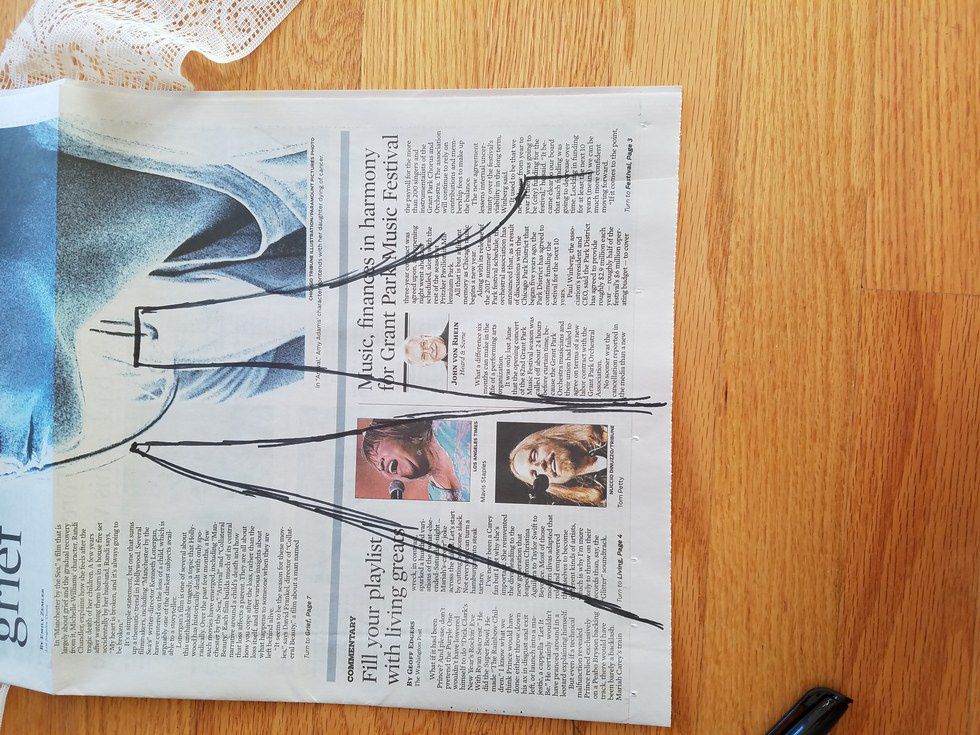
I traced out the pattern for my cups here. I added a little foot for where the cup curves under the armpit.
Note: You must be cold and sacrifice newspaper Tom Petty and Mavis Staples on the altar of your hedonistic craft orgy.
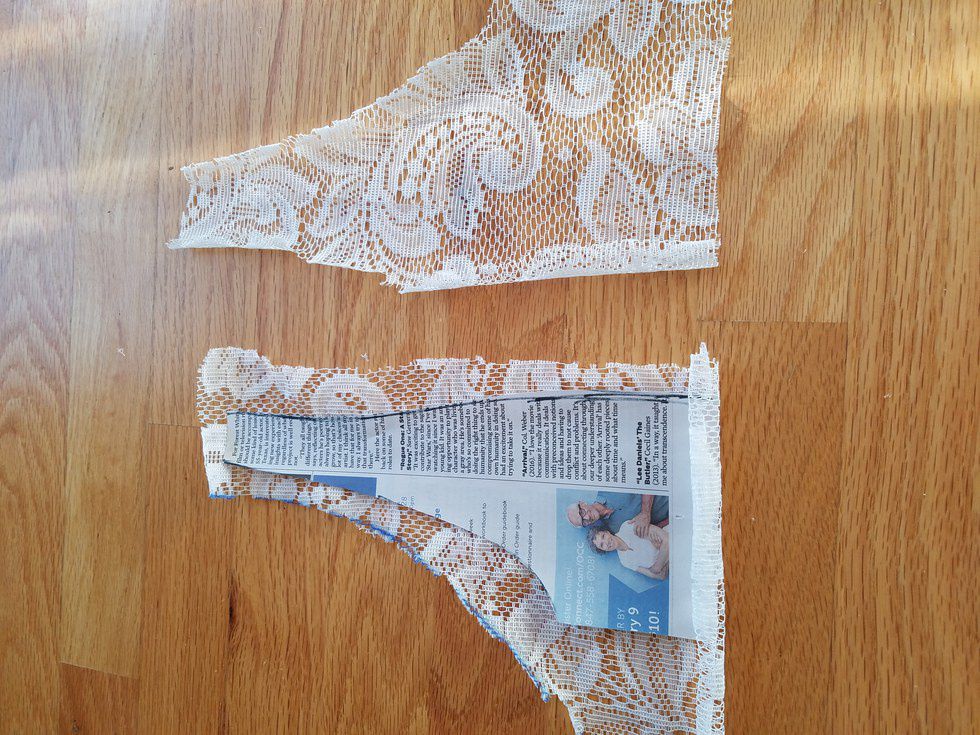
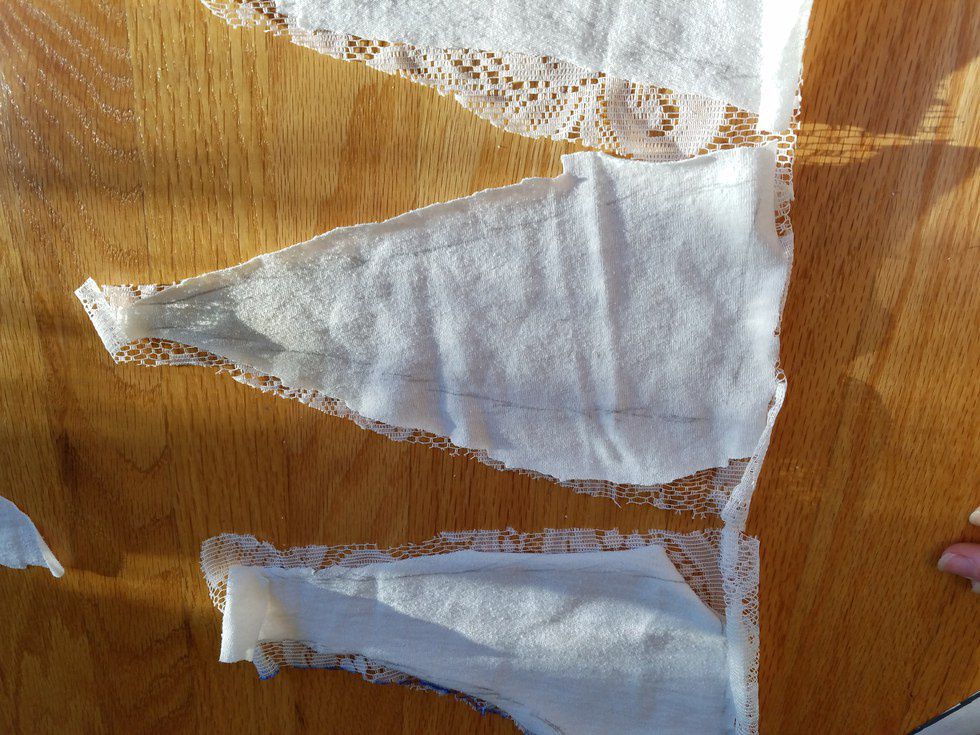
Once you have one newspaper pattern, cut out the fabric accordingly, making sure to leave space for hems and for when you really screw the pooch. Flip it over to make a mirror image.
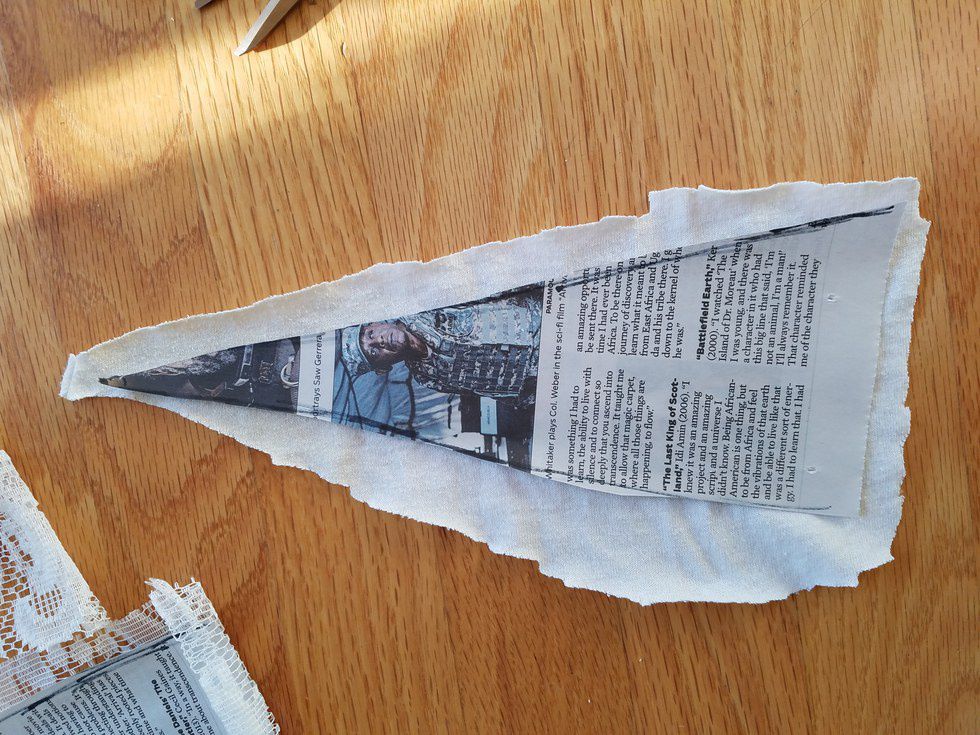
This is me cutting the cotton lining and doing an absolutely punk job.
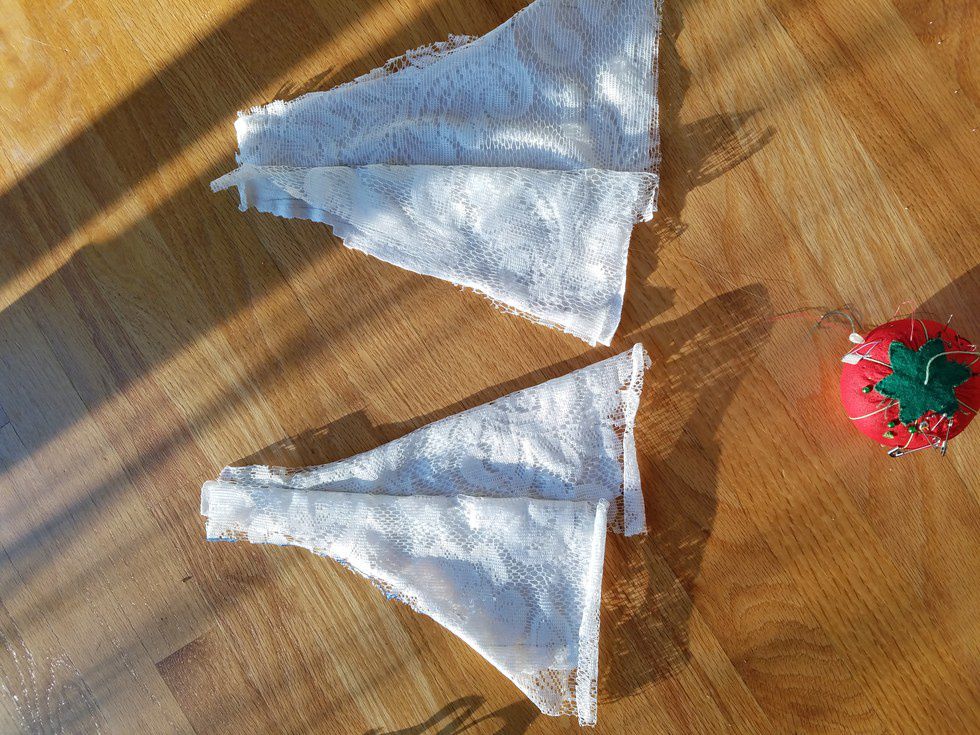
Eventually, you should have a piece of lace and piece of cotton for each part of the cups.
Step 3: Sew the Cups
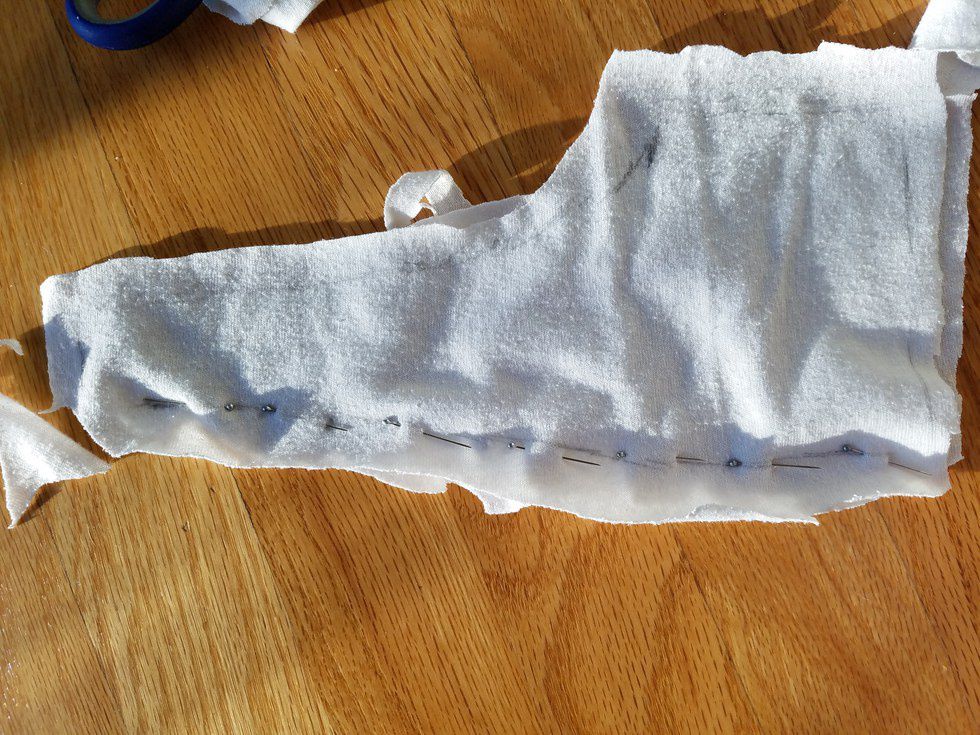
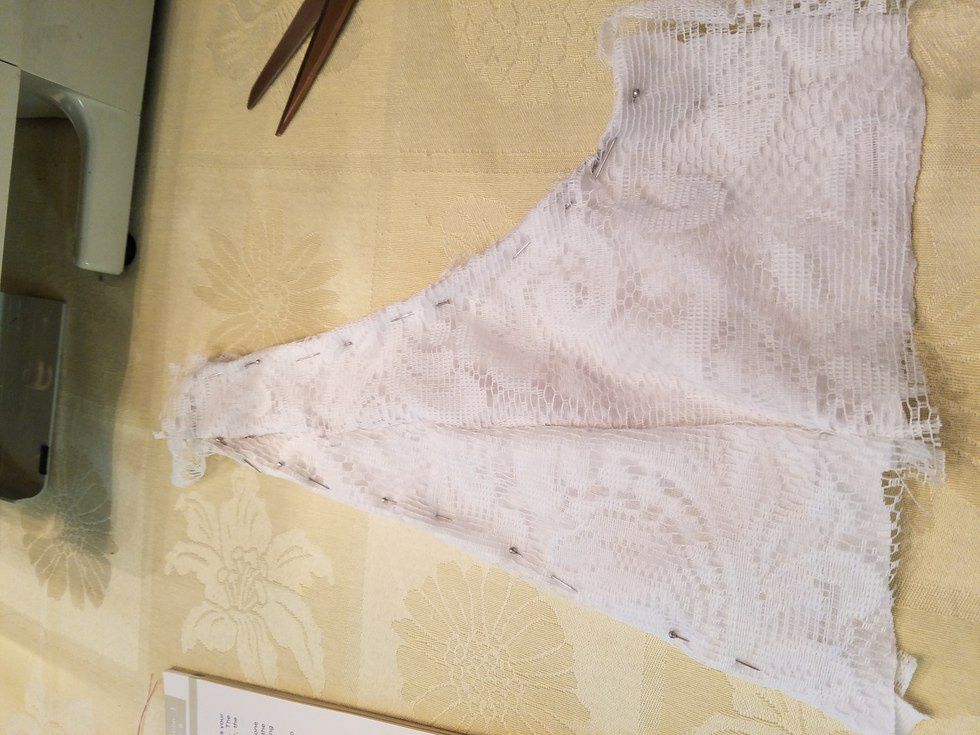
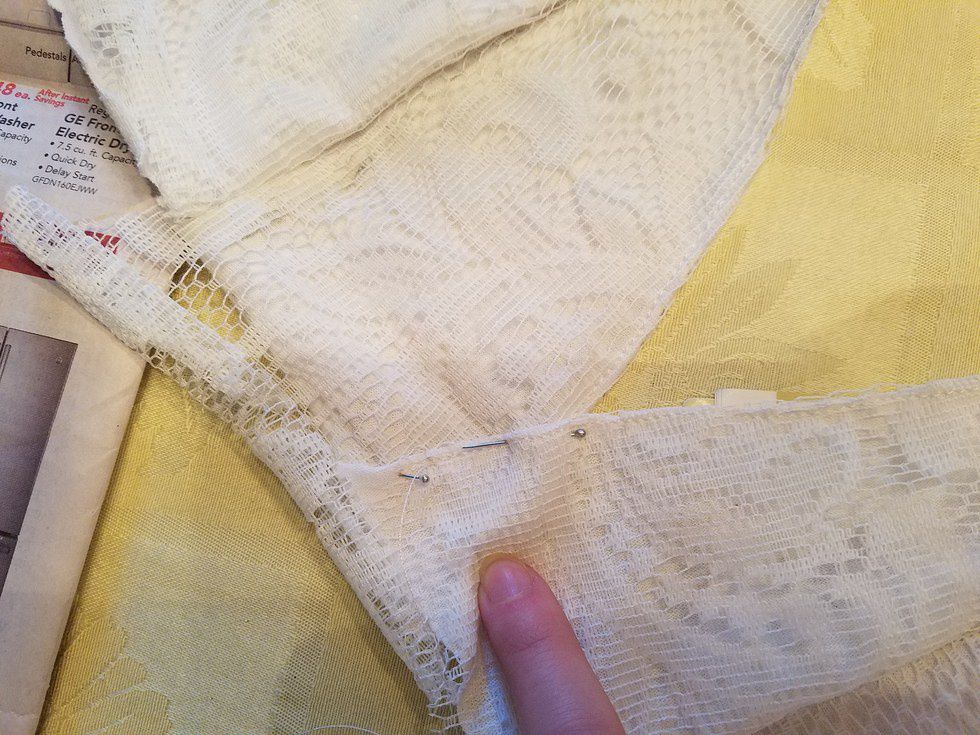
Pin the two cup pieces down the middle, sandwiching the lace between the cotton. That way the lace sides will be sewn together after the seam is created.
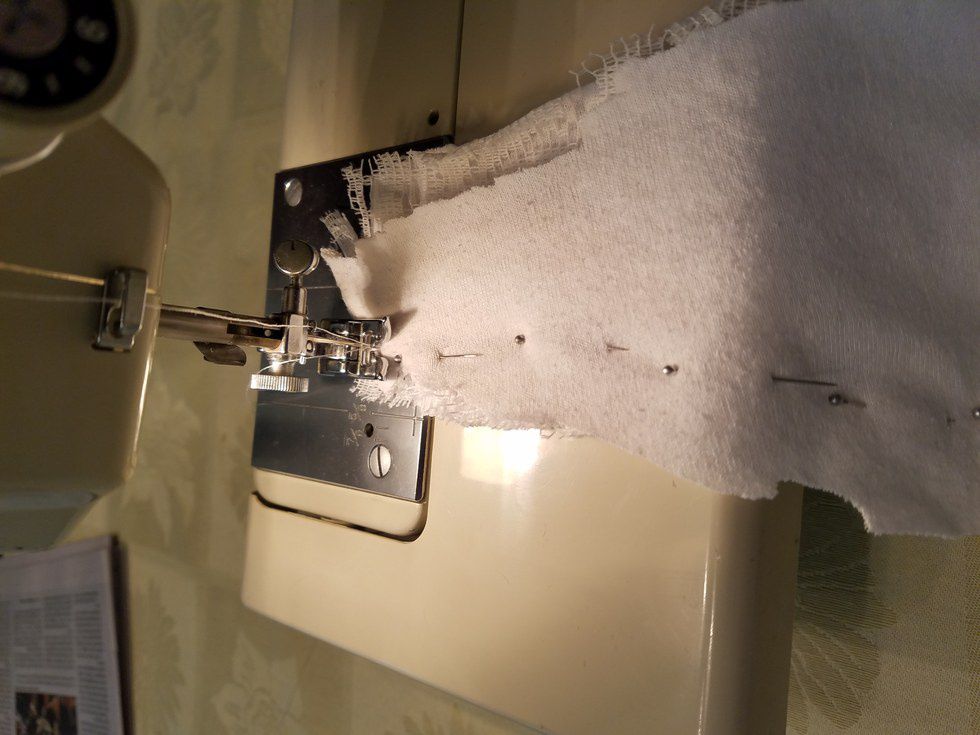
SEW
(I used straight stitches for all of mine, at a pretty small stitch length.)
FYI: A straight stitch is your standard "- - - - - " stitch, because I'm a damn bore today.
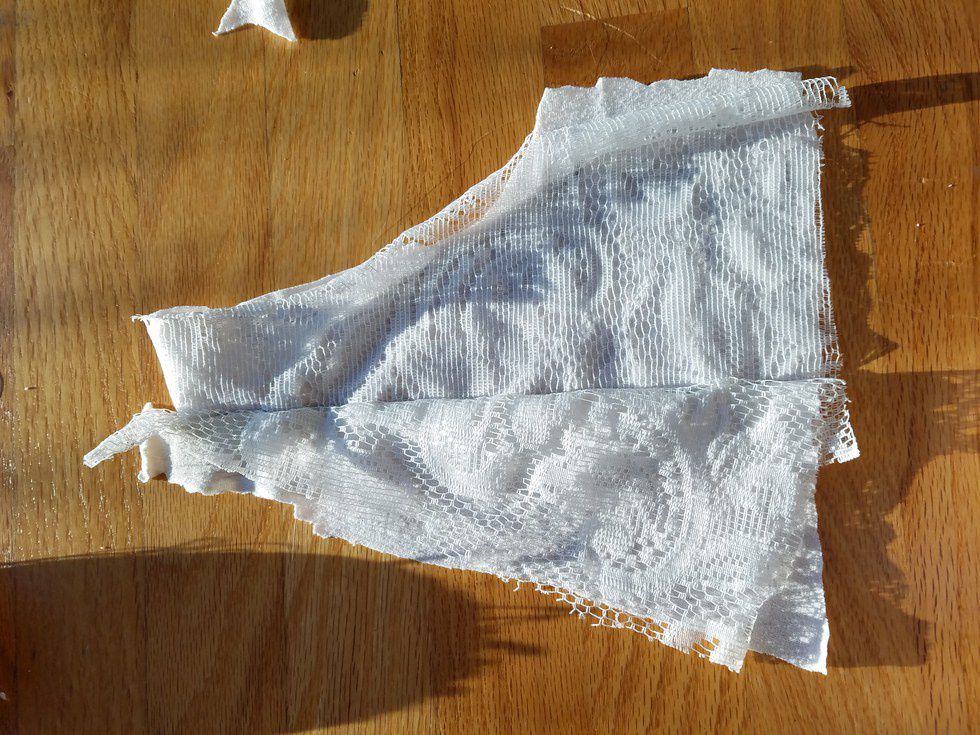
The seam down the middle of each cup should look like this:
Sew two cups, and honk if you like symmetry.
Step 4: Hem the Edges of the Cups
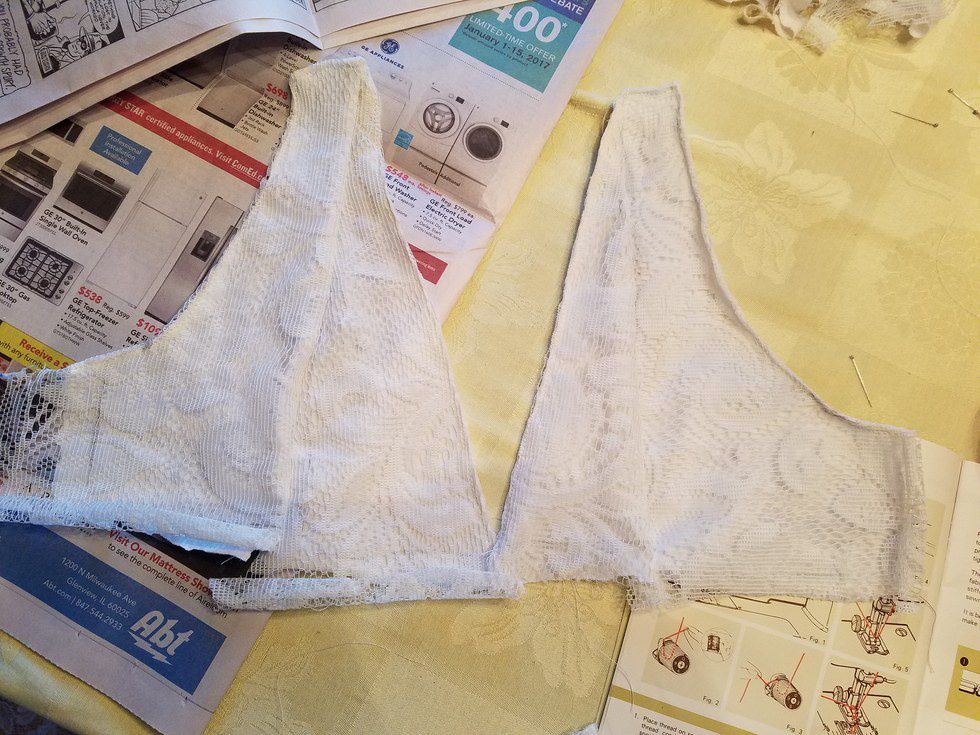
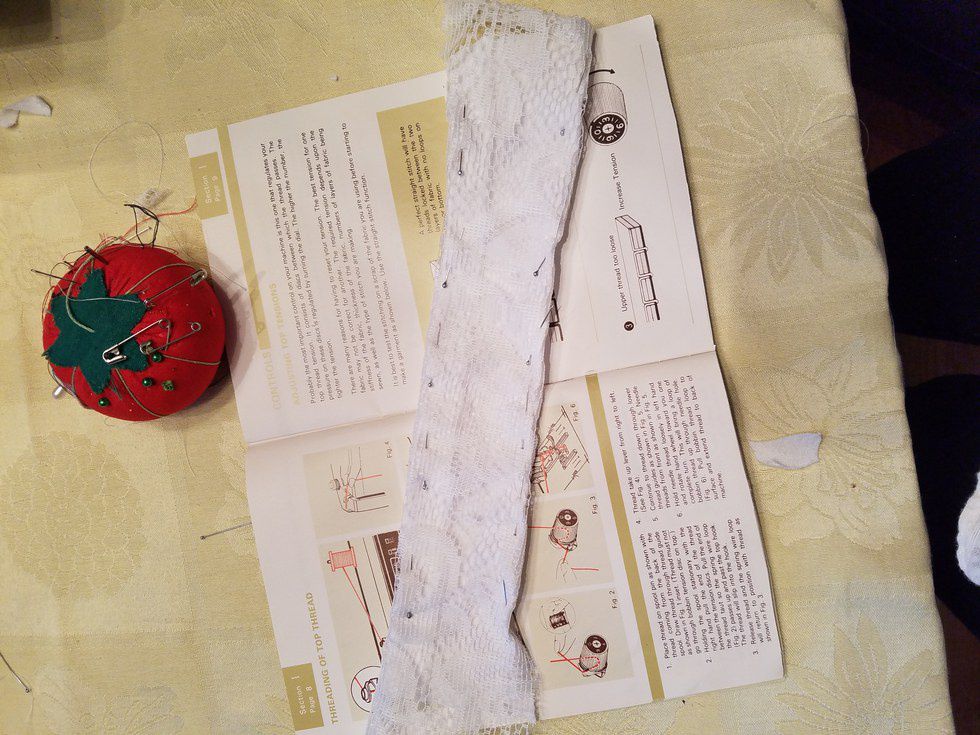
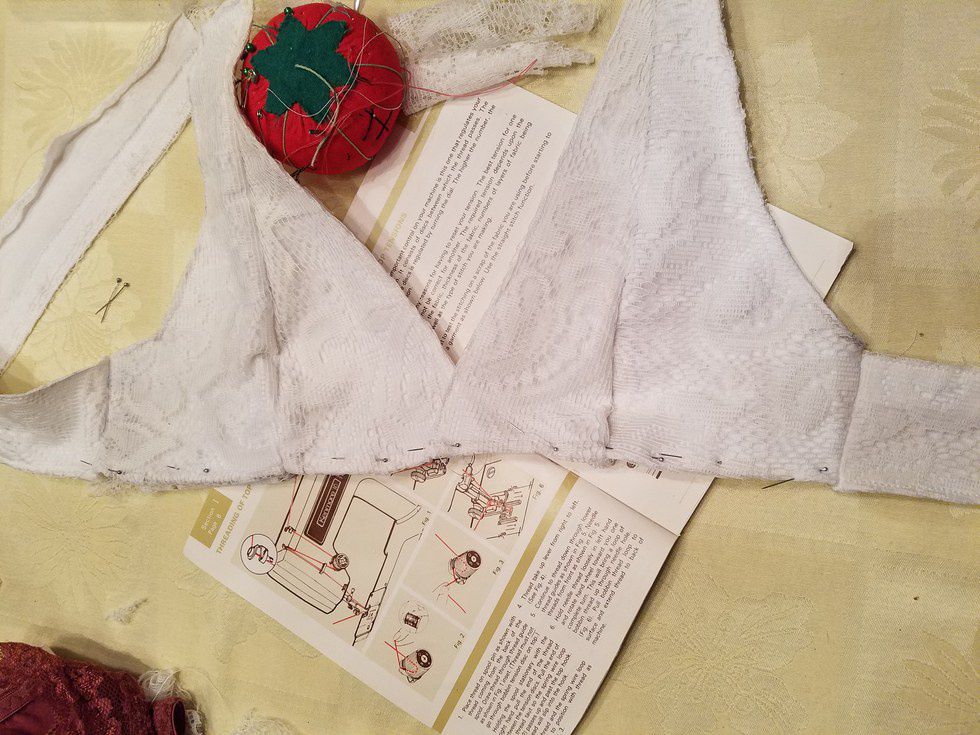
Pin down the edges so they fit the original outline of the shape you need and sew them down on the outward-facing side. I left a very small margin between the stitch and the folded-over edge.
See! It looks passable as something that might eventually become a garment.
I decided I wanted some overlapping action, so I positioned one cup in front of the other, pinned, and sewed.
Step 5: Sew and Attach the Side Straps
This is about what you should have:
Sew the lace overlay to the cotton of the straps and hem them, again with a straight stitch on the outward-facing side.
I attached the side straps to the cups, just folding both back behind the bra where the seam would be and sewing straight down.
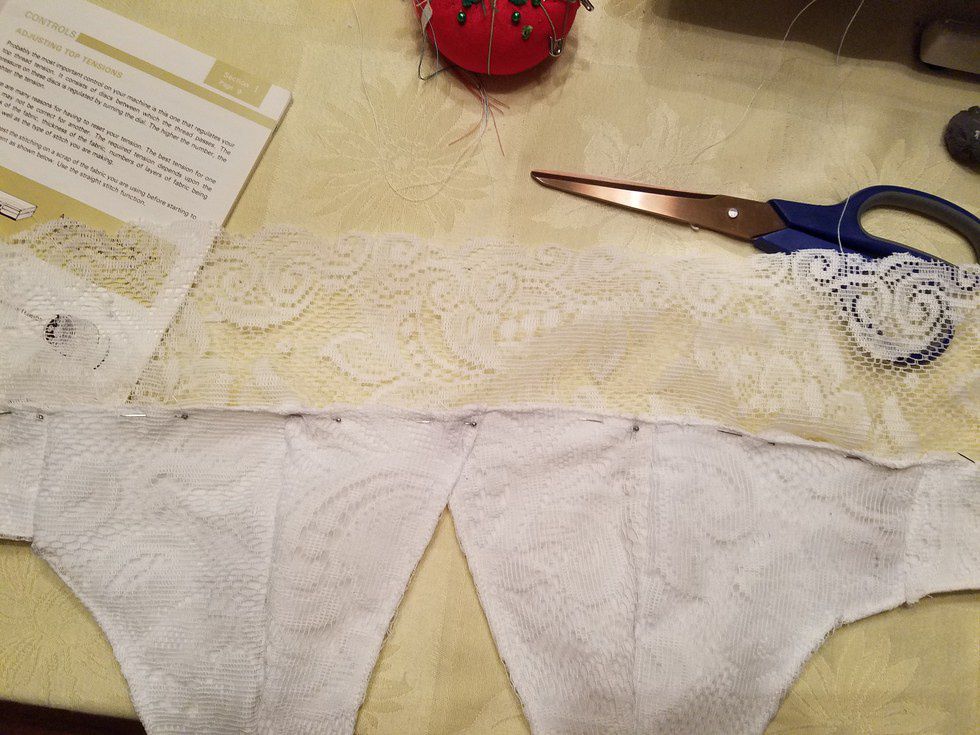
I hemmed the base of the bra (here you can see the seams where the cups meet the side straps)
Step 6: Attach the Lacies
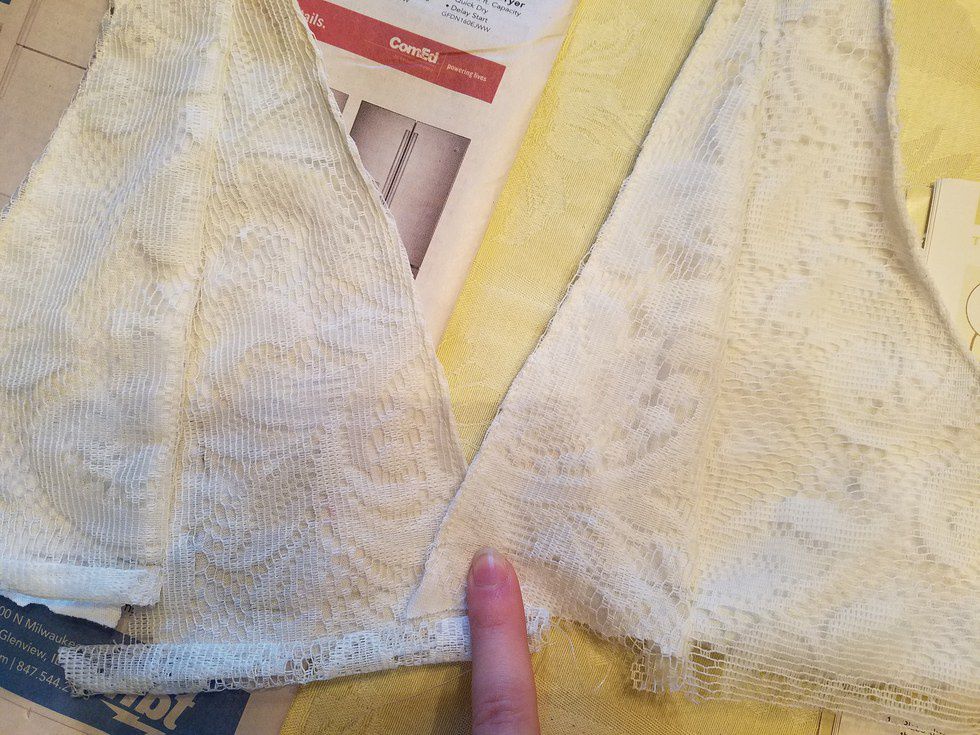
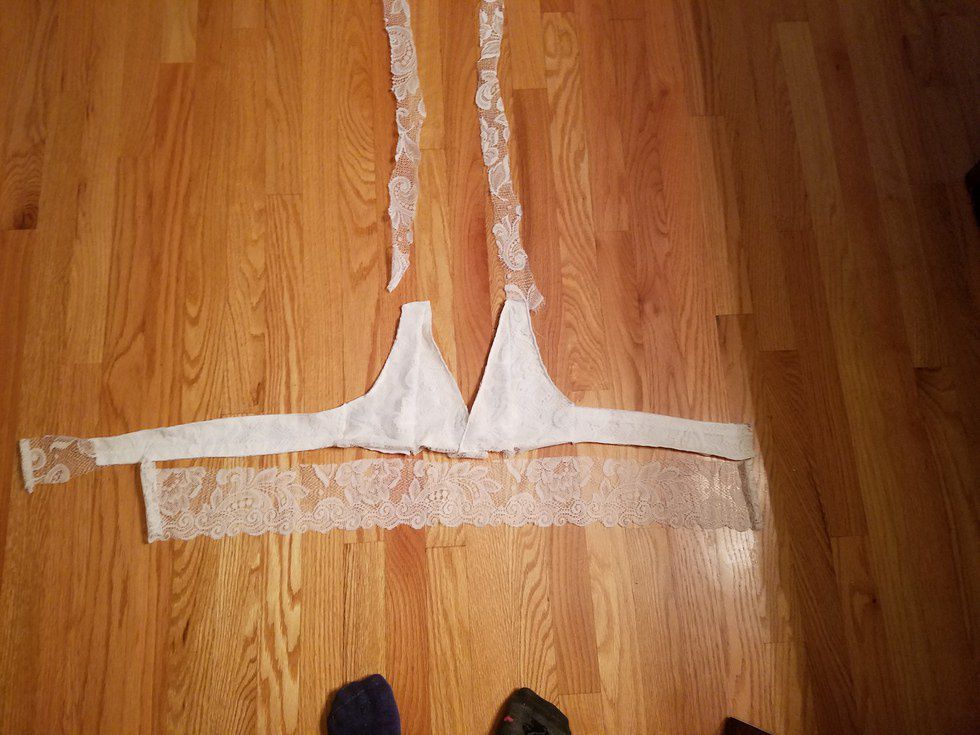
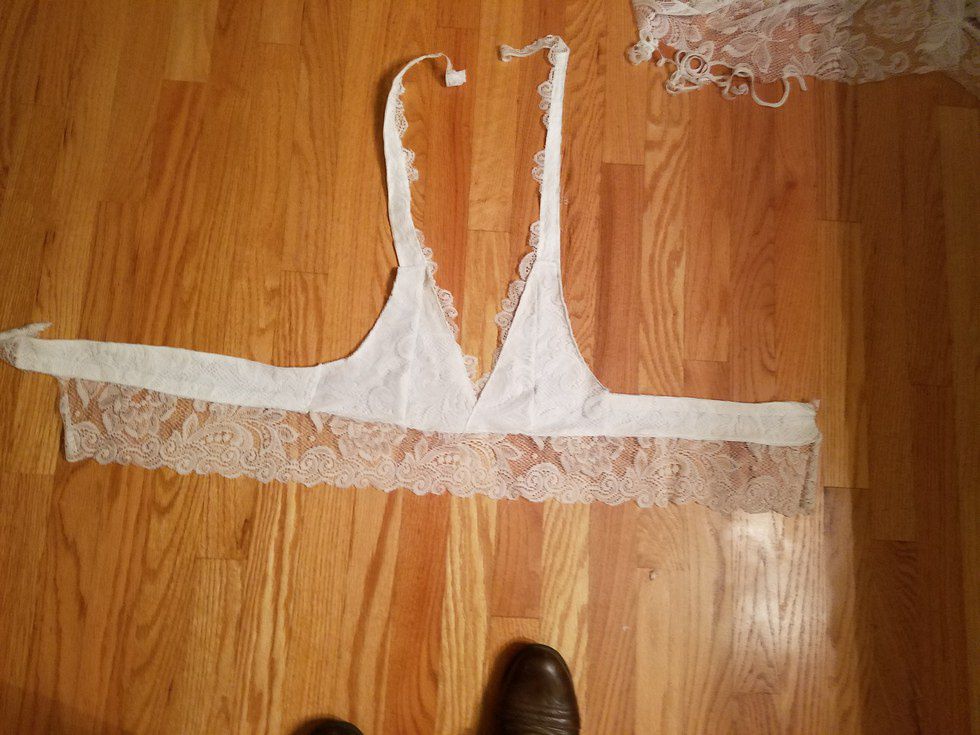
I sewed the lil bottom flappy onto the bra, again stitching on the outward-facing side and just pinning the lace behind. If you look closely, you'll see I trimmed the edges of the lace along the inner patterns because it looked prettier than a straight line of lace.
I also decided that the halter straps needed white cotton backing. I thought I would go with two straps, but afterwards sewed them together where they met at the nape of my neck because I didn't want to deal with a knot. Also I added filigree lace to the insides of the cups.
Step 7: Add Buttons and Loops
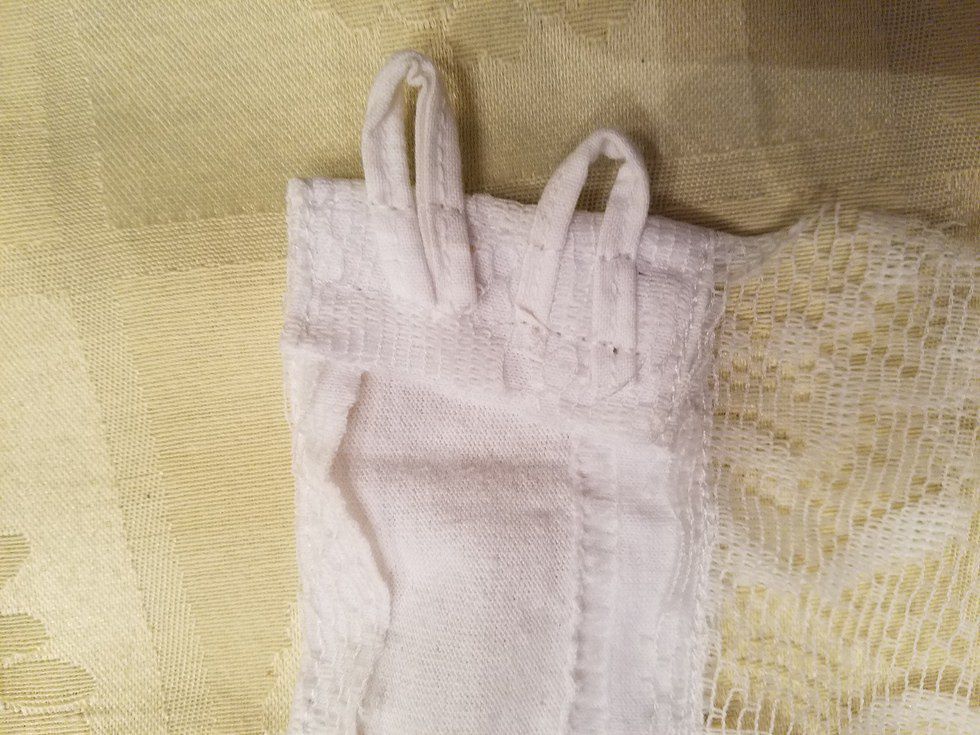
I used little tubes as the loops; I had some from old napkins but a good tutorial on tubes is here. Long story short, it's a bitch. Plead for death.
Not pictured: I put on the two buttons on the other strap and was done. Praise God.


