Going to college I wanted to make sure my room was very cozy and welcoming. It isn’t cozy at all when the whites walls are plain also with the fluorescent lights. The summer before my sophomore year at college I made it sure I was going to make wall art to my room a lot more pleasant looking. Make sure you have a friend to help you out with everything. Trust me, having my friend Maddie help out made it so much easier. I hope you enjoy and try this DIY craft for your room!
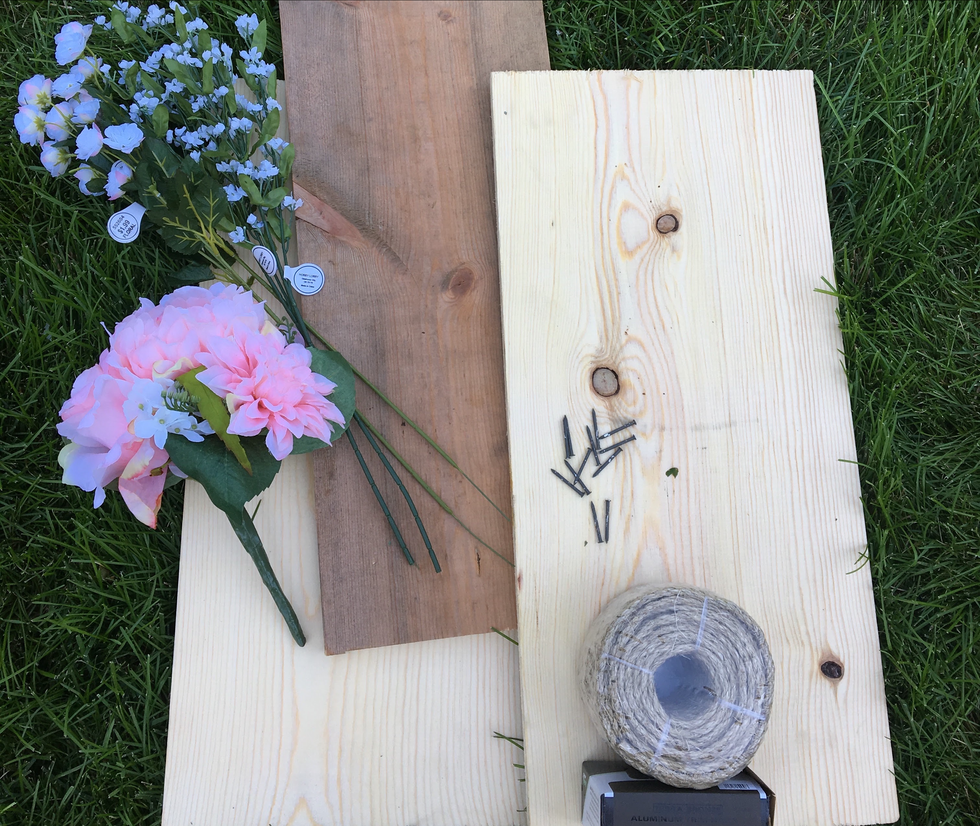
1. Collect all the supplies needed.
I got the pieces of wood at Menards in the scraps section, it doesn't matter what kind of wood it is. Just make sure it is light so you don't have an issue hanging it on a wall. It is also up to you on how small or how large you want this to be.
The nails and the twine are also from Menards, they have the best prices. You can pick out what color and the size you want the nails to be, but make sure that you have the right length because you don't want it to go through the wood. I picked a thick twine so you really see it, but that is up to you as well. They have quite a large selection of nails and twine at Menards.
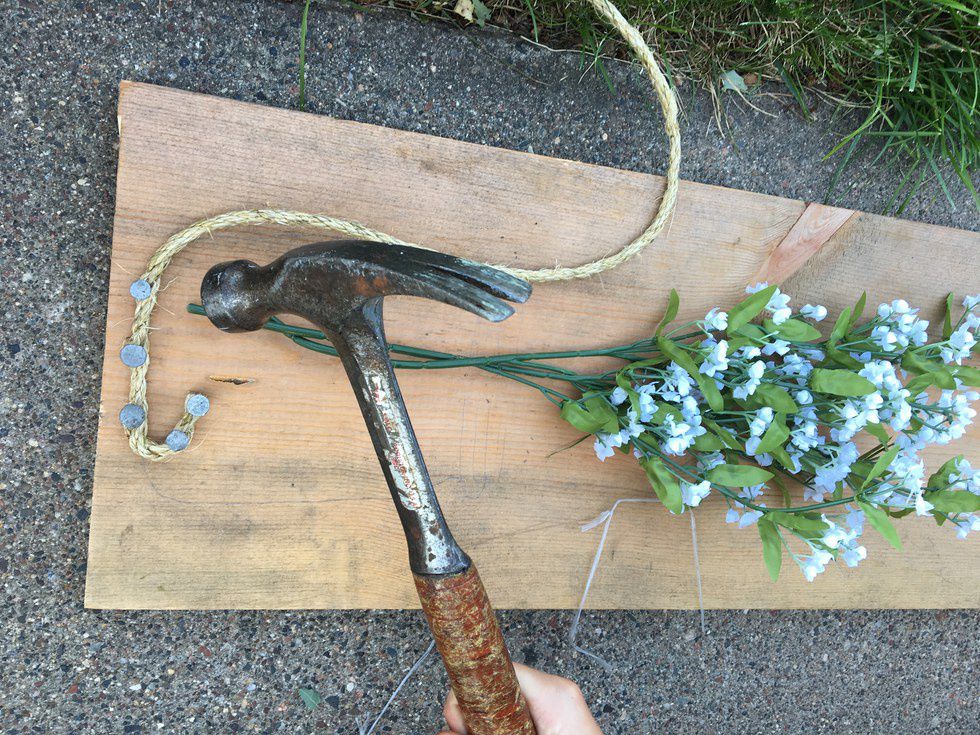
You need a hammer to hammer the nails. I also found it easy to use a staple gun to staple the flowers in place so you can't see them stapled down.
Thats all the supplies needed! Now we start making the wall art flowers!
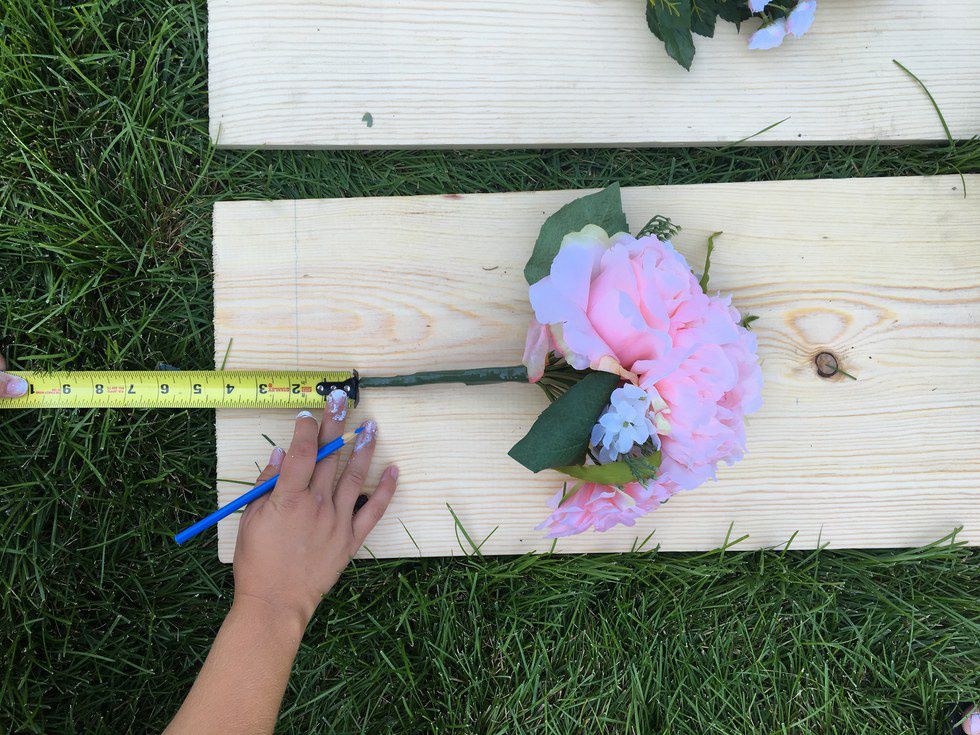
2. Measure the wood.
Put the flowers where you want them on the board, measure it out and then cut the wood. Make sure that there is enough room for you to make a vase with the twine around the stems.
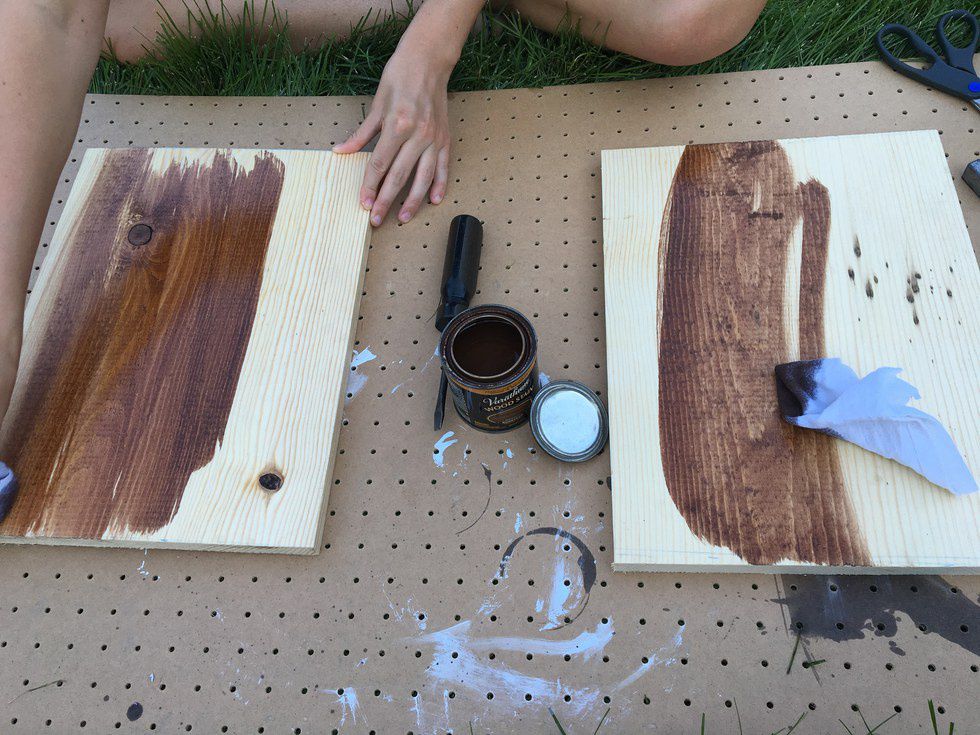
3. Stain the wood.
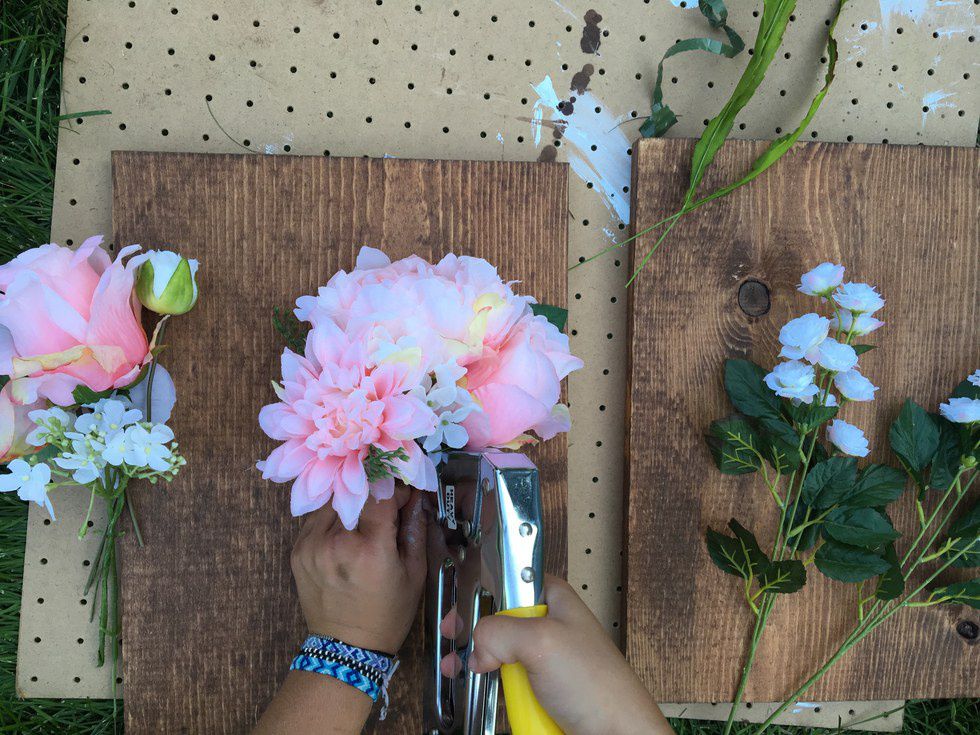
4. Staple the flowers in place.
It makes everything easier if you staple the flowers to the wood before doing the vase part. Staple where the flowers or leaves will cover the staple. This is much easier than nailing the flowers into place.
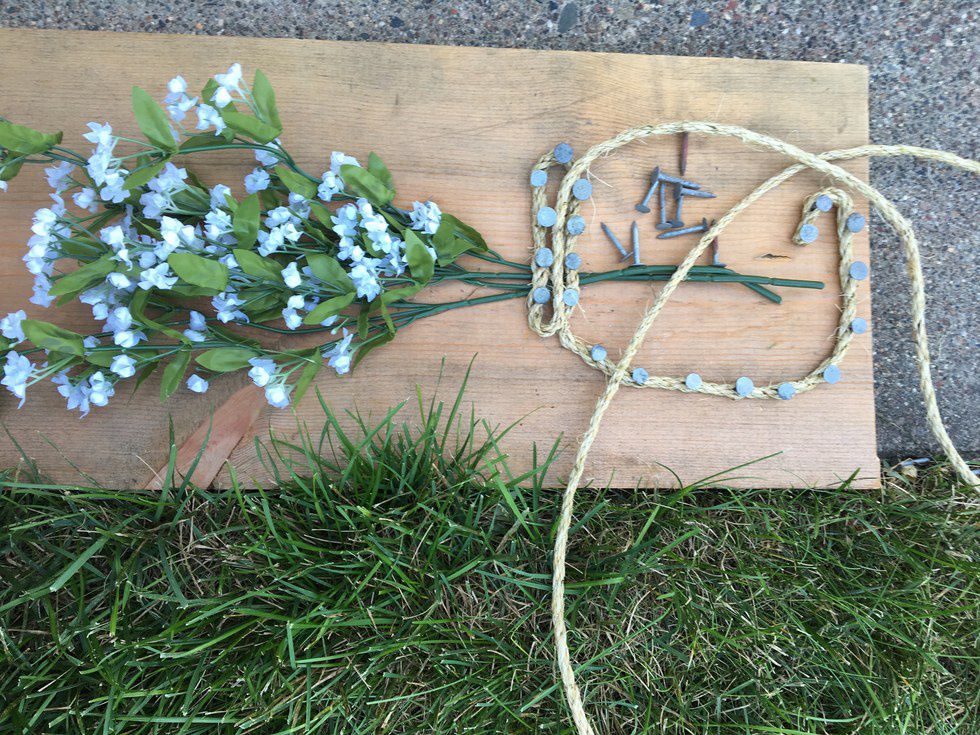
5. Start nailing the twine to make the vase.
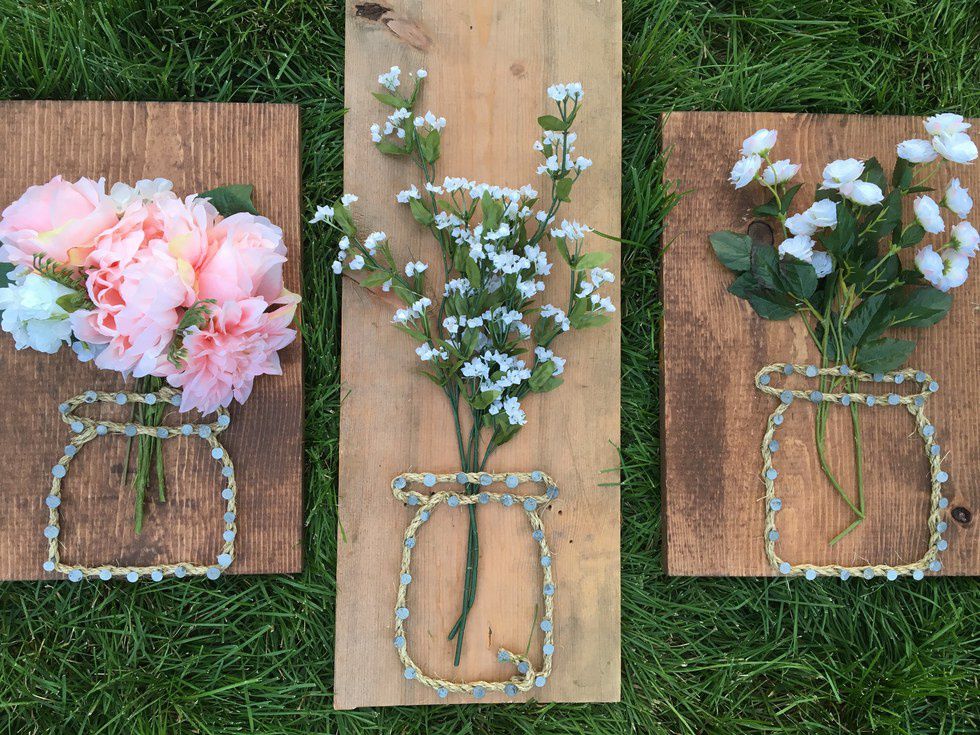
6. You are done!
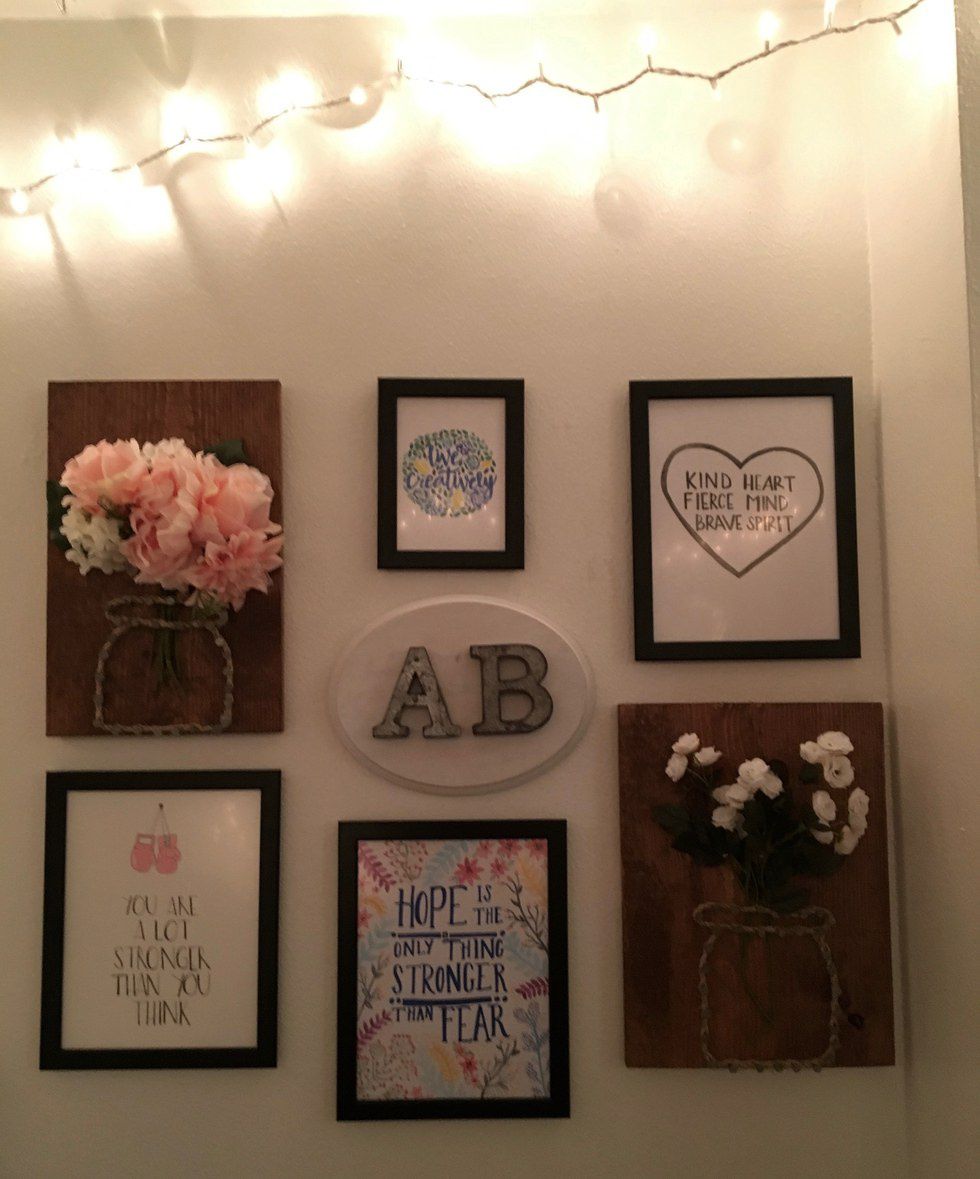
Once you are completed and happy with your finished product you can hang it up!


