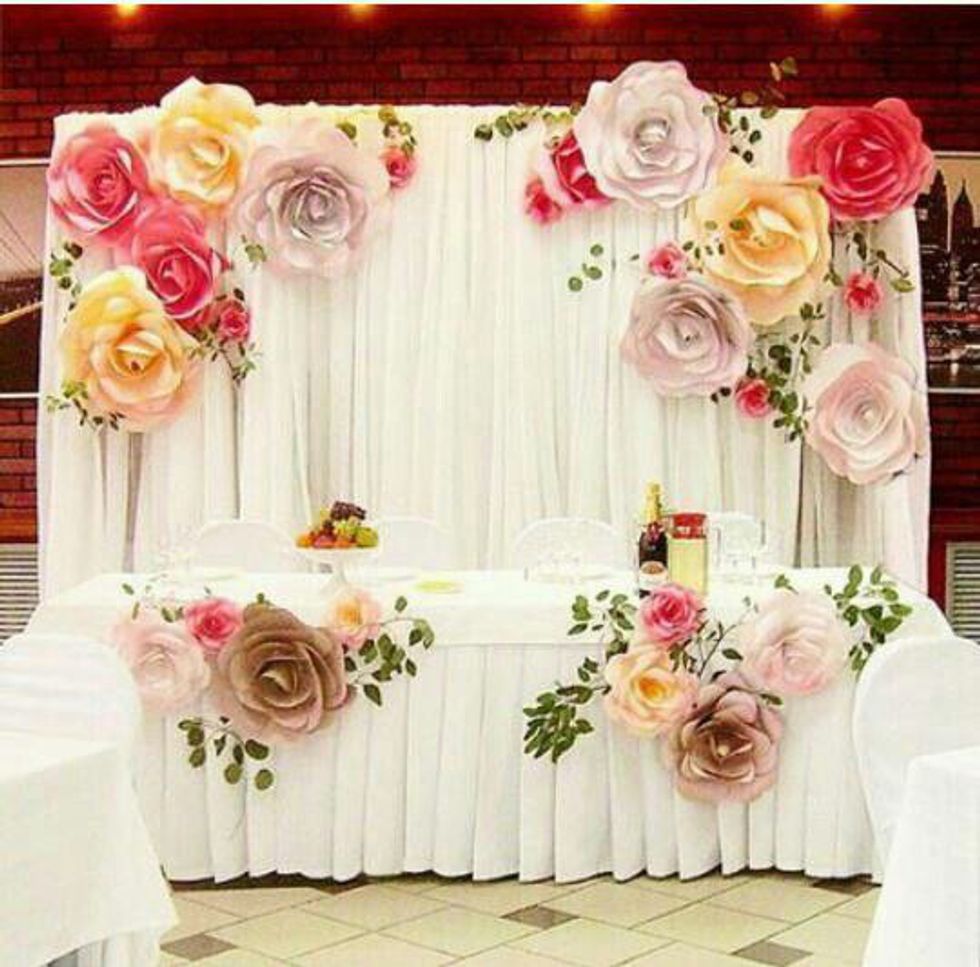
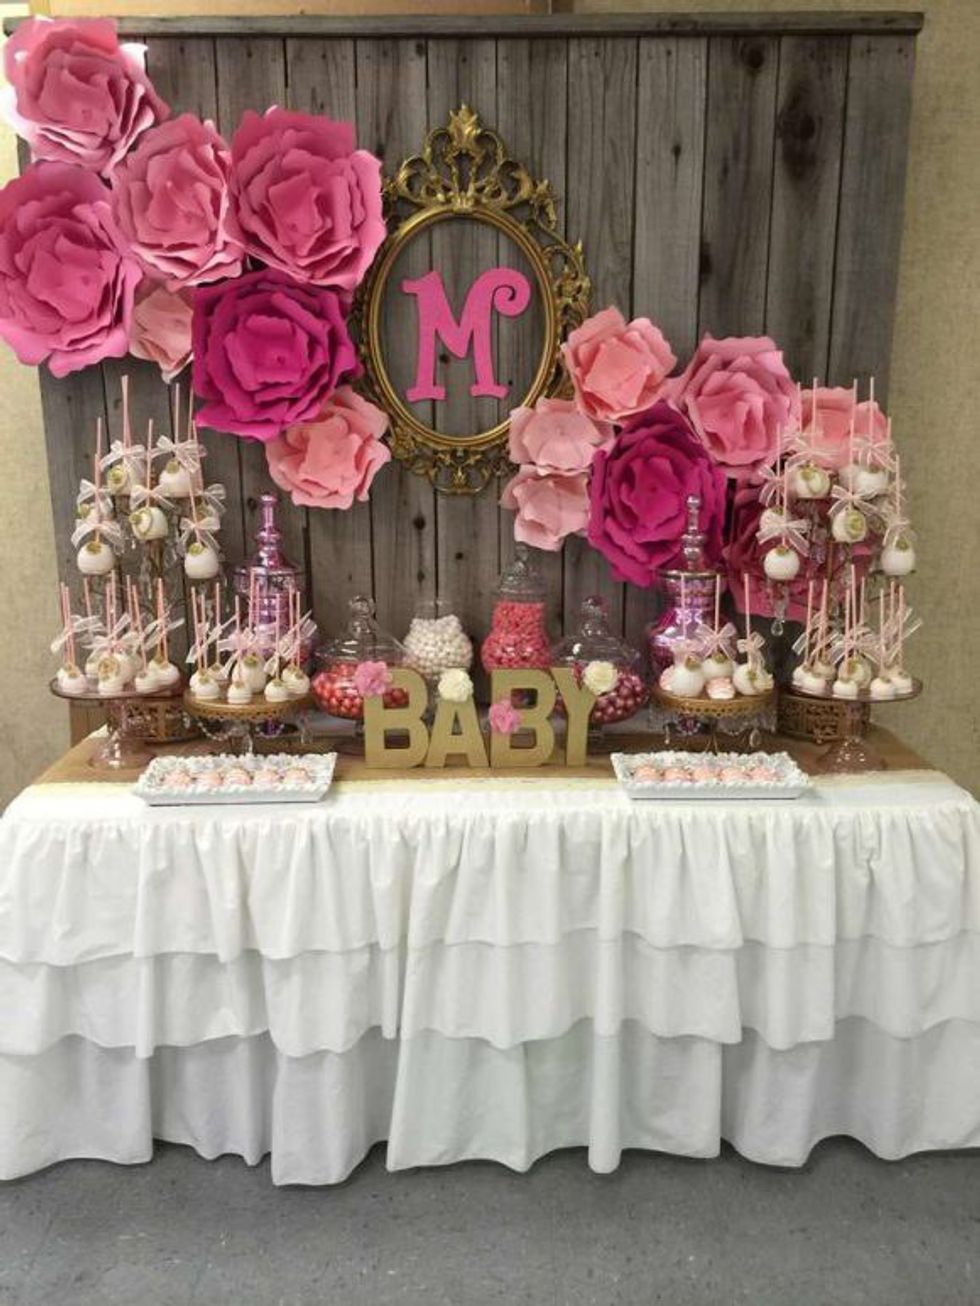
So it may be cold and snowy outside but you have a big party you're helping plan when the Spring season arrives. Maybe it's a sweet sixteen for your little sister, or a May wedding for your older sister, or, in my case, your high school BFF's baby shower. You have a set theme and some basic shopping complete, but what about decor? You might not think you're crafty but DIY decor can save a ton of money, but of course takes time. So even though your months ahead of the game, why not get started on those DIY decor ideas?! It's fun, I swear! Don't know where to start? Here's something to fall in love with...
DIY Paper Flowers
Cheap, yet so classy and cute. Purchasing paper flowers on Etsy can cost at least $60. Two 50-page packets of cardstock paper from Michael's costs $2-$4, plus a $3 hot glue gun and $5 glue if you don't already have them. Paper flowers have become an increasingly popular decor product for weddings in the past couple years. Some have even opted out for real flowers bouquets and instead, bridesmaids hold one large paper flower. A paper flower craft table at the bridal shower could be a cute, cheap way for guests to bond while making decor for the wedding! If it isn't a wedding, this could still be a fun bonding night before any sort of party. Think birthday parties, bachelorette parties, sorority mixers, anything!
So let's get to how to make these beautiful giant flowers.
Supplies:
- 1-2 packets of 8 1/2" x 11" cardstock paper (may need more depending on how many flowers you make)
- Hot glue gun & extra sticks of glue
- Scissors
- Pencil
Steps:
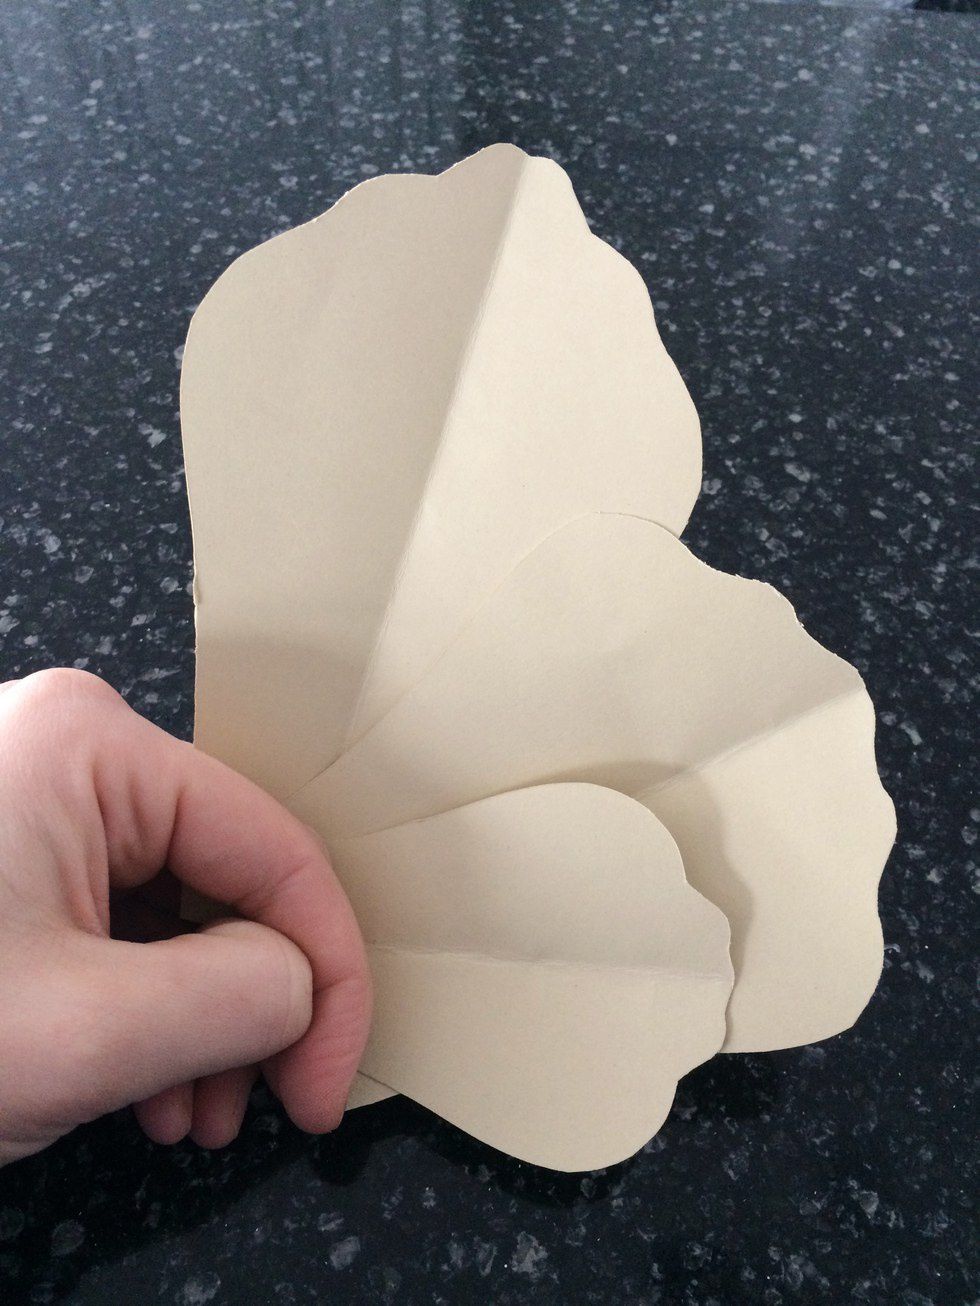
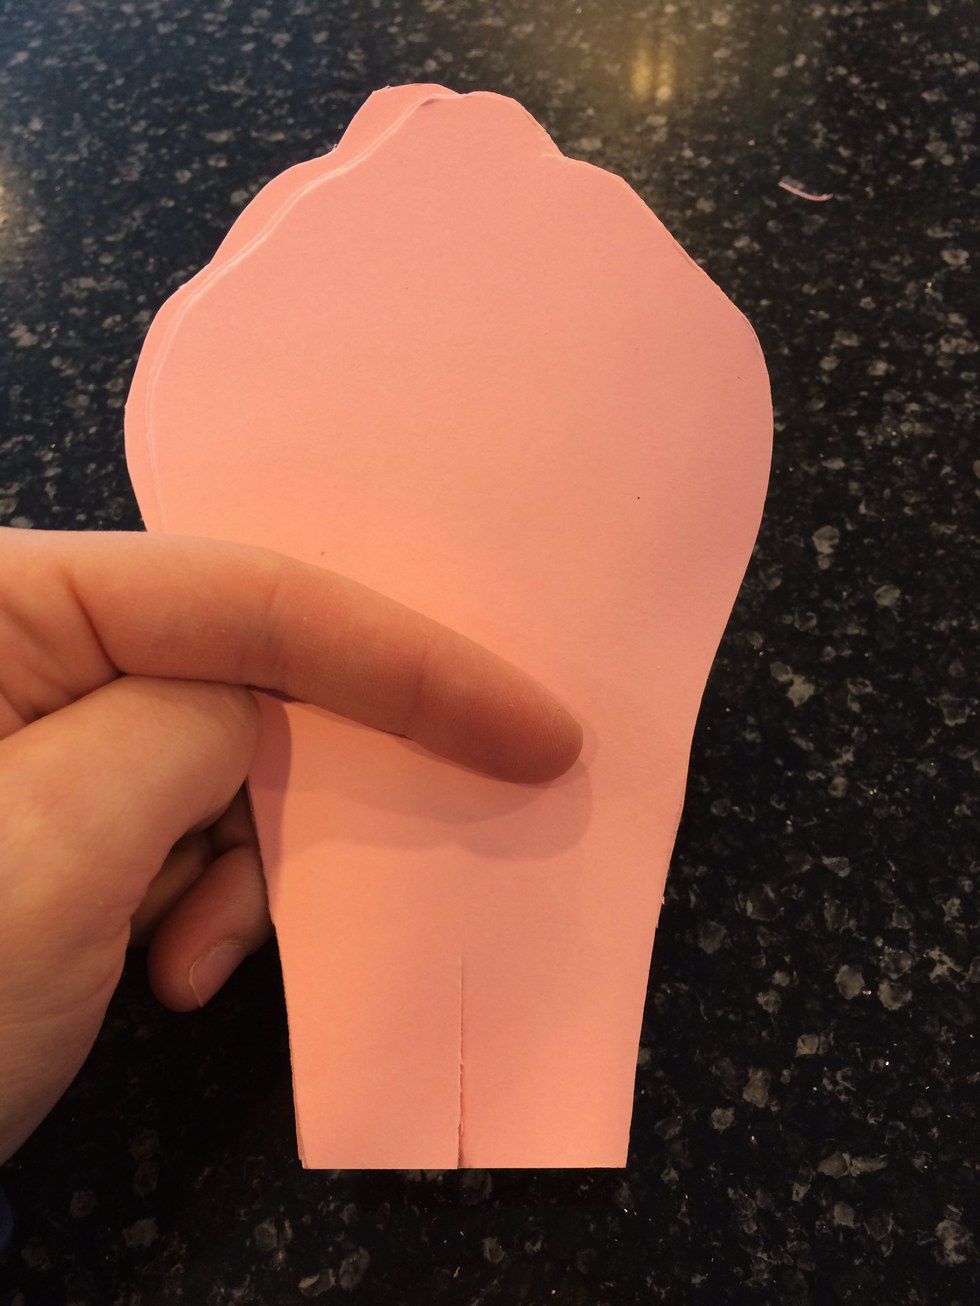
1. Make your petal templates. You will need three sizes. Fold a piece of cardstock and draw your design of the petal on one of the halves so your petal will be symmetrical. With the scissors, cut the petal.
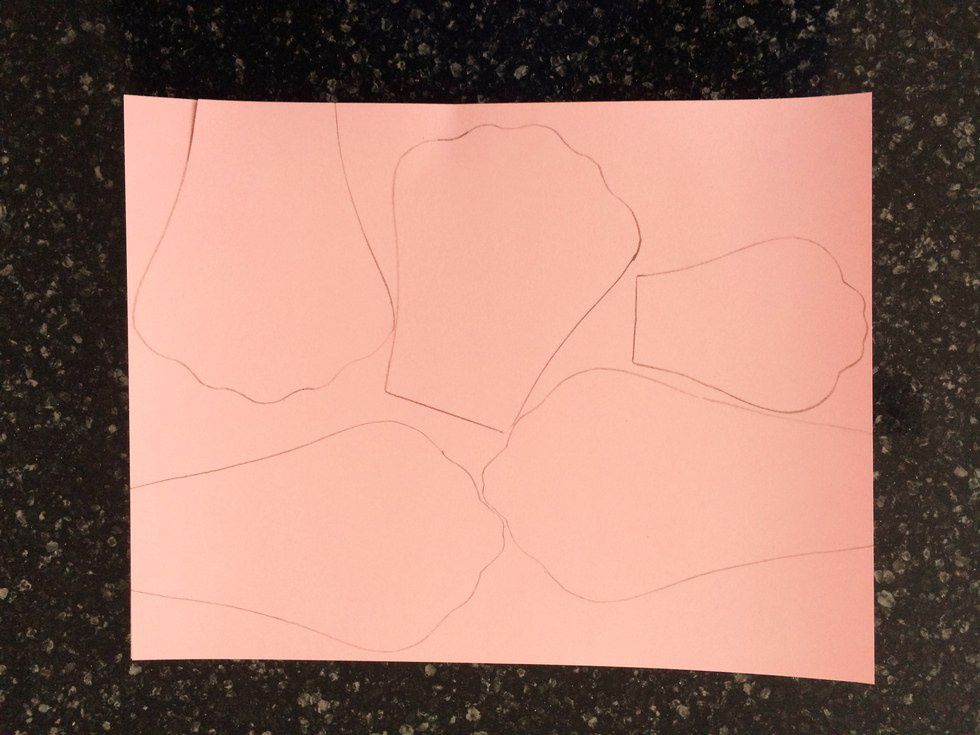
Tip: There are templates online you can find if you don't think you can make one yourself. I made several different sizes of flowers so I started large first, fitting two of my largest petals on one page of cardstock. For each size, I would cut my initial template down slightly with a similar design.
2. Trace the templates onto your choice of colored cardstock.
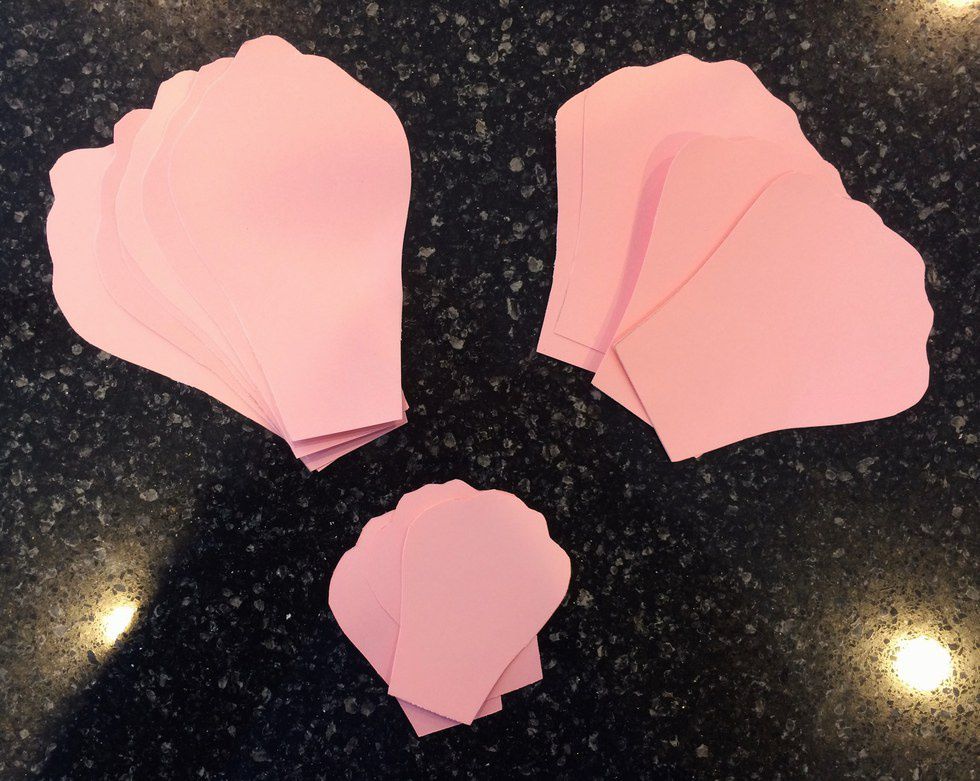
3. Cut your petals by stacking two-three pages of cardstock. You will need about six of your largest petals, four-five of your medium petals, and three-four of your smallest. You may need more or less depending on the size of your flower.
4. Put the different sizes of petals into separate stacks to cut a half inch slit into the base of the petals.
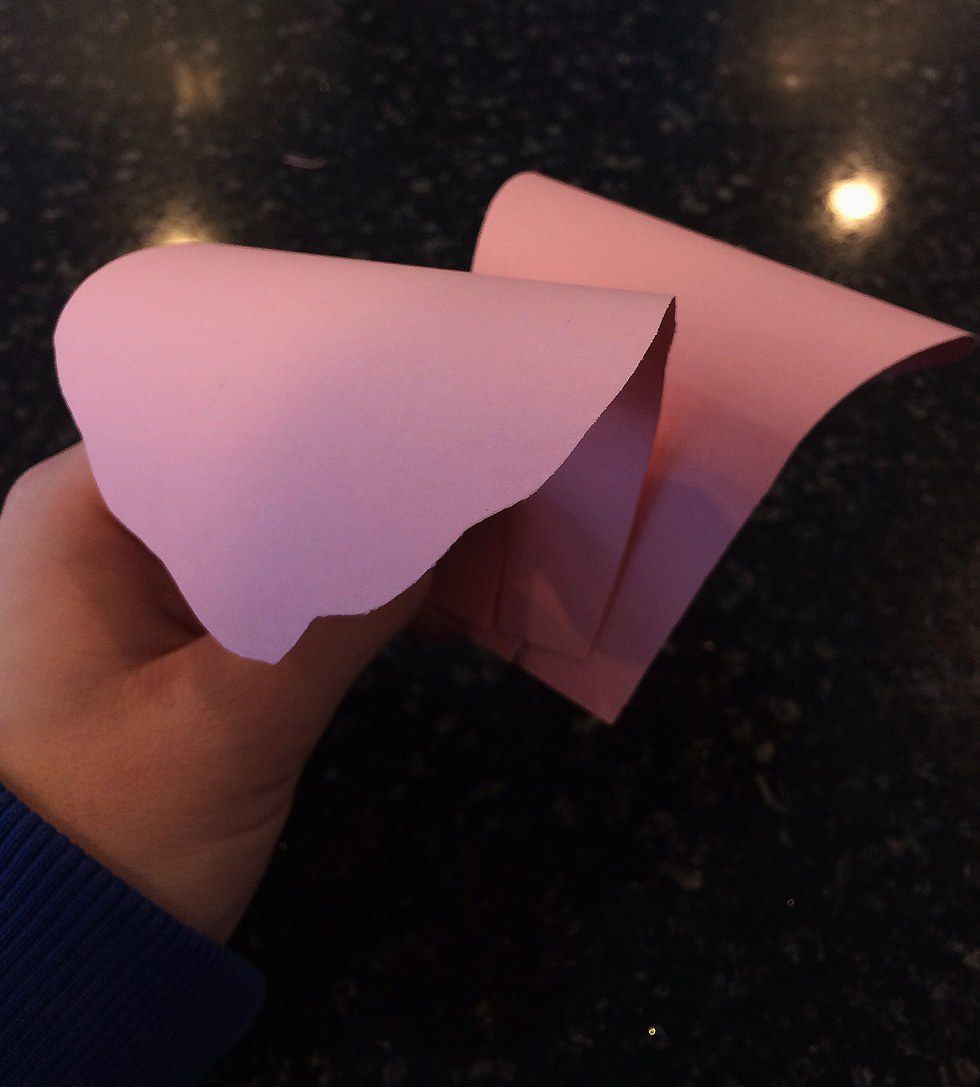
5. Time to curl the petals! You can roll them by hand, use a wooden dowel, or a counter top.
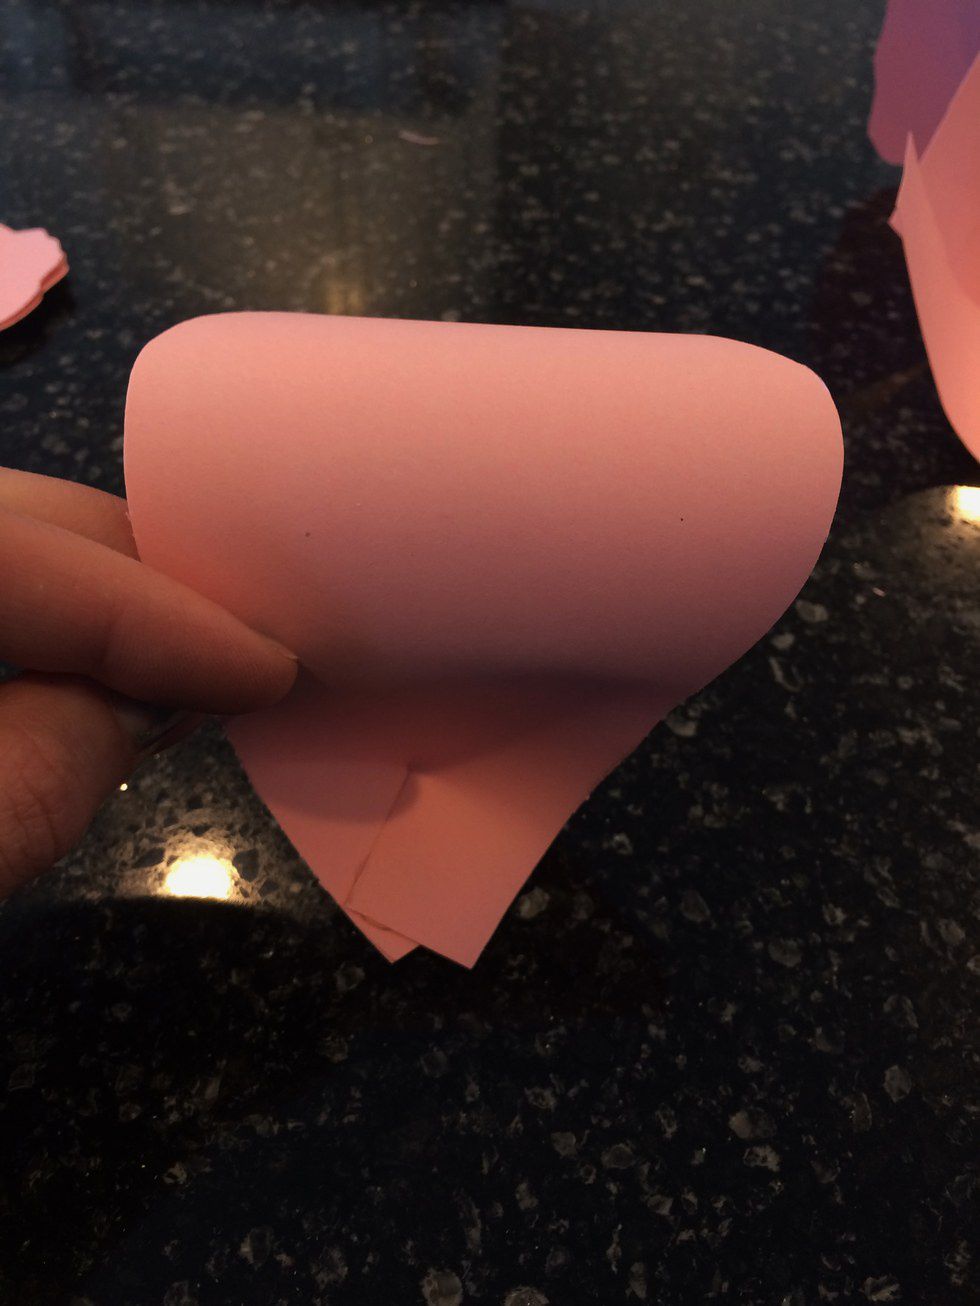
6. The two flaps that you just cut, overlap them so that the curl is facing away from you (like shown) then glue them together. This creates the pop of the petal.
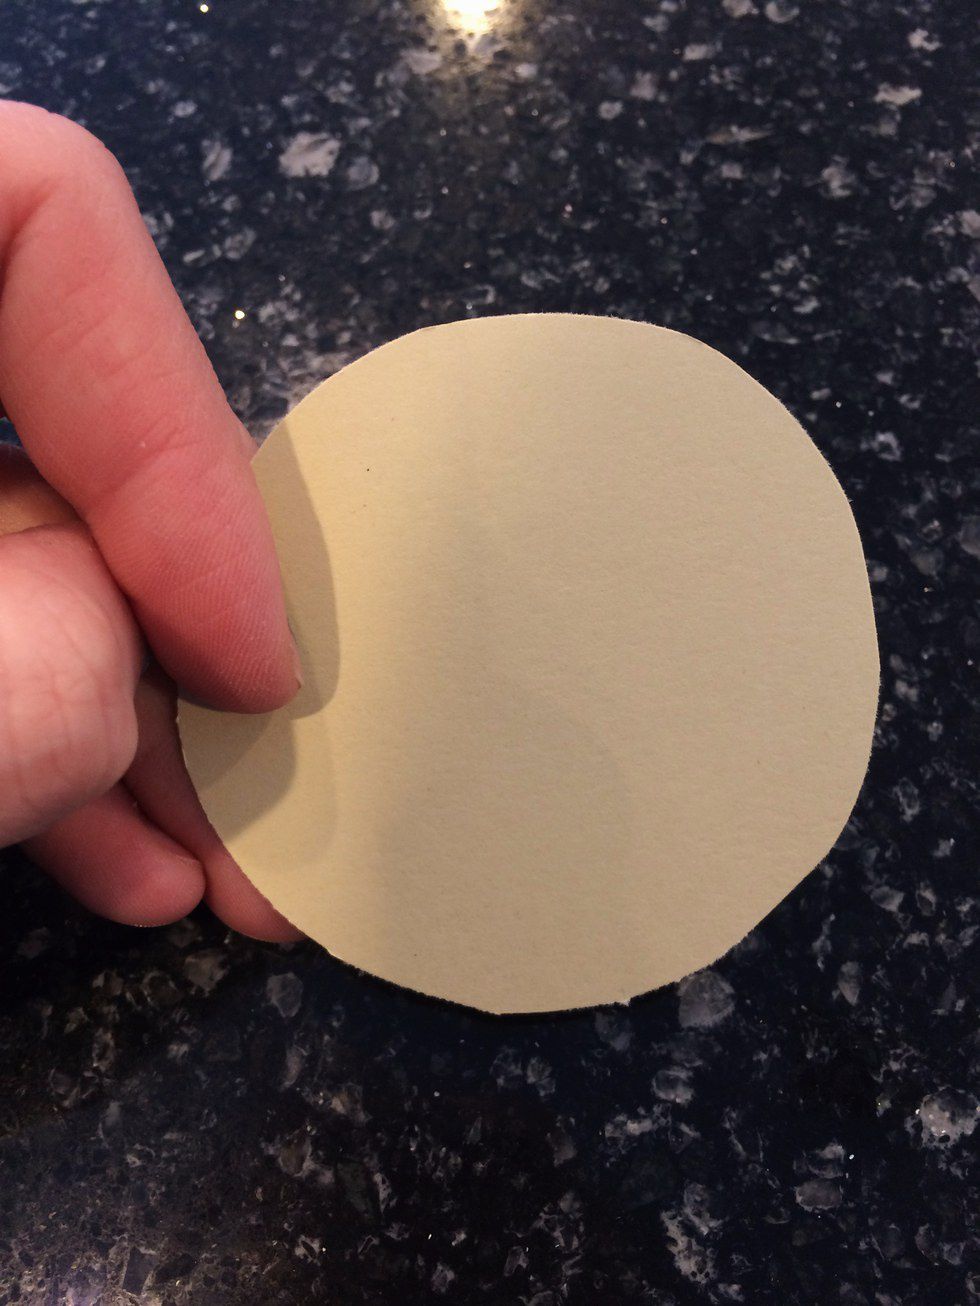
7. Cut a circle base to glue the petals to. It doesn't have to be perfect because you will not see it. For the size, I traced the bottom of a soda can.
8. Glue your largest petals to the underside of the circle you just cut, so that the top of the circle is still completely empty. Glue the medium petals to the top of the circle base and glue the smallest petals to the bases of the medium petals.
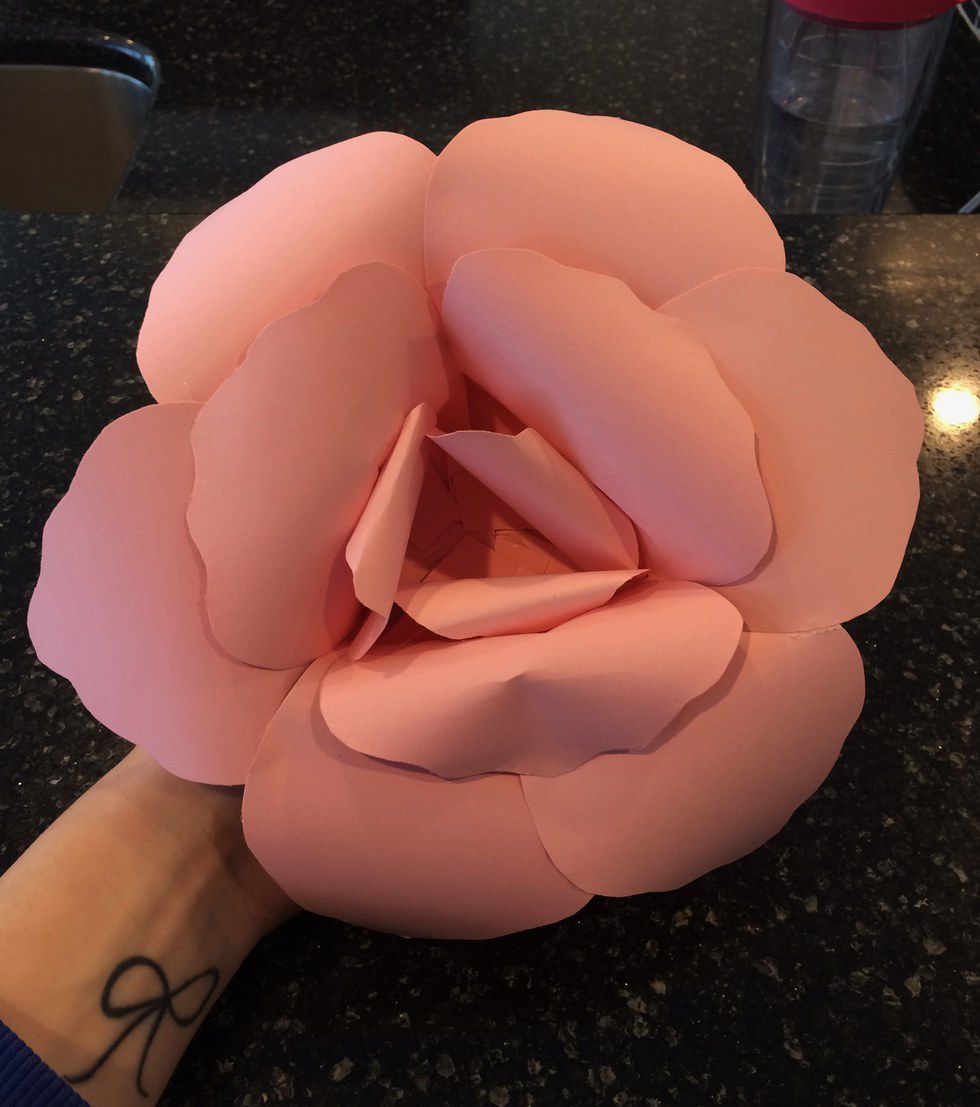
I got carried away while gluing the petals that I forgot to take a photo but this photo shows the flower with all the petals glued to the circle and to one another. To keep the pop of the petals, you may have to glue them together in some spots, like I did with the smallest petals in the center.
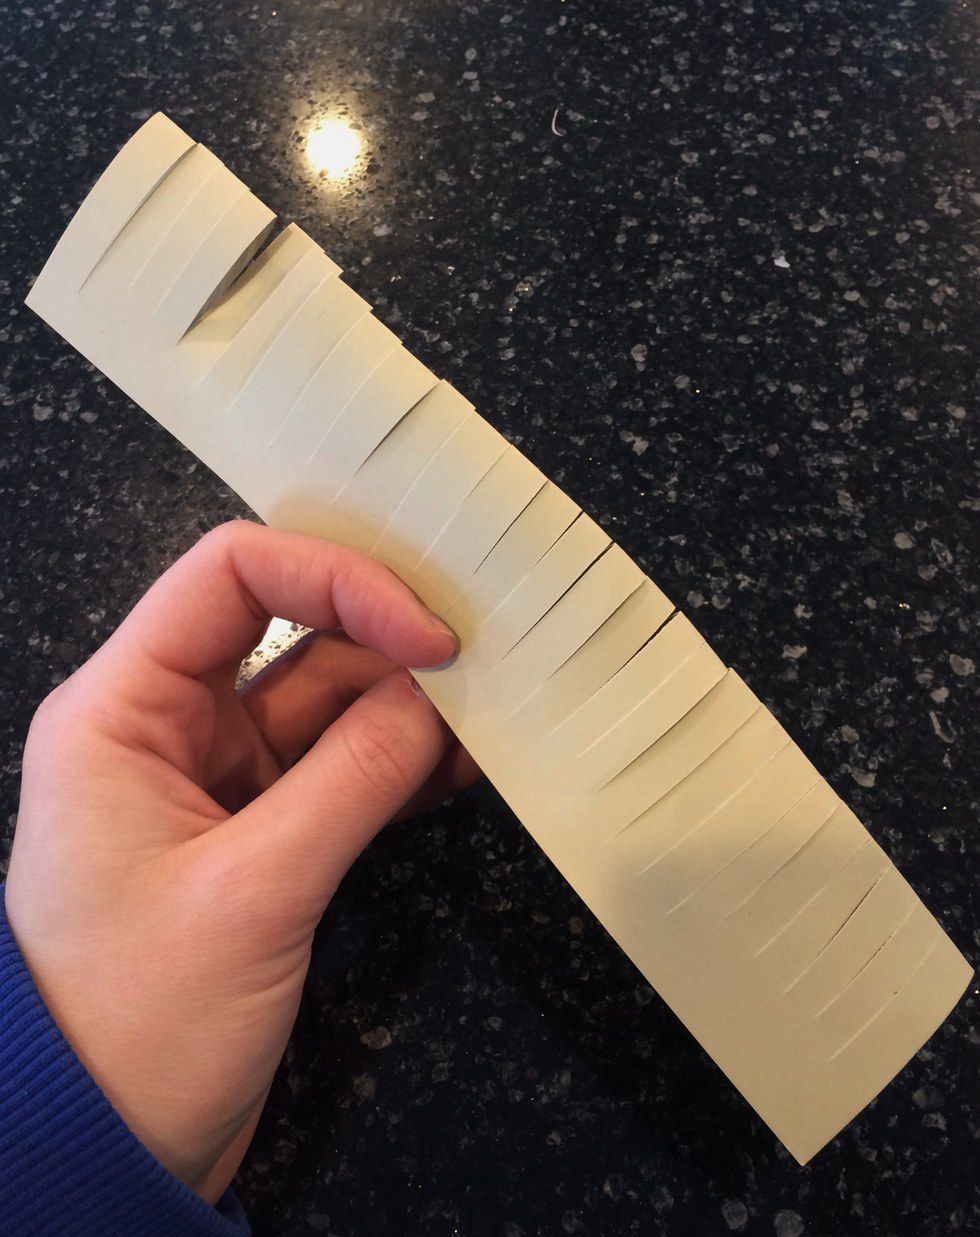
9. On to the center piece. You will need another sheet of cardstock, about a 2" strip folded in half. You then will cut slits into the strip. Depending on the size of the flower, you may need a total of two or three of these strips.
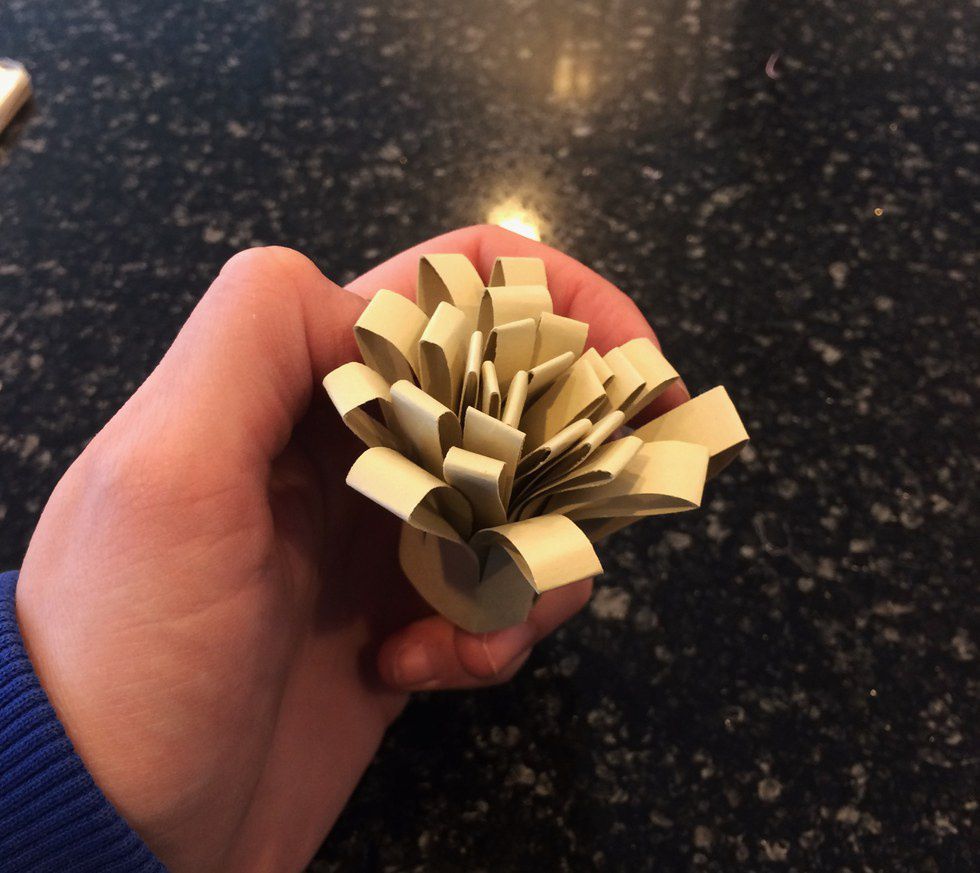
10. Begin to roll that piece of cardstock. It may help to dab glue along the way. For larger flowers, you will roll the additional strips on the outside of the first strip, gluing along the way.
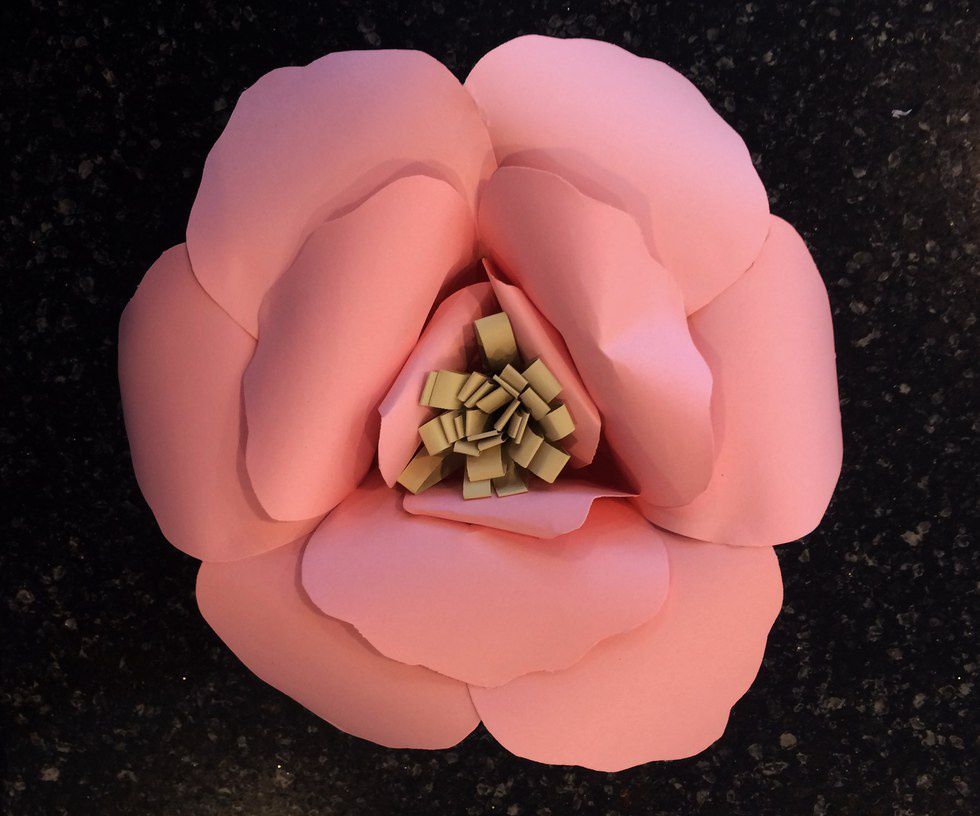
11. This is what your center piece will look like when finished. You then glue the piece inside the center of the flower.
12. Stare in awe at your final masterpiece!
My BFF's baby girl will enter the world in April, so I planned her party for mid-February. Since the party hasn't happened yet, here's a photo of what inspired me!


