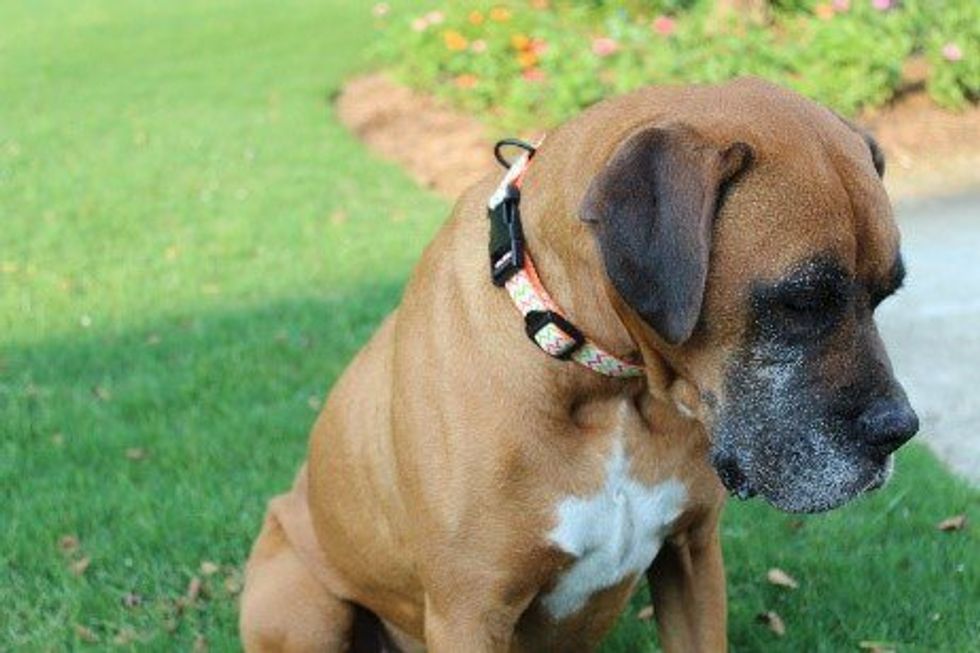
We all love our fur babies and want them to look their best. Collars are the quickest way to give your pet a quick makeover, but for a high quality nylon collar in a fancy pattern, the prices start to climb. Here, I will show you how to make your pooch look charming on the cheap.
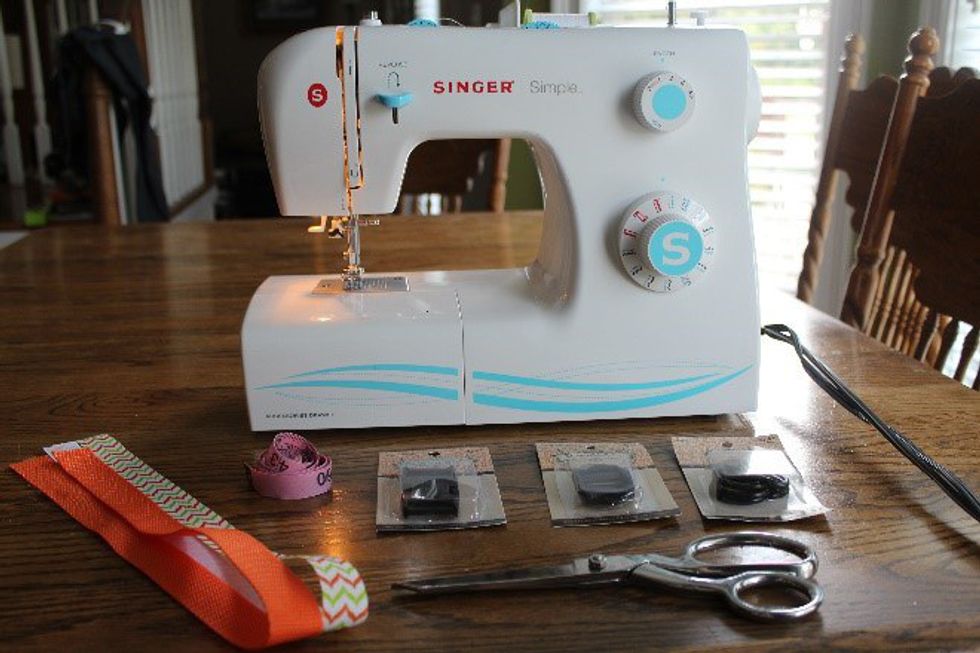
Materials:
-Measuring Tape
-Scissors
-Side Release Buckle*
-Adjustable Slider*
- D-Rings*
- Nylon Webbing
-Patterned Ribbon*
-Lighter
-Sewing Machine
- Knowledge of Basic Sewing Techniques
*I found these items at Hobby Lobby.
Step 1: Use your measuring tape to measure around your pet’s neck, and then add approximately 6” to give yourself some length to work with.
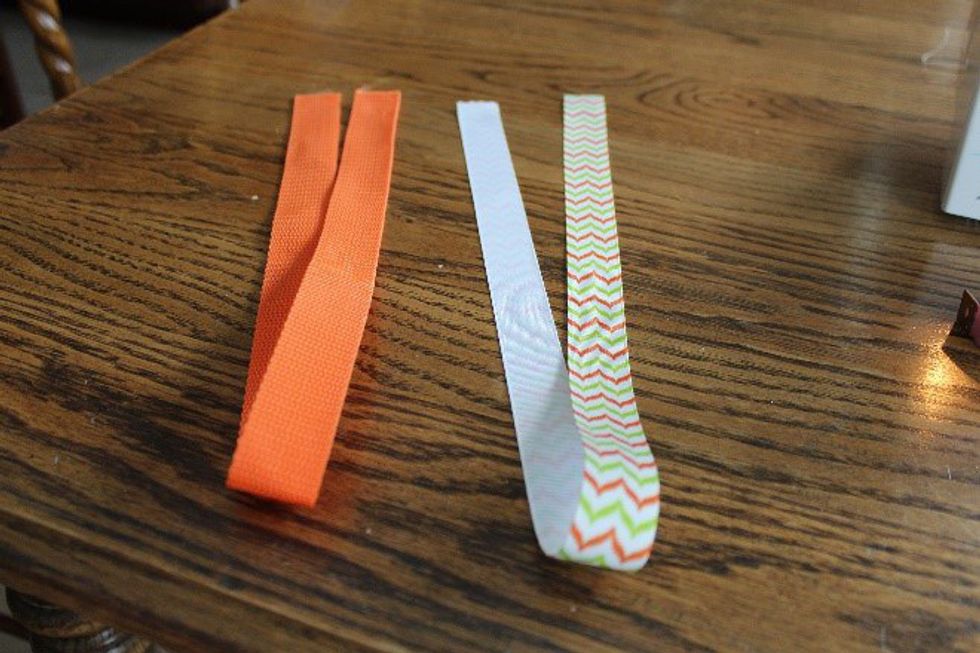
Step 2: Cut your nylon webbing, and your ribbon to the appropriate length.
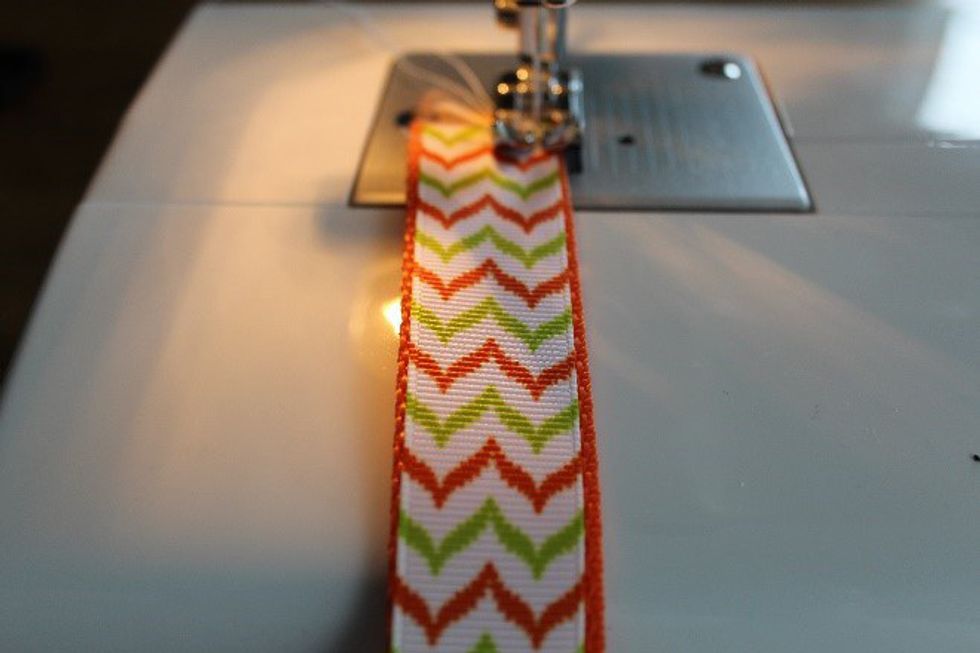
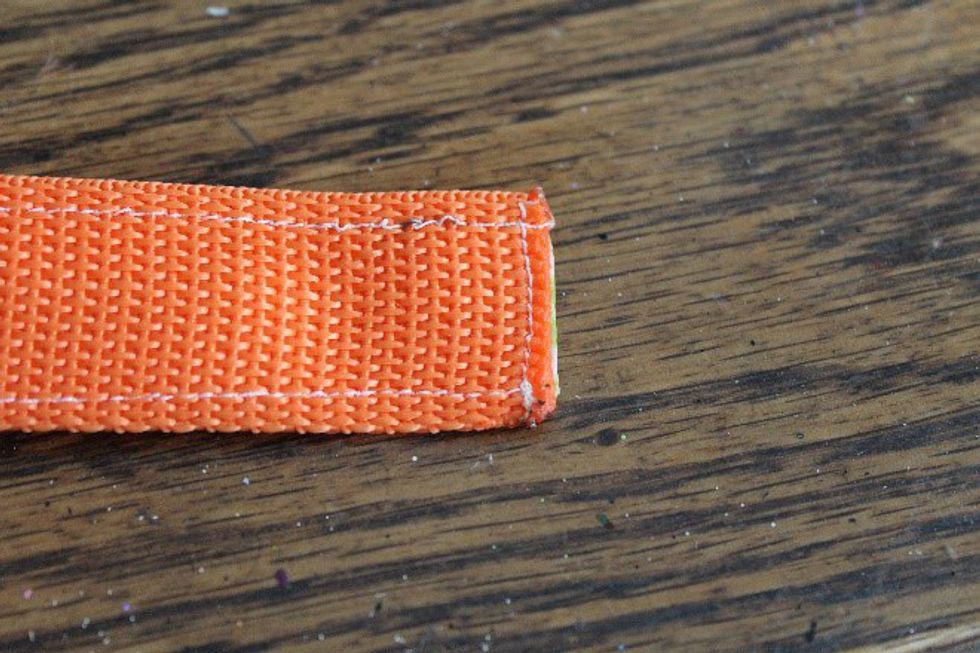
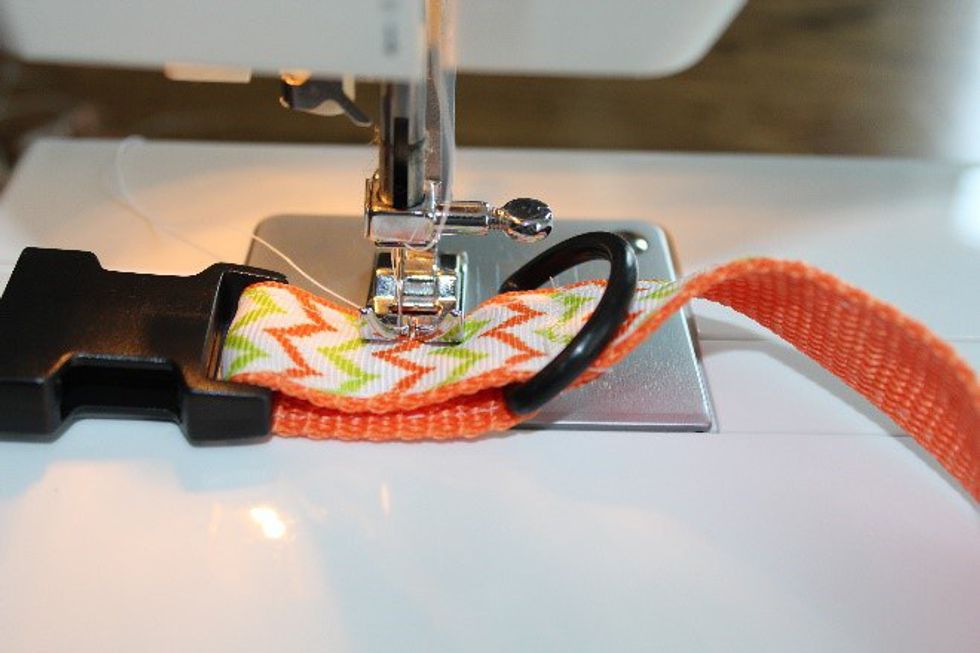
Step 3: Laying the ribbon on top of the webbing, sew over each end, and down both sides
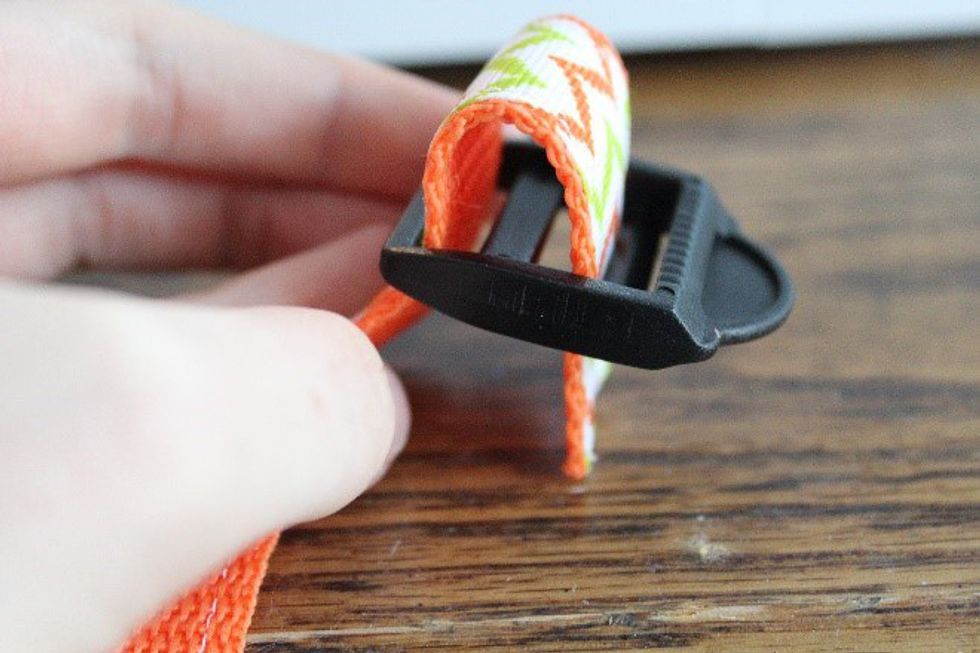
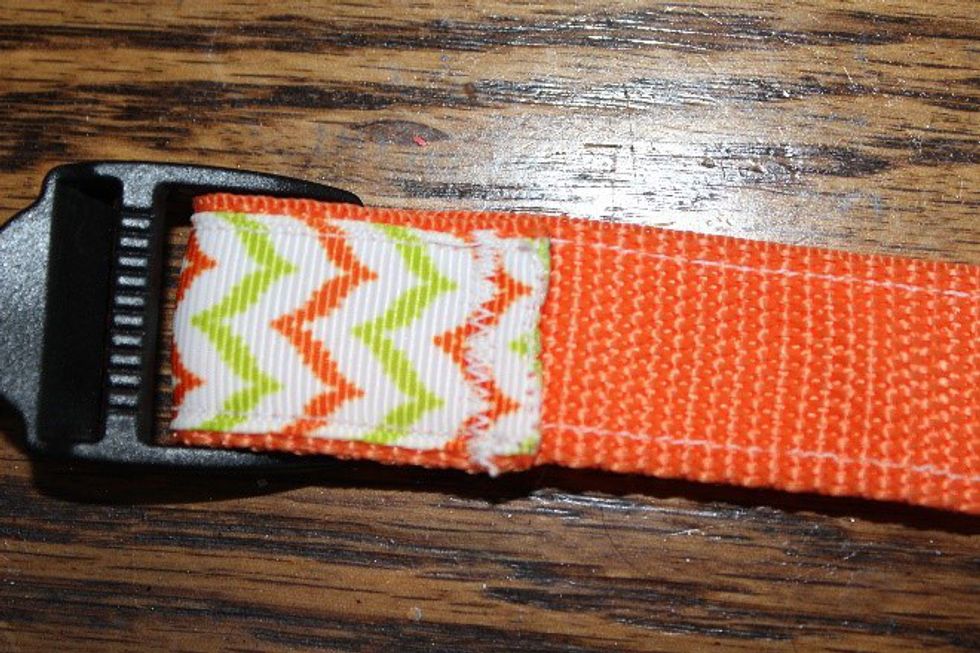
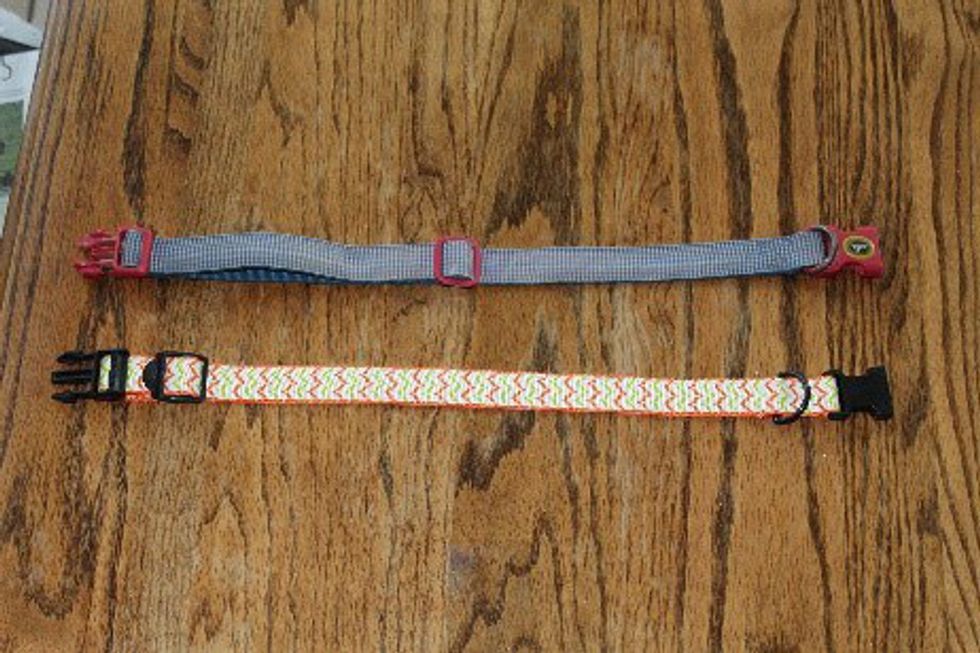
Step 5: Insert the first end through the first two slots on the adjuster (as shown), and sew it down. I used a zig-zag stitch here to provide a little bit of extra durability.
Step 6: Thread the toothed end of the buckle onto the collar (no sewing required), and then loop the end back through the third slot on the adjuster.
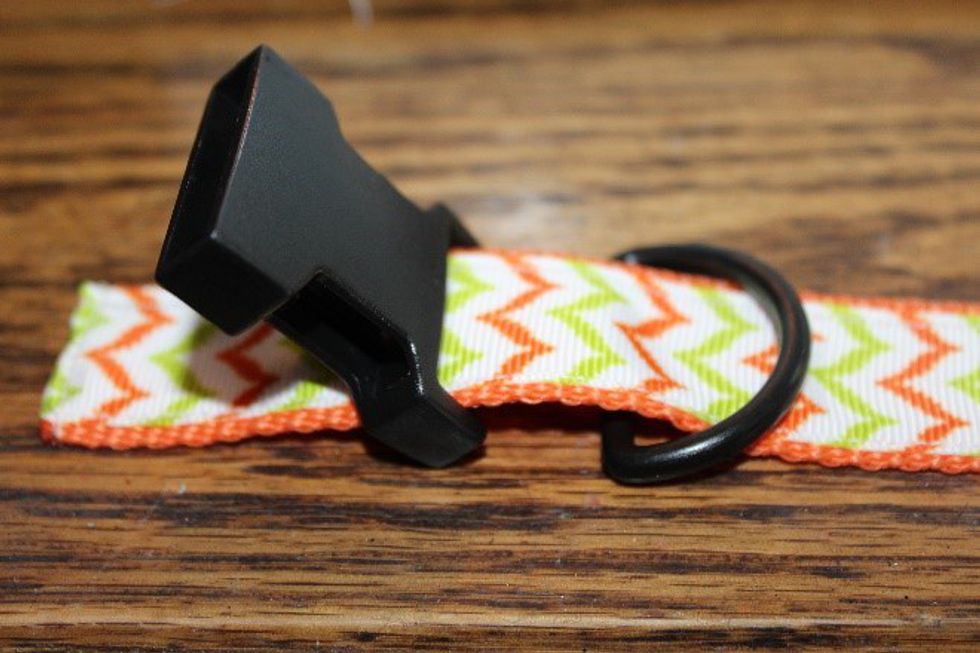
Step 7: On the second end, slide first the d-ring, and then the fastener end of the buckle onto the collar. Fold the nylon under them, and then sew the two layers together to hold each piece in place. You will have to sew them individually, so that they don’t slide together. Again, I used a zig-zag stitch.
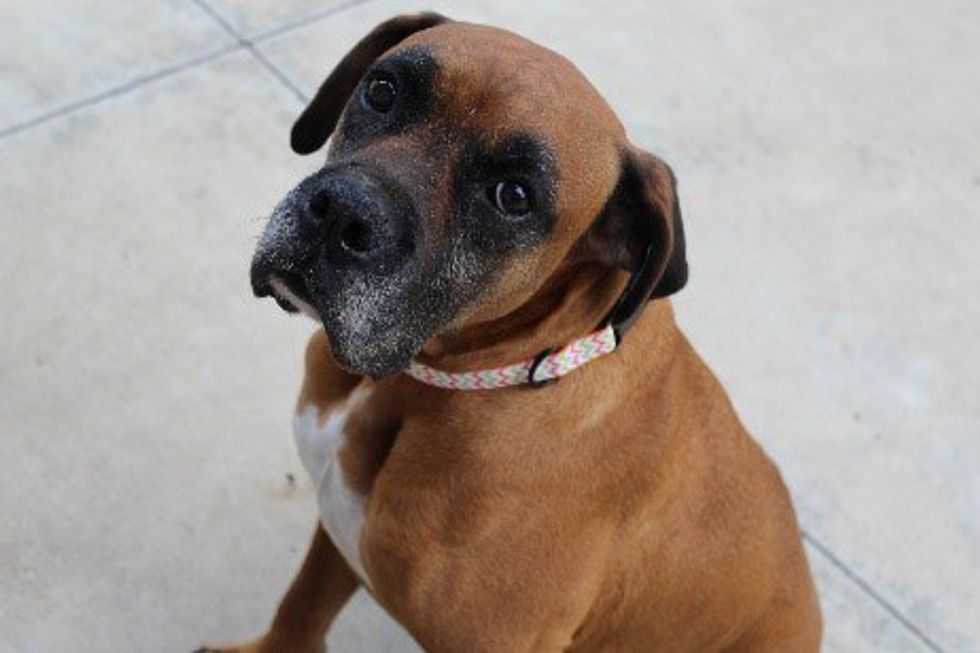
Step 8: Put the collar on, and you are ready to go!

